Trails
Reviews
Tips
Community
Deals
Latest
Support
Trails
Find trails
Best bike trails
Destinations
Add a new trail
Reviews
Mountain bike reviews
Components
Tires
Clothing & shoes
Helmets
Accessories
Product news
Community
MTB Clubs
Races & Events
Bike Shops
Tips
Skills
Fitness & Training
Health & Nutrition
Beginners
Repair
Latest Articles
Podcast
Deals
Support Singletracks
Sign in
Create an account
About us
Newsletter signup
Reviews
Mountain Bikes and Gear
YT Jeffsy CF One 29 Test Ride Review
1
Culture
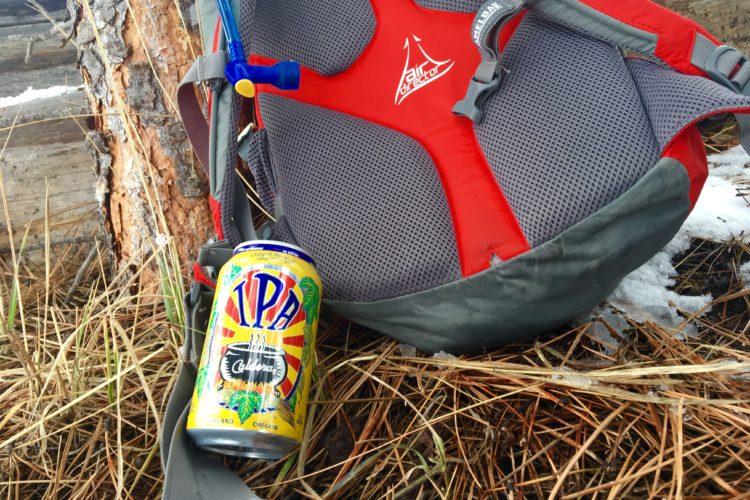
Caldera IPA Beer: An India Pale Ale for Your Pack
4
Mountain Bikes and Gear
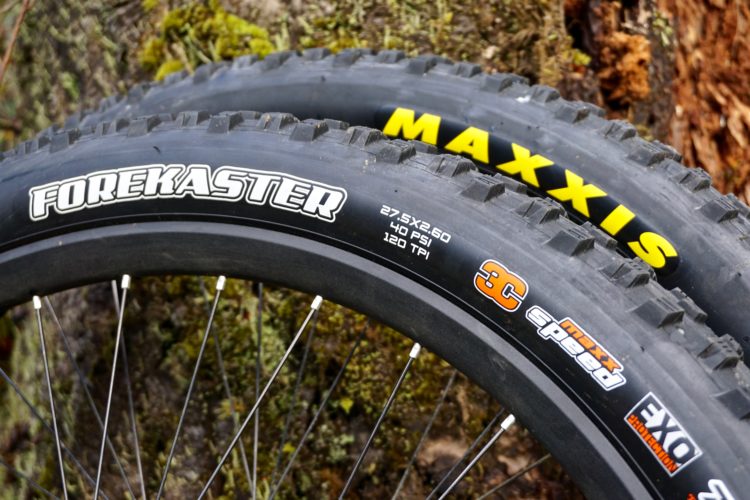
Maxxis Forekaster 2.6" Tire Review
4
Mountain Bikes and Gear
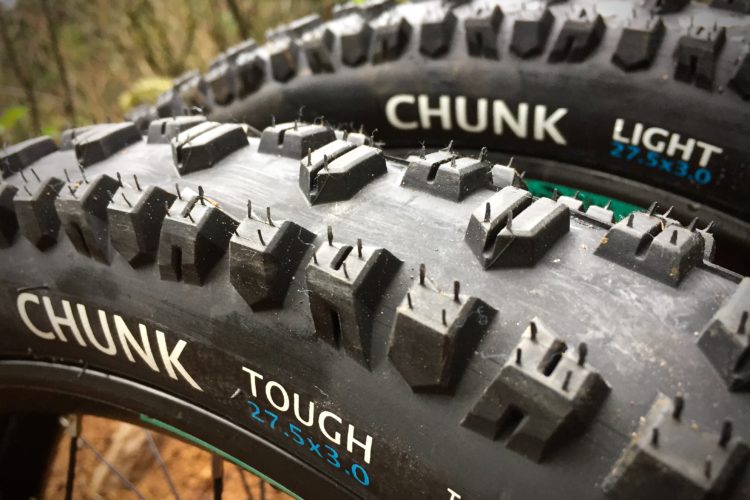
Terrene Chunk Plus Tire Review
2
Mountain Bikes and Gear
Scott Spark 720 Plus Long Term Review
2
Brakes
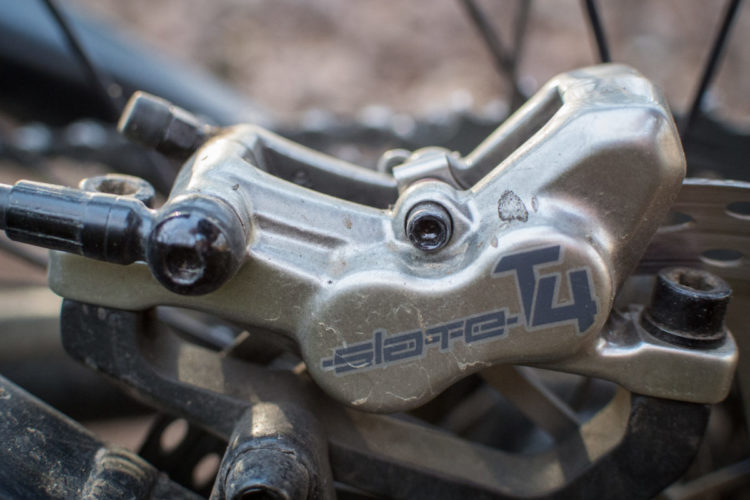
TRP Slate T4 Brakes - Can They Compete with Shimano and SRAM?
Mountain Bikes and Gear
Light and Adaptable - Race Face Next SL G4 Cranks Review
Culture
All Mountain? I Don't Think So! The New Michelin Force AM Tire, Reviewed
5
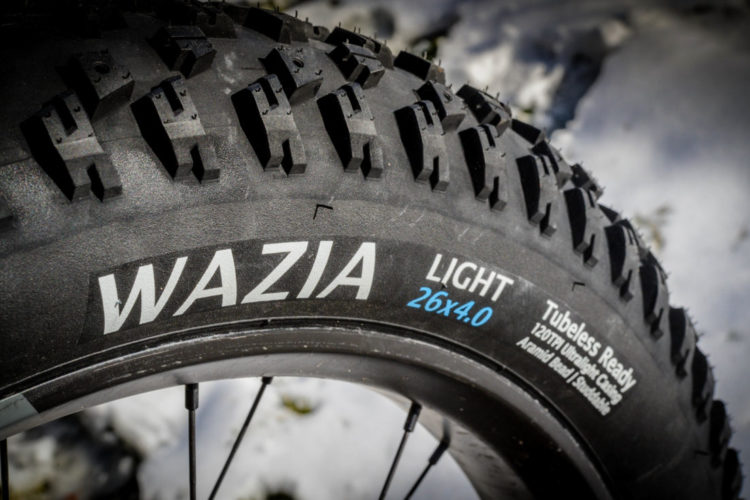
Tires
Terrene Wazia Fat Bike Tire Review
4
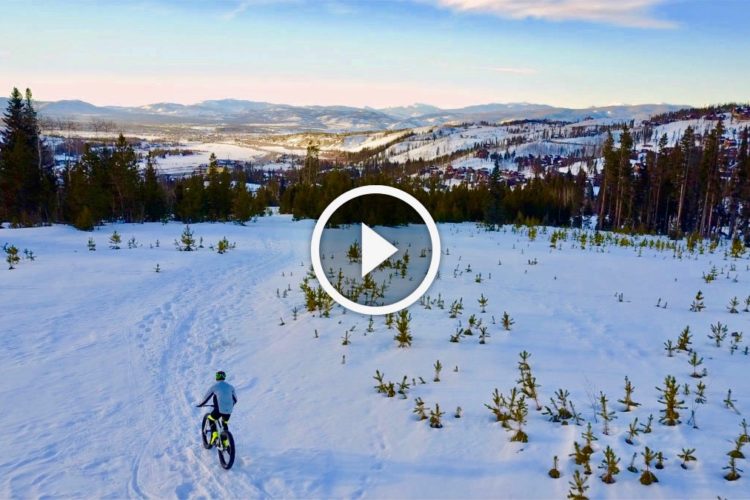
Mountain Bikes and Gear
Watch: 2017 Rocky Mountain Suzi Q -50 Fat Bike Review
Mountain Bikes and Gear
Two Bearings, One Pivot, Zero Problems: Orange Mountain Bikes Five Review
7
Mountain Bikes and Gear
Gore Apparel ONE Thermium Jacket Review
Mountain Bikes and Gear
Innovative Articulating Knee Creates Comfortable Fat Bike Pants - Gore ONE Windstopper Pant Review
5
Mountain Bikes and Gear
Smith Rover Helmet Review
1
Mountain Bikes and Gear
Watch: Swagman Patrol Bike Rack Review
4
Mountain Bikes and Gear
Watch: 2017 Fuji Rakan 27.5+/29er Review
4
Mountain Bikes and Gear
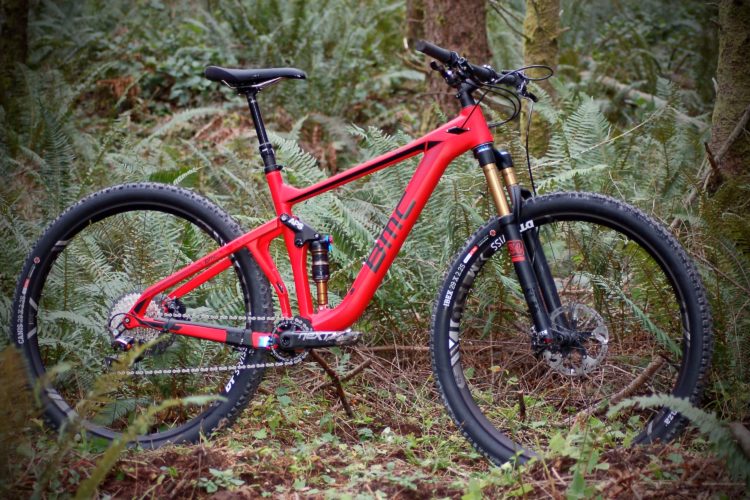
BMC Speedfox 01 Long Term Review
Lights
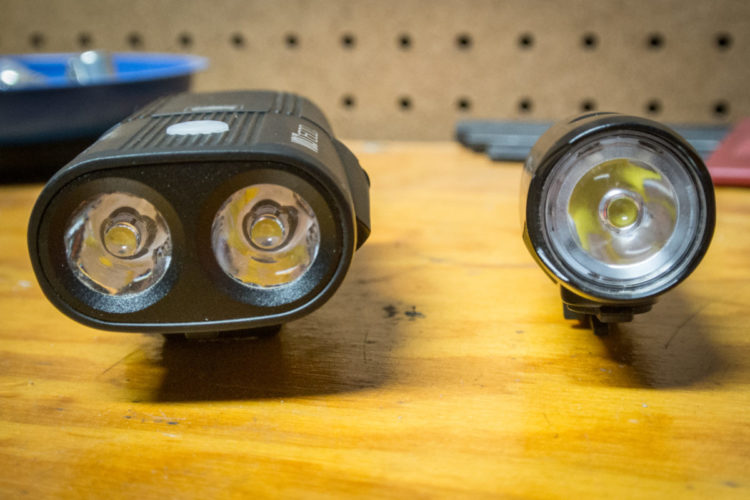
CatEye Bike Lights Review
1
Mountain Bikes and Gear
Juliana Joplin C Long Term Review
Mountain Bikes and Gear
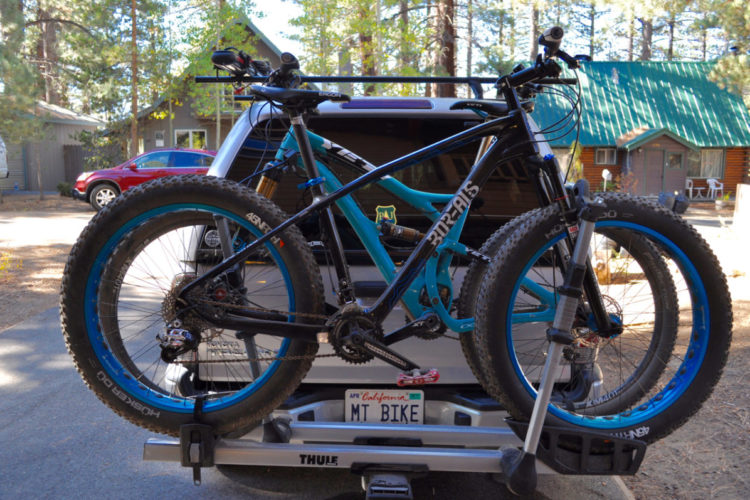
A Fat Bike for the People: Raleigh Rumson Review
2
Mountain Bikes and Gear
Seeing in a New Light with Smith's ChromaPop Lenses
2
Mountain Bikes and Gear
Box One 11-Speed Rear Derailleur and PushPush Shifter Long Term Review
1
Mountain Bikes and Gear
The 23 Mountain Bikes We Punished Over the Long Term in 2016
4
Mountain Bikes and Gear
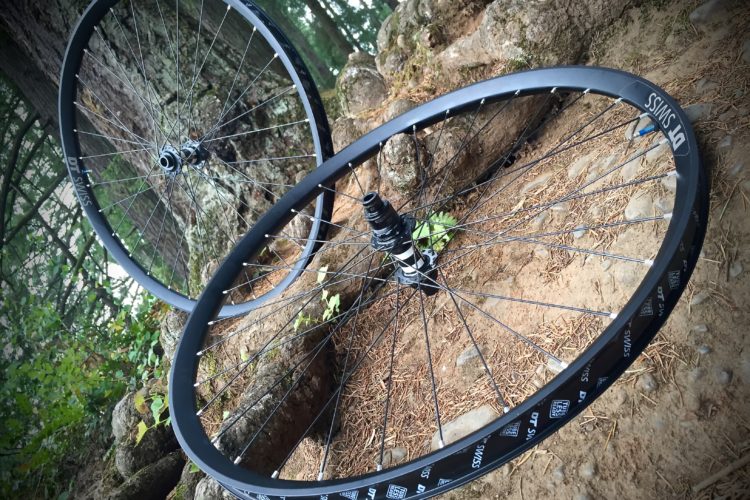
A Wider Enduro Race Rim: DT Swiss EX 511 Review
Mountain Bikes and Gear
Tepui Tents Expedition Series Duffel and Tool Case Review
Mountain Bikes and Gear
Hincapie Kessel Bibshort Review
1
Mountain Bikes and Gear
Watch: Guerrilla Gravity Pedalhead 27.5+ Review
Mountain Bikes and Gear
Mavic Crossride Elite MTB Shoes (2016) - A Long Term Review Turned Short
10
Mountain Bikes and Gear
Eleven Fat Bike Test Ride Review: Fast and Fun, Like NASCAR
1
Mountain Bikes and Gear
Five Ten Kestrel Mountain Bike Shoe Review
1
Mountain Bikes and Gear
Guerrilla Gravity Trail Pistol Review
6
Mountain Bikes and Gear
A 100% Waterproof and Fully-Breathable Rain Jacket - Fact or Fiction? The Sugoi RSE Neoshell
7
Brakes
Not All of Shimano's 2016 Deore XT M8000 Brakes Provide the Reliability the Brand Is Known For - A Long Term Review
3
Mountain Bikes and Gear
A Plus Bike with No Minuses: The Ibis Mojo 3
9
Mountain Bikes and Gear
Testing the Updated 2017 Trek Remedy 9.8 - A Review
1
Mountain Bikes and Gear
Showers Pass Refuge Duffel Bag Review
Mountain Bikes and Gear
Watch: 2017 Orbea Loki 27.5+ Test Ride Review
Mountain Bikes and Gear
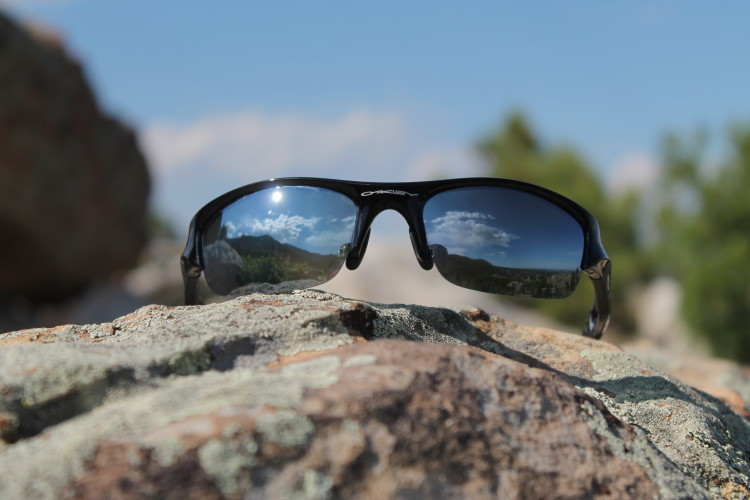
The Revant Elite HC3 Lenses Are Optimized for Specific MTB Environments - A Review
Mountain Bikes and Gear
Watch: Testing the Brand-New Ellsworth Rogue Forty
Mountain Bikes and Gear
Hincapie Fission Bib Knicker Review
Mountain Bikes and Gear
Hincapie Clothing: Fission Long Sleeve Jersey Review
Mountain Bikes and Gear
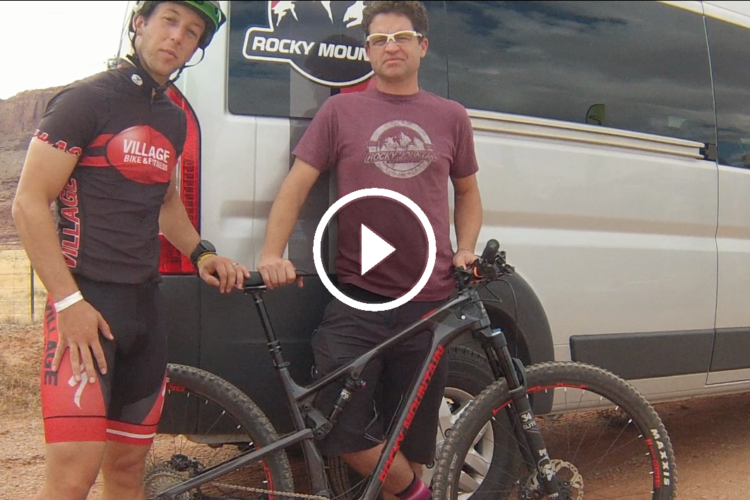
Watch: 2017 Rocky Mountain Element Test Ride Review
Mountain Bikes and Gear
The Thule T2 Turns Pro - A Bike Rack Review
Mountain Bikes and Gear
2017 Cannondale Habit Carbon SE 27.5 Test Ride Review
1
Mountain Bikes and Gear
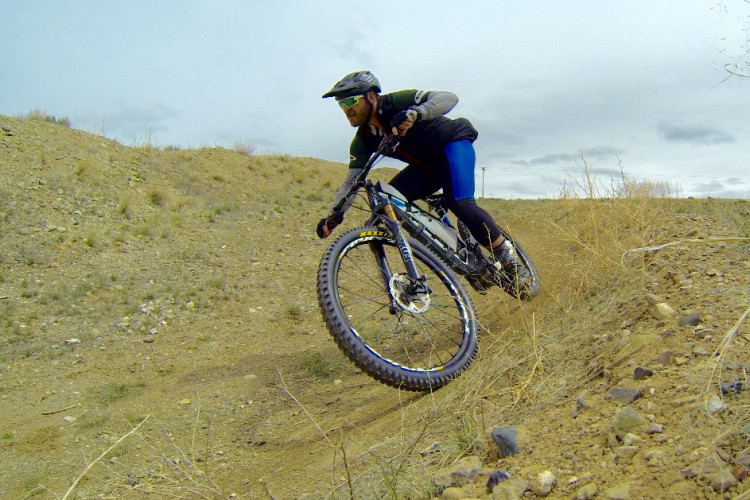
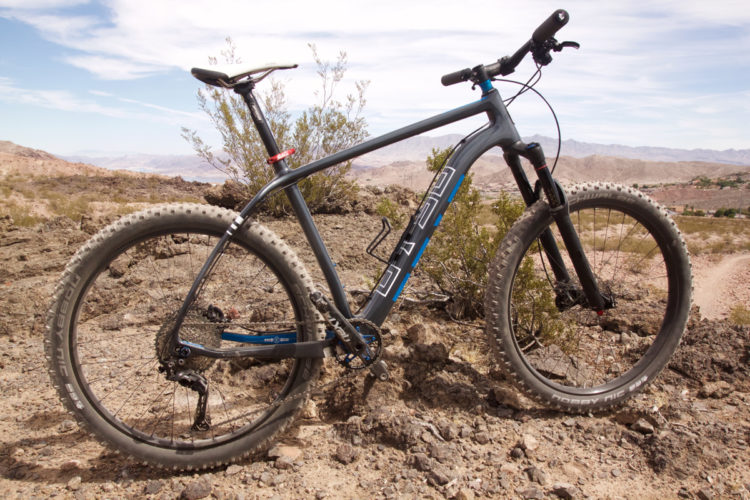
Otso Voytek Test Ride Review
Mountain Bikes and Gear
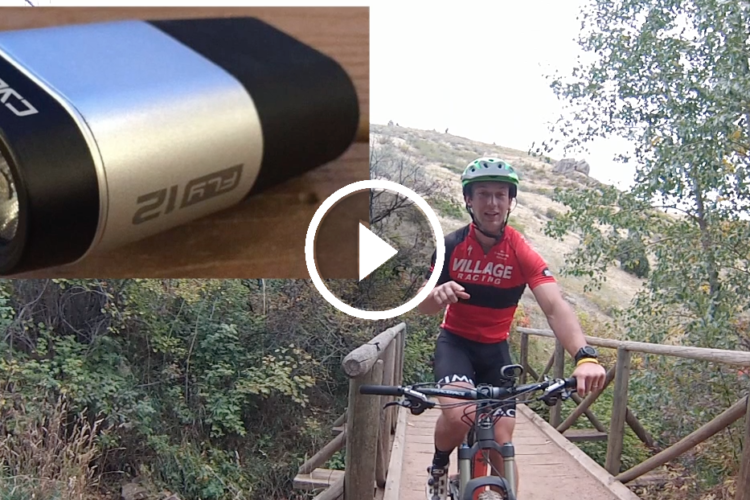
Watch: Cycliq Fly12 1080 Action Cam / 400 Lumen Light Review
Mountain Bikes and Gear
Pivot's 27.5+/29 Switchblade Proves Many Other Brands Wrong - A Test Ride Review
10
Mountain Bikes and Gear
2017 GT Sensor Trail Bike Test Ride Review
«
1
2
3
4
5
6
…
15
»

 1
1