Trails
Reviews
Tips
Community
Deals
Latest
Support
Trails
Find trails
Best bike trails
Destinations
Add a new trail
Reviews
Mountain bike reviews
Components
Tires
Clothing & shoes
Helmets
Accessories
Product news
Community
MTB Clubs
Races & Events
Bike Shops
Tips
Skills
Fitness & Training
Health & Nutrition
Beginners
Repair
Latest Articles
Podcast
Deals
Support Singletracks
Sign in
Create an account
About us
Newsletter signup
Gear
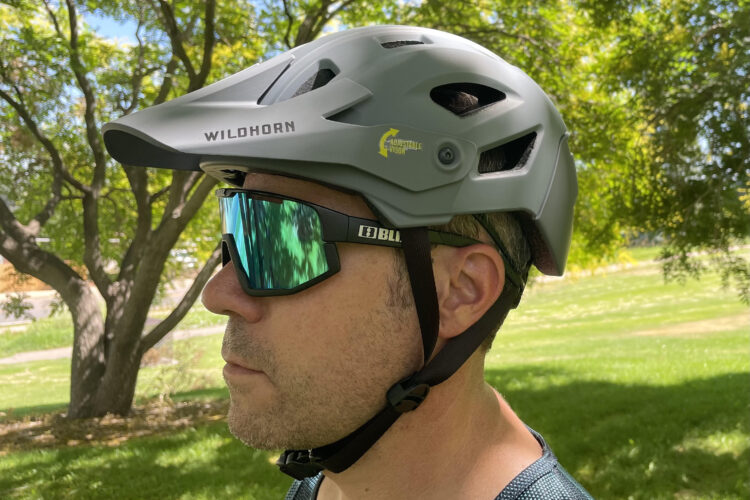
Half Shell Helmets
The Wildhorn Corvair MTB Helmet Offers Style and Function in an Affordable Package [Review]
United States
American Classic Tires are Back with $35 Narrow, Knobby Tires
Wheels
New Reserve 30/SL Carbon Wheels are Made for Trail Riding
Packs
3 Hip-Pack Options From Thule, plus an all new E-bike Battery Backpack
Gear Bags
Roll Like A Pro Photog With the EVOC CP 18L Camera Backpack [Review]
2
MTB Tips
Don't Call it Resolution: 9 Aspects of my Riding Style, Gear, and Mountain Bike Setup That Changed in 2019
6
Culture
2019 Mountain Bike Predictions From the Singletracks Staff
2
Cranksets
Review: Rotor INpower REX 1.1 Crankset Includes Power Meter, Plays Nicely With Oval Chainrings
Mountain Bikes and Gear
The Gladiator Bike GearTrack Pack Makes Bike Storage Simple
7
Culture
New Entry-Level GoPro Hero Camera Costs Just $199
Mountain Bikes and Gear
Ibis Launches New Long-Travel 29er: The Ibis Ripmo
2
Mountain Bikes and Gear
Finish Line Claims New Mountain Bike Tire Sealant Will Never Dry Out
8
Mountain Bikes and Gear
RockShox Releases 2019 Lyrik RC2 Fork and Updates Pike, Super Deluxe Shocks
Cross Country Bikes
The Santa Cruz Blur Is Back! Plus a New Highball 29er
Cross Country Bikes
Brand-New Frame Geo and Build Spec for Rocky Mountain Vertex XC Race Hardtail Mountain Bike
Jackets
Sweet Protection Delirious Rain Jacket Review
1
Community
Sick Bicycles: The Birth of an Unusual Bike Company
1
Mountain Bikes and Gear
When Fat Is Fast: Fatback Corvus Review
1
Cross Country Bikes
Intense Releases New "Sniper" Mountain Bike in Both XC and Trail Configurations
1
Mountain Bikes and Gear
Terrene Tires McFly 27.5+ Review
Flat Pedal Shoes
Pearl Izumi X-Alp Launch Review
Mountain Bikes and Gear
More Drop, Less Length with e*thirteen's 170mm TRS+ Mountain Bike Dropper Post
1
Mountain Bikes and Gear
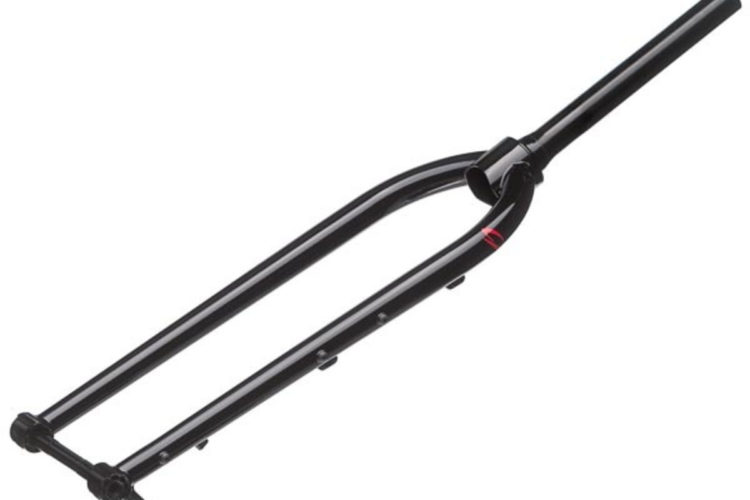
Carry Plenty of Gear and Run Multiple Wheel Sizes with Niner's Revamped Steel Mountain Bike Fork
Community
Ride Bikes, Drink Beer: The Unconventional Birth of REEB Cycles
1
Saddles
New Saddle Brand Introduces Carbon Bike Saddles with Replaceable Covers
Mountain Bikes and Gear
Watch: Carbon Enduro Mountain Bike Throw Down
1
Mountain Bikes and Gear
Bell Drops Two New Mountain Bike Helmets for 2018: Sixer and Super DH
Saddles
$21 Carbon Mountain Bike Saddle Weighs 85g, But Is It Even Worth That Low, Low Price?
2
Jackets
Gore Wear Releases New "SHAKEDRY" Jackets
Mountain Bikes and Gear
Moots Gets Colorful, and Teases New Softail Bike at NAHBS
Repair
How To Install the OneUp Components EDC Tool System
2
Mountain Bikes and Gear
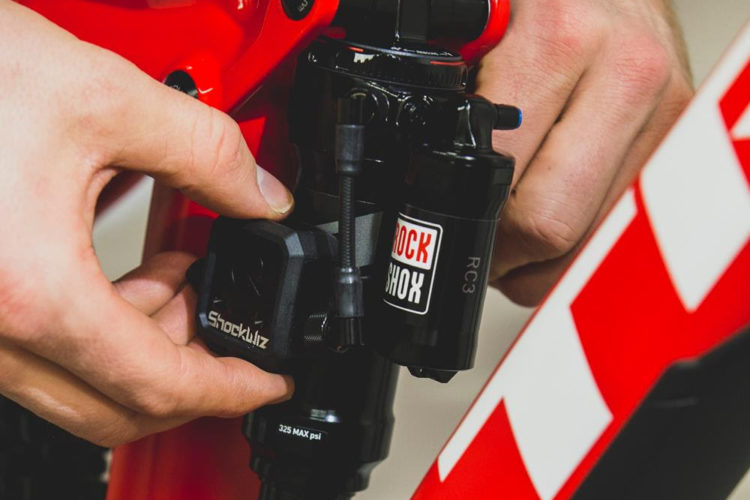
Quarq ShockWiz Drops Price and Adds New Features
Mountain Bikes and Gear
Mondraker Dune Carbon RR Review
Dropper Posts
Fox Transfer Dropper Post Review
6
Clipless Pedal Shoes
Bontrager Rhythm Mountain Bike Shoe Review
Mountain Bikes and Gear
Spank Industries' Green Filler Is the Carbon Killer: Review of the Oozy Trail 760 Vibrocore Bar
5
Mountain Bikes and Gear
9 Lightweight, Inexpensive MTB Survival Items You Probably Don
4
Mountain Bikes and Gear
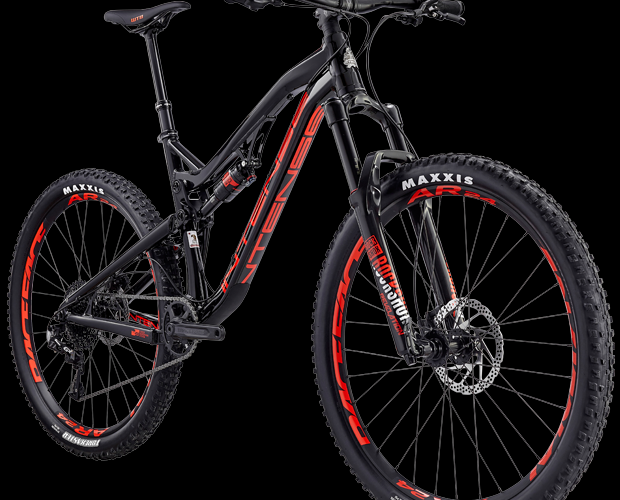
Intense Cycles Hits a Very Affordable Pricepoint by Reintroducing the Alloy Spider
2
Mountain Bikes and Gear
Soggy Shoes Begone: The DryGuy Force Dry DX
Mountain Bikes and Gear
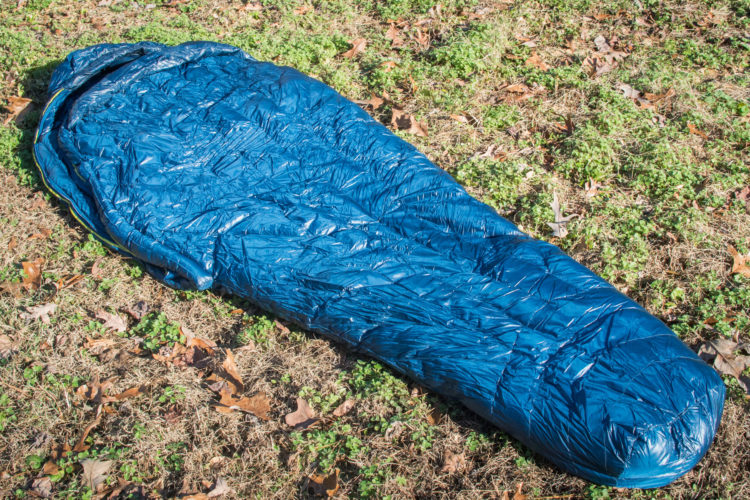
Packing Heat: Big Agnes Flume UL 30
Mountain Bikes and Gear
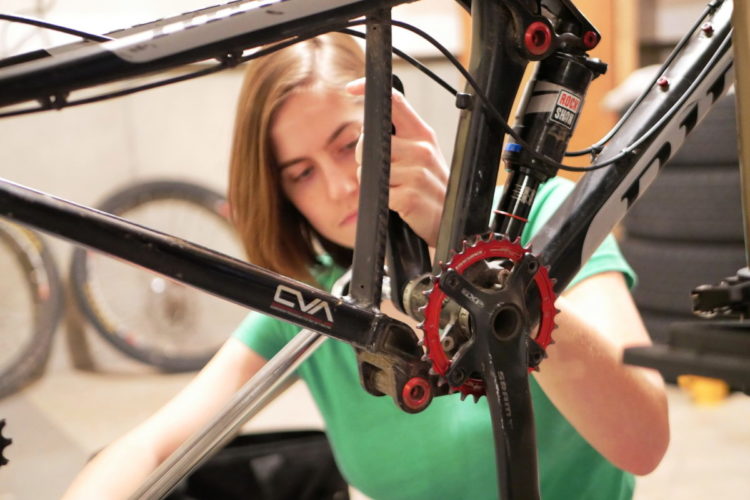
Building Your Mountain Bike Will Be as Much of an Adventure as Riding It
4
Tops & Jerseys
Sweet Protection Badlands Merino Jersey Review
Mountain Bikes and Gear
Stan's NoTubes Expands Carbon Rim Offerings to Crest and Arch
Body Armor
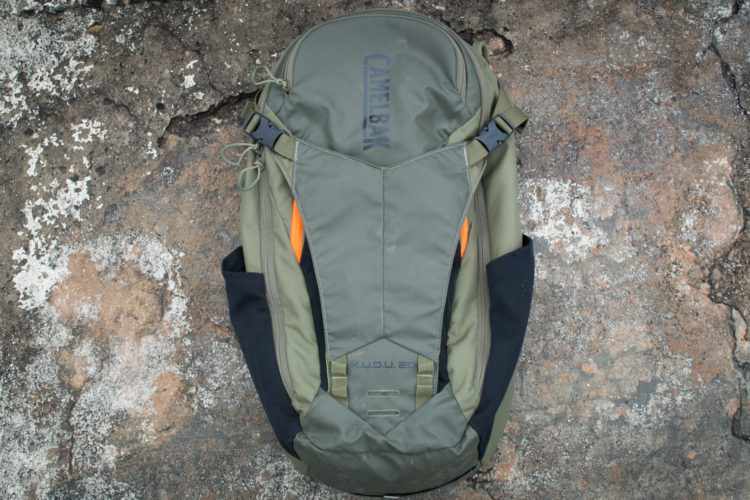
Camelbak K.U.D.U. Hydration Pack Review
Mountain Bikes and Gear
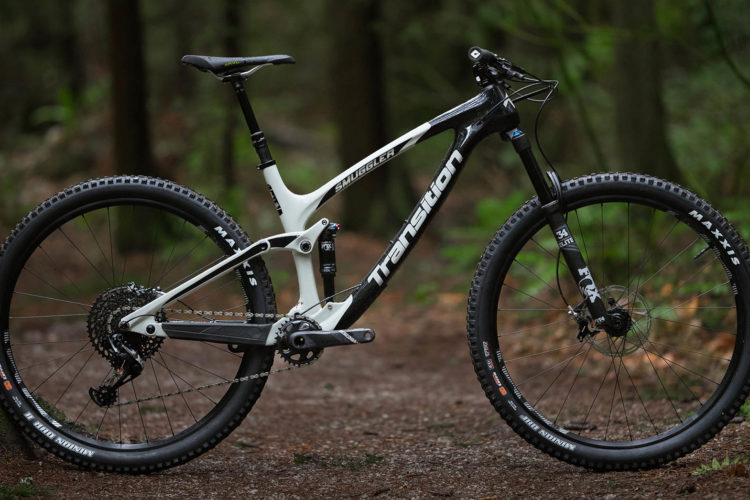
Watch: Transition Adds Carbon Smuggler to Lineup, Drops 2.3lbs
Forks
SR Suntour Auron RC2 29"/27.5+ Fork Review
Mountain Bikes and Gear
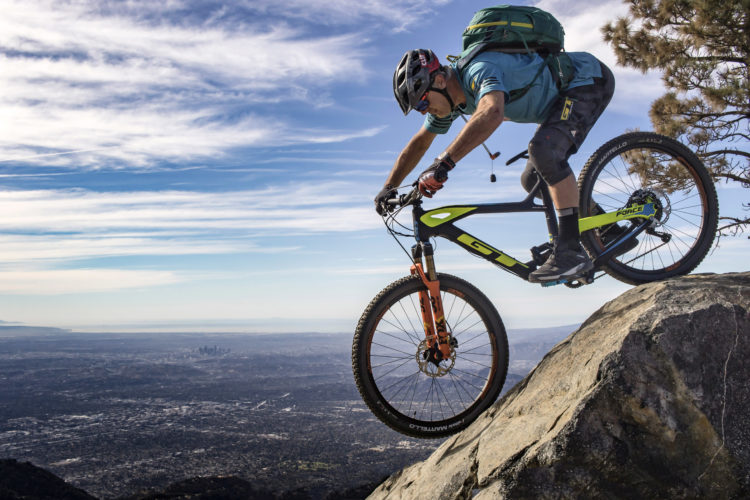
The Cannondale Jekyll Loves to Hustle and Flow - Long Term Review
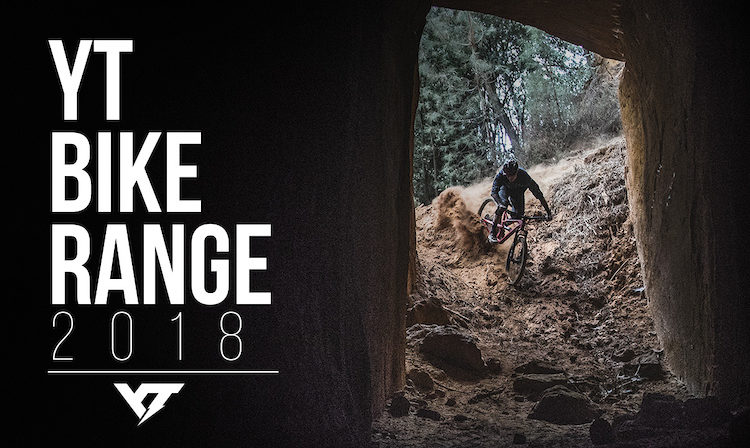
Downhill Bikes
YT Industries Launches New 2018 Bike Range, Drops Prices
5
1
2
3
…
15
»


 2
2