
If you follow professional road cycling you may be familiar with the Spanish component company Rotor, particularly their oval chainrings which have graced many a Pro Tour race bike. However, chainrings are just a small subset of the company’s offerings. Rotor also makes full cranksets for road and mountain bikes, bottom brackets, hubs, power meters, and a super trick hydraulically-actuated drivetrain. Sadly, the UNO drivetrain is available only for our skinny-tired brethren, at least for now. It’s one of Rotor’s mountain bike specific power meter cranksets–the INpower REX 1.1–that I’ve spent the better part of a year bashing on.
Specs
The Rotor REX 1.1 cranks are designed for use with a single-ring drivetrain, but they also offer the REX 2.1 for those running doubles. I opted for the 175mm length crank arms, although they can be had in 170mm and 172.5mm lengths, too. A fat 30mm spindle connects the crank arms while also housing the four strain gauges that measure power. The gauges are powered by a single AA battery which is said to last for up to 300 hours. Seeing as how I’m still on the original battery, I’m inclined to believe that rating. When it’s time to replace the battery all that’s required is a half turn of a little plug on the non-drive side crank arm to access the compartment.

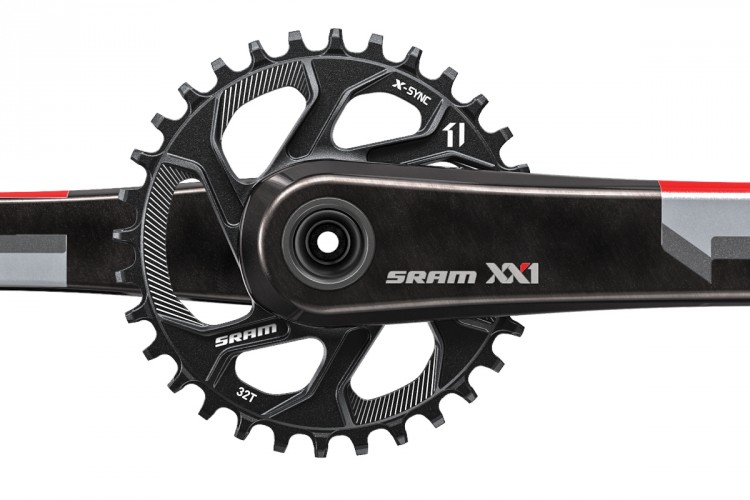
Rotor chose a 7055 aluminum alloy for the crank arms and forms them entirely through CNC machining–no forging here. My set of cranks weigh under 600g without a chainring or battery installed. Considering the axle is packed full of electronics, that’s an impressive weight. For comparison, SRAM’s XX1 Eagle power meter cranks weigh 510g with carbon fiber arms. One way Rotor keeps the weight down is with their “Trinity Drilling System” in which three parallel holes are drilled the full length of each crank arm. The result is a hollow crank arm, more or less.
With all that bling and tech, perhaps you’ve guessed that the Rotor INpower REX 1.1 cranks don’t come cheap. The crank arms are priced at $850, which doesn’t include the chainring or bottom bracket. All in, with a Rotor ring and accompanying BB, the full cost is closer to $1,000-$1,050.
Installation

Pulling the Rotor REX cranks from their packaging revealed a level of attention to detail found only on the nicest of nice components. The craftsmanship easily matches that of Shimano and SRAM, but also goes toe-to-toe with boutique brands like Chris King and Paul Components. The aesthetic is certainly different, so it may not be everyone’s cup of tea, but I for one, really like the look. It’s beefy, purposeful, and industrial, but in a stylized way. The anodized finish is matte and proved to be incredibly durable.
The attention to detail in the crank arms extends to the instructions as well. Installing the cranks themselves was fairly straightforward, similar to setting up a Race Face crank set. However, since I was dealing with a power meter I wanted to be sure I did it by the book. No winging it on this one. The instructions and illustrations eliminated any guesswork. Install the BB, any spacers if needed, attach the crank arms, and use the pre-load collar on the non-drive side arm to remove any play.

I used the cranks on a couple different bikes. One bike had a press fit bottom bracket for which I used Rotor’s steel BB. The other bike had a threaded 30mm BB from Hope. I would highly recommend either BB as both have excellent bearings. Using a PF92 BB with a 30mm spindle usually presents a pretty major issue: the bearings end up being very thin since they are constrained by the axle and the BB shell. Rotor worked around this problem by using two bearings per side, butted up against one another. The result is a BB that lasted much longer than other PF92 BBs I’ve tired.
Testing the Rotor INpower REX 1.1 Cranks

Once I had the cranks mounted, it was simply a matter of connecting them to my Garmin head unit via ANT+. Depending on how familiar you are with your Garmin menus, this step can take some time. Any ANT+ compatible head unit should work with the REX cranks though. The good news is it’s only necessary to add the cranks once, and from there on the head unit should recognize the power meter and will pair up after a couple pedal strokes. On the whole, I found the connection between my Garmin and the REX cranks to be reliable and trouble-free. It’s a good idea to periodically calibrate the cranks with the head unit, especially when swapping pedals, chainring, or chain.
Largely, it’s up to the rider to choose what info to display on the head unit. I opted to keep it fairly simple since my Garmin has limited screen space. Typically, my power data fields consisted of 10-second average power and overall average power. I could always do a more in-depth analysis post ride if I so desired.

One of the coolest things about recording power data on a ride is being able to re-create the ride on a smart trainer later. I could do a route out on the trail and then re-ride it in my living room with my bike attached to the Cycle Ops Hammer.
Another unique feature of the Rotor cranks is the oval chainring, or Q-Ring as they call them. Oval rings are nothing new at this point, but it was the first time I had used one for an extended period. Being skeptical of the oval design, I actually requested a round ring as well in case I didn’t get along with the oval one. By the end of the first ride, I was won over by the oval ring. It certainly felt a bit odd at first, but the sensation went away surprisingly fast. I like how the oval ring seems to smooth out my pedal stroke and keeps my legs spinning at an ideal cadence. If I ever felt like my pedaling was getting lumpy, that was my cue that I wasn’t in the correct gear.
[see_also id=’180277′]
Apart from being oval, the Rotor Q-Rings are clock-able, meaning their position on the crank spider is adjustable. Rotor’s road rings have 5 different positions, but their mountain rings have 3. The company recommends starting in position 3 which is what I did and where I ended up leaving it. Rotor offers a software program (free once you register your power meter) that will analyze your pedal stroke and tell you your Optimum Chainring Position, or OCP as they call it.
Finish Line
The Rotor INpower REX 1.1 crankset lived a hard life on my hardtail. No crank gets it easy, but the REX saw a handful of bikepacking trips (including the nearly 300 mile Cohutta Cat) in addition to endurance races and long backcountry rides. The power meter portion of the cranks worked flawlessly no matter how many creeks and rainstorms I rode through.
Over a thousand bucks is a shit ton of money to spend on a set of cranks, but it’s also par for the course in the world of power meters. The good news is Rotor makes plenty of other non-power meter cranks including a standard version of the REX 1.1 which retails for $350. The enduro-esque Hawk cranksets come in even less at around $270. If you’re looking to spruce up your ride with a set of cranks that’s outside the mainstream, Rotor won’t disappoint.
Thanks for Rotor for providing the INpower REX 1.1 for review.


0 Comments