Trails
Reviews
Tips
Community
Deals
Latest
Support
Trails
Find trails
Best bike trails
Destinations
Add a new trail
Reviews
Mountain bike reviews
Components
Tires
Clothing & shoes
Helmets
Accessories
Product news
Community
MTB Clubs
Races & Events
Bike Shops
Tips
Skills
Fitness & Training
Health & Nutrition
Beginners
Repair
Latest Articles
Podcast
Deals
Support Singletracks
Sign in
Create an account
About us
Newsletter signup
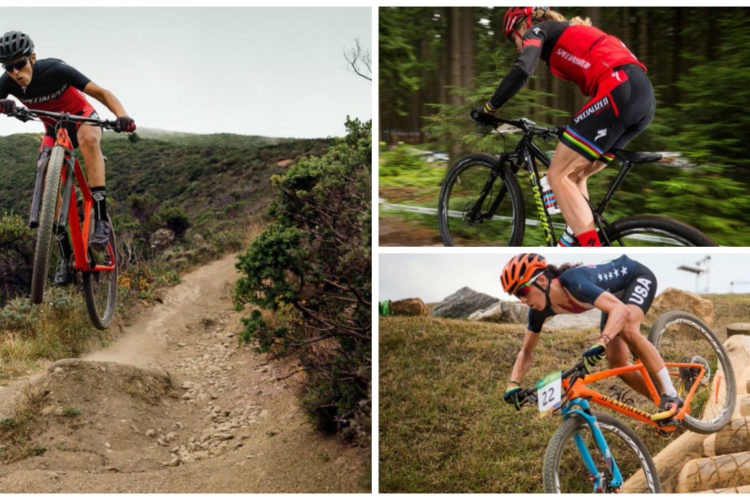
Xc
Clothing
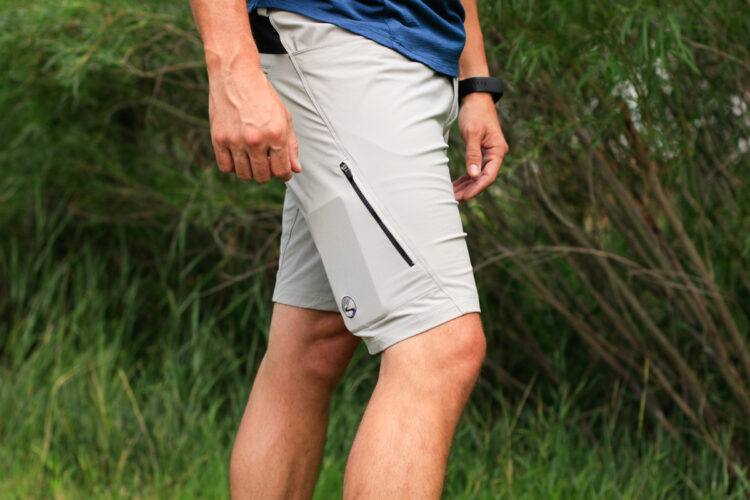
Move Over Lycra: Showers Pass XC and Gravel Gear [Review]
Mountain Bikes and Gear
Bike Fitting Tips with 5X US Collegiate National Champ Hannah Finchamp
1
Italy
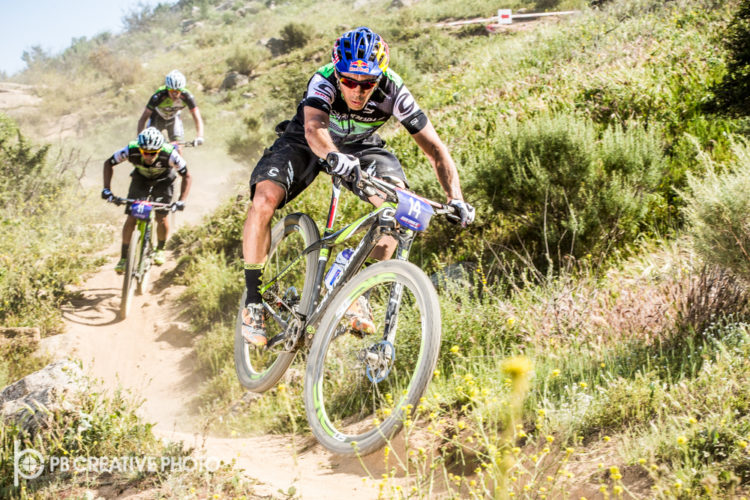
He Beat Cancer and Raced the Olympics in the Same Season: Andrea Tiberi Knows Perseverance [Interview & Bike Check]
Italy
Mountain Bike Olympian Marco Fontana Keeps it Fresh, Now With a Packed eMTB Racing Calendar
Mountain Bike Podcast
Kate Courtney on Training, COVID19, New Bike Sponsor, and Inspiring Young Mountain Bikers [Podcast #243]
Culture
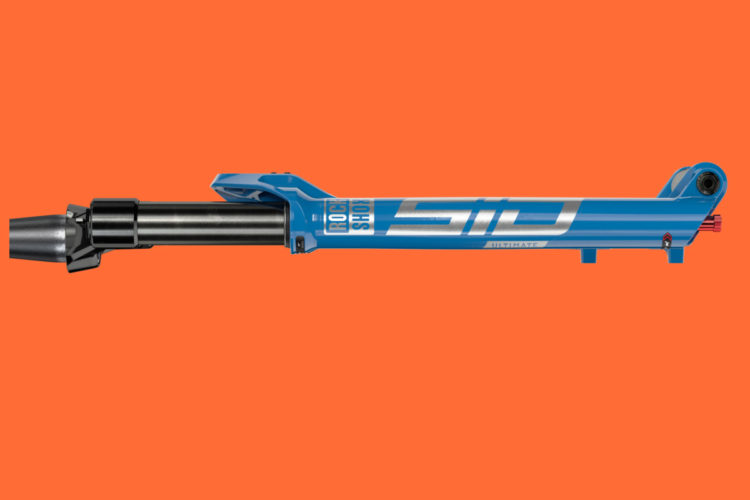
The Latest RockShox SID Fork Comes in Race or Trail Versions, adds a Lightweight Shock
Community
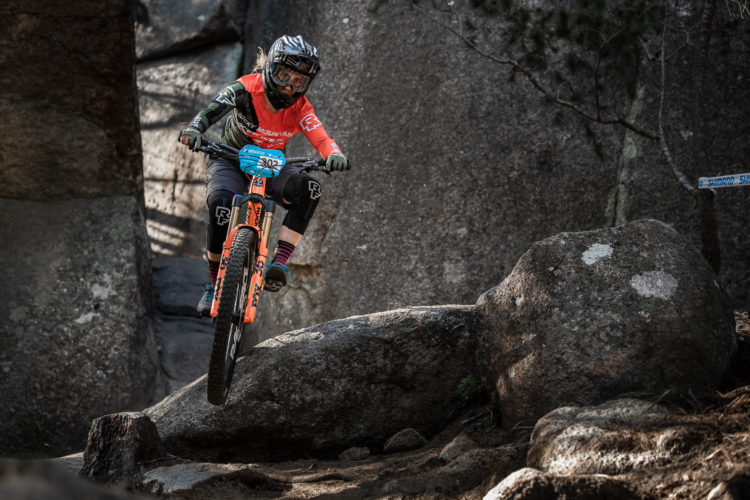
Andréane Lanthier Nadeau, EWS Pro and Rocky Mountain Athlete, on the Transition from XC to Enduro
MTB Tips
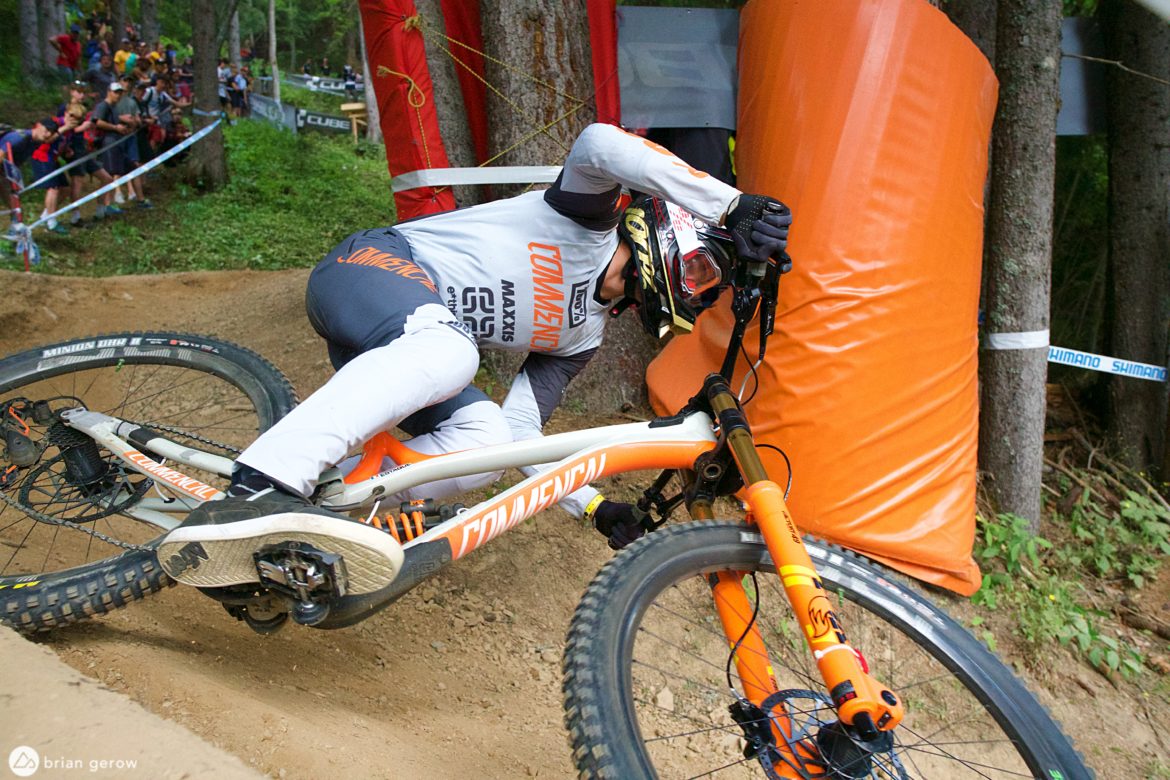
Watching Pro Mountain Bike Races Can Improve Your Own Trail Experience
5
MTB Tips
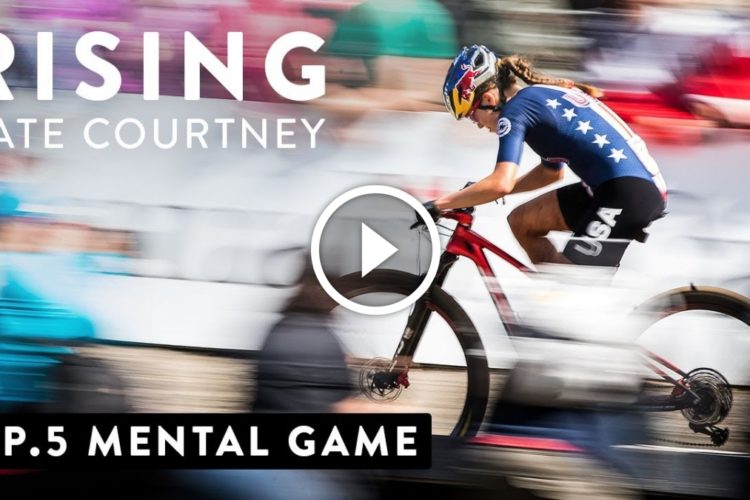
Watch: The Mental Game with Kate Courtney [Rising Series]
Culture
What Type of Bike do You NOT Need in Your Stable?
7
Culture
The Rose Thrill Hill is the Latest in Aggressive XC Mountain Bikes
Culture
Pivot LES SL Cross-Country Hardtail Mountain Bike Debuts with Accolades
Half Shell Helmets
The Specialized Propero III and S-Works Prevail II Helmets Offer ANGi Crash Sensors, MIPs Liners [Review]
Culture
The New Bianchi Methanol CV FS Mountain Bike Rips in With XC and Trail Builds
Community
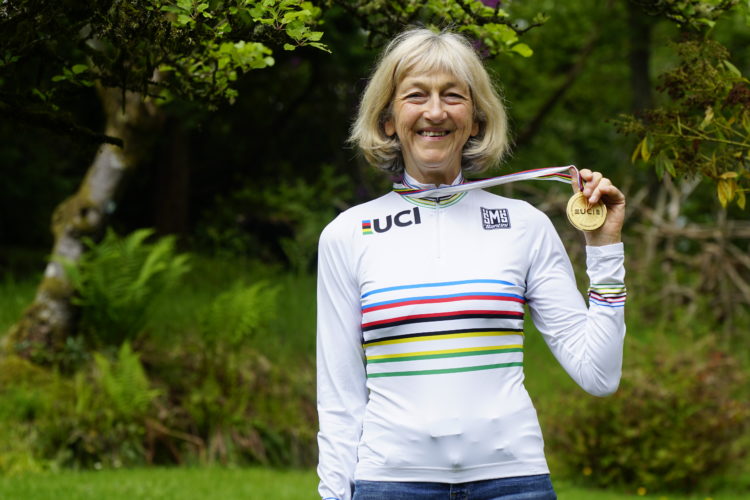
Gill Barnes Won the Master's 60+ XC World Championships in 2017, and Her Stoke Isn't Letting Up Any Time Soon
Cross Country Bikes
The Winningest World Cup XC Mountain Bikes Over the Past 3 Seasons
3
Mountain Bikes and Gear
Ibis Launches New DV9 29er Cross Country/Downcountry Hardtail Mountain Bike
Cockpit
XC Bike Buyers Guide: How to Choose the Best Cross-Country MTB
Sponsored
New MTB Fest in Fraser, Colorado Will Have Races, Camping, and Music || July 27-29
Cross Country Bikes
Canyon Updates Their XC Bike, The Lux
Cross Country Bikes
Yeti Introduces the SB100 Cross Country Mountain Bike
1
Cross Country Bikes
The Santa Cruz Blur Is Back! Plus a New Highball 29er
Community
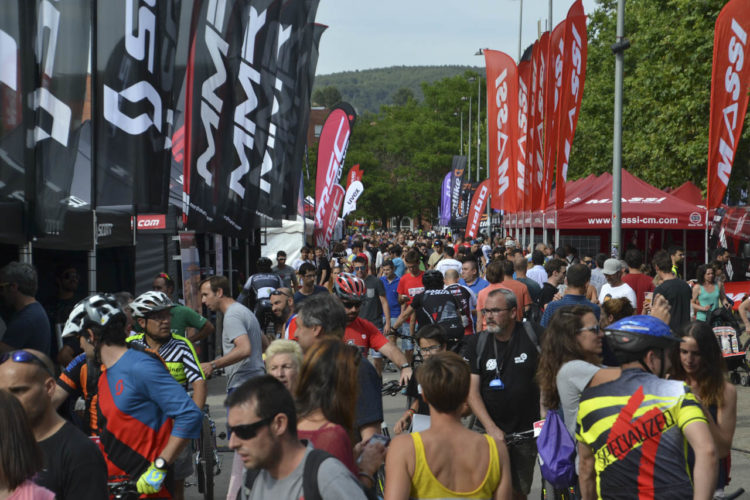
Sea Otter Europe Will Feature 300 Brands and Over 20 Races in 2018
Cross Country Bikes
Brand-New Frame Geo and Build Spec for Rocky Mountain Vertex XC Race Hardtail Mountain Bike
Cross Country Bikes
The Most Expensive XC Mountain Bike You Can Build
6
Half Shell Helmets
POC Tectal Race Helmet Review
Mountain Bike Podcast
These Are the Mountain Bikes You Should Buy [Podcast #133]
8
Mountain Bikes and Gear
Quick Spin Review: 2018 KHS Team 29 Carbon Frame Can Run 29, 29+ Tires
Mountain Bikes and Gear
Stan's NoTubes Introduces 1,287g Carbon 29er Wheelset, Adds Wider Rims to MK3 Line
Cross Country Bikes
Niner Brings Back the Affordable Aluminum Air 9 Hardtail
1
Mountain Bikes and Gear
All New Specialized Epic FSR Goes Single Pivot, Frame Drops More Than a Pound
3
Mountain Bikes and Gear
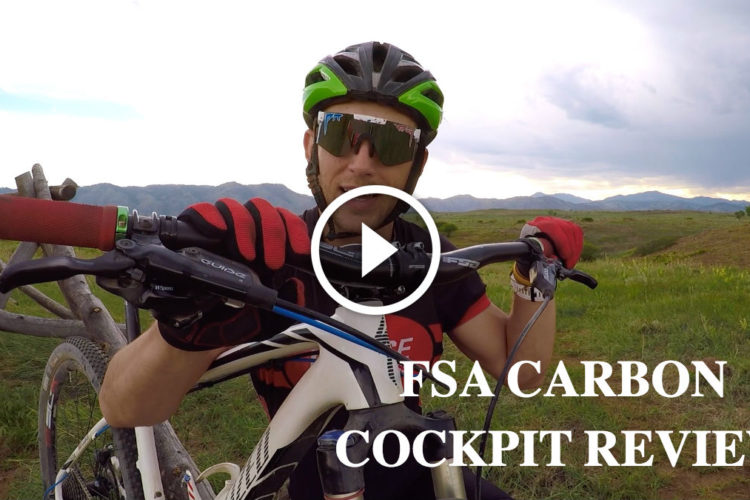
Watch: FSA SL-K Carbon Cockpit Review
Culture
Giant Releases All New Anthem 29 XC Race Bike
Cross Country Bikes
Pivot Unveils Their New 27.5 LES Hardtail: "World Cup Performance for Every Size Rider"
Culture
Updated Pivot Mach 4 Carbon Available in Both Trail and XC Models
Mountain Bikes and Gear
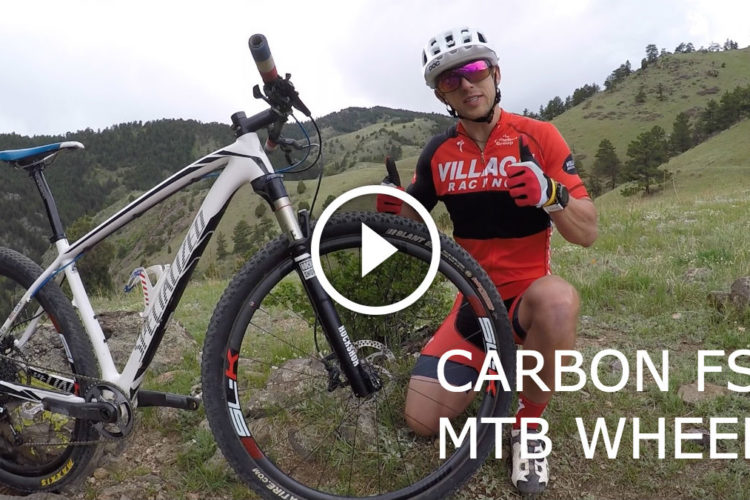
Watch: FSA SL-K Carbon Wheel Review
2
Culture
Vittoria's Fast-Rolling Mud Tire is a Rotating Oxymoron
Culture
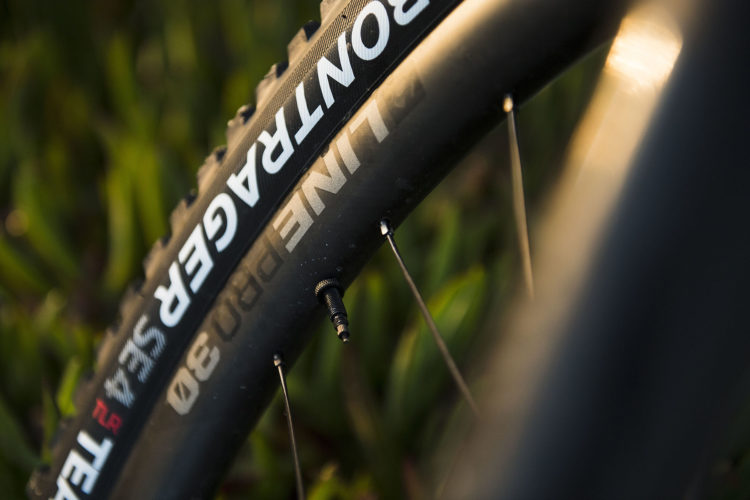
Bontrager Offers $700 Carbon MTB Wheel Set, Adds New Line and Kovee Wheels
1
Mountain Bikes and Gear
The New Louis Garneau Copper T-Flex MTB Shoes, Reviewed
1
Cross Country Bikes
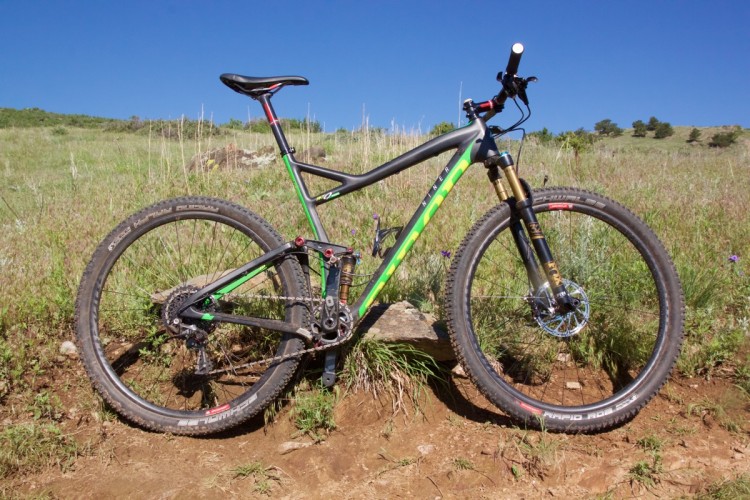
Pivot Mach 4 Carbon Mountain Bike Review
3
Mountain Bikes and Gear
Updated Specialized Epic Hardtail Mountain Bike Is Company's Lightest Frame Ever
1
Mountain Bikes and Gear
Specialized Claims the S-Works 6 XC Shoes Are the Lightest MTB Shoes in the World
Mountain Bikes and Gear
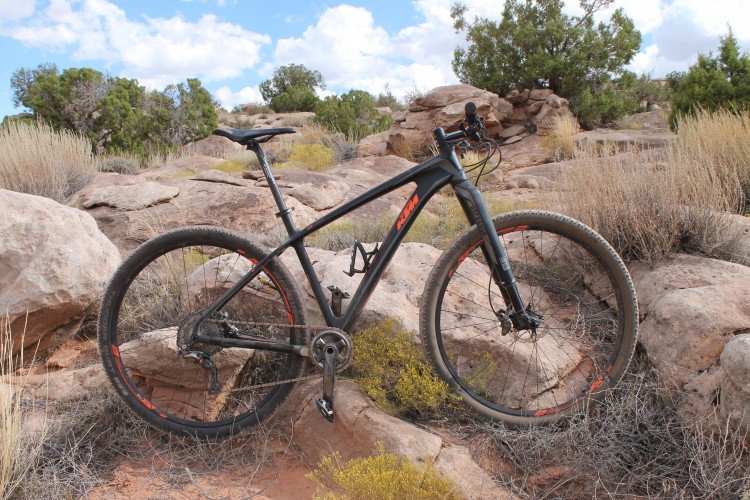
KTM Scarp Prime Test Ride Review
Community
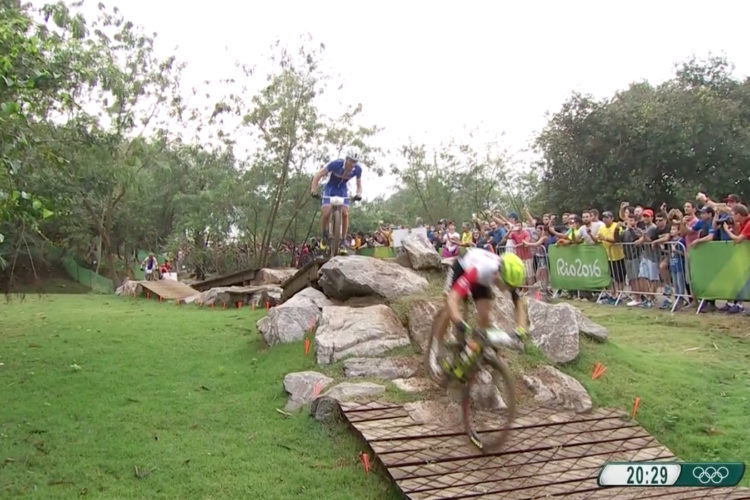
Nino Schurter and Jenny Rissveds Win Gold at the Rio Olympics
2
Culture
Tickets Now on Sale for the 2016 Rio Olympics XC MTB Race
Cross Country Bikes
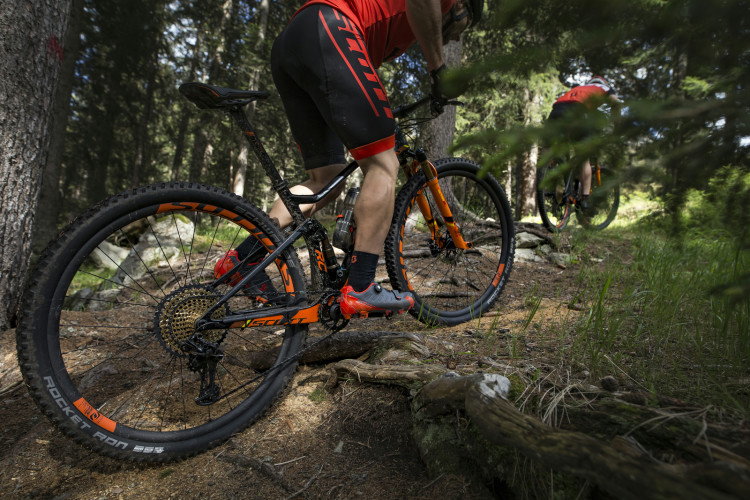
New for 2017: Scott Releases Two of the Lightest XC Mountain Bikes in Existence
Mountain Bikes and Gear
Test Ride Review: KTM Myroon Prestige
5
Mountain Bikes and Gear
First Look: Niner's Brand-New RKT 9 RDO Mountain Bike
1
2
»


 1
1