Trails
Reviews
Tips
Community
Deals
Latest
Support
Trails
Find trails
Best bike trails
Destinations
Add a new trail
Reviews
Mountain bike reviews
Components
Tires
Clothing & shoes
Helmets
Accessories
Product news
Community
MTB Clubs
Races & Events
Bike Shops
Tips
Skills
Fitness & Training
Health & Nutrition
Beginners
Repair
Latest Articles
Podcast
Deals
Support Singletracks
Sign in
Create an account
About us
Newsletter signup
Mountain Bike Tires
Find mountain bike tire reviews, tips, tutorials, and news here.
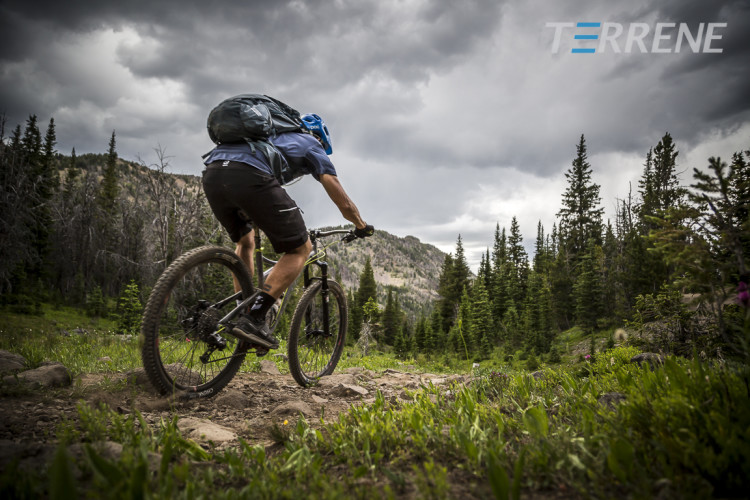
Culture
Rider-Owned Startup, Terrene Tires, Aims to Break Into Competitive Tire Industry
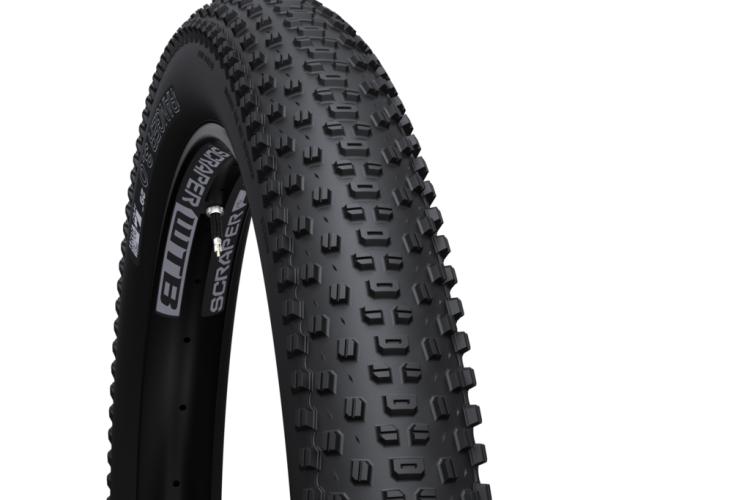
Culture
WTB's First 29+ Tire Offers Trail Performance and Durability
Mountain Bikes and Gear
How to Choose MTB Tires Based on Conditions [Podcast #50]
Mountain Bikes and Gear
Vittoria Has a New Plus Size Tire and Wheelset
MTB Tips
How Does MTB Tire Pressure Affect Power and Speed?
11
Tires
Maxxis Mammoth 4" Fat Bike Tire Review
5
Mountain Bikes and Gear
WTB Riddler 27.5" Tire Review
Mountain Bike Podcast
What's the Deal With Plus Size MTB Tires and Wheels? [Podcast #14]
Mountain Bikes and Gear
Maxxis Adds New Fat Bike, 27.5+, and Trail Tires
2
Mountain Bikes and Gear
WTB Announces New 27.5+ Tire: The Trail Boss 3.0
Mountain Bikes and Gear
Review: WTB Trailblazer 27.5+ Tire
3
Mountain Bikes and Gear
WTB Debuts New 35mm ASYM Rims, Riddler Semi-slick Tire, and SL8 Saddle
Mountain Bikes and Gear
Review: VEE Tire Co. Trax Fatty 27.5+ Mountain Bike Tire
5
Tires
News: Panaracer Announces Fat B Nimble Tires for your Fat Bike
Mountain Bikes and Gear
Review: Mavic Crossmax XL WTS 27.5 Wheels and Crossmax Quest 27.5 Tires
4
Mountain Bikes and Gear
Review: 45NRTH 26x4.0 Vanhelga Fat Bike Tires
3
Mountain Bikes and Gear
4 Tips for Converting Your Fat Bike Tires to Tubeless
2
Mountain Bikes and Gear
27.5+ Tires: These Are for Your 29er
8
Tires
New Front and Rear-Specific Fat Bike Tires from 45NRTH
Mountain Bikes and Gear
Review: Continental Mountain King Tires: Black Chili Protection Series
15
Mountain Bikes and Gear
Schwalbe Procore Dual-Chambered MTB Tire and Updated Nobby Nics
1
Mountain Bikes and Gear
10 New Fat Bike Tires at Interbike 2014
Mountain Bikes and Gear
The Latest Mountain Bike Tires from Maxxis: Pace, Tread Lite, Griffin, Chronicle, and Mammoth
Mountain Bikes and Gear
Review: WTB Vigilante 27.5 Tires
1
Tires
Review: Origin8 Devist-8er Ultralight Fat Bike Tire
1
Mountain Bikes and Gear
Review: WTB Breakout 27.5/650b Tires
2
Mountain Bikes and Gear
Review: Kenda Nevegal X Pro 29er Tires
3
Community
New from Maxxis: Shorty DH Tire and the Ardent Race
3
Community
Review: Michelin Wild Grip'R Tires
3
Mountain Bikes and Gear
Review: Michelin Wild Race'r Tires
6
Mountain Bikes and Gear
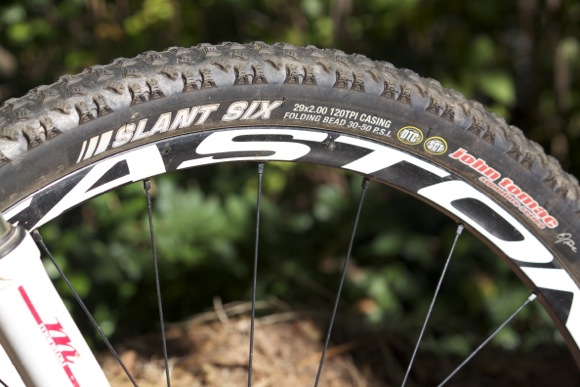
Kenda Slant Six 2.35 UST Tire Review
7
Mountain Bikes and Gear
Kenda Happy Medium MTB Tire Review
6
Mountain Bikes and Gear
Kenda Slant Six MTB Tire Review
7
Mountain Bikes and Gear
Slip Me Some Skin: The Importance of Trying Many Tires
8
Mountain Bikes and Gear
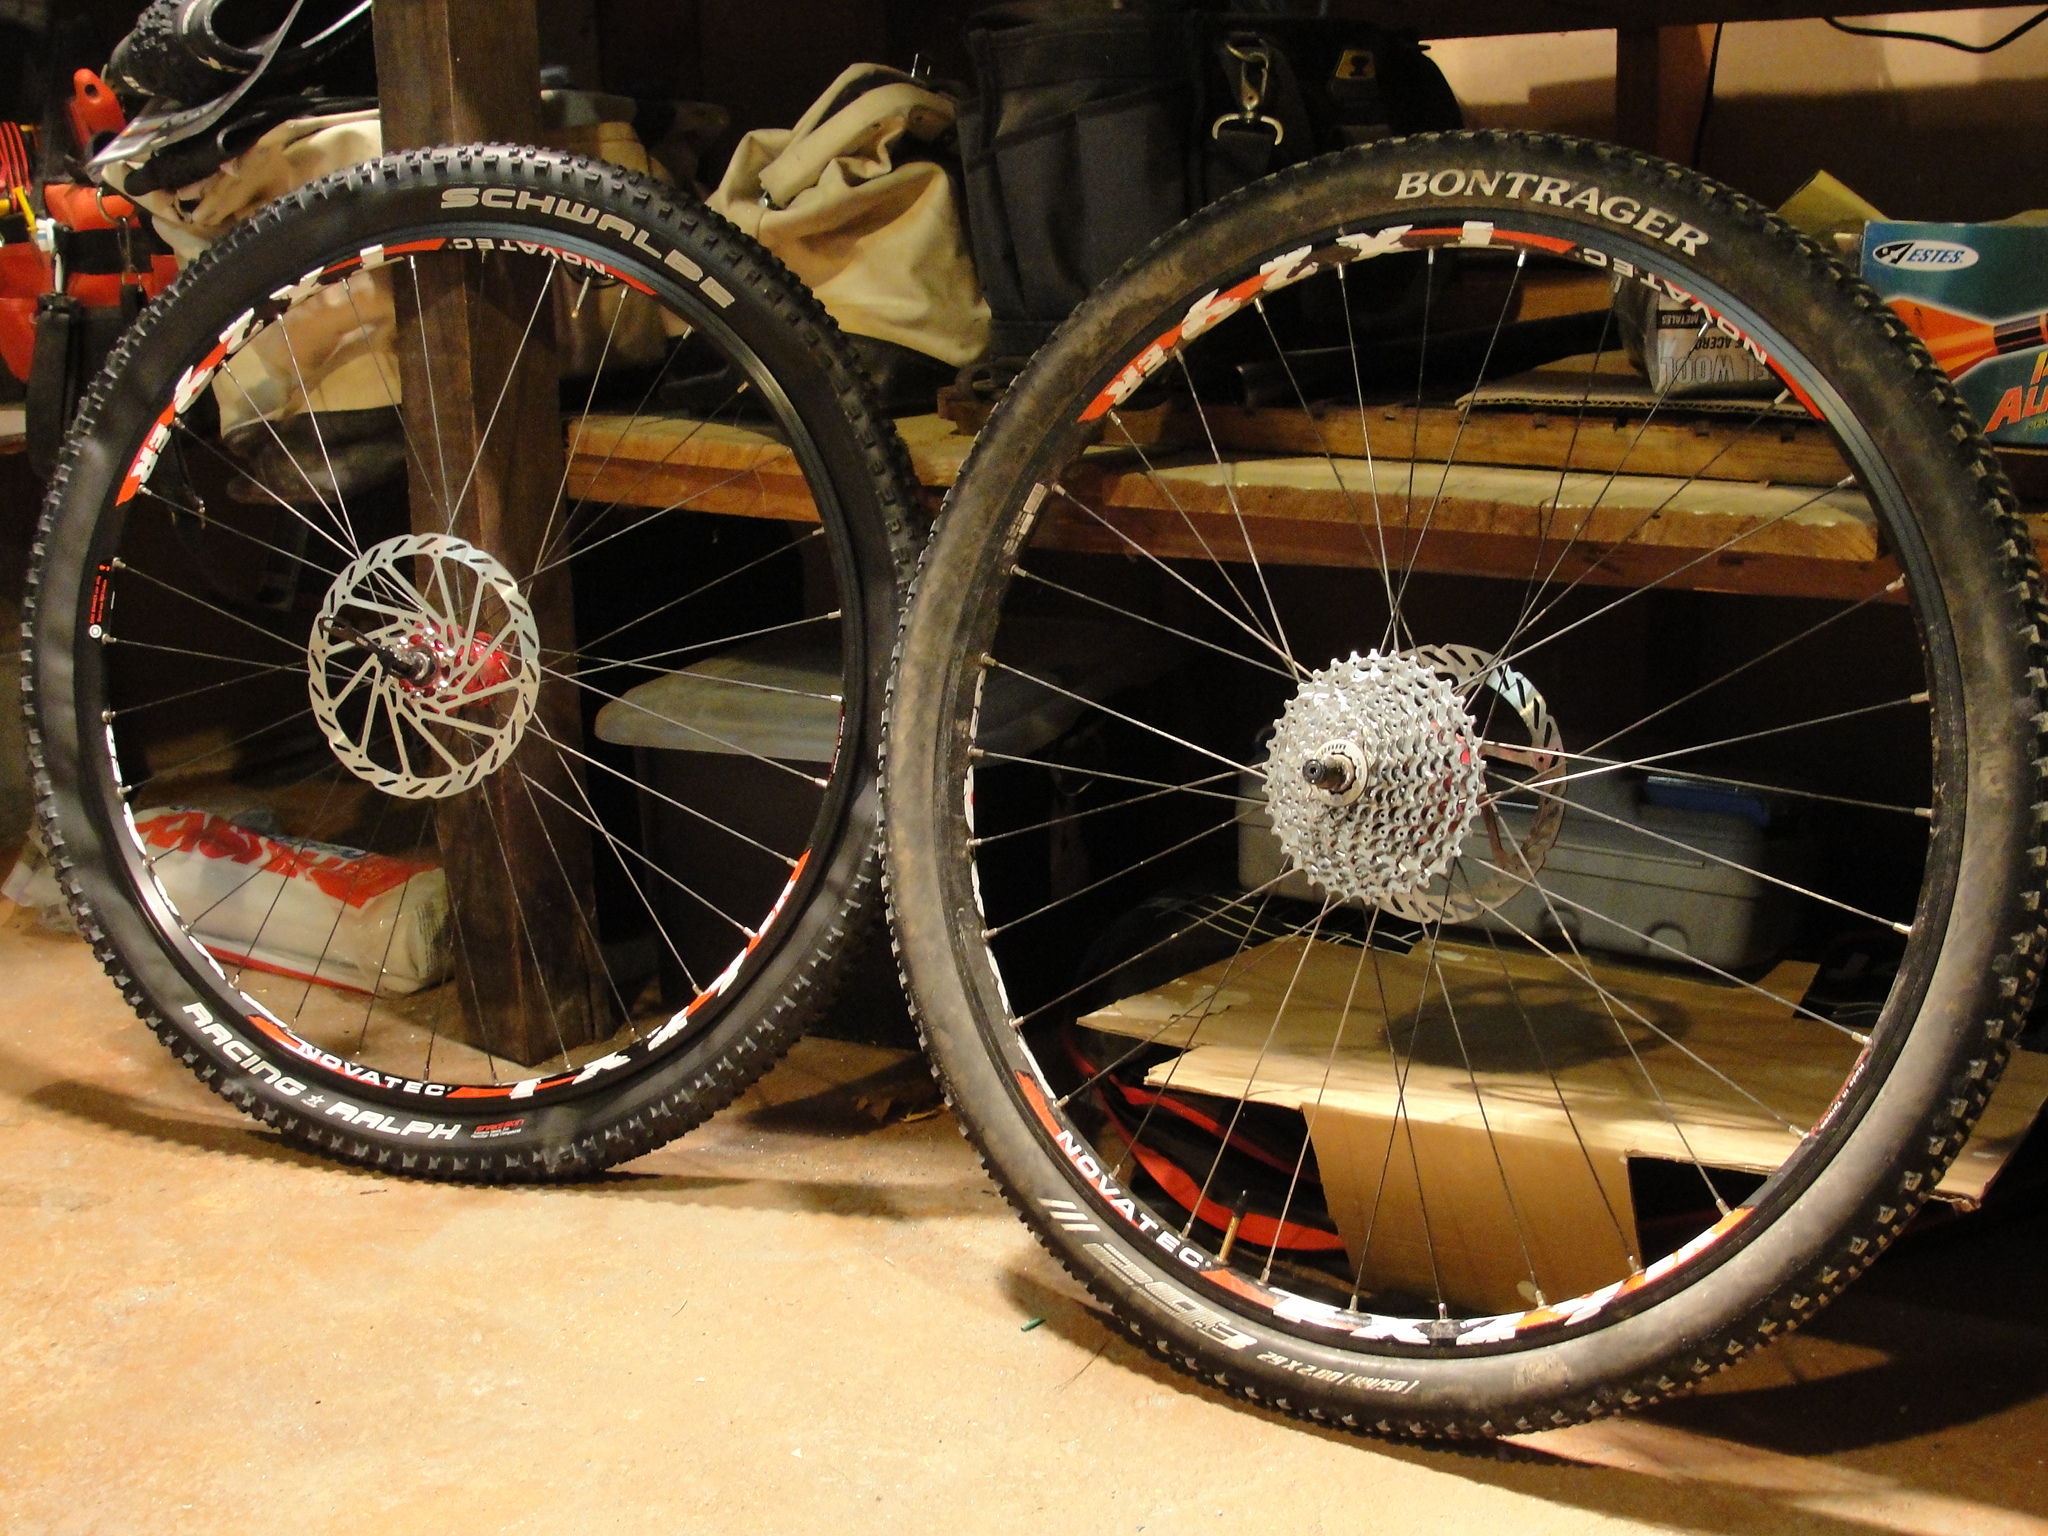
WTB Nano Race 29er 2.1" Tire Review
5
Mountain Bikes and Gear
Interbike MTB Tire Report: Tubeless, 29ers, and Multi-Compound
4
Mountain Bikes and Gear
On Test: Ibex Maroc 29er Carbon Fiber Mountain Bike
12
Mountain Bikes and Gear
On Test: Ibex Asta Pro Mountain Bike
6
Community
ITS Invader 2.5" MTB Tire Review
2
Mountain Bikes and Gear
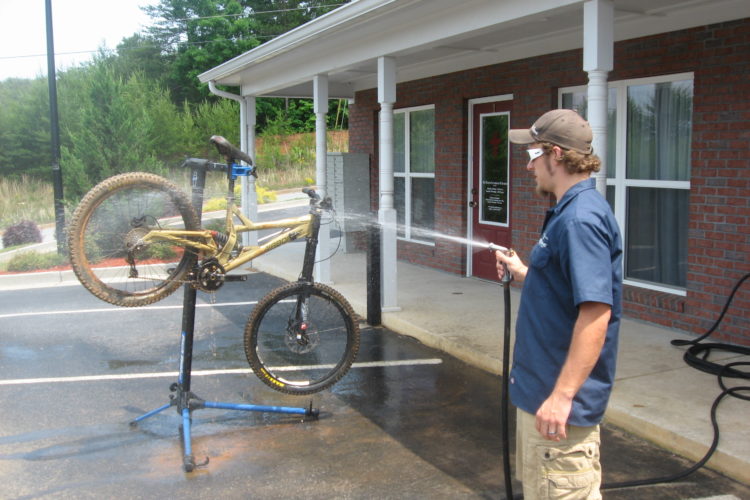
How To Clean Your Mountain Bike in 10 Easy Steps
41
Mountain Bikes and Gear
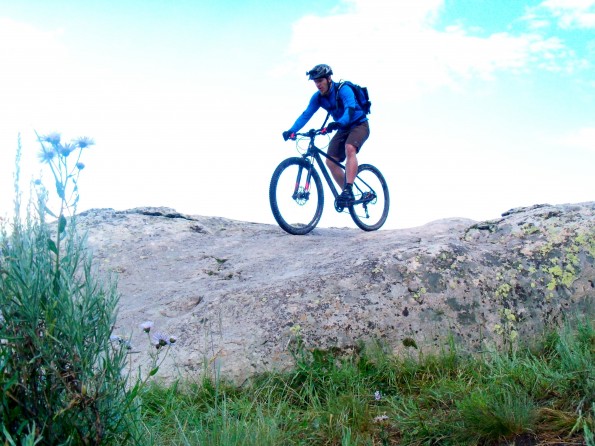
The Best Tires for Mountain Biking the Southwest & Rockies
14
Mountain Bikes and Gear
WTB Bronson 2.3" AM Tire Review
6
Mountain Bikes and Gear
Geax AKA XC Mountain Bike Tire Review
5
Mountain Bikes and Gear
Tubeless Mountain Biking Guide
31
Mountain Bikes and Gear
WTB Dissent 2.5 DH Mountain Bike Tire Review
1
Mountain Bikes and Gear
WTB Wolverine 29er Tire Review
1
Mountain Bikes and Gear
Kenda Excavator MTB Tire Review
2
Community
Sneak Peek: 2010 WTB Products
3
«
1
2
3
»
 11
11