Trails
Reviews
Tips
Community
Deals
Latest
Support
Trails
Find trails
Best bike trails
Destinations
Add a new trail
Reviews
Mountain bike reviews
Components
Tires
Clothing & shoes
Helmets
Accessories
Product news
Community
MTB Clubs
Races & Events
Bike Shops
Tips
Skills
Fitness & Training
Health & Nutrition
Beginners
Repair
Latest Articles
Podcast
Deals
Support Singletracks
Sign in
Create an account
About us
Newsletter signup
Brakes
Mountain Bikes and Gear
Why Mountain Bike Brakes Have the Hardest Job
1
Brakes
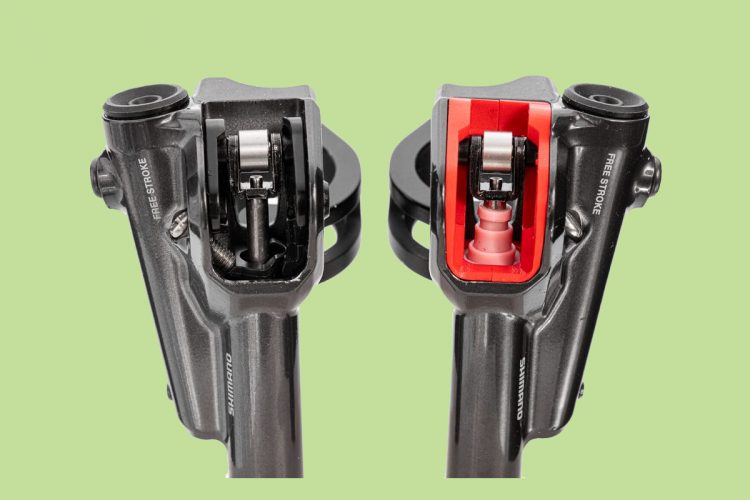
Red Panda Components Says The Lobster Makes New Shimano Brakes Better
Brakes
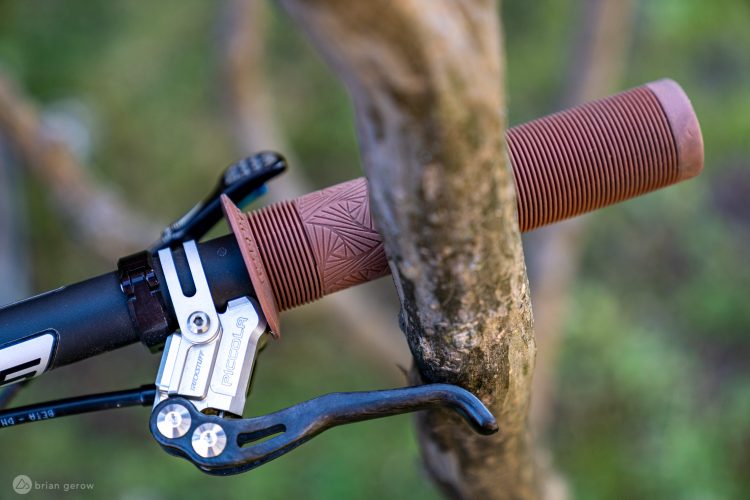
Trickstuff Piccola 2-Piston Brakes: As Lightweight as Heavy Stopping Gets [Review]
4
Brakes
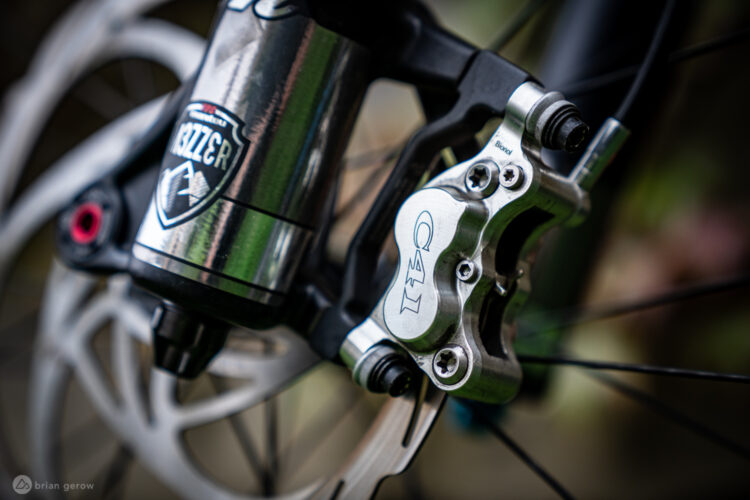
Stop That Bus: A Review of the Trickstuff Direttissima 4-Piston Brakes
3
Brakes
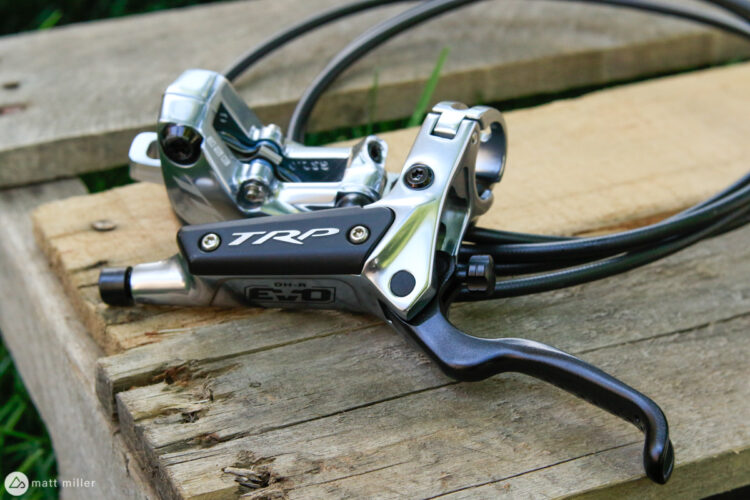
TRP DH-R EVO Brakes: Trickle Down Tech from eMTBs Brings Power and Reliability [Review]
Brakes
Almost Everything you Need to Know About MTB Brakes [Podcast #263]
Brakes
Remi Gauvin Tests Metallic vs. Resin Mountain Bike Brake Pads [Video]
1
Brakes
Formula Cura 4 Gravity Brakes Perform with Pronounced Power and Consistency [Review]
Mountain Bikes and Gear
In for Test: Formula Selva R Mountain Bike Fork and Cura 4 Brakes
3
Brakes
A Summer Spent Pedaling Aboard Shimano XTR 12-Speed Group Set [Review]
7
Brakes
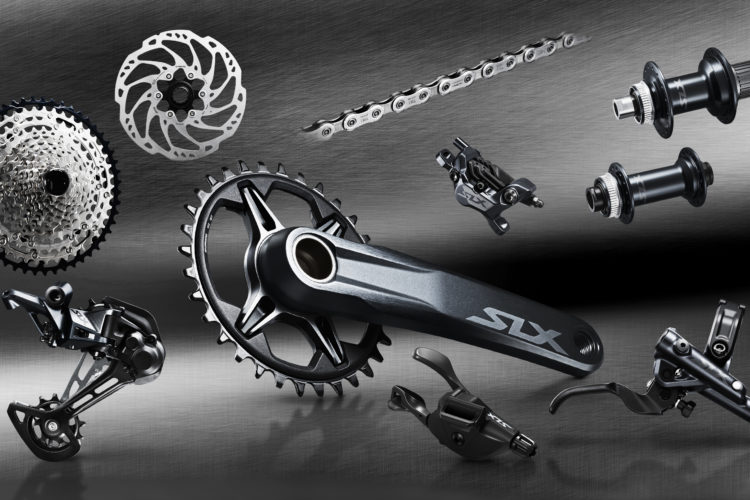
Shimano SLX Offers a More Affordable 12-speed Groupset
Brakes
New Shimano XT Brakes Get Freeza Rotor Tech, Updated Lever Design [First Look]
3
Brakes
Shimano Saint 4-Piston Brakes Mock The Rest [Review]
7
Brakes
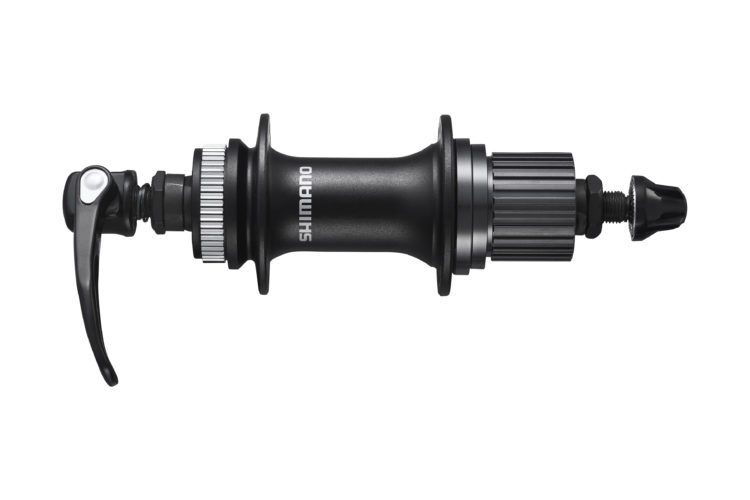
Shimano Announces More Affordable 12-speed Compatible Hubs, 4-Piston Brakes, Rotor
2
Brakes
Review: Shimano MT520 Brakes are an Affordable 4-Piston Option for Enduro
22
Mountain Bikes and Gear
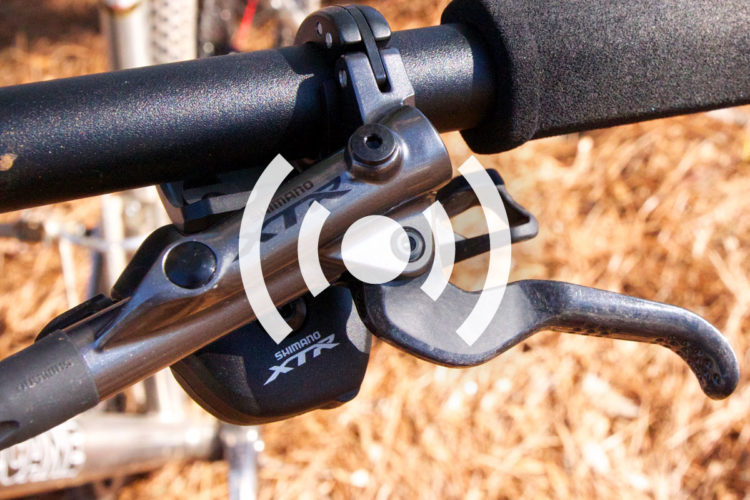
Wireless Dropper Post Remote from Magura Plus 125th Anniversary Brakes
Mountain Bikes and Gear
New Maxima Brake From Trickstuff Claims World's Most Powerful
Mountain Bikes and Gear
Shimano Announces 1x12 drivetrain With New XTR Line
5
Brakes
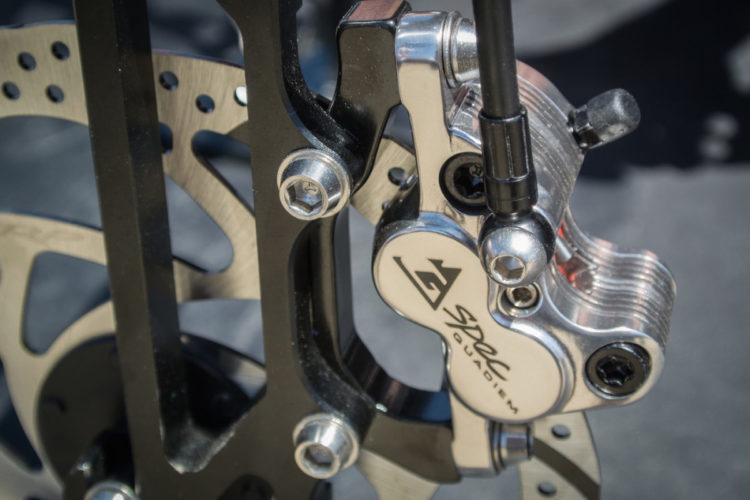
Brakes for the Fastest Man in the World: TRP G-Spec Quadiem Review
Mountain Bikes and Gear
10 Upgrades for Less Than $100 That Will Radically Improve Your Mountain Bike's Performance
20
Mountain Bikes and Gear
Singletracks Readers Think Shimano's XT Brakes Are Better than All Other Brands' Brakes Combined
9
Culture
SRAM Announces New Code Brakes
Brakes
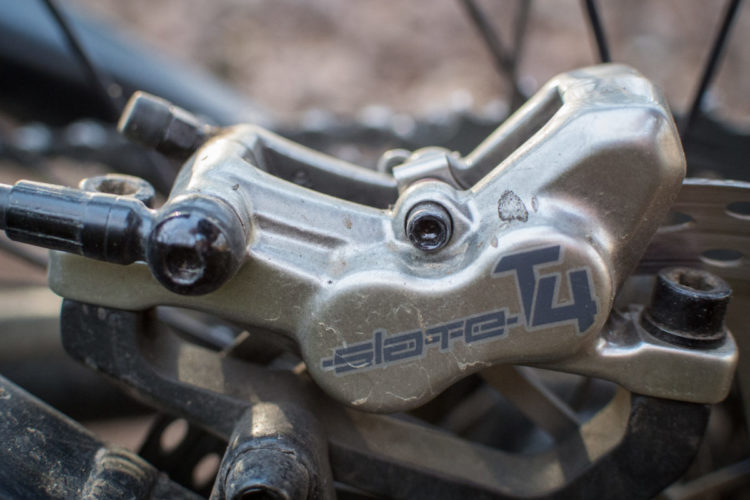
TRP Slate T4 Brakes - Can They Compete with Shimano and SRAM?
Mountain Bike Podcast
Almost Everything You Need to Know About Mountain Bike Brakes [Podcast #85]
1
Brakes
Not All of Shimano's 2016 Deore XT M8000 Brakes Provide the Reliability the Brand Is Known For - A Long Term Review
3
Mountain Bikes and Gear
OutBraker Converts Hydraulic Disc Brakes to Single Lever System
4
Culture
SRAM Announces New Level Brakes
Brakes
Review: SRAM Guide RSC Brakes
Mountain Bikes and Gear
News: SRAM Announces New Guide Ultimate High-Powered Brakes
Mountain Bikes and Gear
How Straight Is Your Brake? The Park Tool DT-5 in Action
Brakes
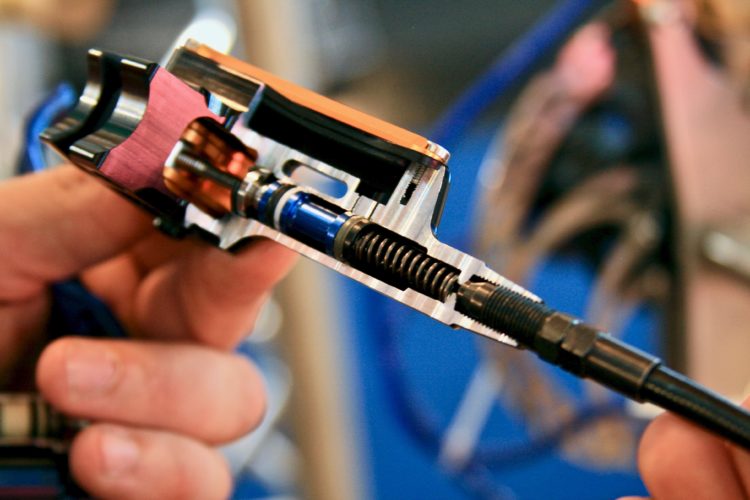
How To Change a Hydraulic Brake Line on Your MTB
4
Mountain Bikes and Gear
Review: FSA Afterburner Hydraulic Disc Brakes
Mountain Bikes and Gear
New Product: SRAM GUIDE Brakes
5
Mountain Bikes and Gear
Review: Shimano SLX IceTech Brakes
4
Mountain Bikes and Gear
Interbike 2013: New Products from Formula
4
Brakes
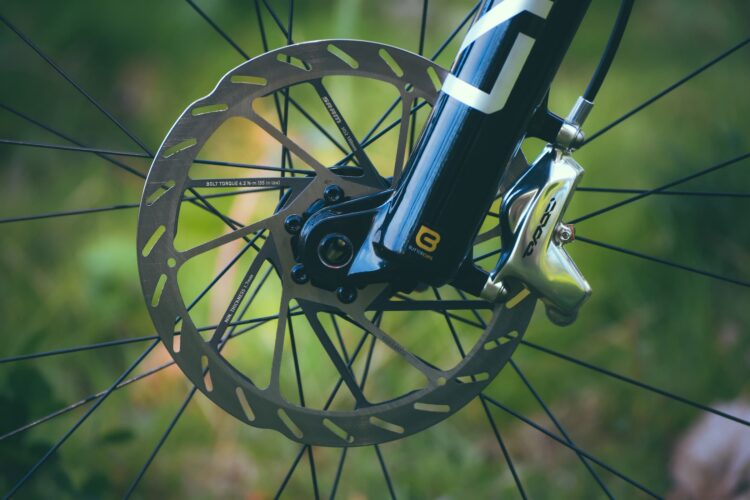
How to Choose the Best Mountain Bike Brakes in 2025: A Buyer's Guide
5
Community
2012 Avid X0 Trail Brakes Review
4
Mountain Bikes and Gear
Avid Elixir 9 Hydraulic Disc Brake Review
4
Mountain Bikes and Gear
2012 SRAM X0 DH Group
8
Mountain Bikes and Gear
Southeast Bike Expo: Lynskey/Shimano XT Demo Report
5
Mountain Bikes and Gear
2012 DH Build: Trimming and Bleeding MTB Brake Cables
4
Mountain Bikes and Gear
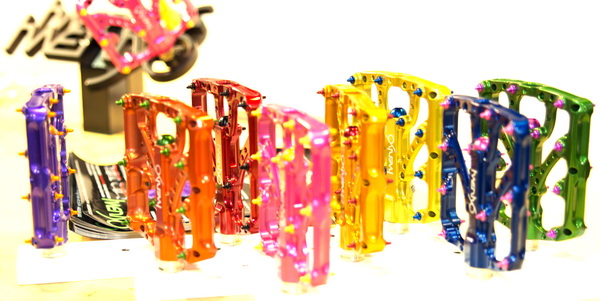
Twenty6 Gear for 2012: Pedals, Stems, and More
6
Culture
New 2012 gear from Interbike
3
Mountain Bikes and Gear
Putting on the Brakes @ Interbike: Avid, Shimano, Formula, and Ashima
1
Brakes
Hayes Prime Hydraulic Disc Brake Review
4
Mountain Bikes and Gear
Dirty Dog MTB Brake Rotor Review
9
Mountain Bikes and Gear
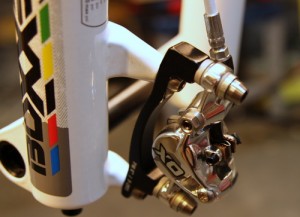
MTB Review: 2011 Avid X0 Hydraulic Disc Brakes
3
Mountain Bikes and Gear
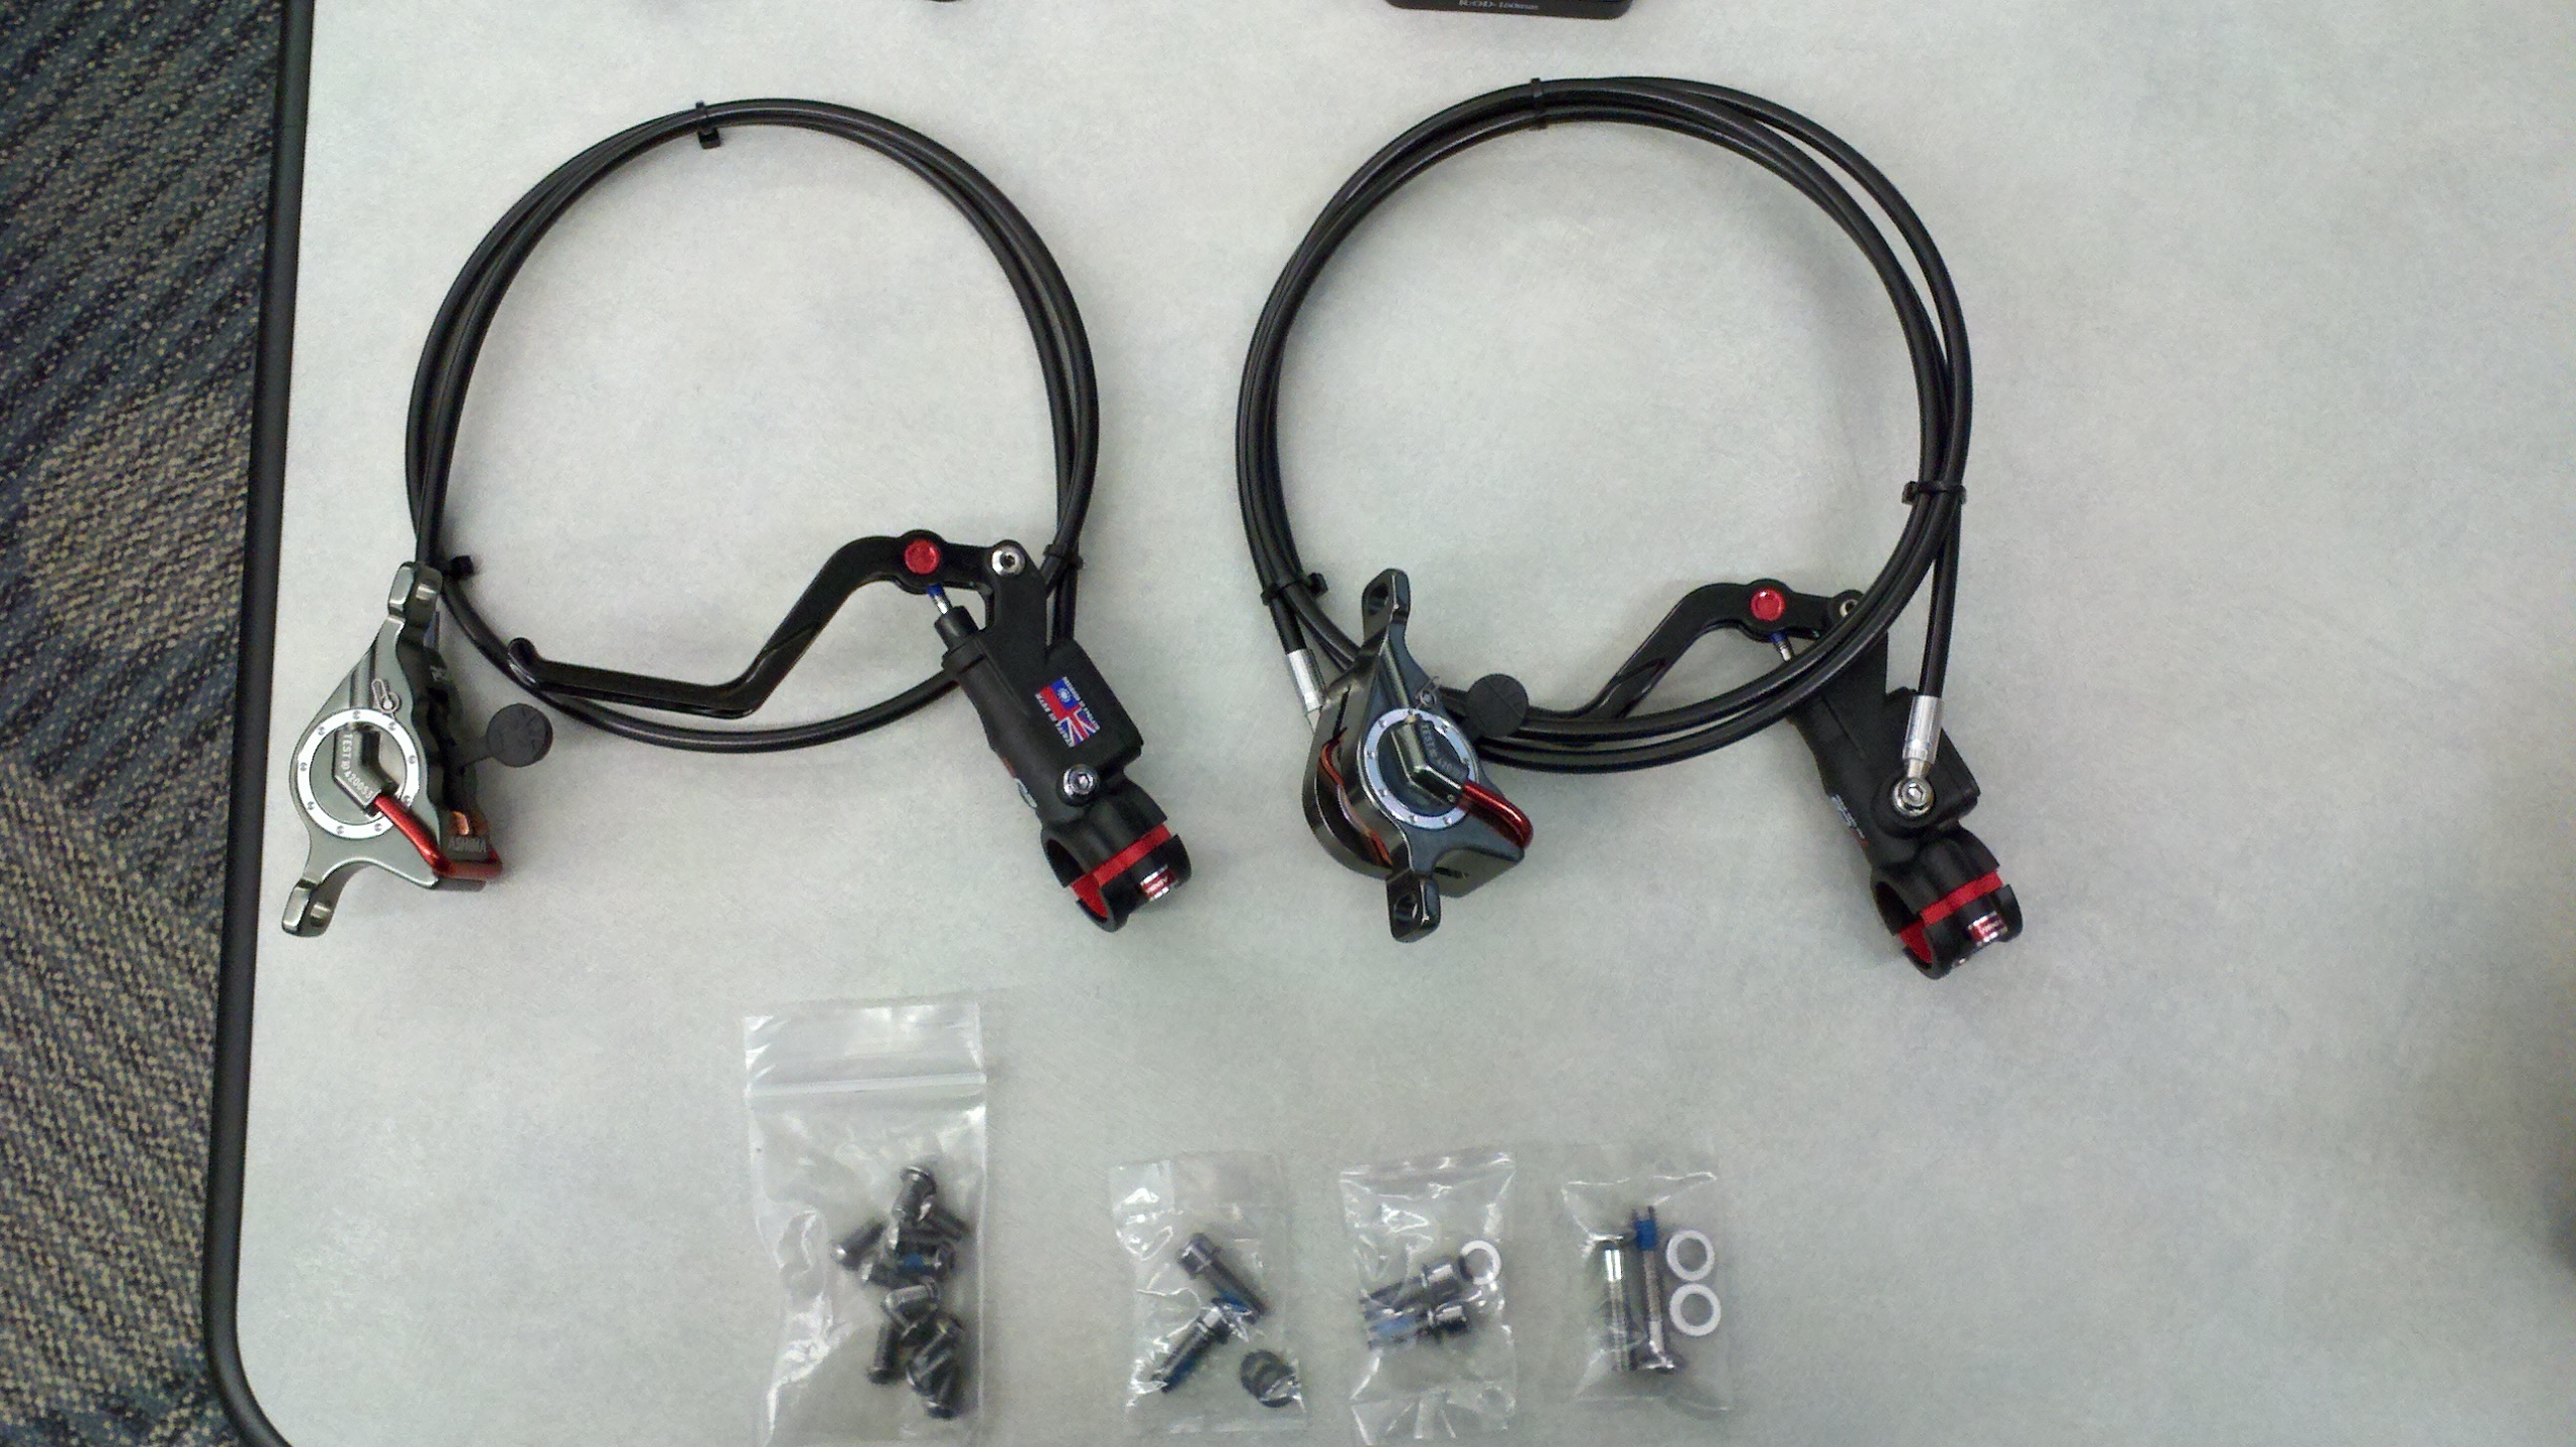
Teaser: New Hydros from Ashima
4
1
2
»
 1
1