Trails
Reviews
Tips
Community
Deals
Latest
Support
Trails
Find trails
Best bike trails
Destinations
Add a new trail
Reviews
Mountain bike reviews
Components
Tires
Clothing & shoes
Helmets
Accessories
Product news
Community
MTB Clubs
Races & Events
Bike Shops
Tips
Skills
Fitness & Training
Health & Nutrition
Beginners
Repair
Latest Articles
Podcast
Deals
Support Singletracks
Sign in
Create an account
About us
Newsletter signup
Diy
Tires All
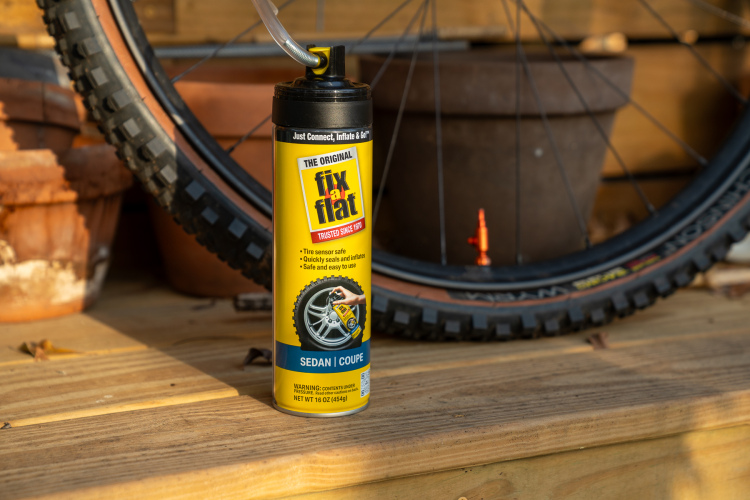
To my surprise, Fix-a-Flat works for bike tires too
7
Community
How I Built My Own DIY Overland Camper Trailer for MTB Trips
18
Mountain Bikes and Gear
The Home Bike Mechanic is All of Us: An Account of Mechanical Mastery and Mishaps
14
Wheels
Why Gorilla Tape Isn't Ideal and Other MTB Tubeless Taping Tips with Drew Esherick From Stans NoTubes
17
Tools
7 Mountain Bike Tools That Pay for Themselves
9
Tools
Starter MTB Repair Kit: The Tools to Add, and the Tools to Chuck
9
Mountain bikes
Should I Mullet My Mountain Bike?
6
Mountain Bikes and Gear
Tidy Spiders: Tips to Manage the Web of Cable and Hose at the Helm of Your Bike
4
Mountain Bikes and Gear
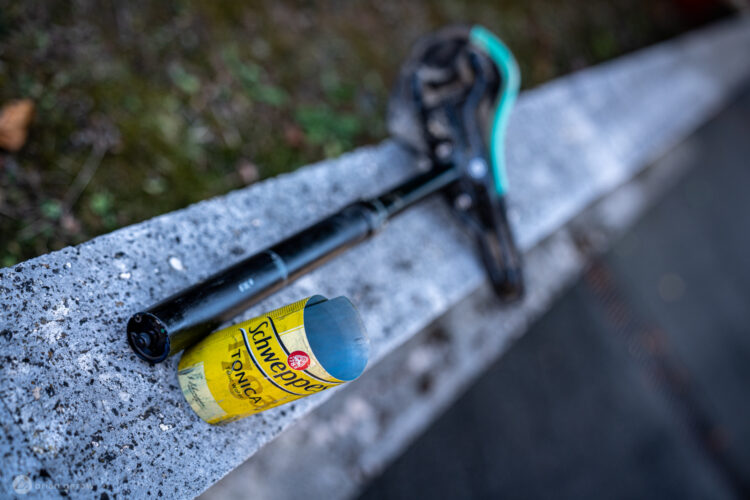
DIY Seat Post Shim, Caliper Alignment Tool, and Other Uses for Aluminum Cans
2
Mountain Bikes and Gear
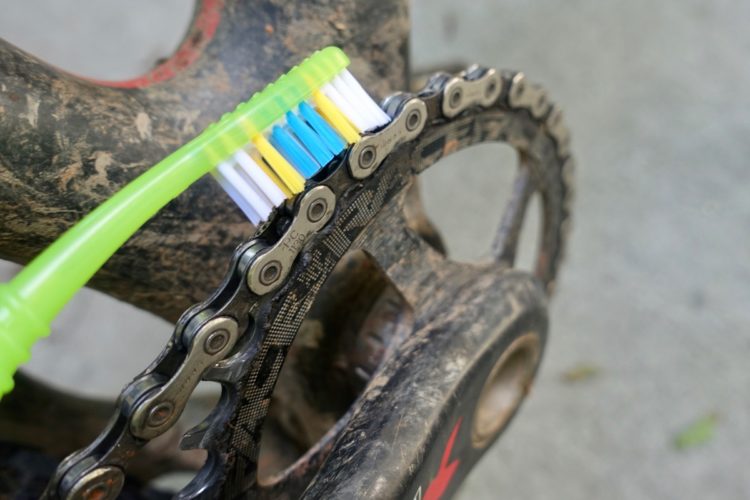
DIY: Make Your Own Chain Slap Silencer
2
Culture
Learning How to Build a Bike Was the Best Thing I did all Quarantine
10
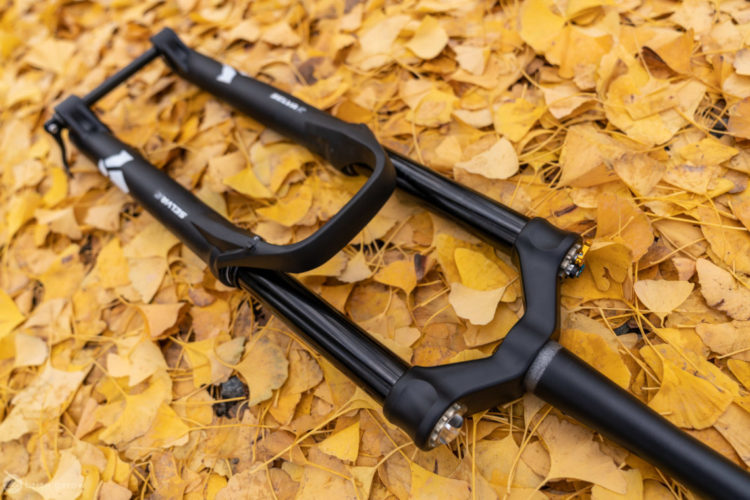
Forks
How Often Should Mountain Bike Suspension Components be Serviced?
5
Drivetrain
Internal Cable Routing Tips for Mountain Bikes
1
Mountain Bikes and Gear
My 2014 Trek Remedy Dumpster Bike Build - Total Cost: $297
23
Derailleur
How to Service Your Shimano Derailleur Clutch
22
Tires All
Tubeless Mountain Bike Tire Tips and Tricks [Resource Roundup]
6
Tire Inserts
MTB Tire Insert Mounting Tips: A Bloodshed Minimizing Tutorial
3
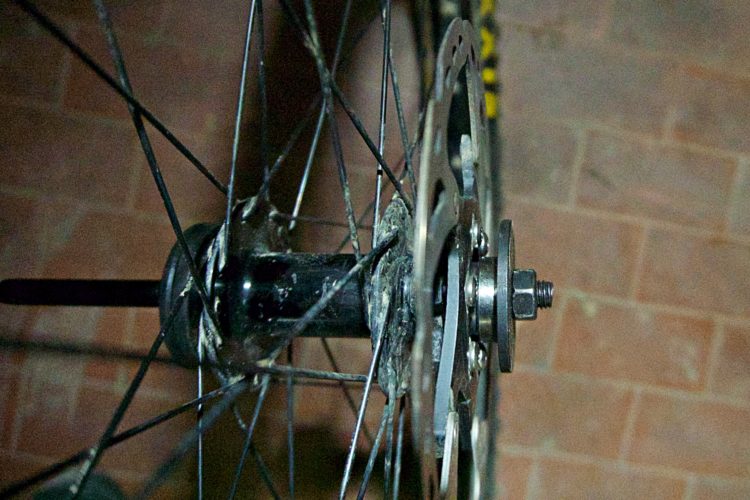
Repair
How to Replace Cartridge Bearings in Your Front MTB Wheel
2
Repair
When Rock Meets Rim: Attempting to Repair Larger Holes in Tubeless MTB Tires
12
MTB Tips
Inexpensive Mountain Bike Trail Snacks You Can Make In Minutes
1
Derailleur
Troubleshooting Common Rear Derailleur Shifting Problems on a Bike
6
Repair
Review: The Sport-Mechanic Bike Repair Stand by Feedback Sports
1
Mountain Bikes and Gear
6 Everyday Items Mountain Bikers Can Use to Save Money
4
Mountain Bikes and Gear
Watch: How to Install a New Chain on a Full Suspension Mountain Bike
1
Workstands
How to Easily Build a Cheap Multi-Bike Hanging Storage Rack
13
Mountain Bikes and Gear
Beginners: 5 Changes To Make To Your Bike Before Bikepacking
2
Workstands
Watch: How To Build Your Own Bike Work Stand in Just 30 Minutes
Mountain Bikes and Gear
How To Diagnose Noise, Vibration, and Harshness on Your MTB
1
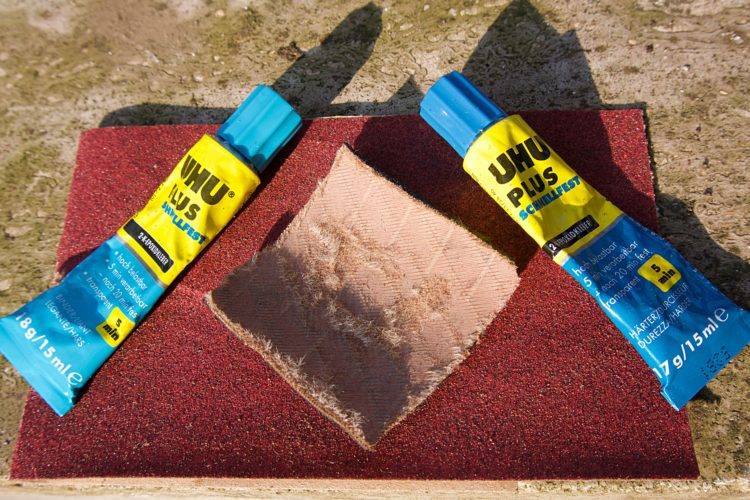
Mountain Bikes and Gear
How To Repair a Carbon Bike Frame at Home
3
Mountain Bikes and Gear
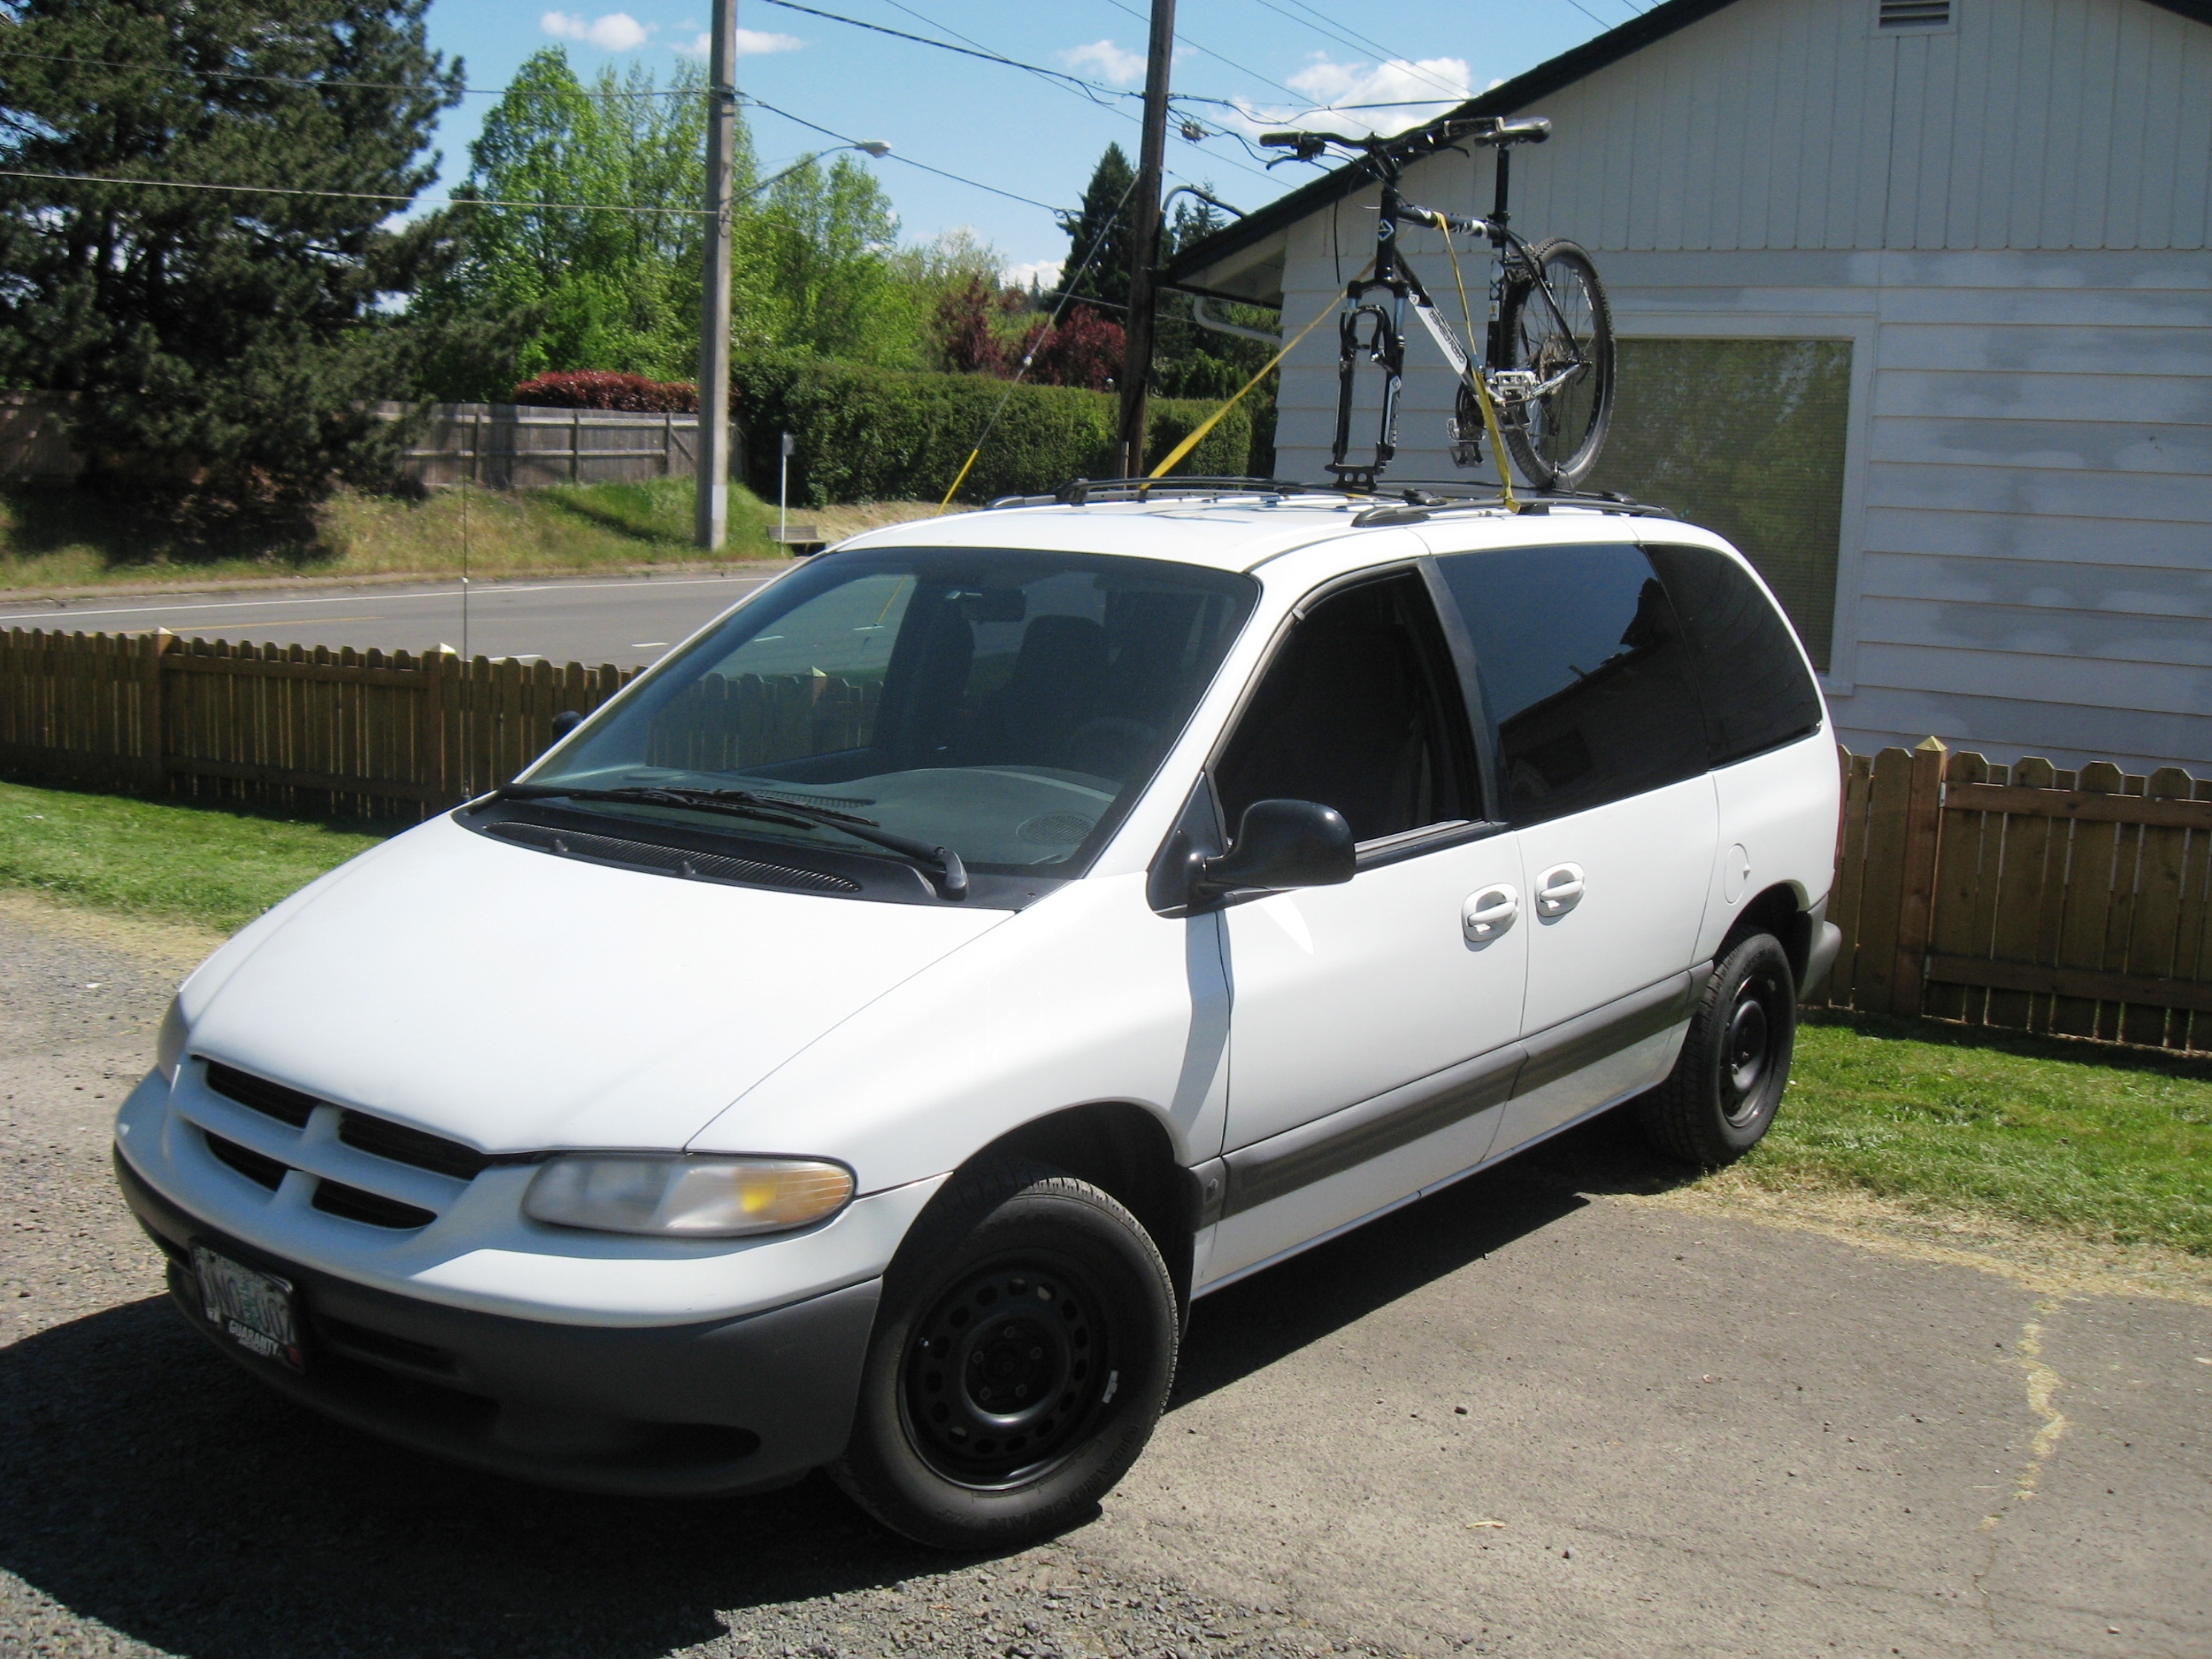
Watch: How To Build a Fork Mount Bike Rack for $20 in 30 Minutes
1
Mountain Bikes and Gear
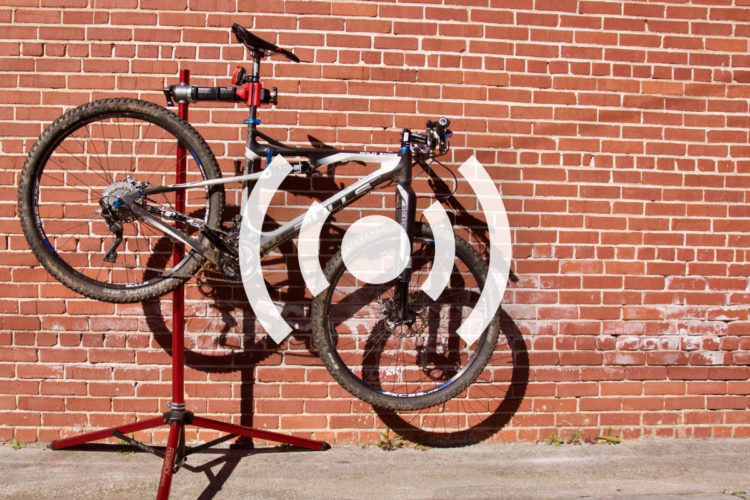
Money-Saving Tips for Mountain Bikers on a Budget [Podcast #107]
4
Mountain Bikes and Gear
Restoring the Peace - 9 Ways to Quiet Your Mountain Bike
1
Mountain Bike Trails
How To Create Your Own Iceland MTB Vacation
7
Mountain Bikes and Gear
Keep Your MTB Running Smoothly: 5 Things a Pro Mechanic Thinks You Should Know
7
Mountain Bikes and Gear
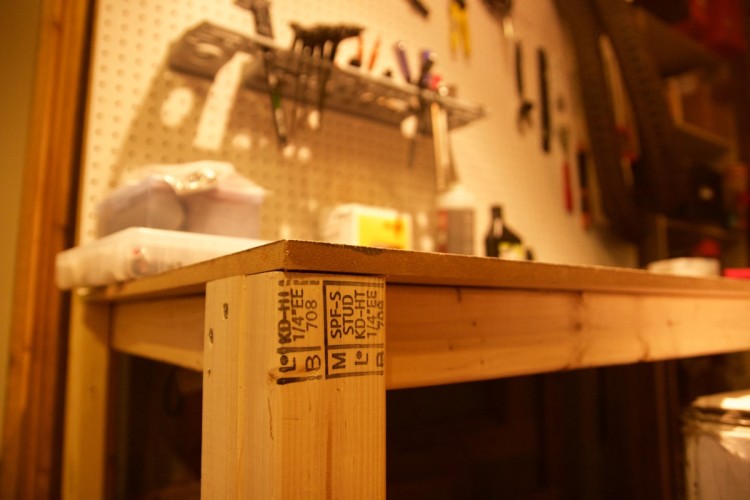
DIY: How to Build Your Own Bike Workbench
Mountain Bikes and Gear
DIY: How to Build a Hanging Bike Rack
1
Culture
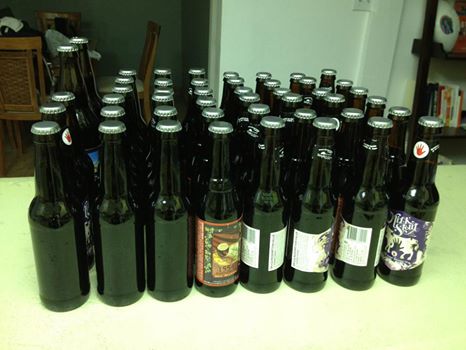
The Joys of Homebrewing Beer... for Mountain Bikers
5
Mountain Bikes and Gear
How To Service, Repair, and Replace Your Bottom Bracket
1
Mountain Bikes and Gear
DIY Presta Tire Inflator
4
Other Accessories
DIY Bike Storage Rack
14
Mountain Bikes and Gear
DiY Bike Racks
21
Mountain Bikes and Gear
Having Fun on a Mountain Bike Without Spending a Fortune
9
Mountain Bikes and Gear
How to Set Up a Home Bike Shop For Every Space and Budget
14
Mountain Bikes and Gear
DIY: How to Build Your Own Bike Work Stand
22
Community
DIY Mountain Bike Time Trial
3
Tools
The Essential Tools for DIY Mountain Bike Mechanics
4
Mountain Bikes and Gear
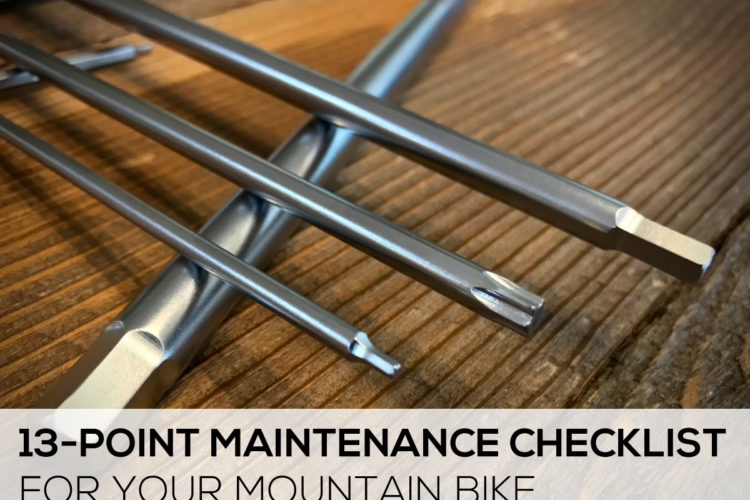
13-Point Mountain Bike Maintenance Checklist
10
 7
7