

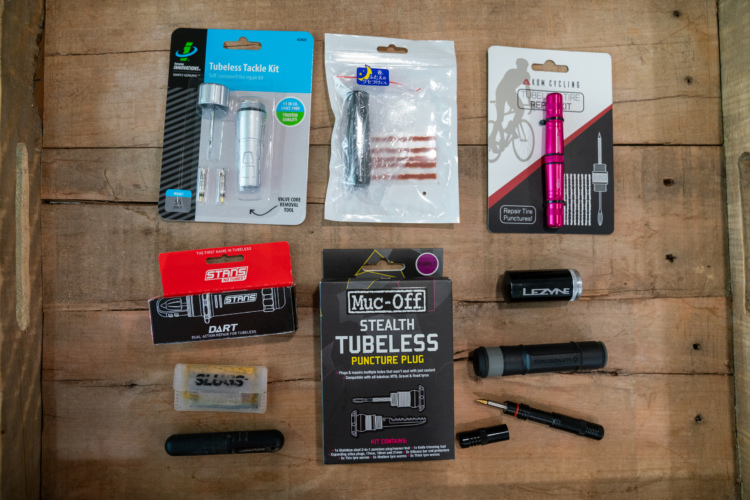
This scenario is as common as it is unfortunate: You mount a new tubeless tire and roll out to test it on your favorite track. Maybe you push a little harder than usual through a corner or rock-garden to check the grip. Then you hear it: the ever-dreaded “pang!” of a rock striking acutely against your rim and cutting your tire. You find the hole and realize it is too large for any tire plug to fill. Find a dollar bill or candy wrapper to cover the puncture, tube it, and head on home.
If you’re like me you spend more money than you can actually afford on your bike. People who look at it without knowing you might think you also have diamonds on the soles of your shoes. The truth of the matter is that you paid a good chunk of your weekly salary for that tire, and you can’t afford to buy a new one any time soon. Let’s see if it’s repairable.

1. Locate
Once you’re back home, remove the tire and tube, drain any remaining latex, and mark the location of the puncture on the inside and outside of the tire. This will make the hole easier to locate. Place a piece of tape on the outside of the hole as a waypoint for later.
2. Preparation
Clean the inside of the tire where the puncture is with dish soap and water until there is no sealant left near the hole. Depending on your chosen sealant, this may require some hefty elbow grease. Clean about a 5cm (~2in) radius around the hole to give yourself plenty of room to work with. Once you have a nice clean circle around the hole you will want to wipe the surface with rubbing alcohol to remove any leftover soap or oils.
3. Sand
Take a piece of fine sandpaper or a ball of steel wool and rough up the cleaned area. Sand the tire until all of the clean surface is dull and marred with abrasions, but not so much that you start making the tire thinner.

4. Patch
This next step is a bit subjective, depending on the size and location of the hole in your tire. If the hole is too large for a tire plug to fill, you have some work to do. Try the following steps.
- Cover the hole with a large inner tube patch, using ample glue to be sure it stays put.
- Once the glue has dried you will want to cover the patch with 2-3 layers of Gorilla Tape or some similarly robust tape.
- Mount the tire and set it up tubeless as you normally would. Pump the tire slightly higher than the pressure you prefer to ride with so that you will be able to see how the hole reacts with weight and impact pressure. If the patch is not bulging out of the hole when you put your weight on the bike, and the hole remains mostly closed, you are ready to ride. Remember that this is a repair to save your tire and some cash, and may not result in the tire performing as well or lasting as long you had hoped.
Alternate steps

- If the hole appears somewhat open on the outside of your tire after patching and remounting the tire you can try adding layers of epoxy to fill it in, which will also help keep things together.
- If the rubber patch is bulging out of the hole you will need to add another layer of backing inside the tire to relieve the pressure. Remove the tire, take off the tape, and clean the area as before. Next, cut a piece from an old tire that is large enough to cover about 2cm on either side of the patch. I like to cut a piece from the center of the old tire’s tread, as that is the strongest part. After making sure that the initial inner tube patch is still securely glued, and the surface is re-sanded and clean, slather a healthy layer of epoxy on the non-tread side of the chunk of tire and glue it over the area where the hole is. Keep applying pressure to the whole tire chunk until it is fully dried. Most epoxies have minimum temperature requirements and drying times, so be sure to read up. Once the epoxy is secure and dry, re-mount the tire as before.
- With the thick patch glued inside your tire, your wheel will now be out of balance. You may want to add a similarly sized patch to the opposite side of your tire to keep it rolling properly.
- For sidewall tears that are far enough from the tread, I like to add an inner tube patch to the outside of the hole to help the repair last longer and to add strength.


The above may seem desperate, but I have patched tires that rolled through an additional year with these tricks. If your tire still has tread life left when it tears, it’s likely worth trying to fix.

If you have other tire repair tactics, please share them in the comments below.


12 Comments
Jan 25, 2019
Jan 22, 2019
Jan 22, 2019
Good luck with your future tire repairs, I would recommend keeping some radial patches in your repair kit.
Jan 23, 2019
Jan 24, 2019
Jan 25, 2019
Jan 22, 2019
Great information otherwise, I did have limited success cuffing the tire with another old tire internally, I've been using old Bontrager road tires as internal patches since they bond really well and are thinner/lighter than a MTB tire. Also I've never tried gorilla taping over the patch, but honestly I don't think it adds any substantial structure, most pressure adhesives just won't work considering the stressers and flex occurring.
Jan 22, 2019
Maybe give the added layer or two of Gorilla tape a shot next time. I have had good success using it to strengthen patches that were otherwise bulging out. I rode one Gorilla tape patched Maxxis DHF for more than a year.
Jan 24, 2019
Jan 24, 2019
Reading some of these posts, are there actually people looking forward to trying any of this ? Sadists they are, I wish no flats for anyone. A tire that lasts a lifetime, free of defects in materials & workmanship. But it is good to know you can field repair the tire. Me, I just start walking the bike back to where the car is parked. Game over, the walk of shame. The worst, being 10+ miles from home, that's a heck of a walk.
Happened twice. Bike shop was open & bailed me out in Miami. that was a hub that finally ground itself into a wobbly wheel 20 miles from home. The other time, Amelia Island, my booted tire flatted the tube. I had booted a brand new tire 6 months earlier, was trying to get more mileage out of the tread as it was only 200 miles new when the nail took a chunk out. I got another 1,500 miles on the boot before it cost me the 2nd inner tube. The first boot contained the first tube that had a hole in it. Anyway, I was out $ 8 from Wal-Mart for 2 inner tubes after the first one and a new tire either way. I figure I could have fixed my worn out original booted tire again and worn that tire down to nylon. I wanted to see how far it would go too, so every thousand is my rule of thumb now to rebuild a booted area. So it's conceivable to ride several months or a few days on a booted tire depending upon the distances with a road bike at least. I repaired mine with duct tape and a section of the original flatted inner tube. A better glued boot would've probably lasted longer.
Jan 23, 2019
My experience is that car tire patches can adhere quite well to inside of tire and are tough enough often to supply the needed stiffness in a tread slash hole.
I may cut a few sections out of a retired Maxxis for future large repairs. Tks for the tips.
See you on the trail.
Framebreaker
Jan 24, 2019