In the beginning, tubeless mountain bike tire systems and hack setups caused more frustration than they saved and generally made the garage floor look like the Ghostbusters set after Slimer wafted through. Folks who were pulled by the magnet of “no flats” and running cyclocross-race pressures in mountain bike tires pressed on with the latex lament.
We cut valves from road tires, wrap rims in three or four layers of duct tape or slice open 26-inch tubes to seal our rims, add sealant (sometimes sprinkled a rainbow of glitter), fire up the most powerful compressor we can find, soap the rims and tires down to help everything slip into place, and cross our fingers that the bead seats instead of explosively launching over the rim wall. It’s been a trying work in progress.
At one point I nearly gave up on tubeless and went back to patching flats. My front tire blew off the rim in a hard compression while I was descending as fast as I knew how. My body sailed violently over the bars, landing on a girthsome cedar stump. On the walkout, lightly nursing a pair of cracked ribs, I hated every last thing about tubeless tires.
Fast forward ten years, after a massive amount of R&D, and that hate has shifted to near adoration. I suffered a single flat that couldn’t be repaired with a tire plug in the past two years, and that puncture was with a non-tubeless XC race tire. I still pack an emergency tube, which only comes off my frame when I need to give it to someone who punctured a tube. I feel no need to cross fingers or fret a jinx. This system works well.
With today’s tubeless-ready tires and rims, and notably better sealant options, seasoned tubeless tire wrestlers can set up a new rim and mount a tire with sealant in under 30 minutes, or replace an existing tread in half that time.
Yet, despite recent innovations, tubeless tires can still have quirks and complications. This article is a compilation of the tubeless setup and hack info that we have shared over the years, and some additional tips and tricks to help streamline the process.
Converting your wheels to tubeless
Singletracks wrote about converting your regular mountain bike rims to tubeless back in 2011. Companies like Stans and Orange Seal offer kits that include you need like tape, sealant, and valves. This article offers specific tips for converting your fat bike wheels to tubeless, and this one offers additional fat bike tubeless conversion tips. While Gorilla Tape has been known to work for taping a tubeless rim, here’s why it may not be the best choice.
Most mid- to high-end bikes come with tubeless rims today, and we’re even starting to see entry-level bikes shipping with tubeless-ready rims and tires. But how does going tubeless even work? We spoke with Stans President Mike Bush to find out.
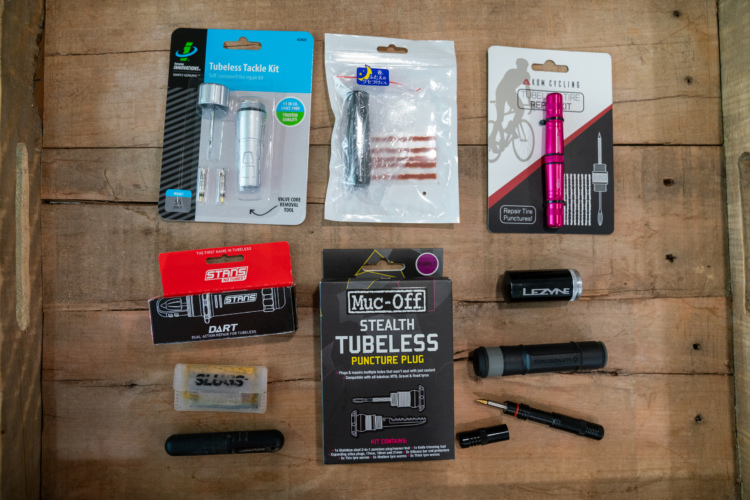
How To Use Tire Plugs to Save Your Ride

Learn how to use tubeless tire plugs before you get a puncture on the trail so you’re prepared.
How To Patch Larger Holes in Tubeless Tires

Tire plugs work great for small tears and punctures, but what do you do to repair larger holes in a tubeless tire? This article shows you how.

If you’ve got a tubeless tire that leaks even after you’ve patched it, you could have a bent rim; this article explains how you can repair your tubeless rim. Or, it could be something else. Read how to fix even the sneakiest tubless tire leaks.
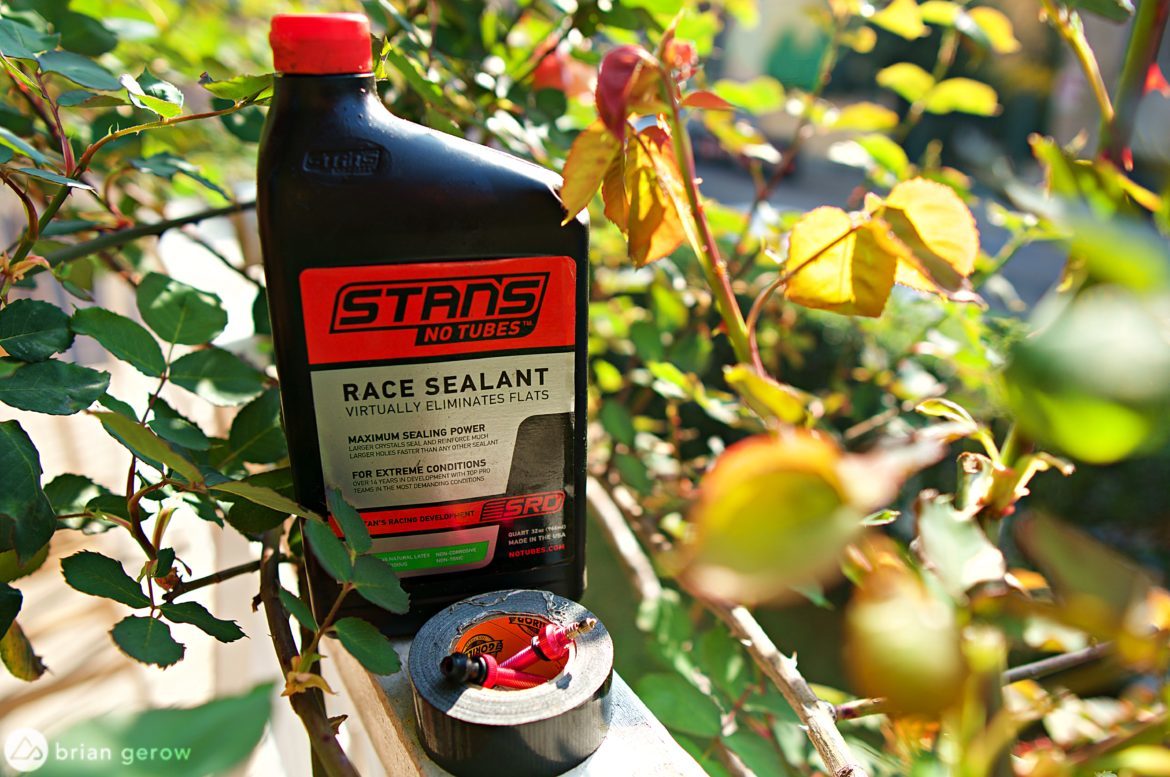
Tubeless tire sealant
Singletracks has tested all the major bike tire sealants, and these are the best. Working with tubeless tires can be messy, and this sealant injector from Stans makes the job a little less so.
Tubeless tire pumps
An air compressor generally works best for seating a tubeless tire, but there are other options available as well including the products below.
Crankbrothers Klic Booster Pump

The Crankbrothers Klic Booster pump features an air reservoir that you charge by pumping the handle. Once the reservoir is charged you can release a blast of air that should seat most tires.
MilKit Booster Tubeless Bottle

If you already have a floor pump, the MilKit Booster tubeless bottle could be a good option. Charge it using your pump, then release the air into your tire.
Frequently asked tubeless tire questions
These are some of the most common questions we get about tubeless mountain bike tires. Do you have a question we haven’t answered? Post your query in the comments below!
How often should I add sealant to my tire?
Believe it or not, by asking this question, you’re already one step ahead of the game. Yes, tire sealant will dry out over time and/or may slowly leak out of your tire. So it’s important to ensure that you always have liquid sealant inside your tire for maximum puncture protection.
Give your wheel a shake, and if you can hear liquid sloshing around inside that’s generally a good sign that you are OK. If you started with a recommended amount of sealant, you shouldn’t need to add more for at least one to three months. However, this does depend on whether you’ve had any leaks, the type and brand of sealant that you use, and even environmental factors. If you’re looking for the longest-lasting tire sealant, check out the results from our long-term tire sealant test.
Tubeless setup with tire inserts

Installing tire inserts can be difficult. These tubeless tire insert mounting tips should help.


6 Comments
Jul 12, 2019
Had to add a tube after I split a sidewall and that was a mess! Heard hand sanitizer will break it down but nervous about using them on the clothes
Hot cycle in the washer helped but not enough. Its orange seal if it makes a difference
Jul 15, 2019
Jun 2, 2021
Jul 12, 2019
If using CO2 on the trail, check your sealant afterward and probably be safe and top off.
Jul 12, 2019
Grabbed these in a motel room one night as I was frustratingly trying to correct a tubeless issue the night before a 4 day ride through the New Mexican desert. Wrapped it around the circumference of the tire and pulled the cord tight, pushing the tire walls close enough to the side walls of the rim that I was able to get the tire to seat with a floor pump no problem. I’d been struggling with this tire for the better part of an hour. Did this and it popped right in. Did the second tire even faster.
It’s my go to method. It’s worked for me so well that I can even seat my entire tire with my little trail crank bros pump.
Jul 12, 2019