

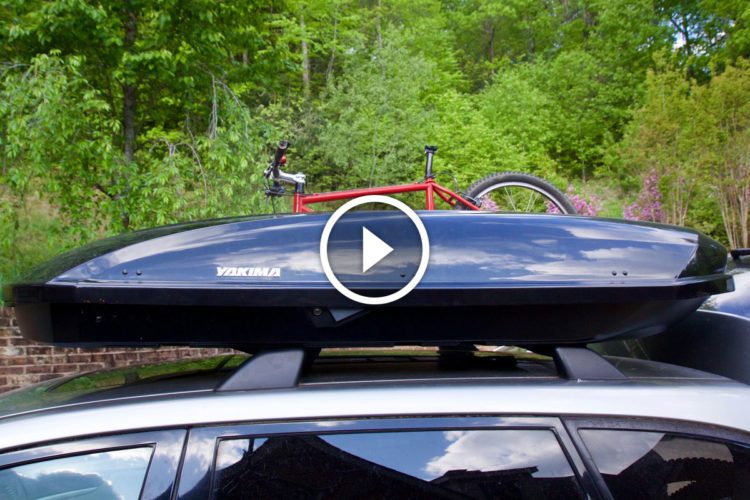
When I walked into my local bike shop last summer and asked the salesperson what would be the absolute cheapest option for hauling a bike on top of my minivan—which already had a luggage rack on it—he told me I could expect to spend around $350. Now, being a wage-earner with a wife and two kids at home, “absolute cheapest” and $350 don’t exactly go together in my vernacular. So I decided to take a look at the available car-top racks, thinking I might be able to fashion something similar on my own—maybe out of box tubing or angle iron. I knew it wouldn’t be pretty, but I was fairly sure I could come up with something that would at least work.

I saw there were two basic types of racks: ones that hold the bike in place with the front wheel still attached, and others that clamp onto the dropouts with the front wheel removed. Looking a little further, I discovered the shop sold quick-release clamps mounted on a base with holes to bolt it down. I figured that would be a good place to start, so I bought one of the clamps and headed out. Before I even made it back to the car, it hit me: Why couldn’t I just bolt the quick-release clamp directly to one of the cross-members of my luggage rack? I stopped at a hardware store on the way home and bought a couple bolts, a handful of washers, and two self-locking nuts. Within the hour my Dodge Caravan had a mountain bike securely fastened to its roof! The total cost (minus the straps to hold the bike down, which I already had) was less than twenty bucks. That’s a far cry from $350 to be sure.

Since then, I have hauled my bike across countless miles of highway, and up and down many a mile of bumpy dirt road without a bit of trouble. Washboard, potholes, ruts and all—the bike stays put. Although I have to admit, I did whack a couple low-slung branches before I got used to the fact that my van was now three feet taller than it was before. No serious damage was done, though—thank goodness.

The modified trunk rack

Apart from that “rack,” I also own a store-bought, rear mounted bike rack I purchased years ago when my wife and I acquired our first two mountain bikes. It worked fine for a long time, holding two standard frames on the back of our little GLC. Normal-shaped bikes with normal-shaped tubes fit just fine into the design of the hold-downs. But twenty years later, when my wife and our teenage daughter got themselves a couple of comfort bikes, that rack proved virtually useless—plus I still had to find a way to haul my mountain bike. So I made another trip down to the hardware store.

I bought a set of four 1in nylon straps with cinch buckles, a small package of self-tapping metal screws, and a swimming pool “noodle.” I stripped the hold-down hardware off the rack, slid one half of the foam rubber noodle over each of the bars, and screwed the straps on—two in back, and two in front. For less than $10 I converted a functionally-limited, two-bike rack into one that comfortably accommodates three full-size bikes of virtually any shape.

Now, I realize not everyone has to be so concerned with penny pinching, and that many folks wouldn’t be caught dead with a full-on “ghetto rack” strapped to the back of their car or SUV. But for a guy like me who’s obliged to work within a strictly limited budget, the only thing that really matters is that I can get my bikes out of the garage and up to the trailhead. I figure every dollar I save is a dollar I can spend on gas to get there, a component upgrade, or the purchase of a better bike some day.
For those who are truly biking on a budget, I hope this inspires you to find a DIY solution to hauling your rig to the trail in your pursuit of MTB joy!


21 Comments
May 23, 2013
How stable is it, does it wiggle to the point it may rub on the drop outs?
May 23, 2013
May 20, 2013
May 20, 2013
May 20, 2013
Great post!
May 20, 2013
May 20, 2013
May 20, 2013
May 24, 2013
May 20, 2013
I'd like to do something like this for my wife's explorer... unfortunately, it has bars that run lengthwise instead of width wise, so I'd still need to setup some crossbars.
May 20, 2013
May 20, 2013
Dustin, my Yakima roof rack--including crossbars, trays, towers, and clips--was stolen off my car in a Home Depot parking lot in broad daylight. So that makes me wonder how many of those "used" bike racks are just "stolen" bike racks.
Ok, most of the used racks for sale are probably legit--just let me know if you come across a Yakima system with clips for a Honda Civic in the Atlanta area--that one's probably mine. Ha!
May 21, 2013
May 28, 2013
I like that you went outside the norm and did this over car racks, personally I put together this little tutorial on DIY Bike Racks last year, but it only covers display and hanging racks for your home or garage.
Check it out. http://texasmountainbiketrails.com/diy-bike-rack
May 21, 2013
May 21, 2013
May 21, 2013
May 21, 2013
May 20, 2013
May 20, 2013
May 20, 2013