
Someday, hopefully long after I am dust, mountain bikes might use wireless shifters, droppers, and brakes that can all be controlled via cellphone from a cozy dent in the couch. The final cyber meld of social gaming and physical activity. Until then, we will have hoses and housing to contend with. When you’re new to mountain biking, learning to manage the spider’s web at the front of your bike can be a tricky task, but once you get it you’ve got it. Here are some tips and ideas for clean and quiet controls.
Below we’ll shorten the phrases “brake hose” and “shift/dropper housing” to simply “cables” to tidy things up unless a distinction is helpful.

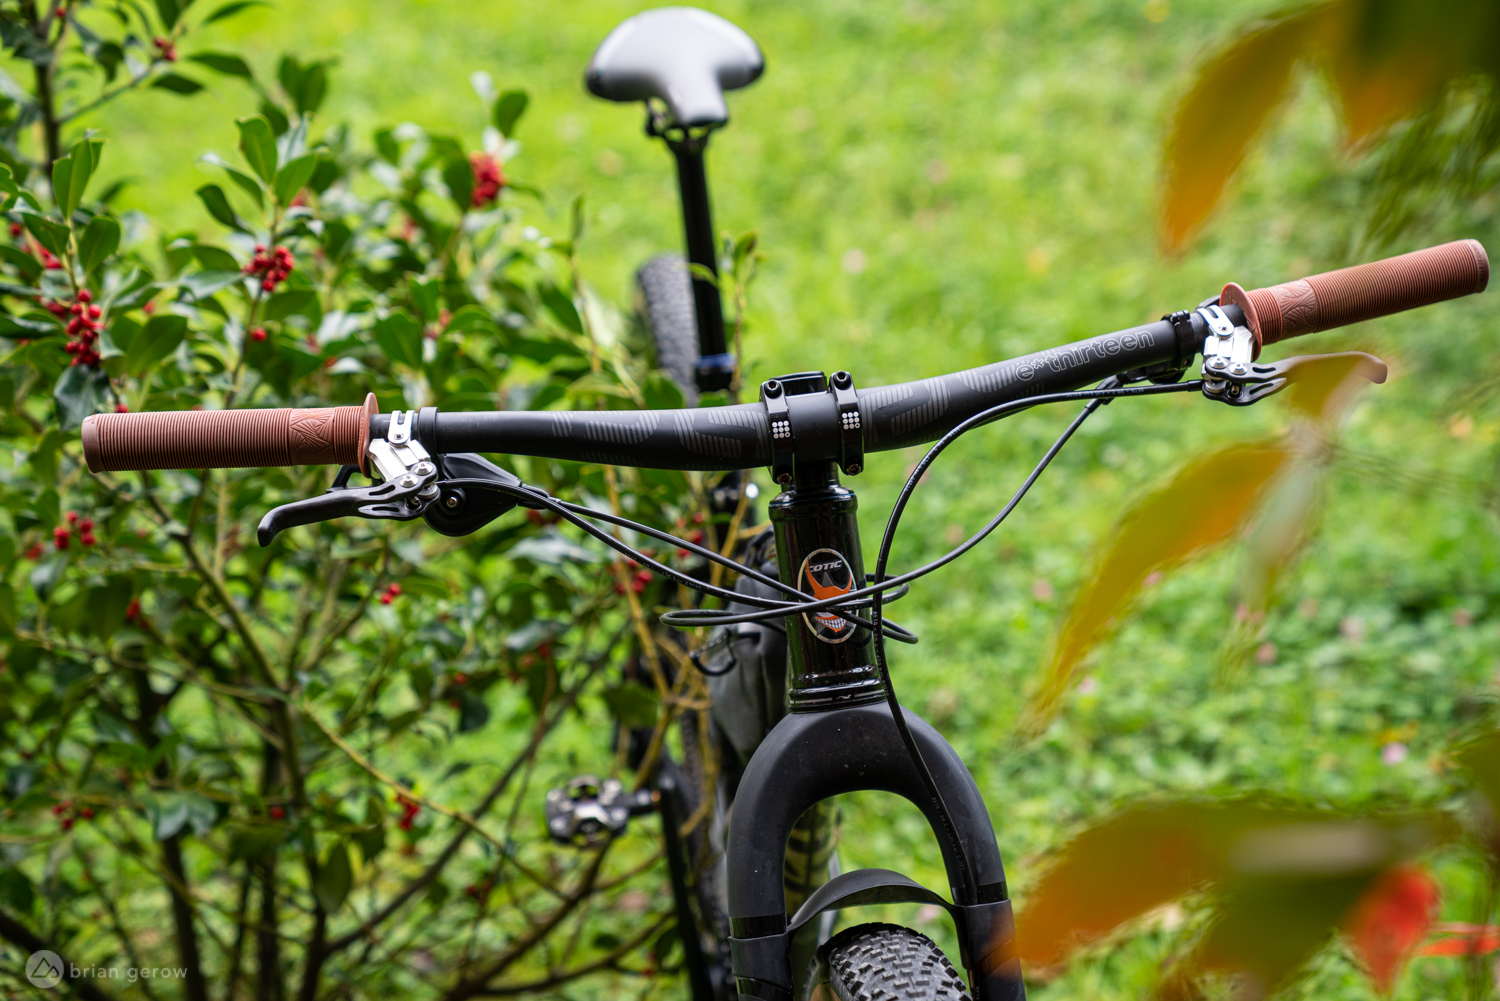
The simplest way to think about where your cables go is that you don’t want one to tug on another as the bars turn. With proper cable length and placement, the handlebar will turn at least until it’s parallel with the top tube in either direction. If the cables prevent the bars from turning in a crash the brake hose can be ripped out of the lever, leaving you to limp home with one brake. Some mechanics stick to a rule that the cables should be long enough so the bars can spin 180° before encountering resistance from the cables. I have had good luck with about 100° of rotation, and you will surely find a preferred cable length metric as you continue wrenching on bikes.
Not long ago bikes had higher top tubes, and the brake and shift levers would hit the top tube preventing the bars from fully spinning. They also broke a lot of carbon top tubes on lightweight cross-country frames. This, and the concern for severed brake lines, are the reasons Trek created the Knock Block headset that prevents the bars from turning beyond a certain point. Many modern top tubes are moving down to fit shorter-legged riders on longer bikes, so shift and brake levers often clear the top tube today. The KnockBlock remains a useful feature to keep the hoses whole if the bars try to spin too far.
If your bike has external cable routing, allowing you to choose how the pipes are aligned, you’ll reduce a lot of paint scratches and noise by letting the cables bend easily around the opposite side of the head tube. Like the above photo, the front brake hose can be placed furthest forward, with no need to cross others. If the brake and dropper lines run parallel for a few inches near their levers you can encase them in a speaker wire spiral or heat-shrink to limit vibration noise.
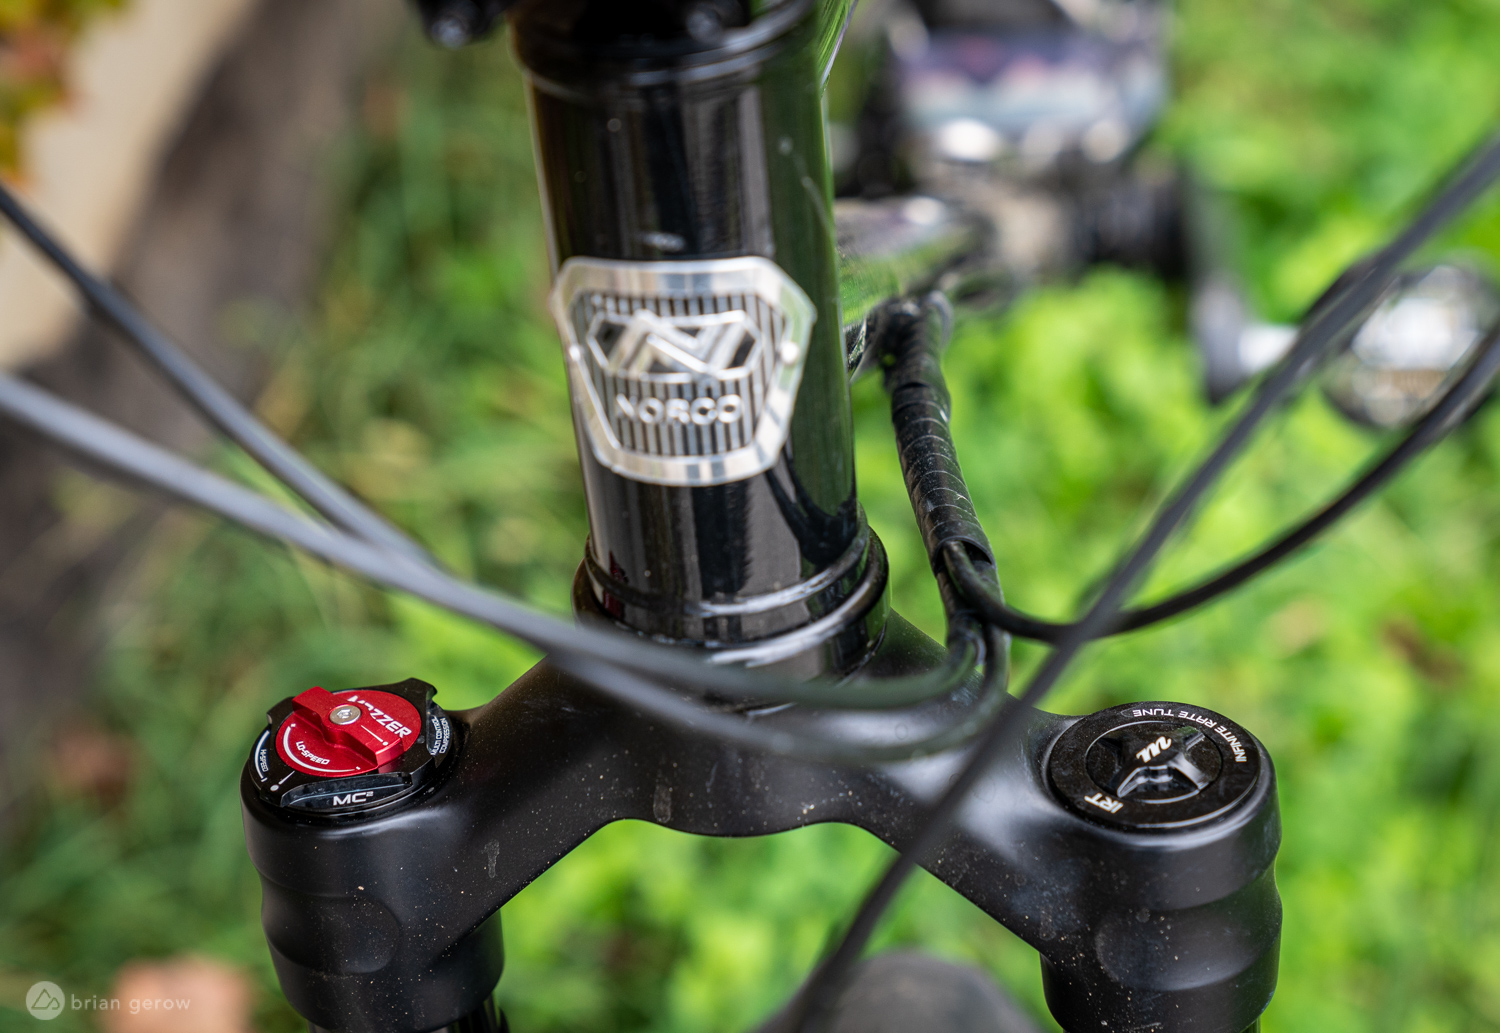
The Norco Torrent pictured above has all of the external cable mounts along the non-driveside downtube, and after binding all three together near the headtube the brake and shift lines are able to redirect the dropper housing, keeping it from contacting the frame. Every frame is a little different, requiring small shifts in routing style.
If you mount your front brake lever on the left, the rear brake and shifter cable on the rider’s right side can be heat-shrinked or spiraled to keep them from vibrating against one another. I leave mine free to slap around a bit, as I swap components too frequently to want their lines mated in plastic. For folks who leave their controls in place long-term, syncing them together with some heat-shrink tubing will keep them quiet and tidy.
If you prefer your front brake lever on the rider’s right side, aka “moto style,” some creative measures may be necessary to prevent the rear brake hose from clanging against the frame. Often times frames with internal cable routing only offer brake line routing on the rider’s left side, forcing the “moto style” brake line to rest against the frame. You may want to add a soft rubber sleeve to the brake hose where it touches the frame, and some frame protection to keep the paint intact.
A few bikes, like the Saracen Ariel, keep the internal dropper post cable routing on the left side of the downtube, requiring frame protection similar to the above brake hose example.

Riders occasionally debate the “advantages” of moto-style brake routing. Apart from cyclocross, where having the rear brake lever on the left side allows you to safely slow down while you dismount on the non-drive side of the bike, there are no notable advantages. It’s just a preference.

There are however advantages to external cable routing. While it doesn’t look as clean and smooth as hiding everything inside the downtube, it’s far easier to reroute things to your liking, and to service components. When you want to remove your rear brake for a full overhaul you can simply cut some zip ties or remove c-clips and take it off. With internal brake routing, you will have to remove the lever and cut the piece of hose that holds the olive and barb in order to remove the brake. Unless you leave the hose longer in anticipation, this likely means it will be too short to re-use and you’ll have to replace the full length of hose every time you want to take it off the bike. While that may only happen once annually, it seems like an unnecessary waste. This is precisely why some brands like Transition keep their rear brake hose external while all other cables on their frames go internal.
Bonus tips

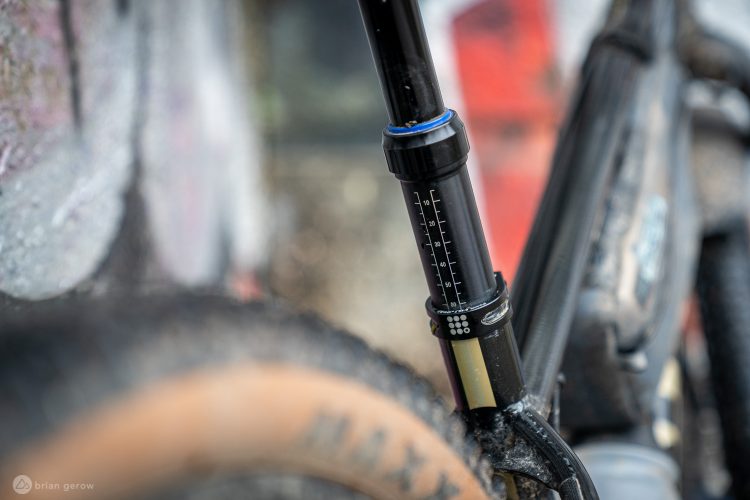
In the above photo, I’m using a chopstick to guide the dropper housing past some notches inside the seat tube. Maneuvering cable past all of the internal contours of a frame can be tricky, and a long skinny stick can help to direct the head of the housing while you push it through from the other side. These useful little chunks of bamboo are typically free with your lunch, so wash a set off and leave them in the bike shop. They will definitely come in handy.
Another way chopsticks can be helpful is to push and pull towels through tubes to clean them out. If you need to clean the grease and grime out of your seat tube before remounting a dropper post, just push the cleaning towel in and extract it the same way you would pick up a pile of food. If you ball up a paper towel tightly, then drop it in the frame and let it open up and expand, you can pull it out without pushing grease and dirt into the frame. This method also works well for cleaning the inside of fork stanchions, and the chop-sticks won’t scratch paint or fork finishes.

Ideal cable routing breakdown
| Front brake left | Front brake right | ||
| Mount the front brake hose outside of all other cables, furthest forward. | Mount the front brake hose outside of all other cables, furthest forward. | ||
| Mount the rear brake and shifter cables together, below the crossing dropper cable. | Run the rear brake and dropper cables together if possible, below the crossing shift cable. | ||
| For a fork lockout (LH), route the cable outside of everything, often furthest forward. For a shock lockout (LH), mate it with the dropper housing if possible. | For a fork lockout, route the cable outside of everything, often furthest forward. For a shock lockout, mate it with the dropper or rear brake if possible. |
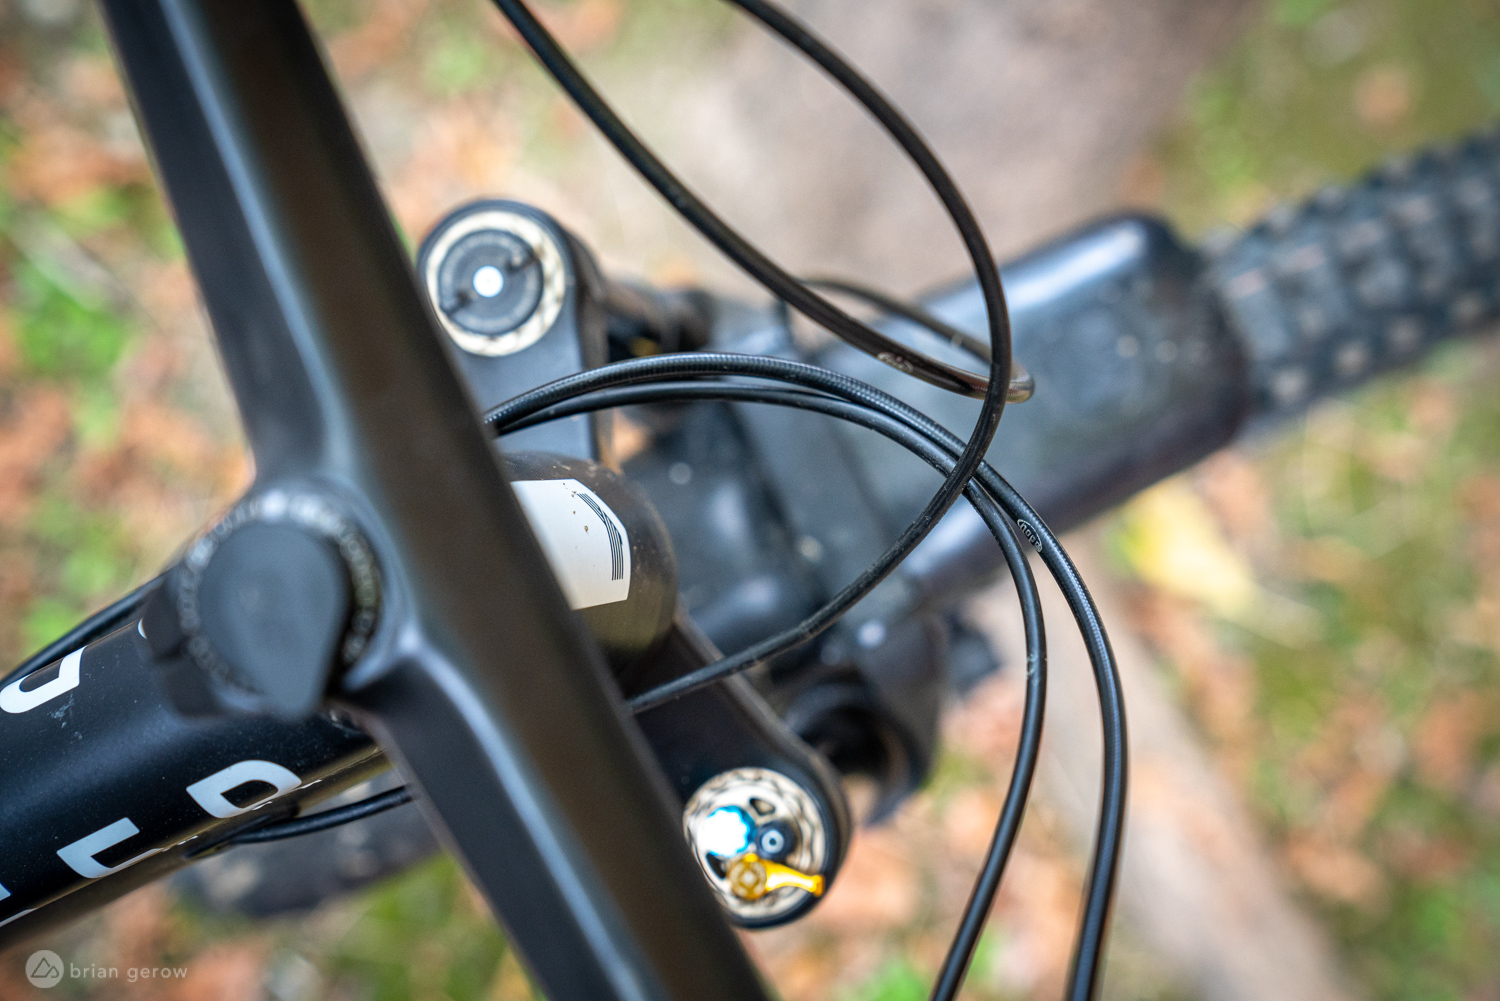
Regardless of the side, two cables together will push down and out with more force so often it’s best to run them outside or below the adjacent single cable. For example, the rear brake and shift cables in the photo below run outside and beneath the adjacent dropper cable.

This information is intended for first-timer MTB home mechanics. If you have suggestions or alternative methods to add please share them with our readers in the comments below.


4 Comments
Nov 8, 2020
Thanks for the article, in my experience cable rub on my front fork and frame contributes to wear on paint.
Nov 8, 2020
Nov 5, 2020
Nov 5, 2020