

The Quick Question series answers your MTB repair questions. Do you have a quick question about mountain bike repair? 🤔 Email [email protected] and we’ll do our best to answer it!
This week’s question comes from an anonymous reader. “My dropper post slips down into the seat tube over time no matter how hard I tighten the clamp. How do I prevent the slide?”
The ever-shortening seat post is a common issue that can most often be fixed in quick order. Before digging further, it”s important to make sure that your seat post is the correct size for your frame, and that the seat post collar is the correct size for the seat tube. The post should require a small amount of pressure to slide into the frame with the collar loose, and the collar should require a similar pressure to slip over the seat tube. If there is play in either component, measure them with a caliper to make sure you have the right size components.
Over-torquing a seat post clamp can bend metal seat tubes out of shape and it can compress dropper post internals, causing permanent damage. There are other ways to clamp the post in place without turning the screws too far.
Manufacturing tolerances between components are not always precise. If you have a 30.9mm seat post for your frame’s 30.9mm inner seat tube diameter and there is still some play between them, there are a few ways to take up that space. If the seat post feels baggy when the collar is loose, try sliding a slice of aluminum can between the post and the seat tube. This should fill the gap and allow you to properly tighten the post down without over tightening it. You can slide the aluminum can shim 1-2mm below the top of the seat tube so you don’t have to match it to your component colorway. Remember to apply a thin layer of grease to the seat post to prevent seizing.
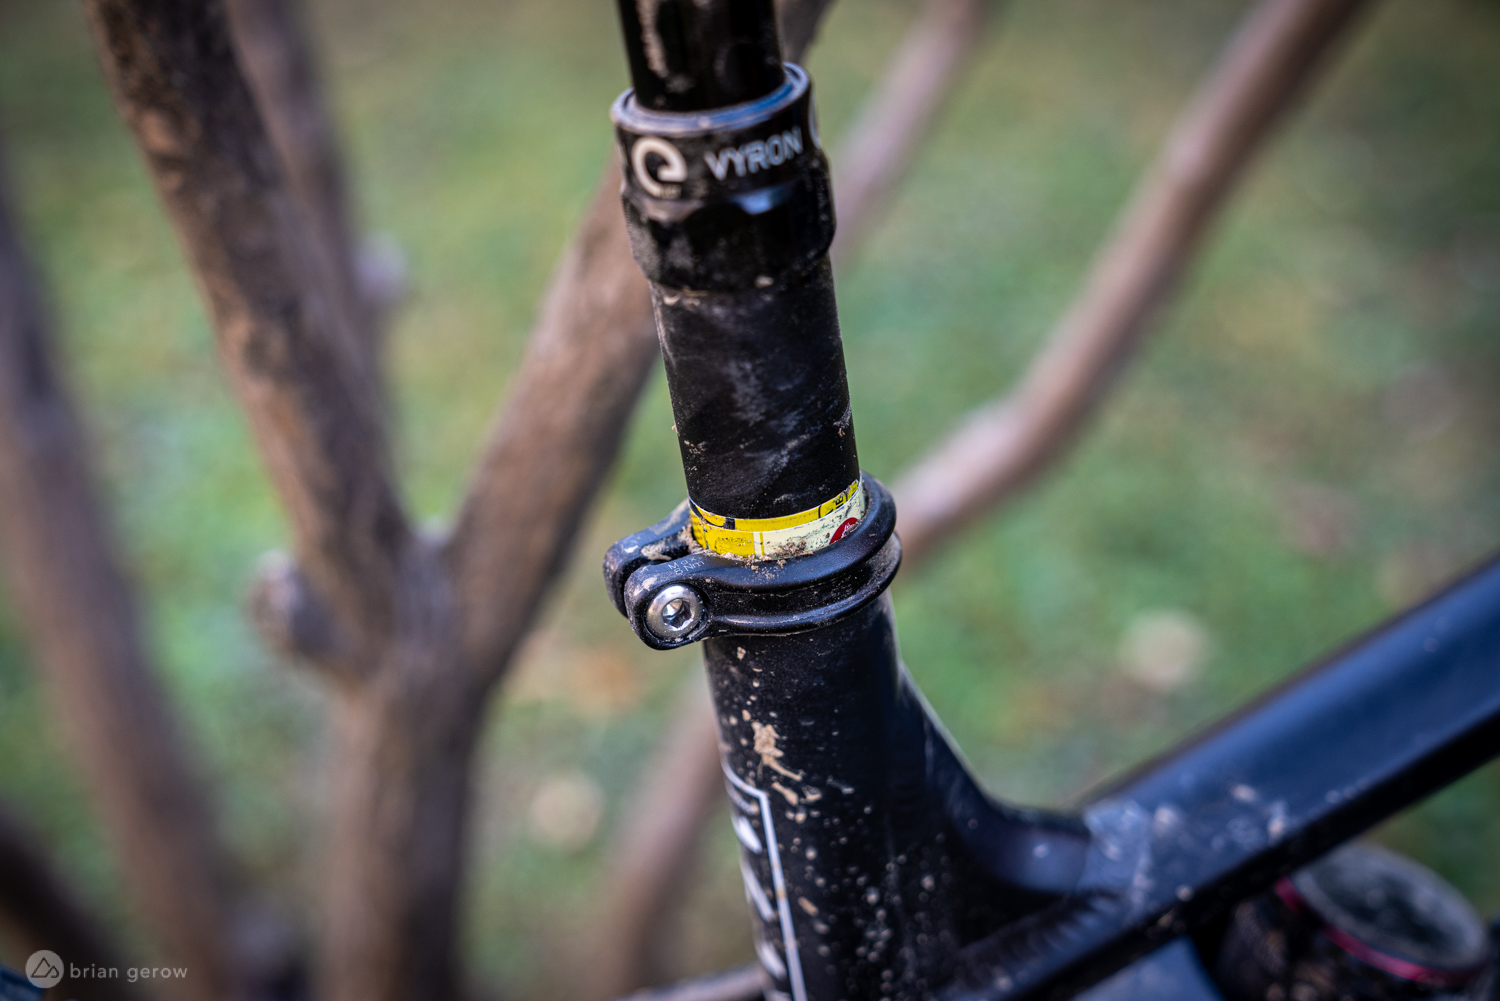
Alternatively, if there is play between the seat post and the clamping collar, cut a slice of aluminum can to fit between the two and take up the excess space. As above, you can trim the shim down so that it’s invisible once everything is tightened in place. For a dialed fix you will want to make sure that the shim is tall and wide enough to fill the entire gap instead of just shimming the upper or lower portion of the collar.
If your post and collar both fit with tight tolerances and they still slip under the recommended torque pressure the next step is to remove some of the greases from the post and/or inner seat tube. While you want the inserted post covered in a thin coat of grease to prevent it from seizing to the frame, too much grease could be part of the slipping issue.
A final tip to stop your sliding post is to add a thin smear of Fiber Grip to it before insertion. Fiber Grip is a biodegradable product designed to add friction between two smooth carbon fiber components to prevent them from slipping, and to prevent the urge to over-torque them. Finish Line says that it can also be used on alloy, and that the increased friction “reduces required bolt torque by as much as 50%.” We put this one last because we have had issues with Fiber Grip causing creaking noises between alloy components, however, if nothing else is working this stuff will usually stop the slip.

Your turn! Please share your seat post slip-stop remedies in the comments below.


4 Comments
Jan 22, 2021
Some clamps have a washer between the bolt and the clamp. I received a frame new with the included clamp, but sans washer. When torqued beyond 3nm it would just gall the alloy inside. I'm glad I brought it to my lbs, where a knowledgeable tech knew to look for this. Adding a washer solved my problem instantly.
Jan 20, 2021
Jan 19, 2021
Jan 23, 2021