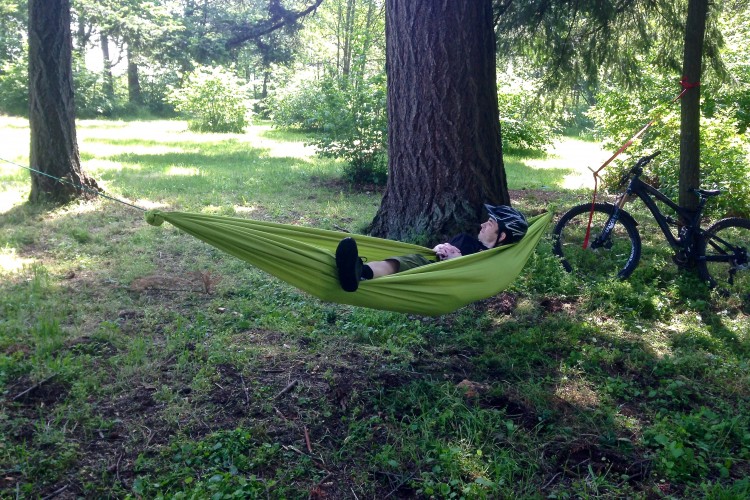
My grandmother used to say: “You can’t ride two horses with one arse.” However, Grandma didn’t mountain bike. And if she did, she would completely understand why you need more bikes than arses. The unfortunate drawback to having many bikes is finding ways to store them. Commercial bike racks can get downright expensive. Most of the commercial designs aren’t really that space-efficient, either.
In addition, collecting bicycles can be an expensive endeavor. You eat Ramen day-in and day-out to be able to afford that new Yeti SB6c. Milk in your knock-off brand mac and cheese? Nah, you have Enve wheels to purchase. Mix that neon-orange powder with water and slam it back.
Since I prefer to spend my money on bikes and bike parts, I try to find cheaper ways to build my own peripheral equipment. My latest creation is upgrading my hanging bike rack in my garage. Previously, I had super cheap hooks to hang my bikes. The issue with using the hooks, however, is that it limits how many bikes you can hang up by the number of spots to place the hooks. For me, that was limited to three bikes. THREE! You can never justify the purchase of your next bike if you don’t even have a place to put it.
So I set out to build a bike rack that would use the existing location in my garage, but allow me to store many more bikes. I settled on a galvanized steel pipe design that would run the width of one car. The design of this rack will somewhat depend on the roof that you plan to attach it to. In my garage, I have 2″x6″ boards running the width of the garage. This made attachment rather easy in my personal case. However, the design here can be tailored to meet your specific needs.
This project only requires a few tools:

1. Drill with 5/16″ wood drill bit
2. 7/16″ wrench
3. 7/16″ socket and ratchet
4. A big &*%# hammer
A quick trip to the local home improvement store allowed me to purchase all the necessary parts. It consisted of:
1 – 3/4″ x 72″ galvanized pipe
2 – 3/4″ x 6″ galvanized pipe
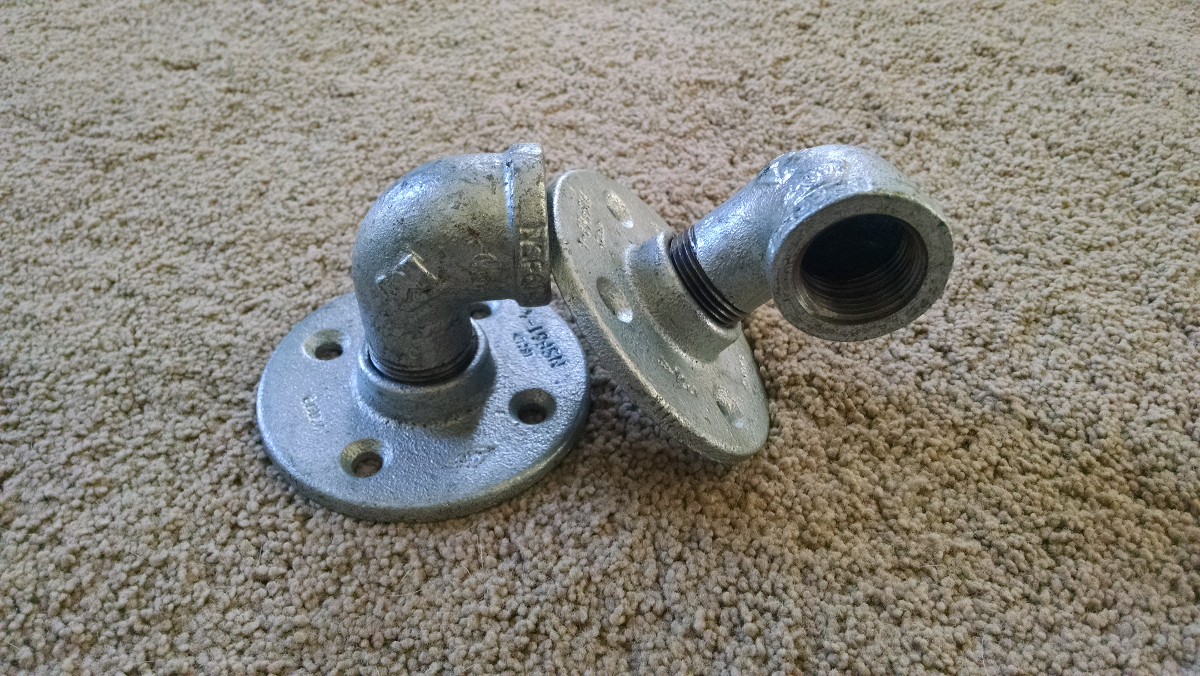
2 – 3/4″ galvanized floor flange
2 – 3/4″ galvanized elbows with male and female ends
2 – 3/4″ galvanized elbows with female ends
8 – 3″ 1/4-20 bolts with 2 washers and 1 nut per bolt
Total cost: $58
Step 1) Begin by assembling the floor flanges with the elbow pieces that have the male and female ends.

2) Attach 3/4″x6″ pipe to elbow pieces on flanges.
3) Attach female elbows to 6″ pipe.
4) Finish assembling the entire unit by attaching the 3/4″x72″ galvanized pipe to each of the elbow segments.

While the majority of this project can be done by only one person, the final installation is easiest with a second set of hands. I had my husband help me hold the entire rack in place while we leveled and marked the placement of the holes for the flanges on the ceiling of our garage. After the locations of the holes were marked, I went to town drilling holes for the bolts. You may find it easiest to use a slightly-larger drill bit for easier installation of the bolts. In my case, I used a 5/16″ drill bit.

With the entire unit now assembled, I found it best to set up my bolts with washers in order to have them prepped and ready for installation. A little help from a second person was necessary to hold the rack in place while the bolts were installed. A quick tightening job with a wrench finishes the job.

All in all, this project took a little bit less than an hour, mainly due to having a toddler running around during installation. You can find cheaper piping, but I preferred the look of this over the others. If you are installing this into drywall, I would strongly recommend the most serious drywall anchors you can buy, as well as getting advice from your local hardware store. It may require a different attachment piece compared to the floor flanges I used here. You will likely have a lot of money hanging from the roof over a less expensive automobile. It’s not worth the risk of having the rack come crashing down on anyone, harming both body and bike.
Your turn: Do you have any tips on constructing your own hanging bike rack?


