Trails
Reviews
Tips
Community
Deals
Latest
Support
Trails
Find trails
Best bike trails
Destinations
Add a new trail
Reviews
Mountain bike reviews
Components
Tires
Clothing & shoes
Helmets
Accessories
Product news
Community
MTB Clubs
Races & Events
Bike Shops
Tips
Skills
Fitness & Training
Health & Nutrition
Beginners
Repair
Latest Articles
Podcast
Deals
Support Singletracks
Sign in
Create an account
About us
Newsletter signup
Repair
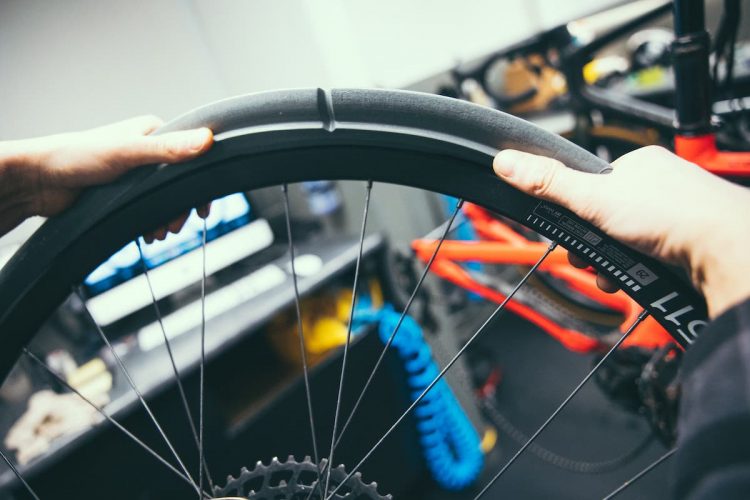
Tire Sealants
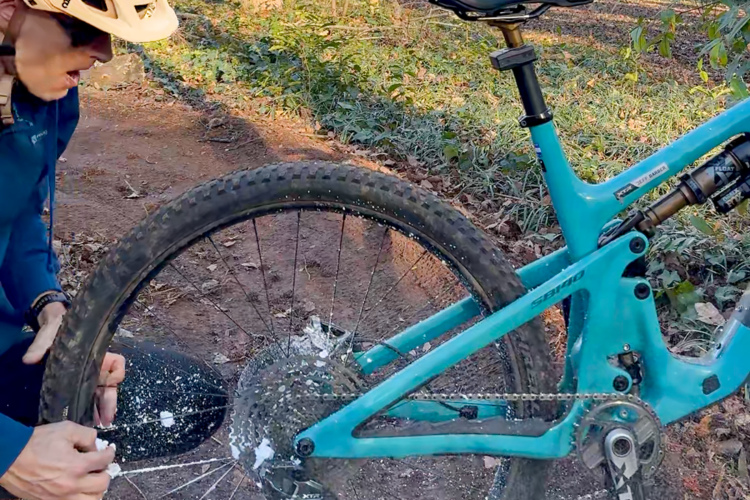
How to use a GÜP tire sealant inflator for mountain bike flats without the mess
1
Tires All
Bike skills practice is important, but practicing this could actually save your ride
1
Drivetrain
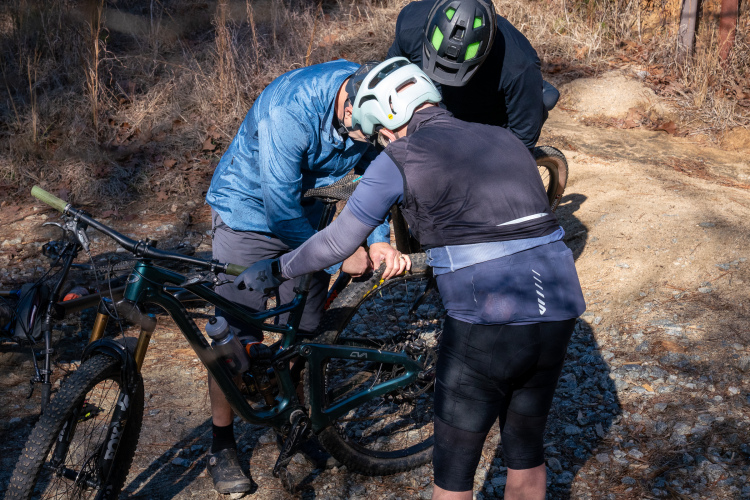
Dead SRAM AXS battery on the trail? This MacGyver 9V battery trick could save your ride.
9
Pumps
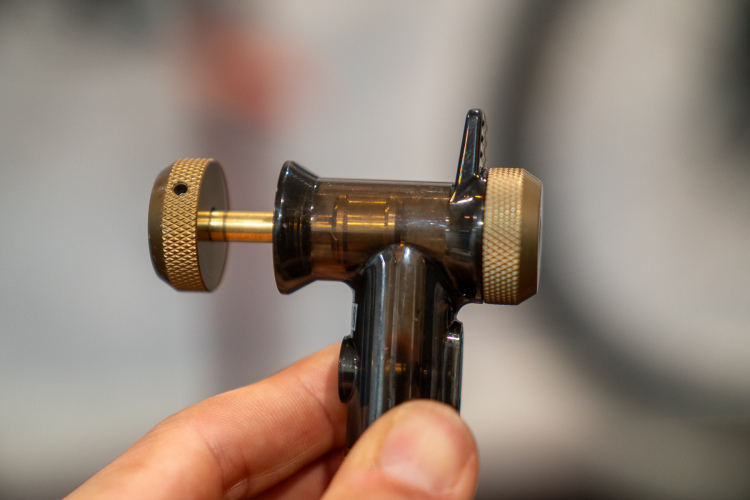
Topeak TubiHead review: Smart pump head upgrade makes seating tubeless MTB tires easier
4
Tires All
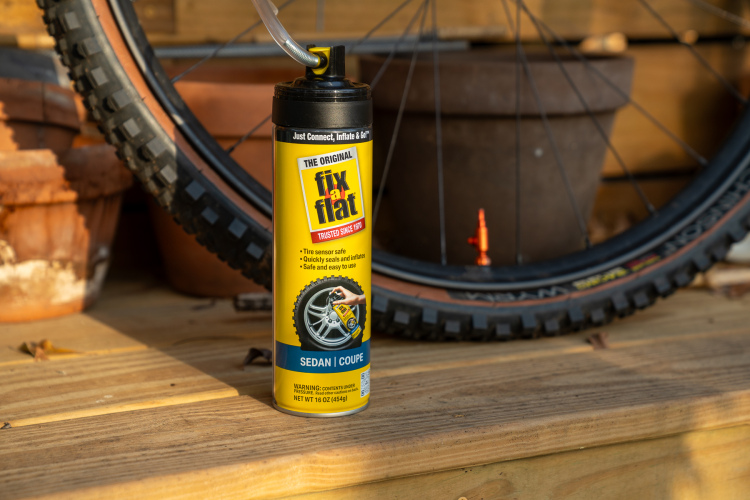
To my surprise, Fix-a-Flat works for bike tires too
7
Tire Sealants
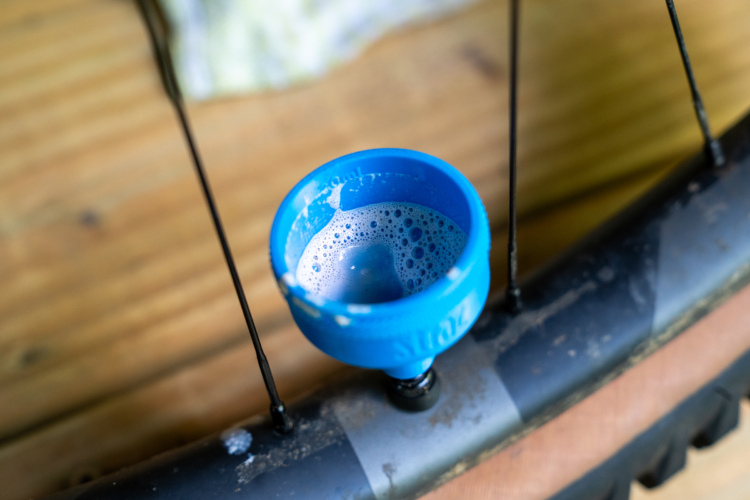
The Straz Sealant Funnel makes adding tubeless tire sealant simple
3
Mountain Bikes and Gear
How much do you spend on bike service each year?
6
Grips
How do I remove stuck bike grips? [Quick Question]
2
Wheels
How to Service Your Mountain Bike Freehub at Home
4
Drivetrain
Bottom Bracket Service: How to Maintain and Replace Yours
Mountain Bikes and Gear
How to Do a One Second Bolt Check on Your Mountain Bike
2
Drivetrain
How to Find the Right Bottom Bracket for Your Mountain Bike
Hardtail bikes
How to Restore a Vintage MTB: Start with the Right Bike
3
Mountain Bikes and Gear
Never Underestimate the Power of a Good Zip-tie
18
Tires All
Mountain Bike Tire Repair Tips: From Emergency to Semi-Permanent
4
Mountain Bikes and Gear
E-bike Repair and Maintenance: How to Diagnose and Solve Common Electric Bike Problems
8
Clothing
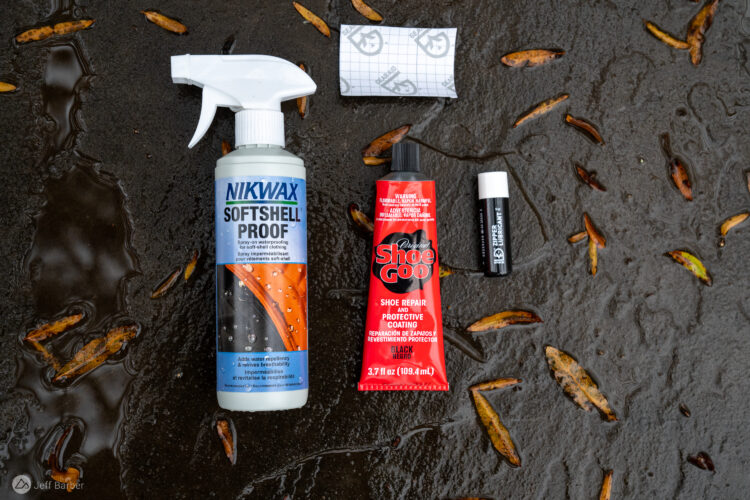
4 Cheap Ways to Renew and Revive Worn Out Outdoor Clothing and Shoes
1
Brakes
How to Adjust Disc Brakes on your Bike [Repair Tips]
3
Mountain Bikes and Gear
How can I Prevent and Repair Paint Scratches on my Frame? [Quick Question]
3
Brakes
Quick and Easy MTB Brake Caliper Service: Hold the Lube!
6
Tire Inserts
Tech Tips: Changing a CushCore Tire Insert
1
Wheels
Why Gorilla Tape Isn't Ideal and Other MTB Tubeless Taping Tips with Drew Esherick From Stans NoTubes
17
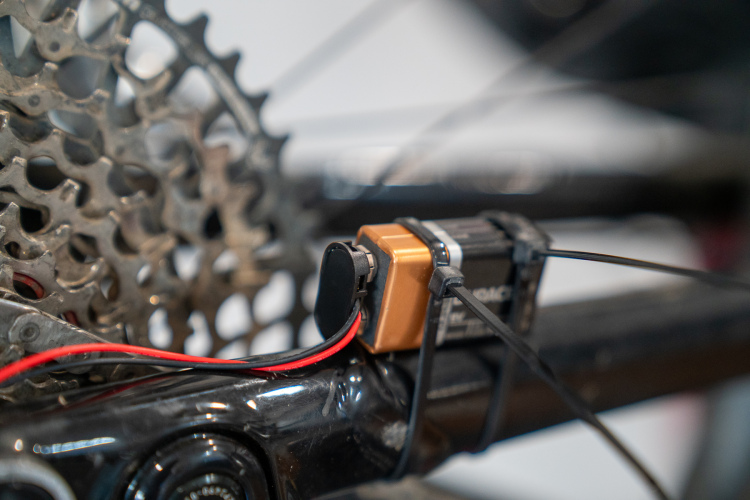
Drivetrain
Trailside Fixes for SRAM AXS Wireless Shifting
4
Dropper Posts
How to Rebuild a Cartridge Dropper Post
1
Wheels
A Beginner's Guide to Mountain Bike Wheel Truing
9
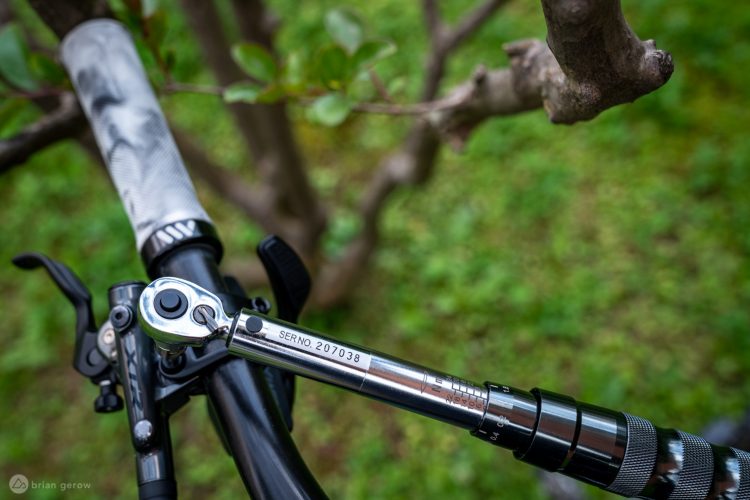
Tools
When Should I Use a Torque Wrench on My Mountain Bike? [Quick Question]
2
Dropper Posts
How do I Fix a Slow Dropper Post or One That Won't Stay Up? [Quick Question]
3
Wheels
What Can I do if a Spoke Breaks During a Ride? [Quick Question]
Repair
What Can I do When a Rim Gets Bent and Tubeless Tires Will no Longer Seal? [Quick Question]
1
Clipless Pedals
Refresh Your Shimano MTB Pedals With This Quick Service Tutorial and Video
1
Lubes & Cleaners
How Can I Silence My Squeaky Mountain Bike? [Quick Question]
2
Drivetrain
How Can I Fix a Bent Chainring Trailside? [Quick Question]
4
Brakes
How do I Replace my Disc Brake Pads? [Quick Question]
Brakes
How Do I Repair a Bent Disc Brake Rotor? [Quick Question]
2
Pedals
How do I Remove a Stuck Bike Pedal? [Quick Question]
5
Lubes & Cleaners
MTB Lube Theory: Which Oil or Grease Goes Where? We Asked a World Cup Mechanic
12
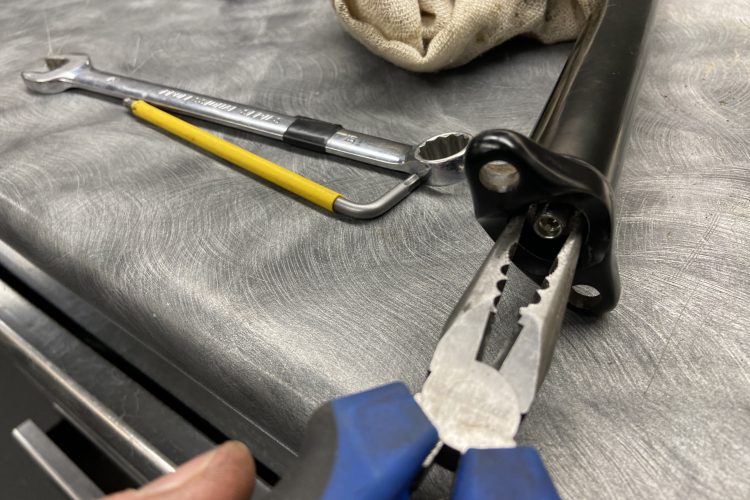
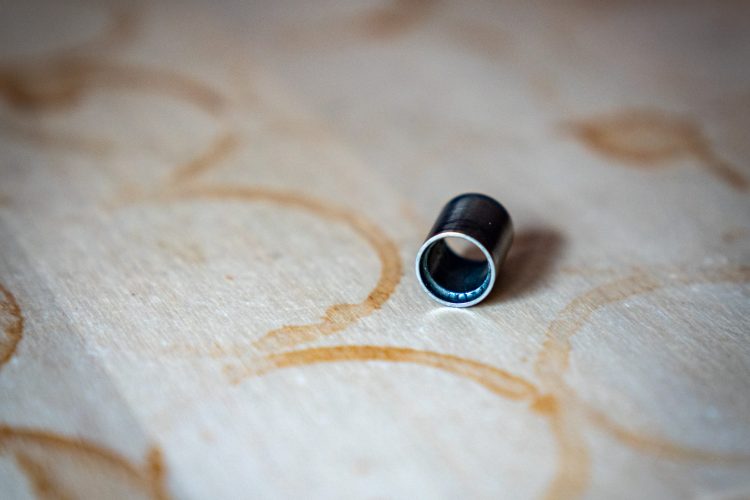
Derailleur
How Can I Keep my Derailleur Cable Ferrule From Falling Off? [Quick Question]
5
Brakes
How Can I Keep My Disc Brakes From Squealing and Squeaking? [Quick Question]
3
Saddles
How Can I Prevent My Seat Post From Slipping Into the Seat Tube While Riding? [Quick Question]
4
Derailleur
What Can I Do When my Chain is Stuck, Wedged, or Jammed Between the Cassette and the Spokes? [Quick Question]
6
Mountain Bikes and Gear
How to Get Leaky Tubeless Bike Tires to Seal Again
7
Mountain Bikes and Gear
Tidy Spiders: Tips to Manage the Web of Cable and Hose at the Helm of Your Bike
4
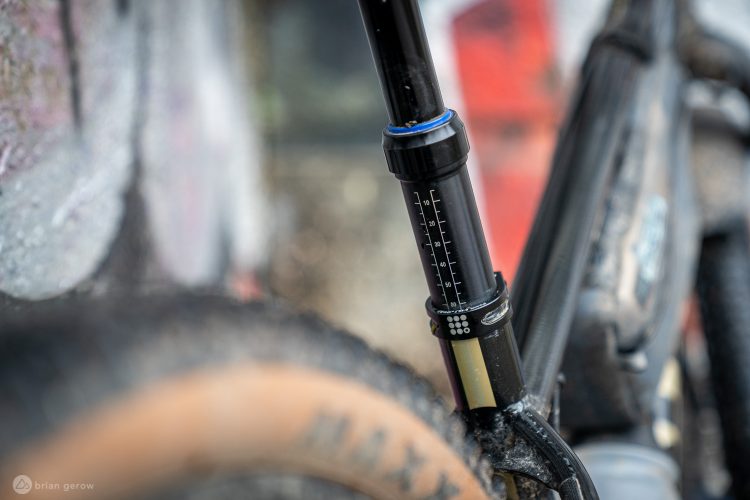
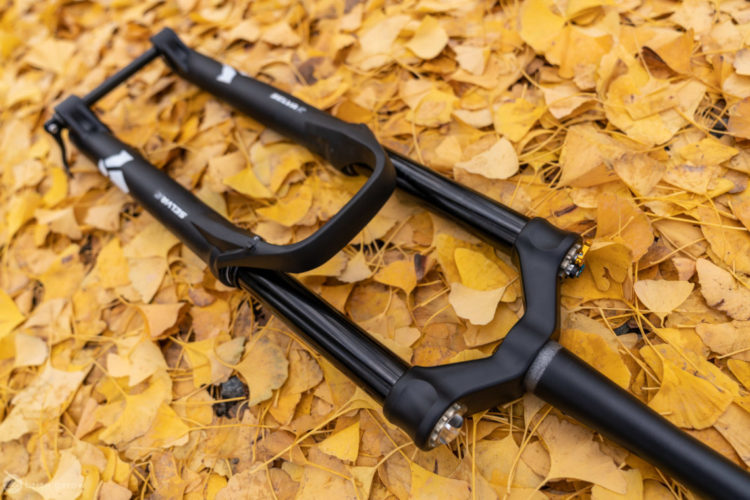
Forks
DIY Headset Tips and Tricks for Aspiring Bike Mechanics
Mountain Bikes and Gear
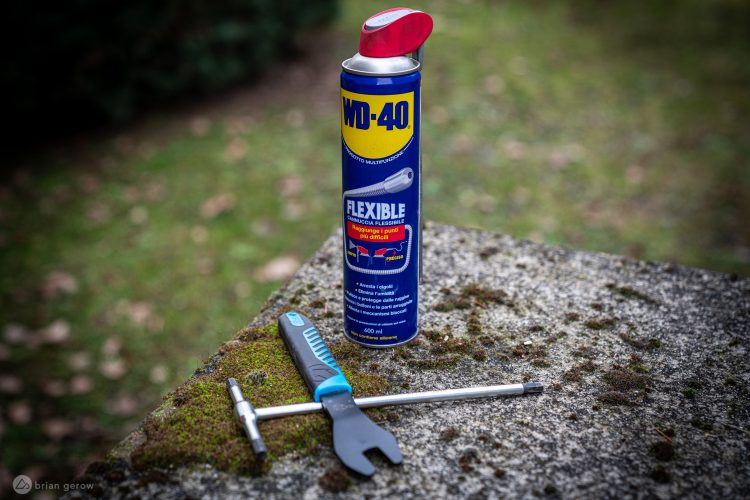
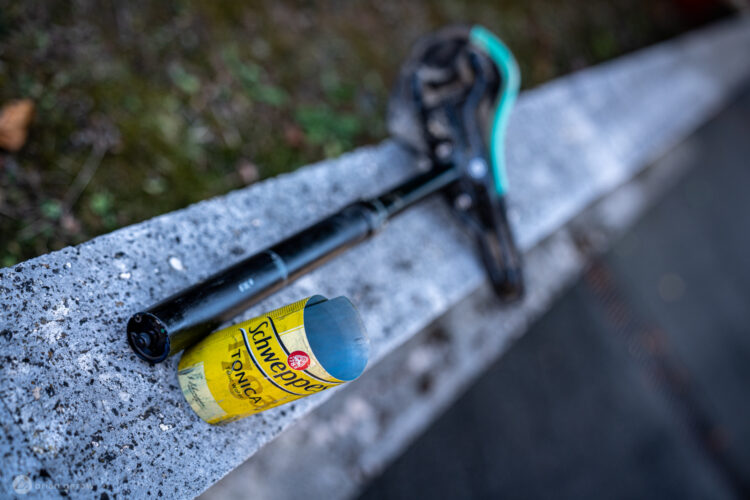
DIY Seat Post Shim, Caliper Alignment Tool, and Other Uses for Aluminum Cans
2
Mountain Bikes and Gear
5 Things You Can Do To Stop Rust Or Corrosion From Ruining Your Mountain Bike
1
Forks
How Often Should Mountain Bike Suspension Components be Serviced?
5
Forks
How to Tune Your Mountain Bike Fork and Shock for Cold Winter Riding
2
Repair
Trailside Mountain Bike Repair Tips [Podcast #232]
1
2
3
4
»
 1
1