

SRAM’s wireless AXS drivetrain has a bunch of benefits, including clean cable(less) routing, no shift degradation due to cable wear, and ease of installation, but most of all it means crisp, smooth shifting pretty much all of the time. Unfortunately, as great as it is, AXS drivetrains are still susceptible to some of the same problems as any normal drivetrain system, and some new issues as well. I’ll be talking through some of the trailside or home workshop fixes you can carry out to keep your AXS drivetrain running sweet.
Before I get into it, I’ll mention that SRAM has some helpful technical manuals and that it’s worth taking the time to look through the Eagle AXS manual to set your derailleur up or learn about some of the technical procedures.
Mechanical fixes
Imagine an instance where you might be riding and find that your shifting just isn’t quite right. Maybe it doesn’t want to stay in a certain gear or is skipping in and out of gears. Maybe it shifts okay but the chain is making a bunch of noise in one or several gears like it almost wants to shift. There are things you can do electronically to fix this, but first let’s go back to basics and check the nuts and bolts because at the end of the day, it’s still a derailleur.

One of the most common, and fortunately easily-fixed problems that occur on a 12-speed derailleur system is simply that the main bolt that fixes the derailleur to the rest of the bike is a couple of turns loose. Over time this bolt can back itself out as the suspension cycles and the derailleur pivots around the bolt, moving the derailleur outboard and giving the same effect as a lack of cable tension. It’s a good idea to check this bolt first and if it is loose or backed out, usually just threading it back in solves the issue.


The B-gap on a SRAM 12-speed derailleur is a critical adjustment and can make the difference between your drivetrain shifting smooth and crisp, and it being sloppy and vague. Start by shifting into the second largest sprocket. Then, snap the white chain-gap tool onto the biggest sprocket and align the arrow with the middle of your upper pulley. Ideally, this is done under sag so you’ll likely need somebody to help you. If you don’t have the tool simply use a measuring tool to ensure that the gap between the teeth on the upper pulley and the teeth on the biggest cassette sprocket is approximately 3mm. Use a 3mm hex key to dial the B-gap screw either in or out to get that 3mm gap perfect.

If you’ve smacked your derailleur into something — maybe a rock or a root — and bent the derailleur and/or hanger, often the best and easiest fix is simply to swap out the hanger. Most frames these days have a derailleur hanger that can be replaced with the tools you carry on an average ride. It’s always worth carrying a spare hanger for the roughly $20 they usually cost as they can solve some major headaches. If you heard your derailleur contact something and there are one or two specific gears somewhere that just aren’t happy, it’s likely that your hanger is bent. Fortunately, SRAM AXS derailleurs feature a clutch that allows it to move upon impact, meaning the derailleur is more often than not intact after such an incident, and just the hanger is all that’s needed. Just swap it out and you’re good to go.
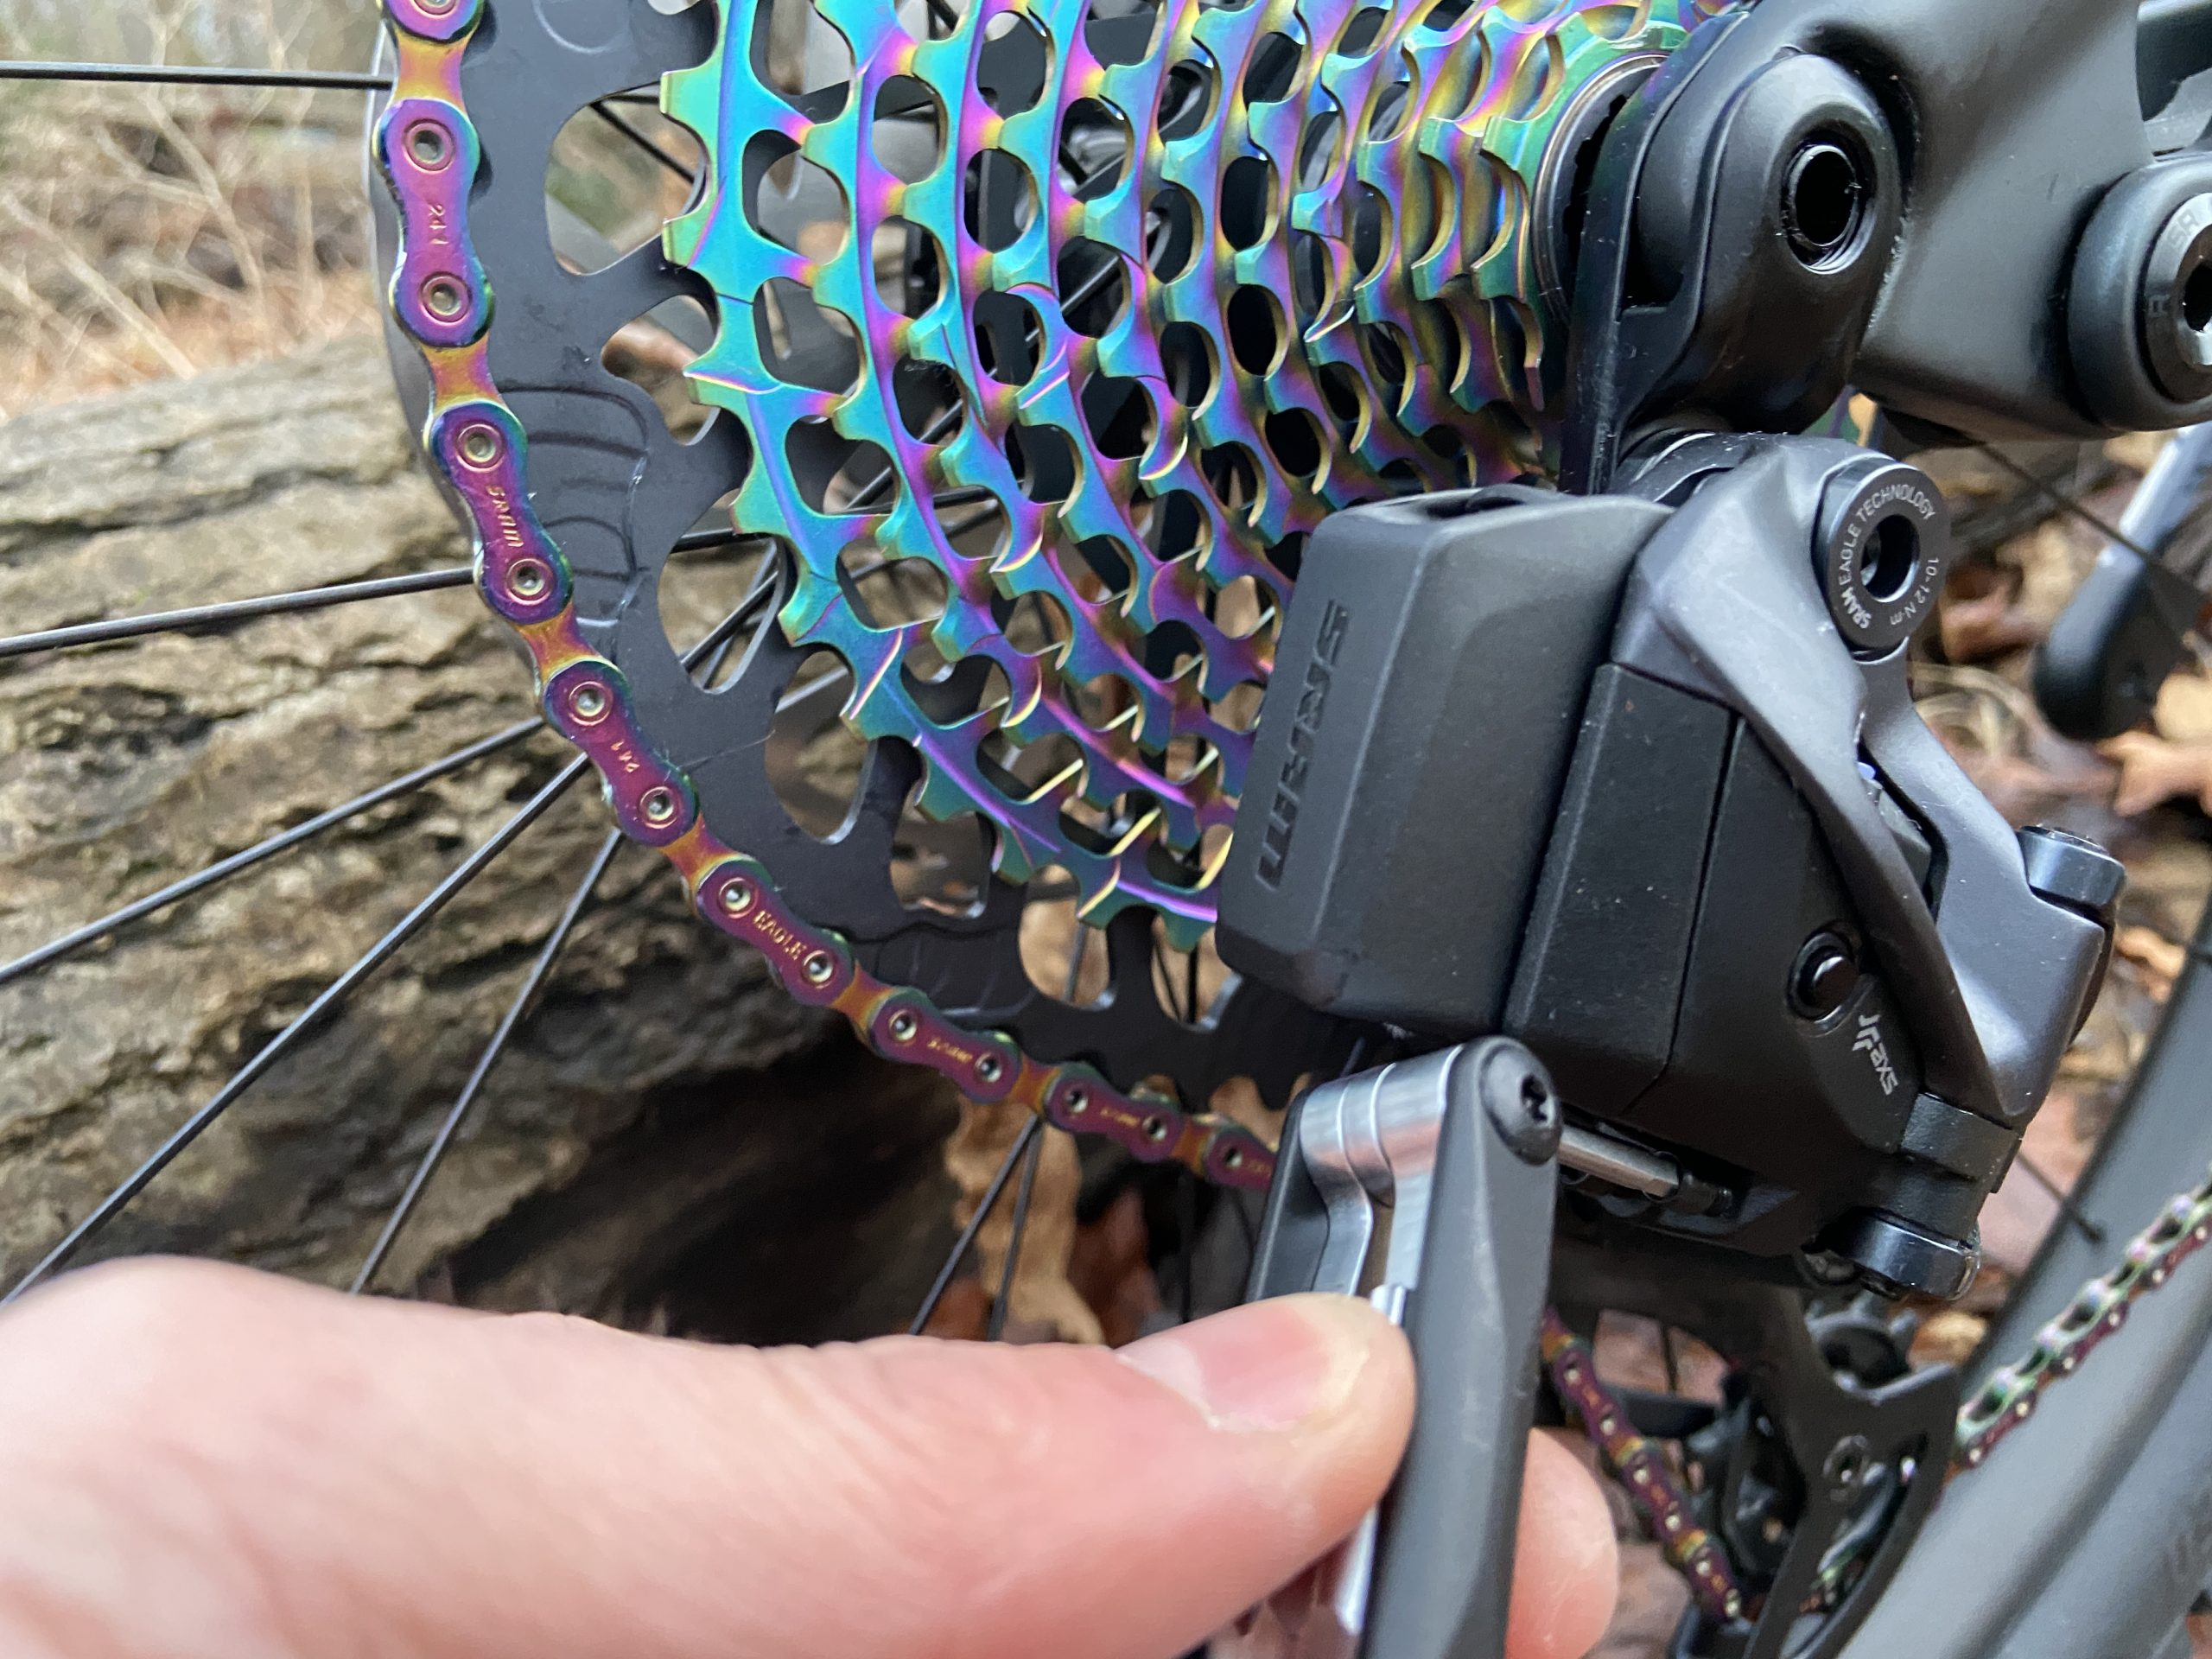
If for some reason the derailleur is over-shifting into the spokes you’ll need to adjust the low limit screw, and if it jumps off the smallest cog you’ll want to adjust the high limit. Simply find the associated limit screw; the high limit is the most inboard of the two and the low is the most outboard. Shift into the offending gear and dial the limit screw in clockwise until you see the derailleur move in a small amount, and then back the screw out half of a turn. This should be enough to ensure the derailleur has no problem getting into the gear but doesn’t over shift. Once you return home it can be a good idea to look over the drivetrain and determine why the derailleur was over-shifting, as this is often the result of a bent hanger or some other issue that needs attention.
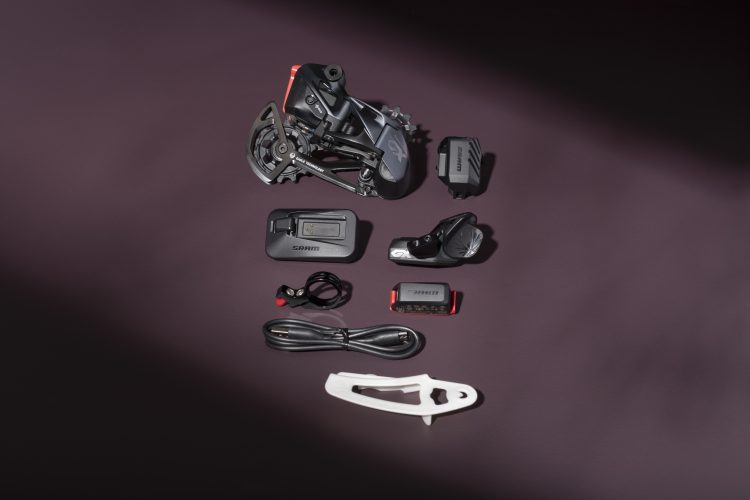
Shop SRAM AXS parts and upgrades at Competitive Cyclist and JensonUSA.
If these mechanical fixes don’t solve the problem you’re experiencing, you may need to try an electronic fix. Fortunately, there are a few handy tricks to help get a SRAM AXS derailleur working smoothly again
Micro-adjust
If for some reason the derailleur is shifting in one direction well, but poorly in the other, you may need to perform a micro-adjust. In a regular mechanical derailleur system, there is a cable that pulls the derailleur from the harder gears up the cassette into the easiest ones, and you can adjust the tension on that cable to pull it in one direction or the other. Those that know how to adjust cable tension on a mechanical derailleur will find the micro-adjust on an AXS derailleur immediately familiar because it does exactly the same thing, electronically.

To perform the micro-adjust, simply hold down the small AXS button on the underside of the shifter and shift the paddle in whichever direction it isn’t shifting properly. This is easy to do one-handed while riding in a parking lot. Shift through the gears a few more times and see if you need more or less adjustment. If you’ve gone too far in the wrong direction, try going back the other way. It’s worth mentioning that if you need to perform a micro-adjust to compensate for a bent derailleur/hanger, you should check your limit screws to make sure the derailleur doesn’t over-shift into your spokes. This is common after a crash and can spell disaster.
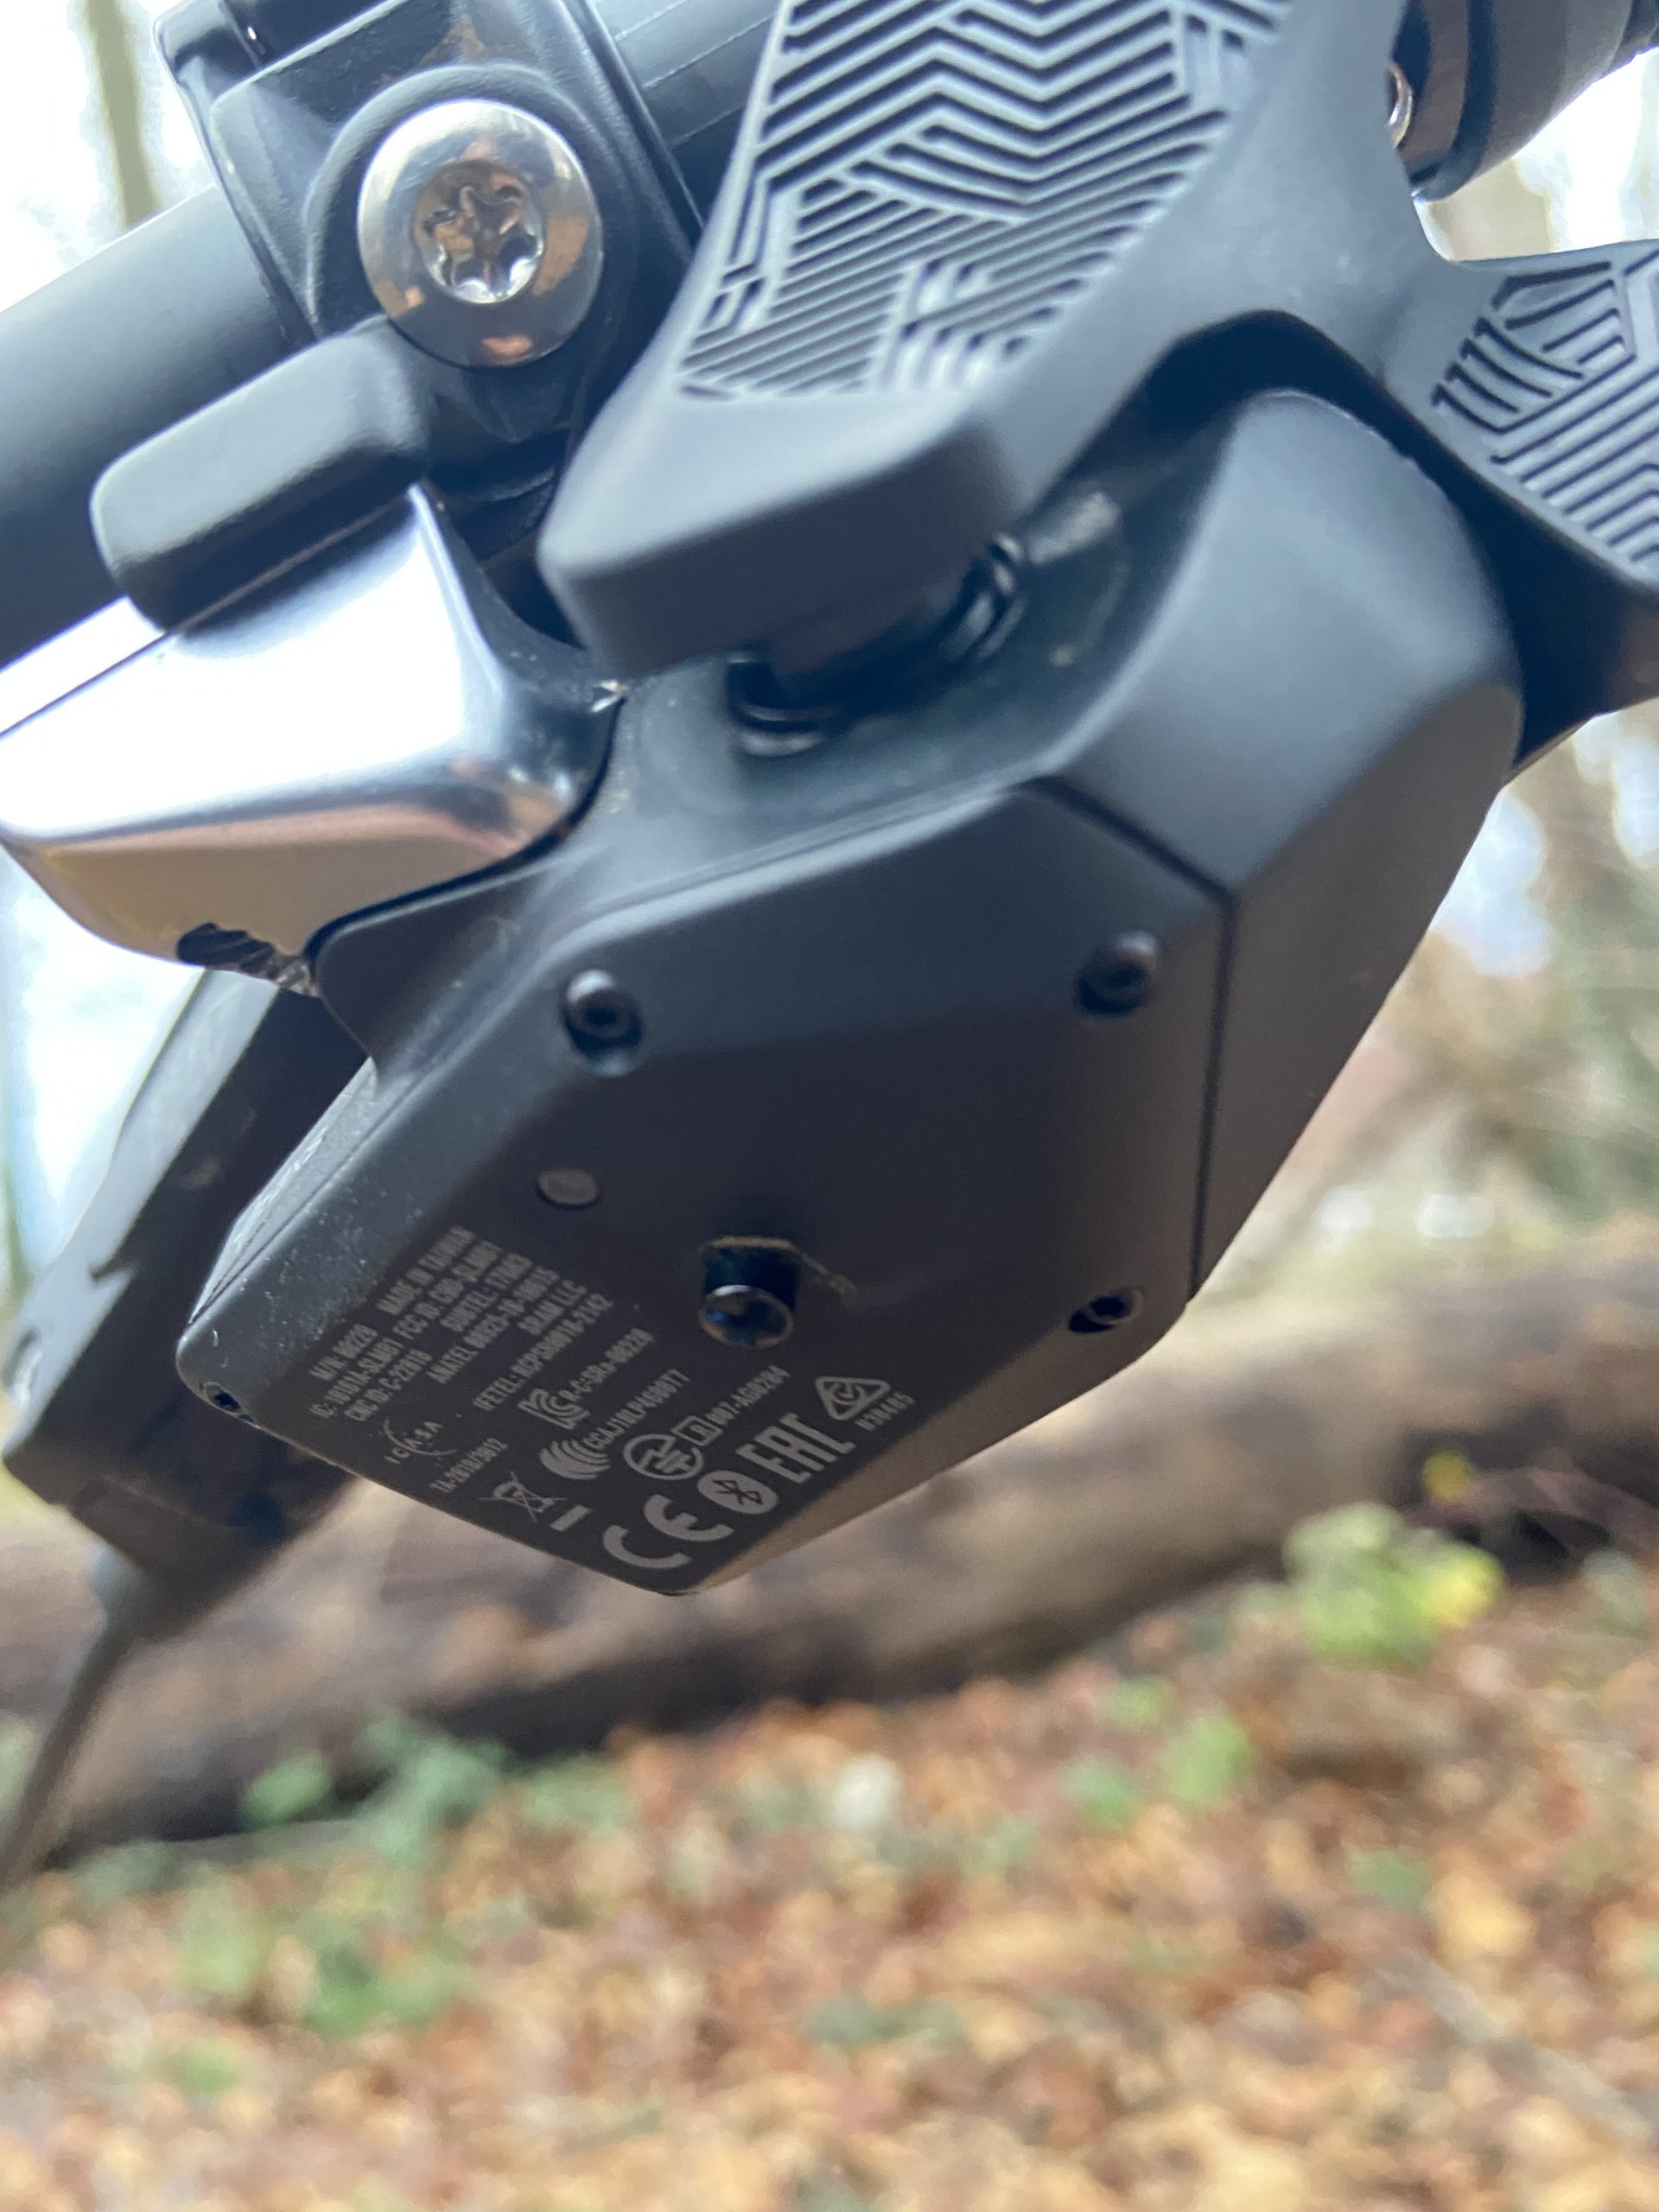
Fresh battery
If your system is unresponsive, often the main culprit is a dead battery. You can check the status of your battery using the AXS phone app or by checking on the derailleur or shifter. Lights will come on every time a shift is executed; green means the battery is good, red means it’s low, and flashing red means very low. If it flashes red and green that means a shift has been rejected, which can happen when it’s below -15ºC (5°F), so bear this in mind during winter months. If there’s no light at all, your battery is likely dead.

It goes without saying that you should keep on top of charging your batteries, however in the instance that you run your battery flat in the middle of a ride, you can simply swap a new one in. If you run an AXS system, carrying a spare battery at all times is a good idea, but if you don’t happen to have one you could swap the battery from your AXS Reverb dropper post into the derailleur. Just set the seat height somewhere that works for you and put the charged battery into the derailleur. You can always swap them over again to change seat height for climbing/descending. In the event that you’re running a drop-bar bike with a front derailleur, you could also swap the front/rear derailleur batteries over since the rear derailleur is usually the one doing most of the work and will run out first.


In the event that the shifter battery is dead, a rarer event for sure, simply use a coin to remove the cover from the underside of the shifter and swap a new CR2032 coin cell in there. This is a pretty common size and many stores will have them.
Re-pairing
If the derailleur stops working despite the LED next to the AXS button lighting when you push the button, re-pairing the derailleur and shifter can sometimes solve the problem. Simply hold down the AXS button on the rear derailleur until the LED blinks green, then hold down the AXS button on the remote/shifter until the LED on that blinks green. Then push the AXS button on the rear derailleur a final time and both LEDs will turn off. This should mean that both units are paired and good to go. The same process can be carried out with the AXS Reverb and remote and should reset the system.
Firmware update
If re-pairing derailleur and shifter didn’t work to solve inoperative shifting, it can be worth checking for firmware updates. Head to the AXS app and go into each individual component to check whether the firmware is up to date or not. If the app says that there is new firmware available for a component then follow the steps to push that update through. Note that you will need cell service to do this. Check out this handy guide from SRAM.


Hopefully, this guide will help keep you rolling if the time comes. If not SRAM has a great warranty service in most countries, so just take a trip to your local bike shop to see what they can do to help.


4 Comments
Jan 12, 2022
Jan 11, 2022
Jan 11, 2022
And what happens if you snap a derailleur cable? That fix is certainly trickier than swapping a battery or rebooting the system. I suppose if you're really worried about either situation, you'll always carry an extra cable or battery on every ride.
Jan 12, 2022
Keeping it real, either system can be reliable and provide a long, quality service life.
But, I digress... I am lovin' my one speed automatic equipped bike. Even has a pithy attitude!