
Go back a decade and dropper posts were only just starting to become commonplace and certainly weren’t cheap or reliable. Fast forward to now and dropper posts are ubiquitous within the mountain biking world; not only are they found on almost every stock bike, but they’re also readily available aftermarket at a reasonable price and are pretty damn reliable these days.
As with anything, however, a little care and attention goes a long way to keeping your dropper post working flawlessly year after year. Thankfully with cartridge-style dropper posts becoming increasingly common, maintenance is much easier and cheaper to do than ever before since for the most part they’re really easy to service and can be torn down at home with minimal tools.
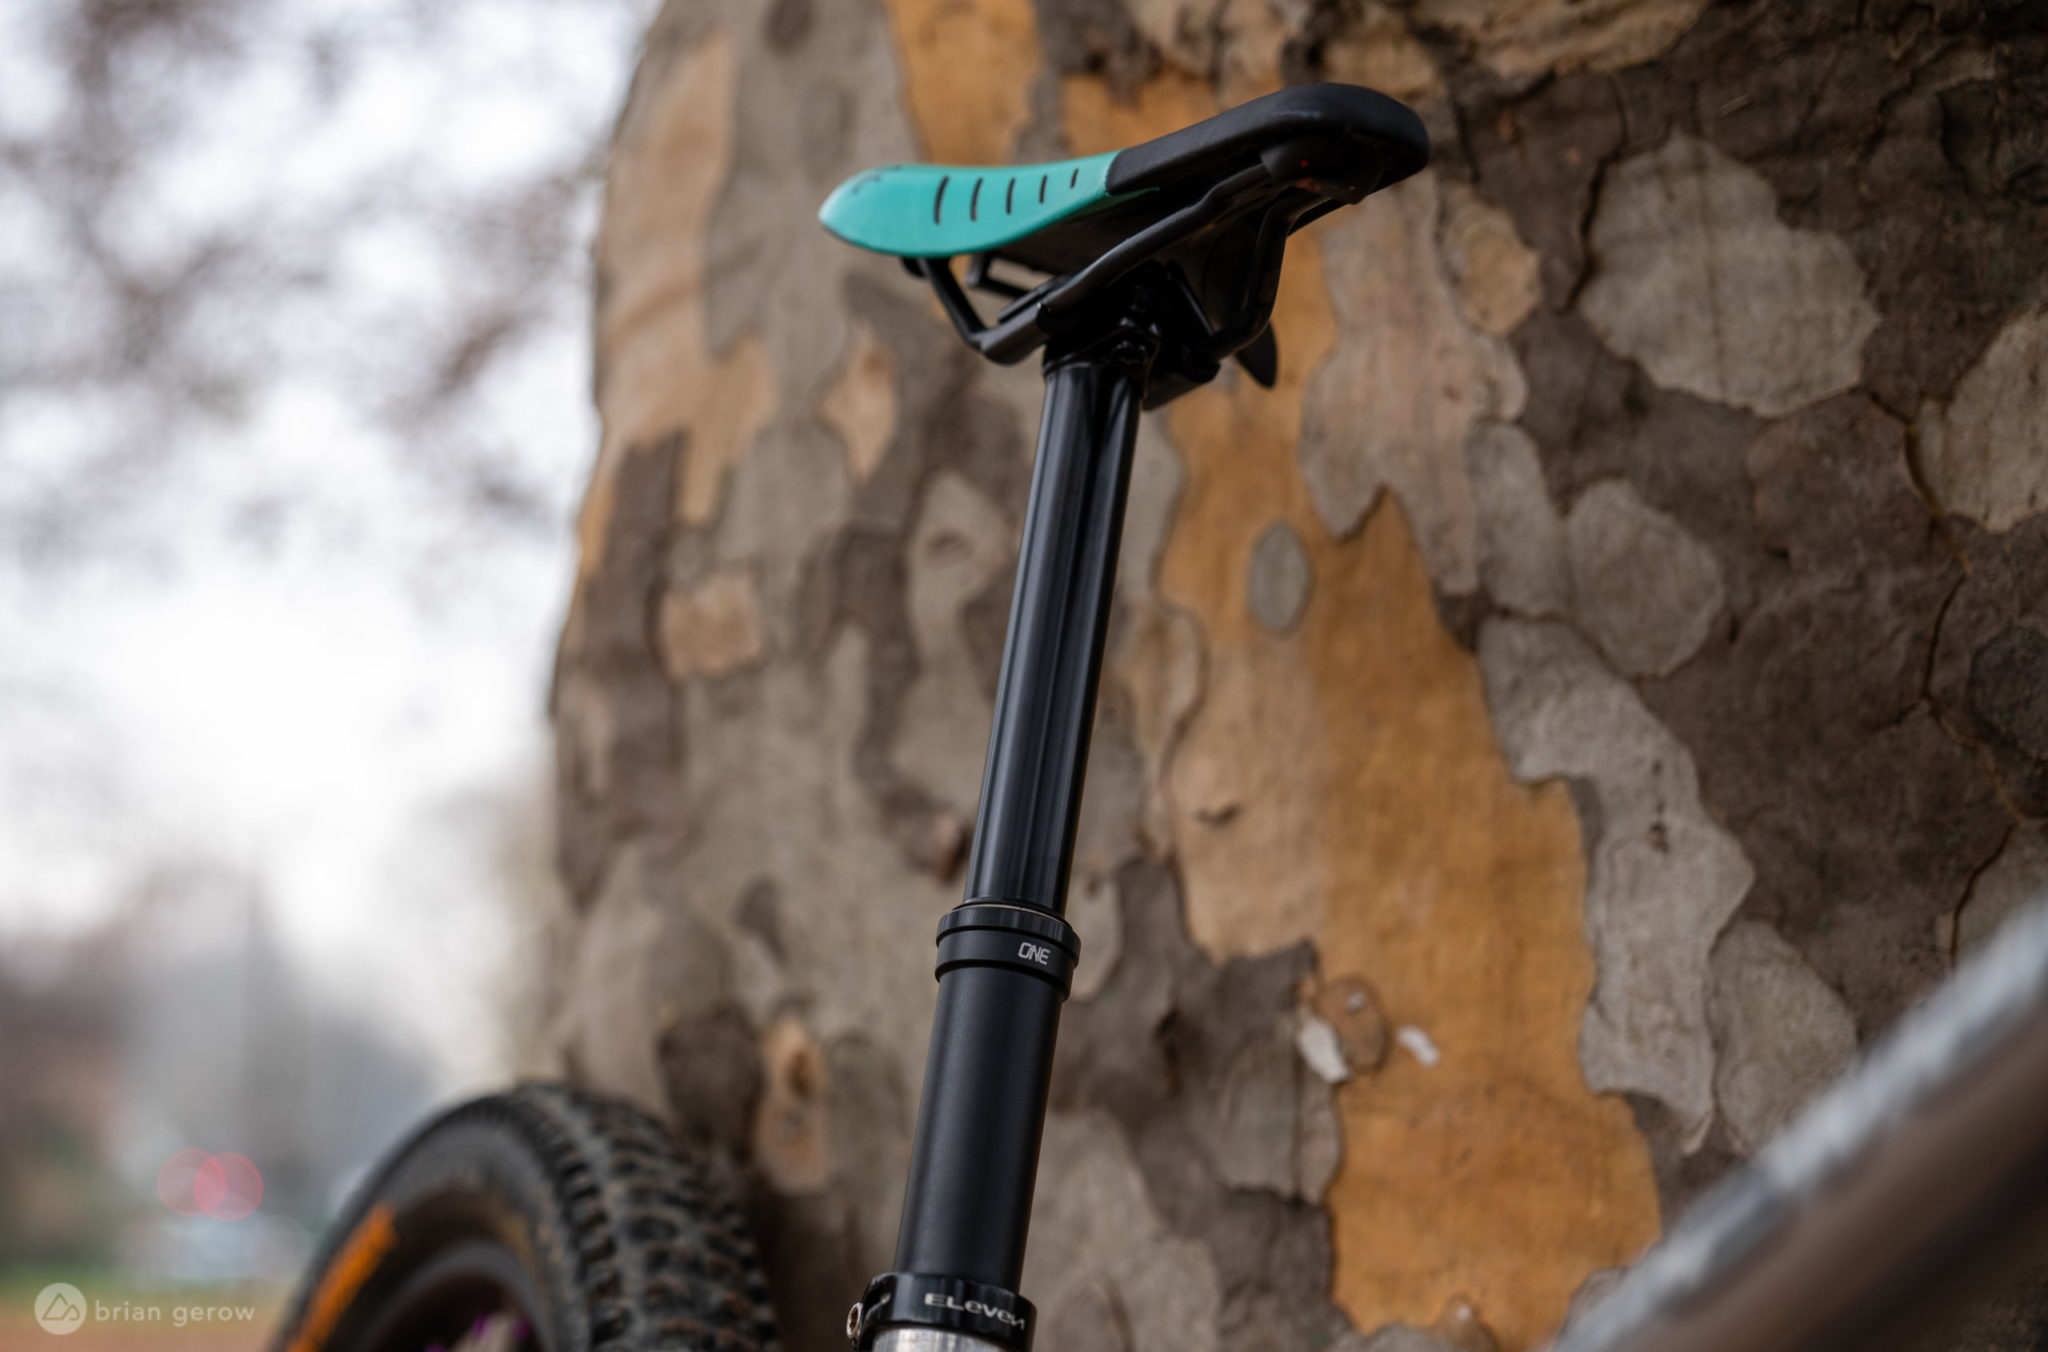
In this guide, I’ll show you how to tear down and rebuild a common cartridge-style post — the OneUp V2 dropper. The OneUp dropper uses a pretty similar design to most other cartridge dropper posts out there and even shares some common parts, so if you don’t own a OneUp dropper post this guide will likely still be helpful.
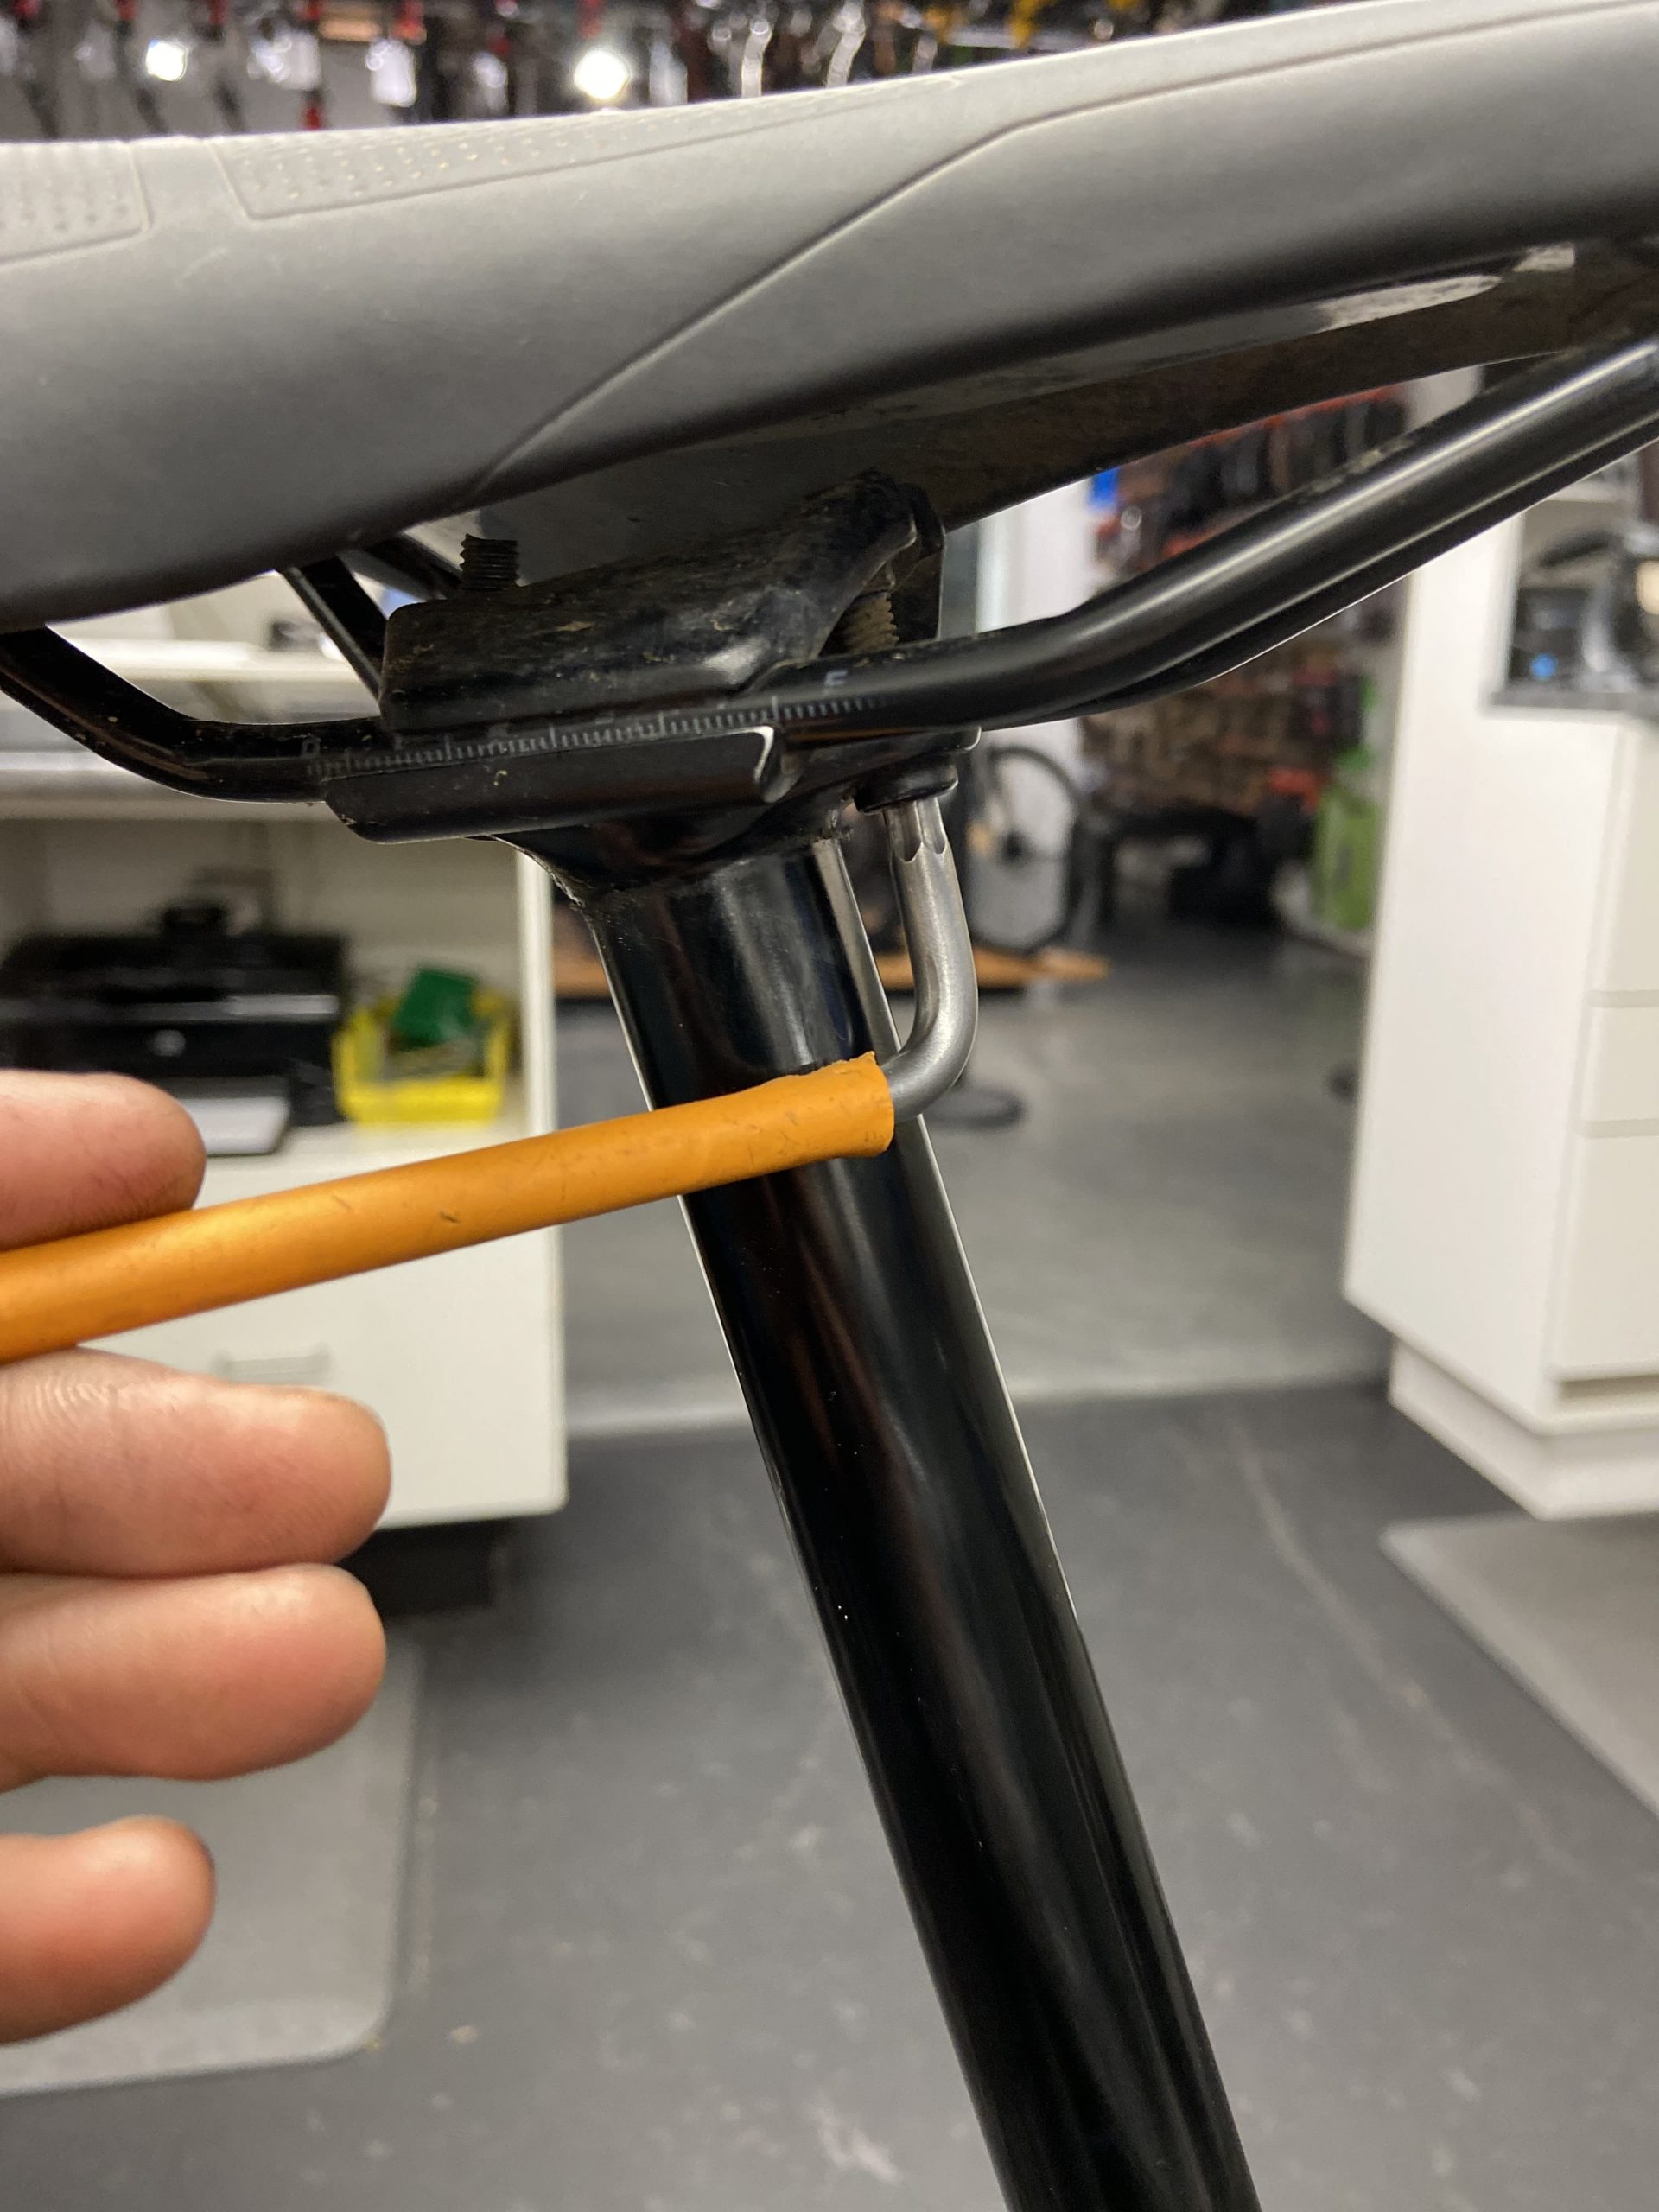
Step 1: Remove saddle
The first thing you’re going to want to do is to remove the saddle. Simply undo the two bolts under the seat with a hex key. Don’t forget to make a note of both your saddle angle and how far fore/aft the seat is positioned. Luckily most saddle rails have markings on them to help with this.

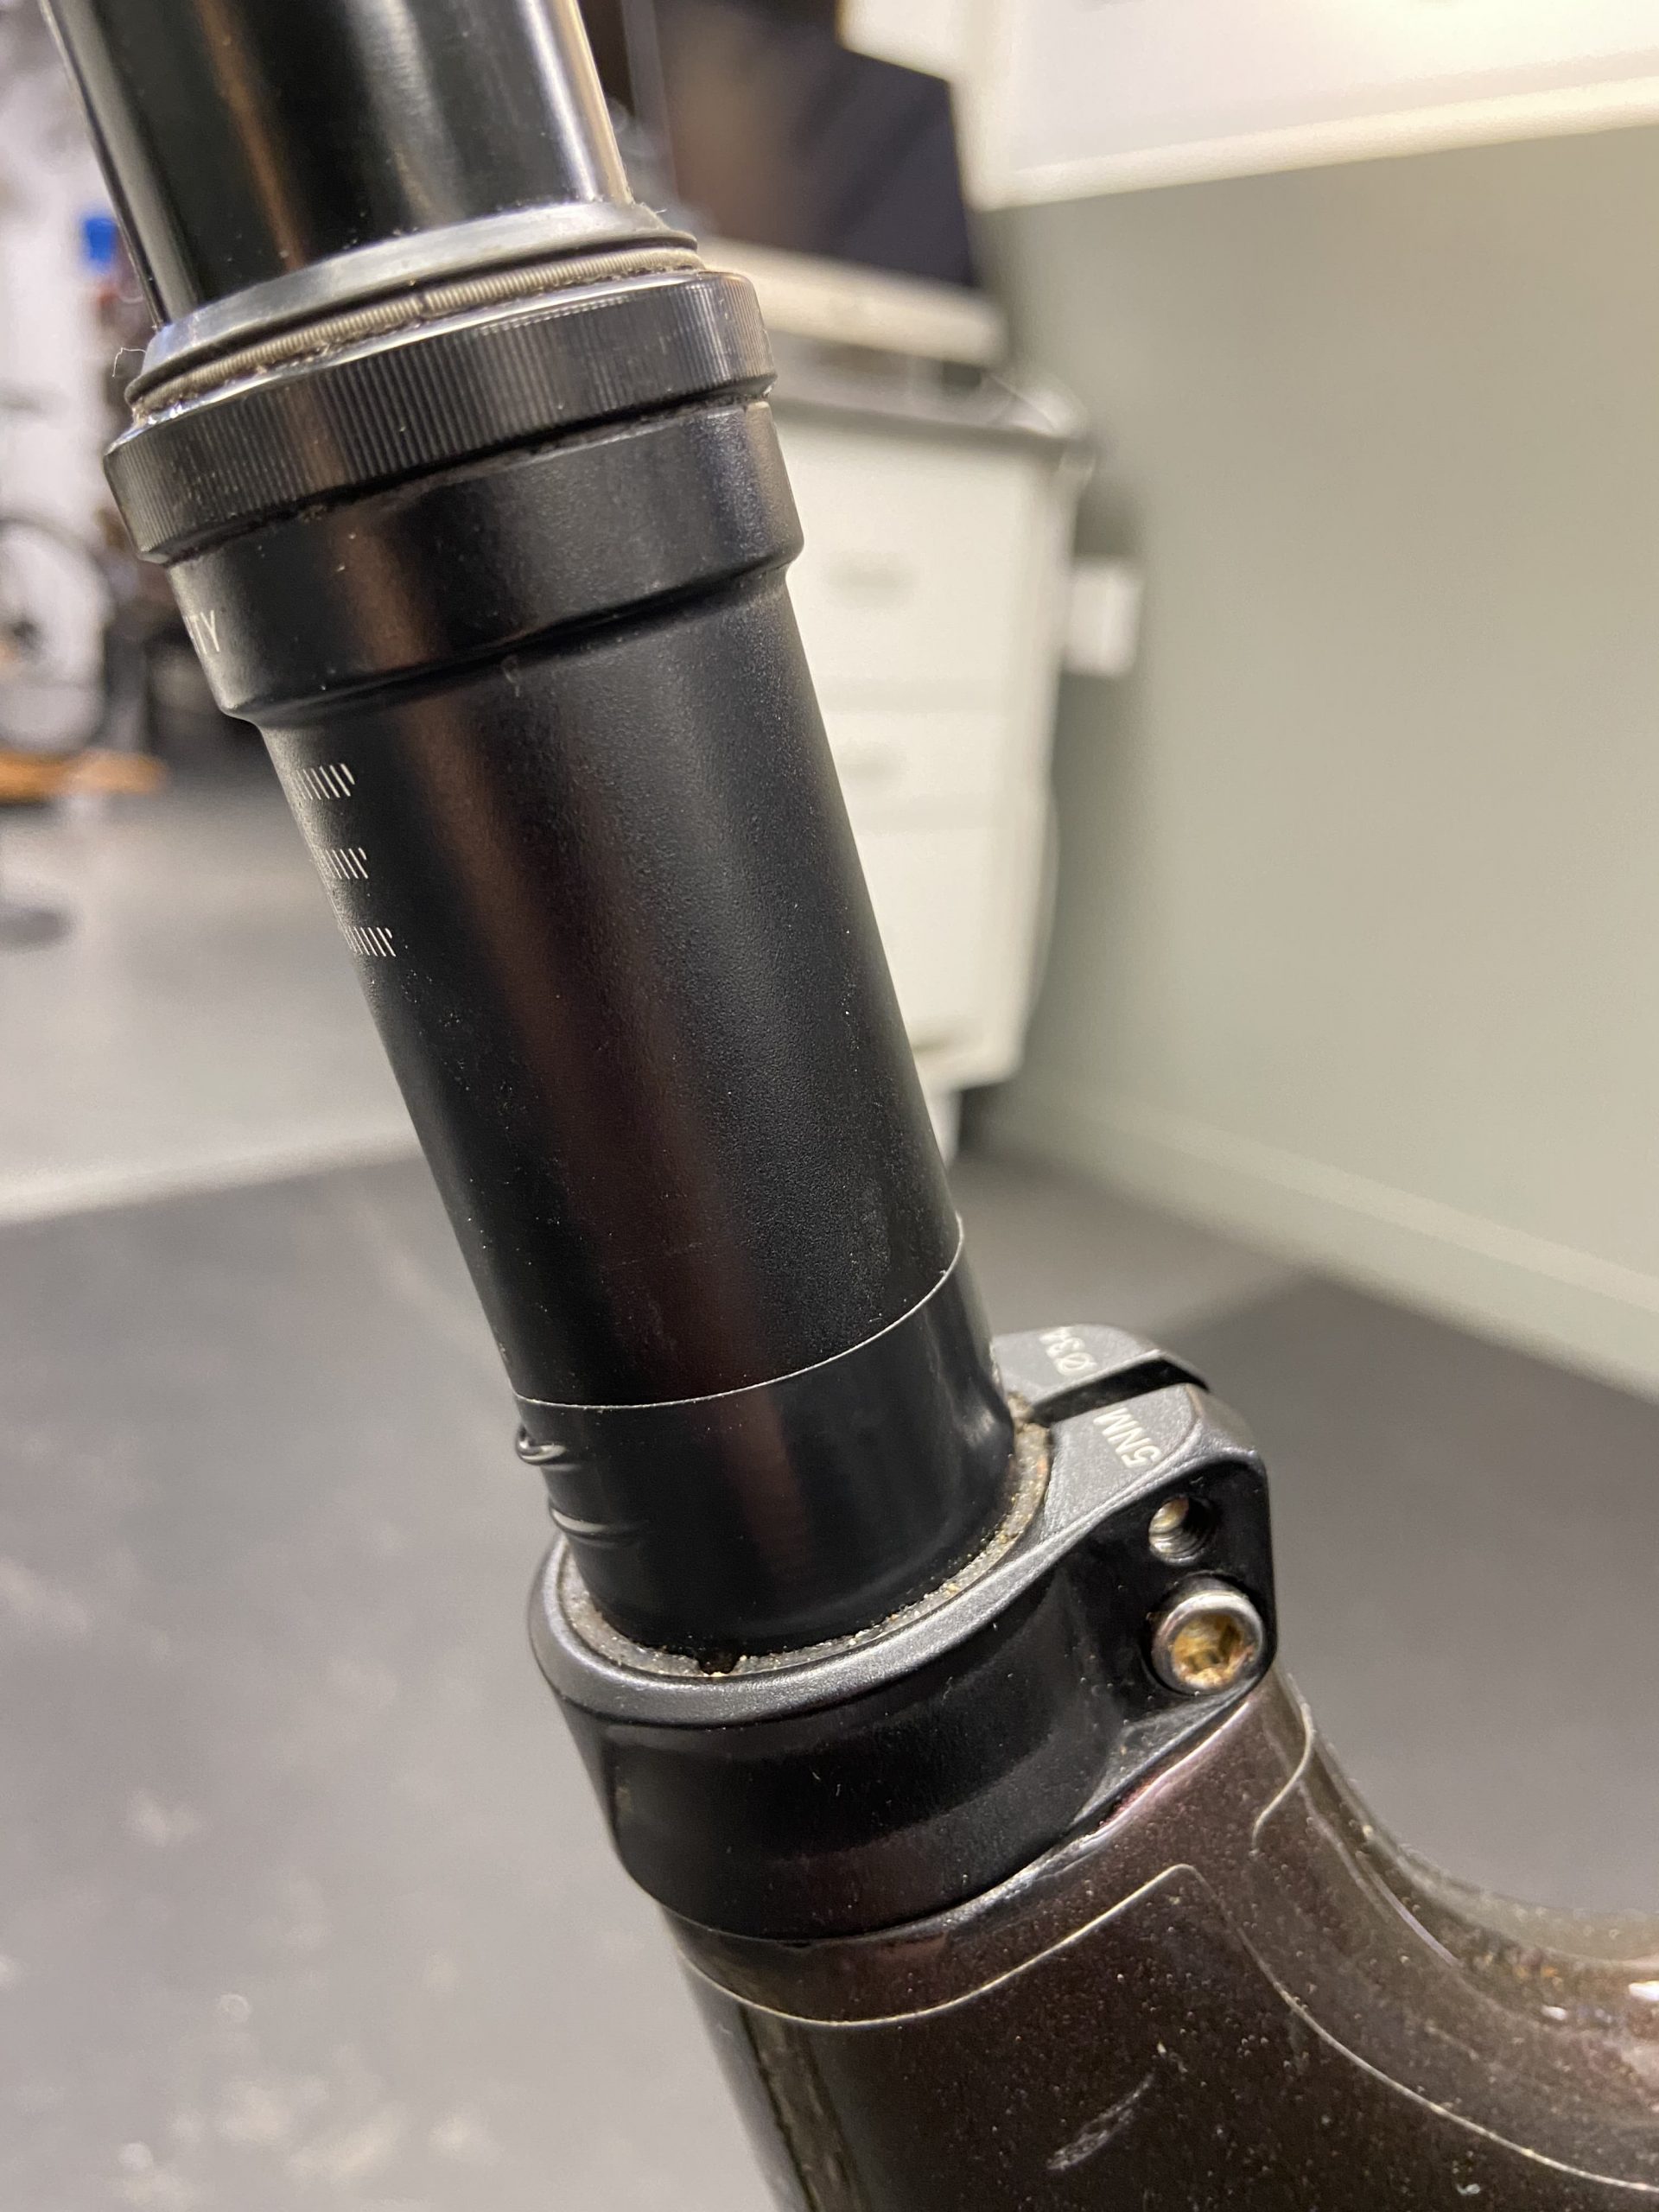
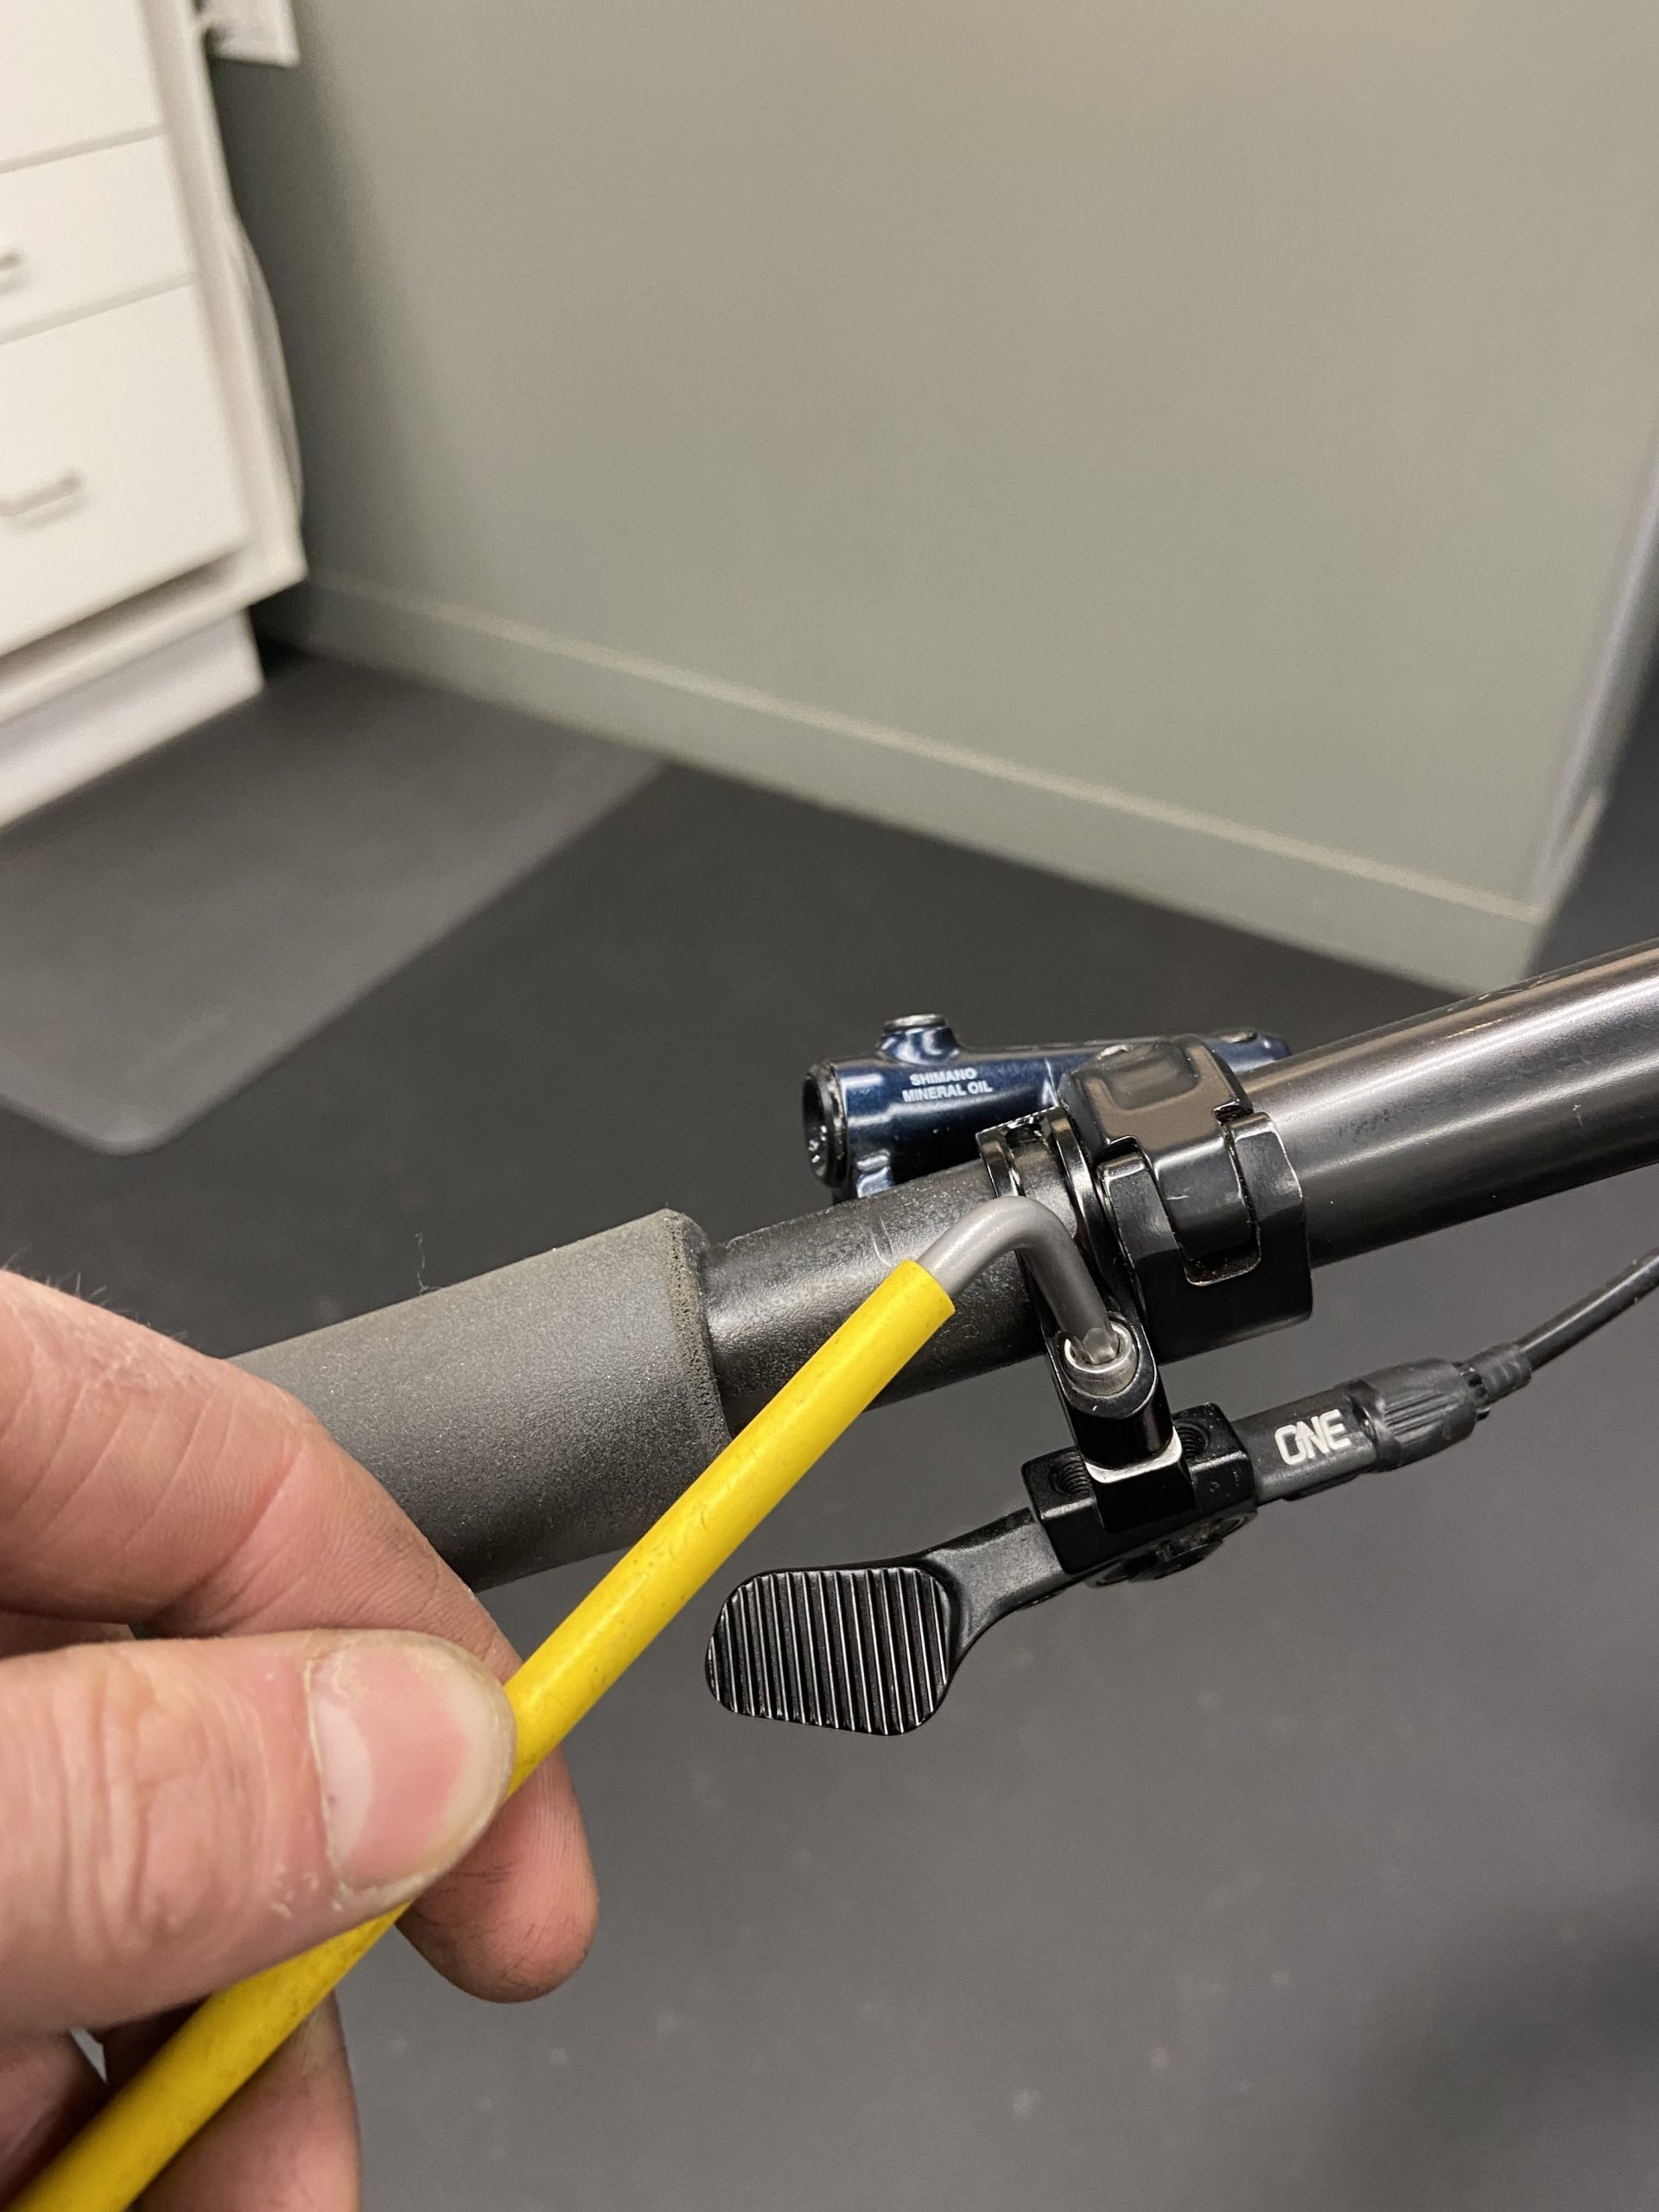
Step 2: Remove the post from the frame
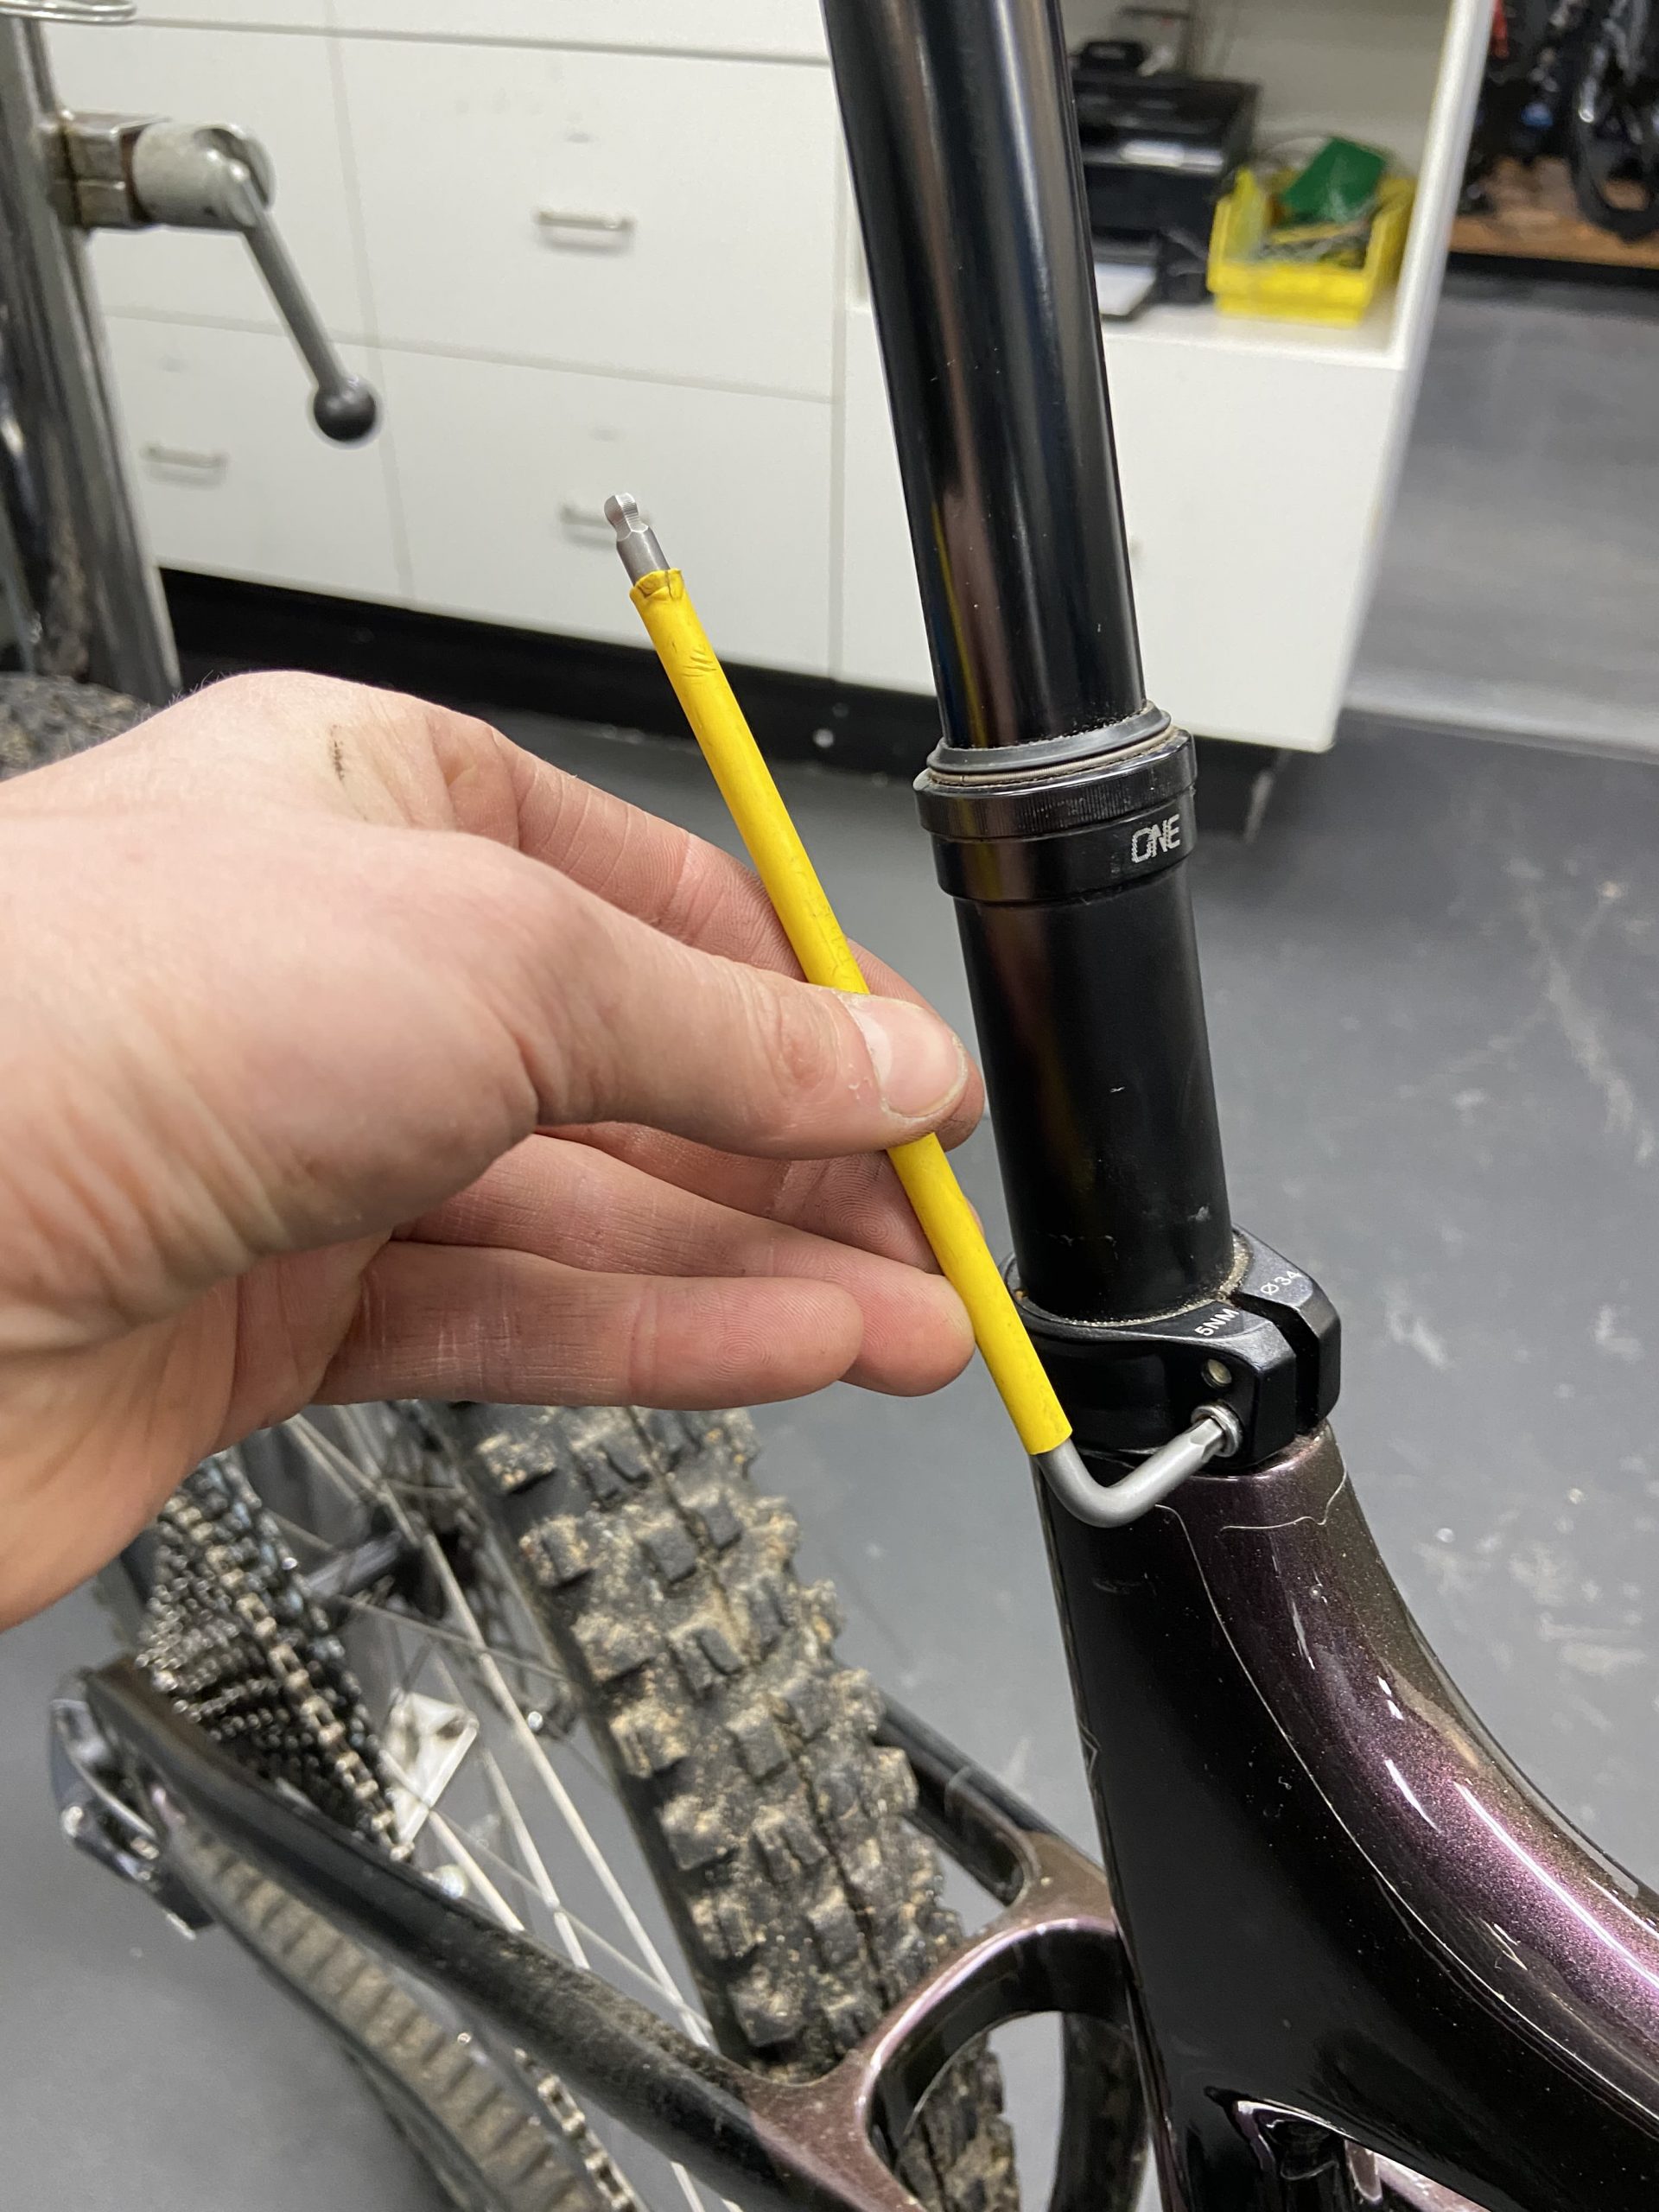
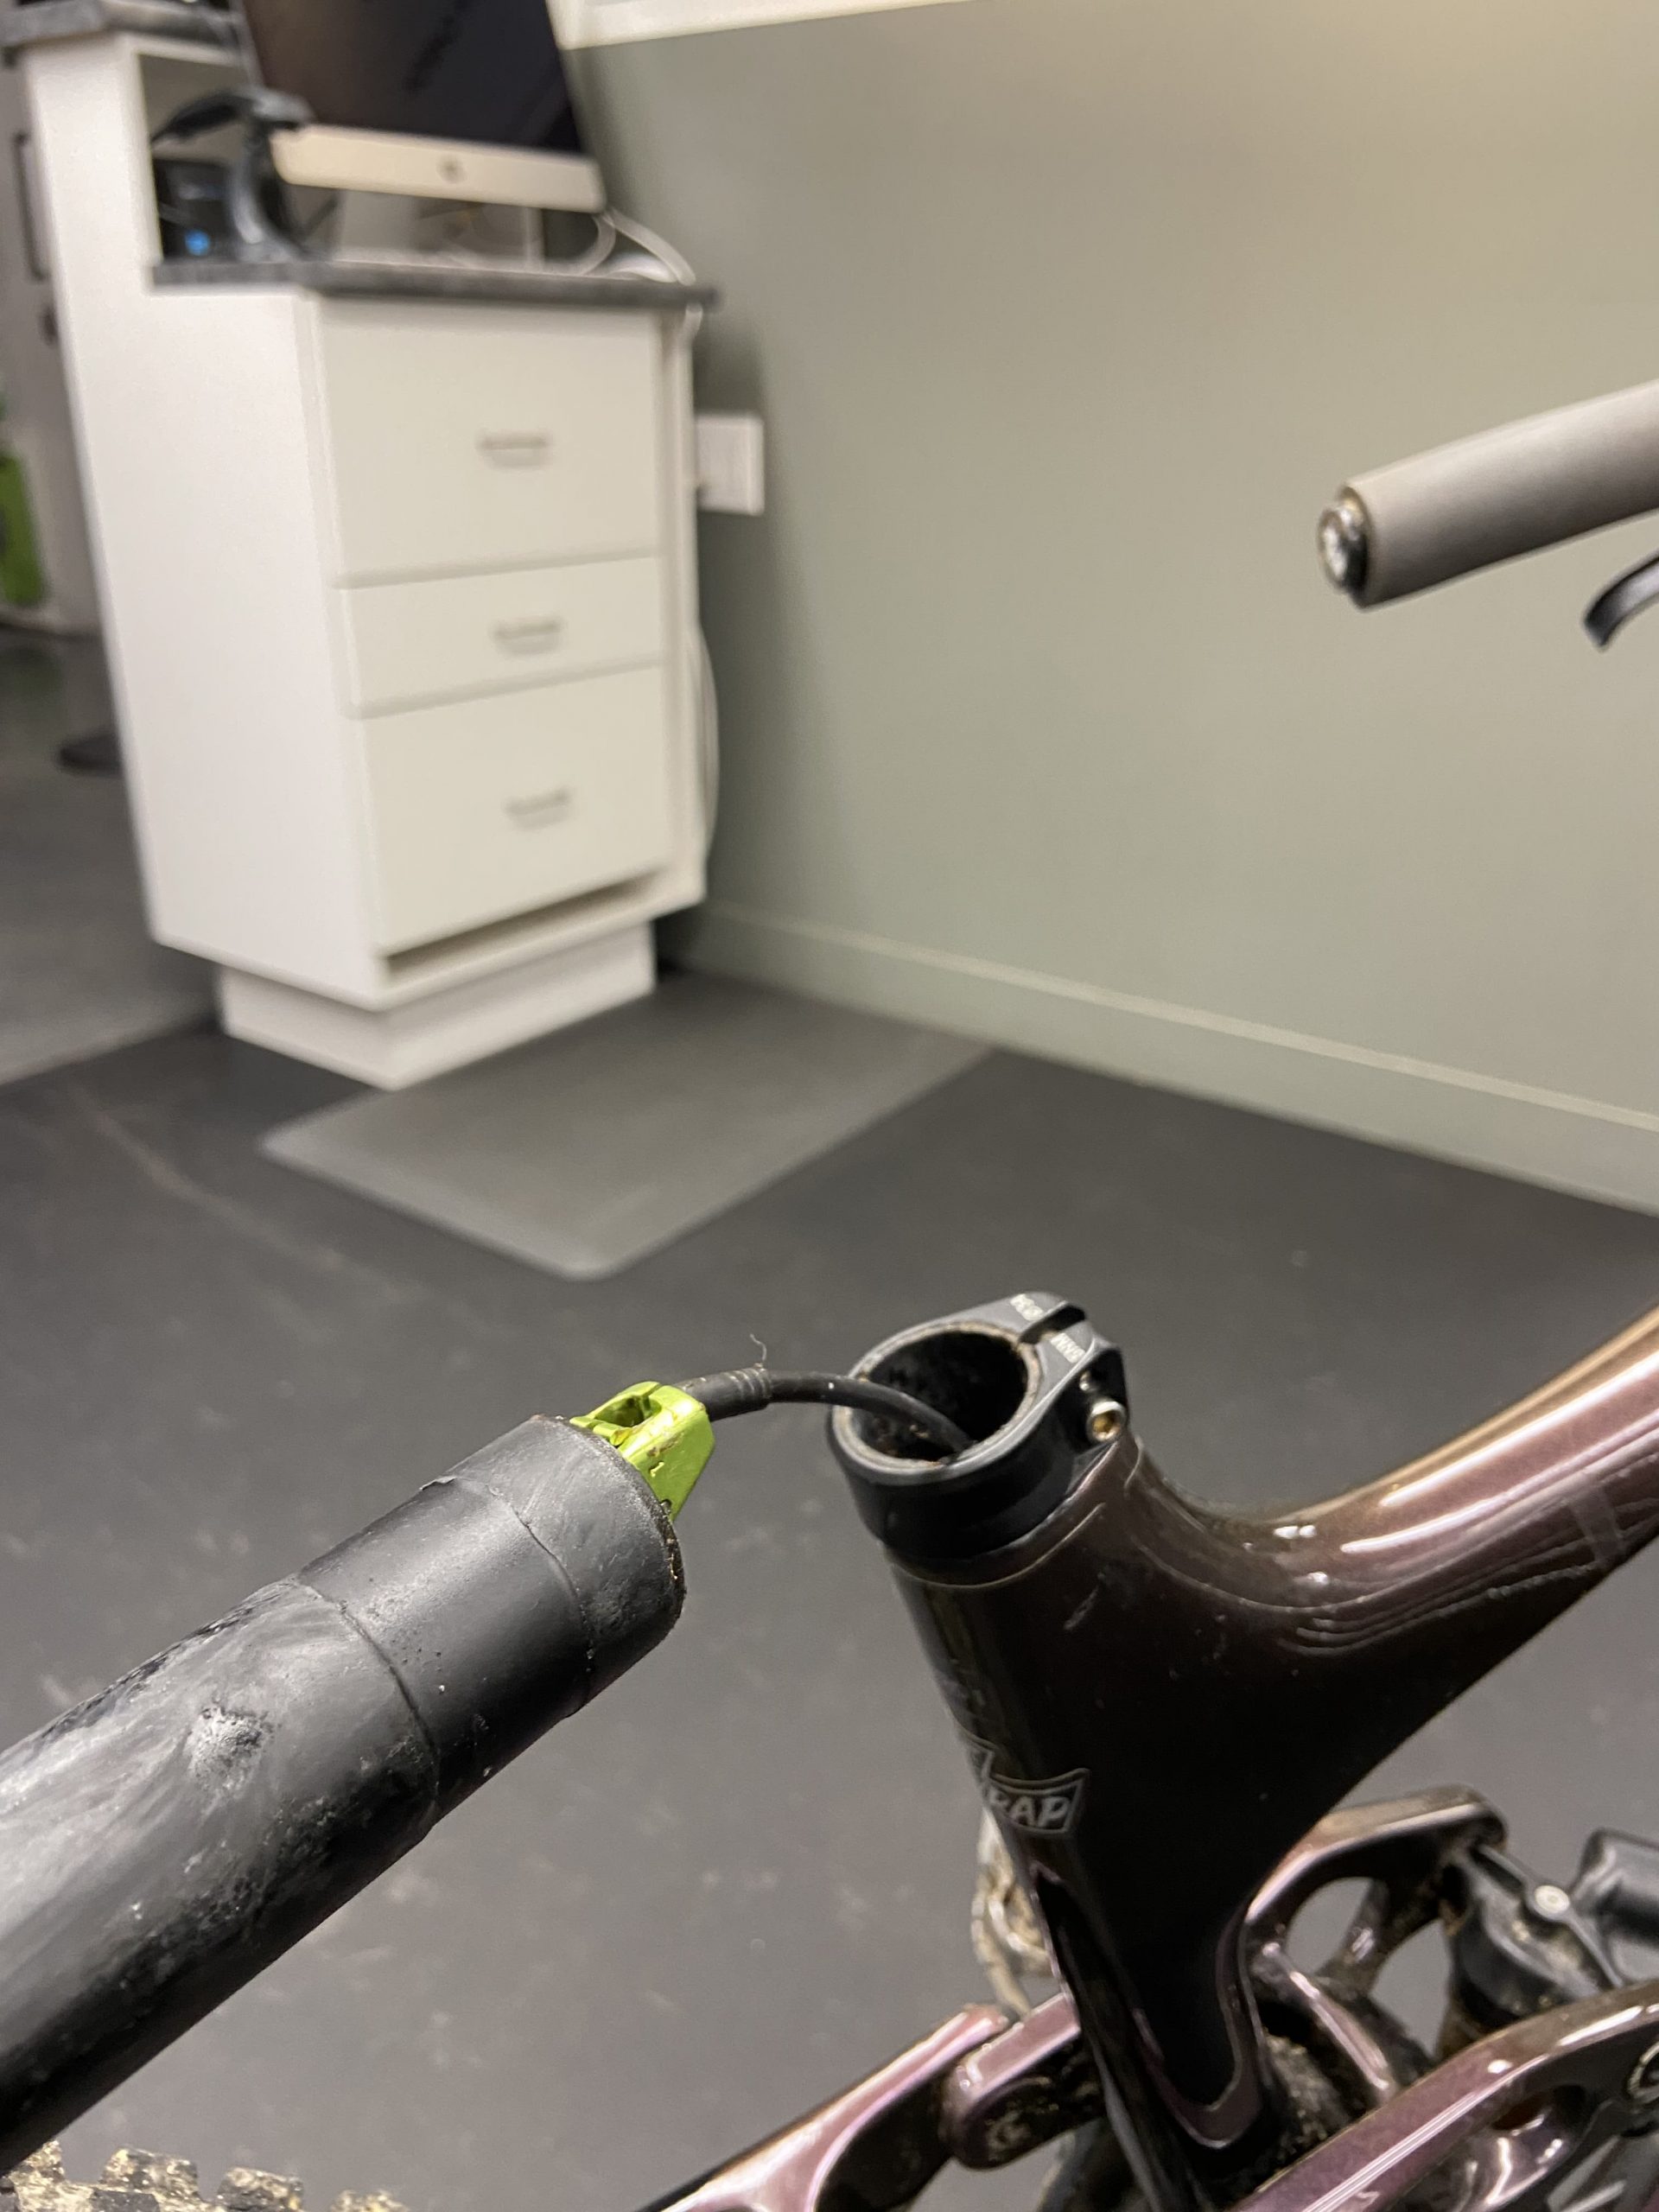
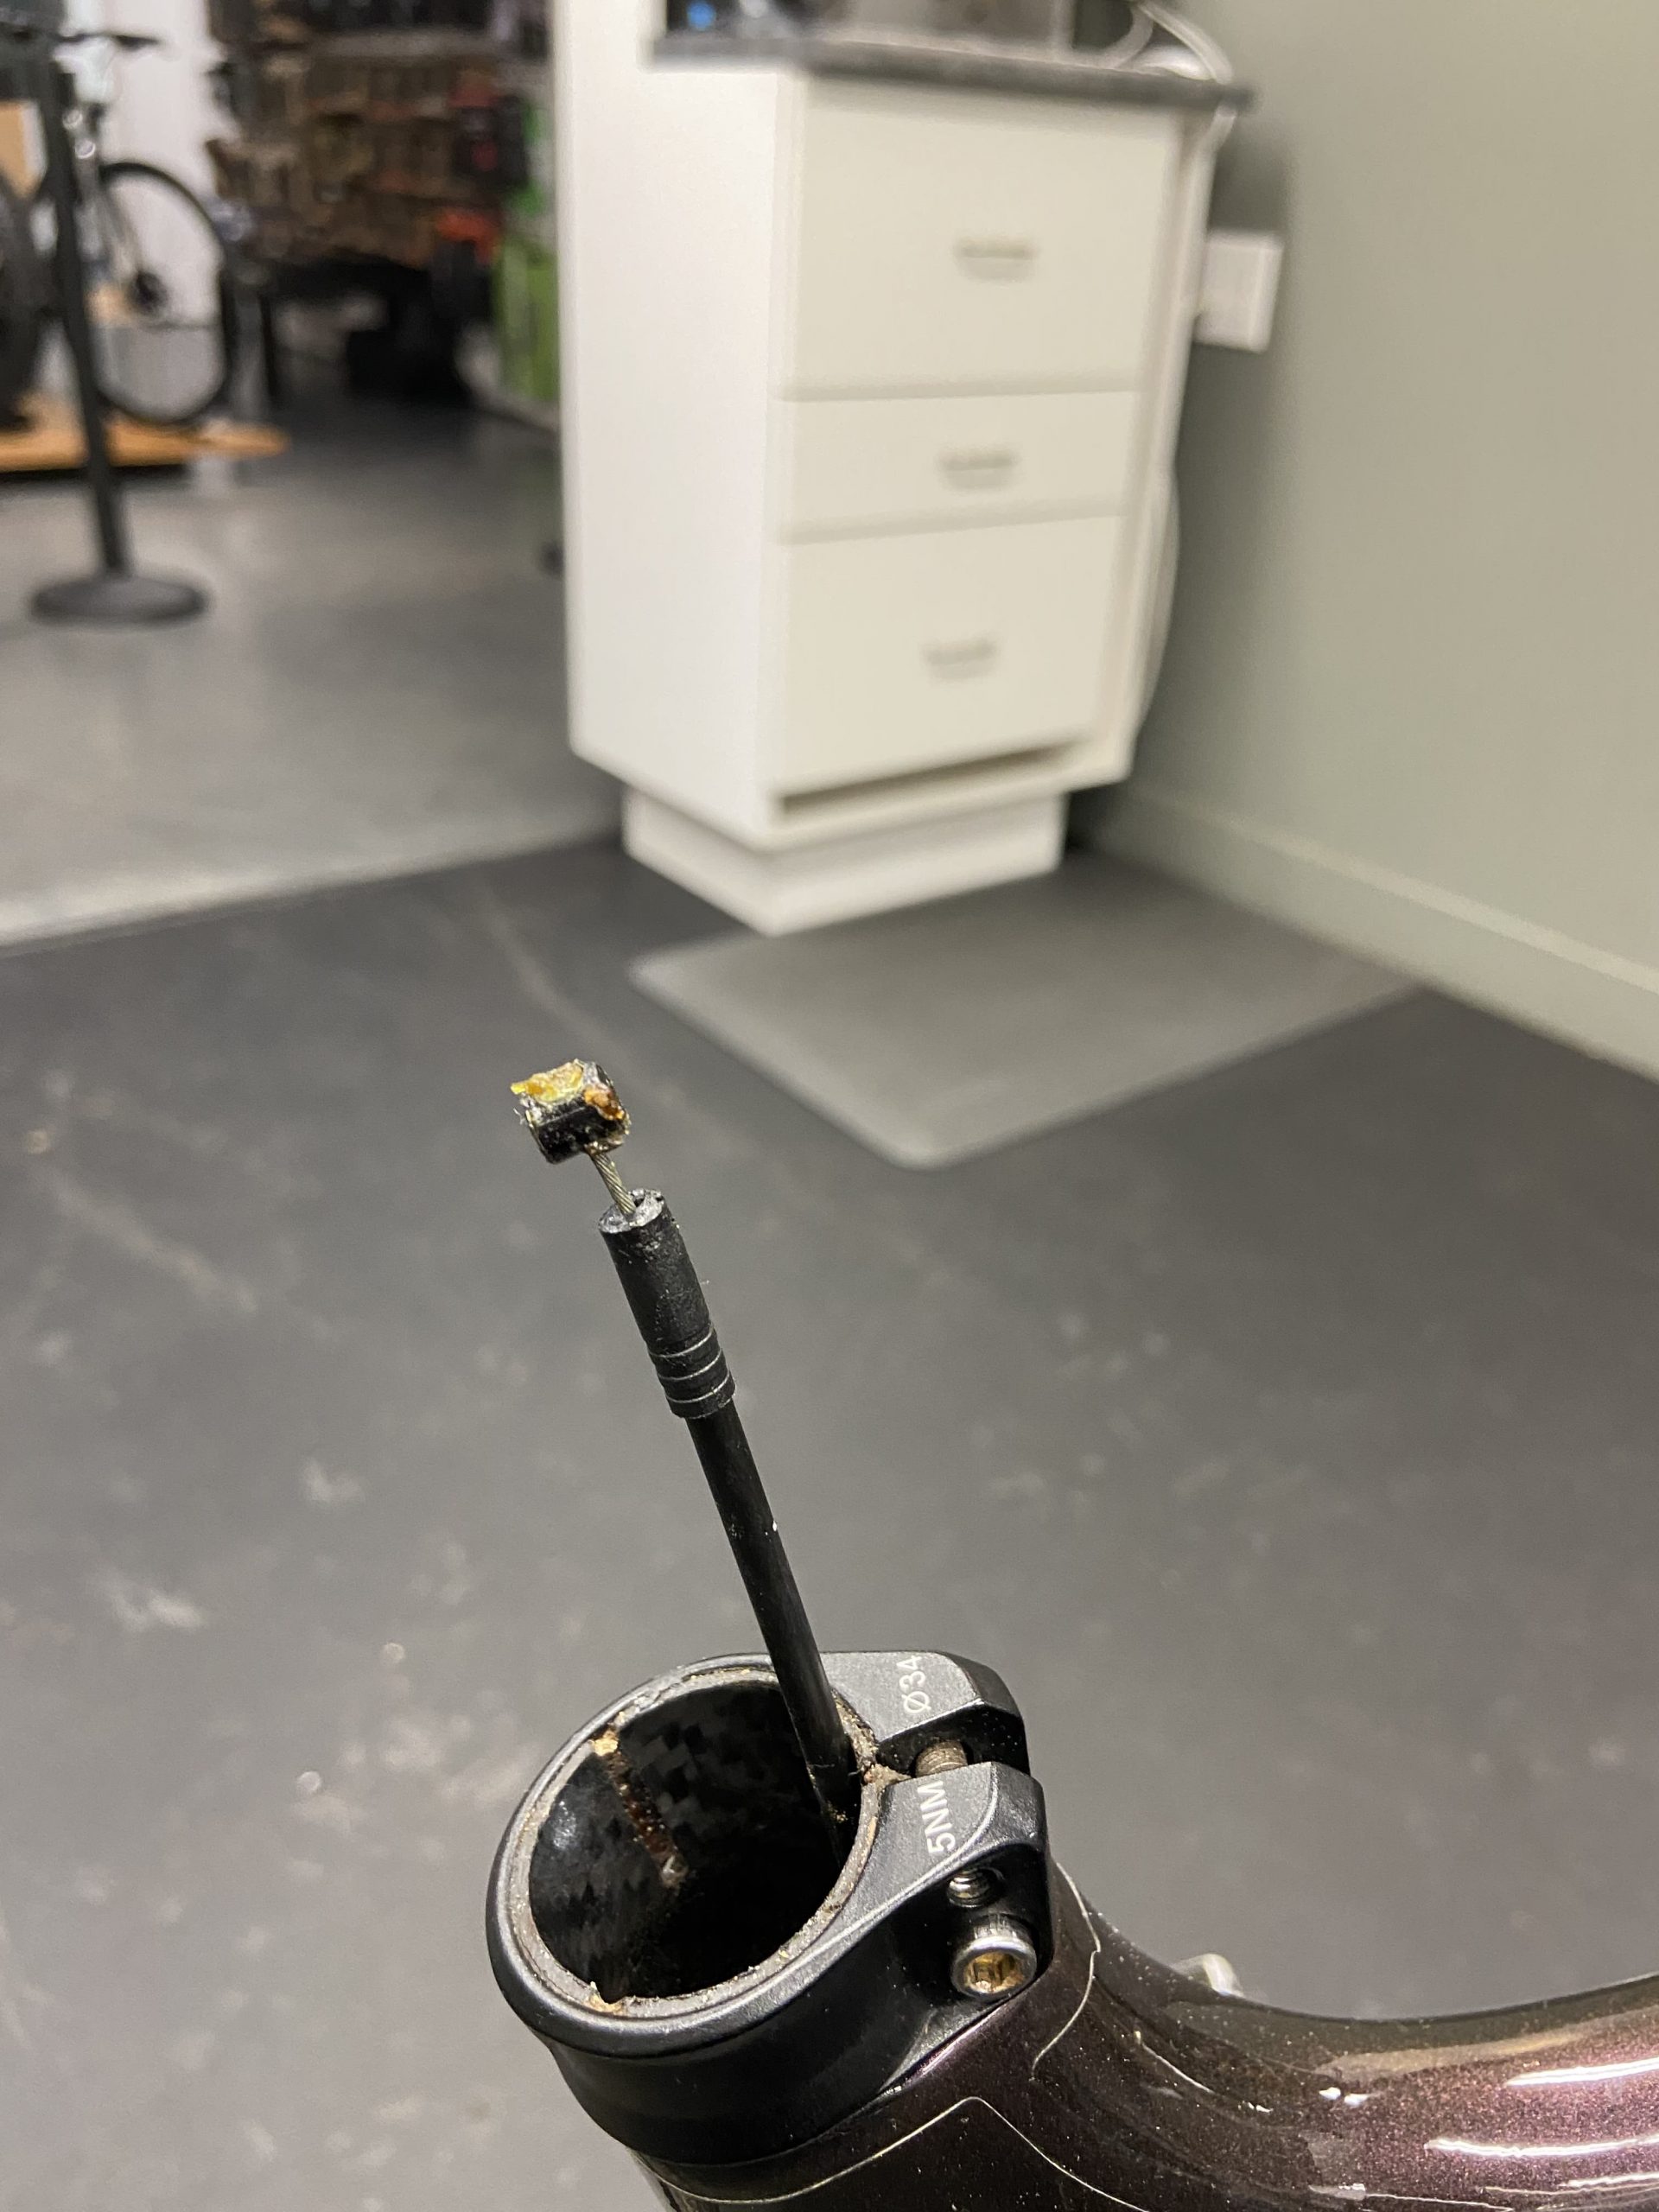
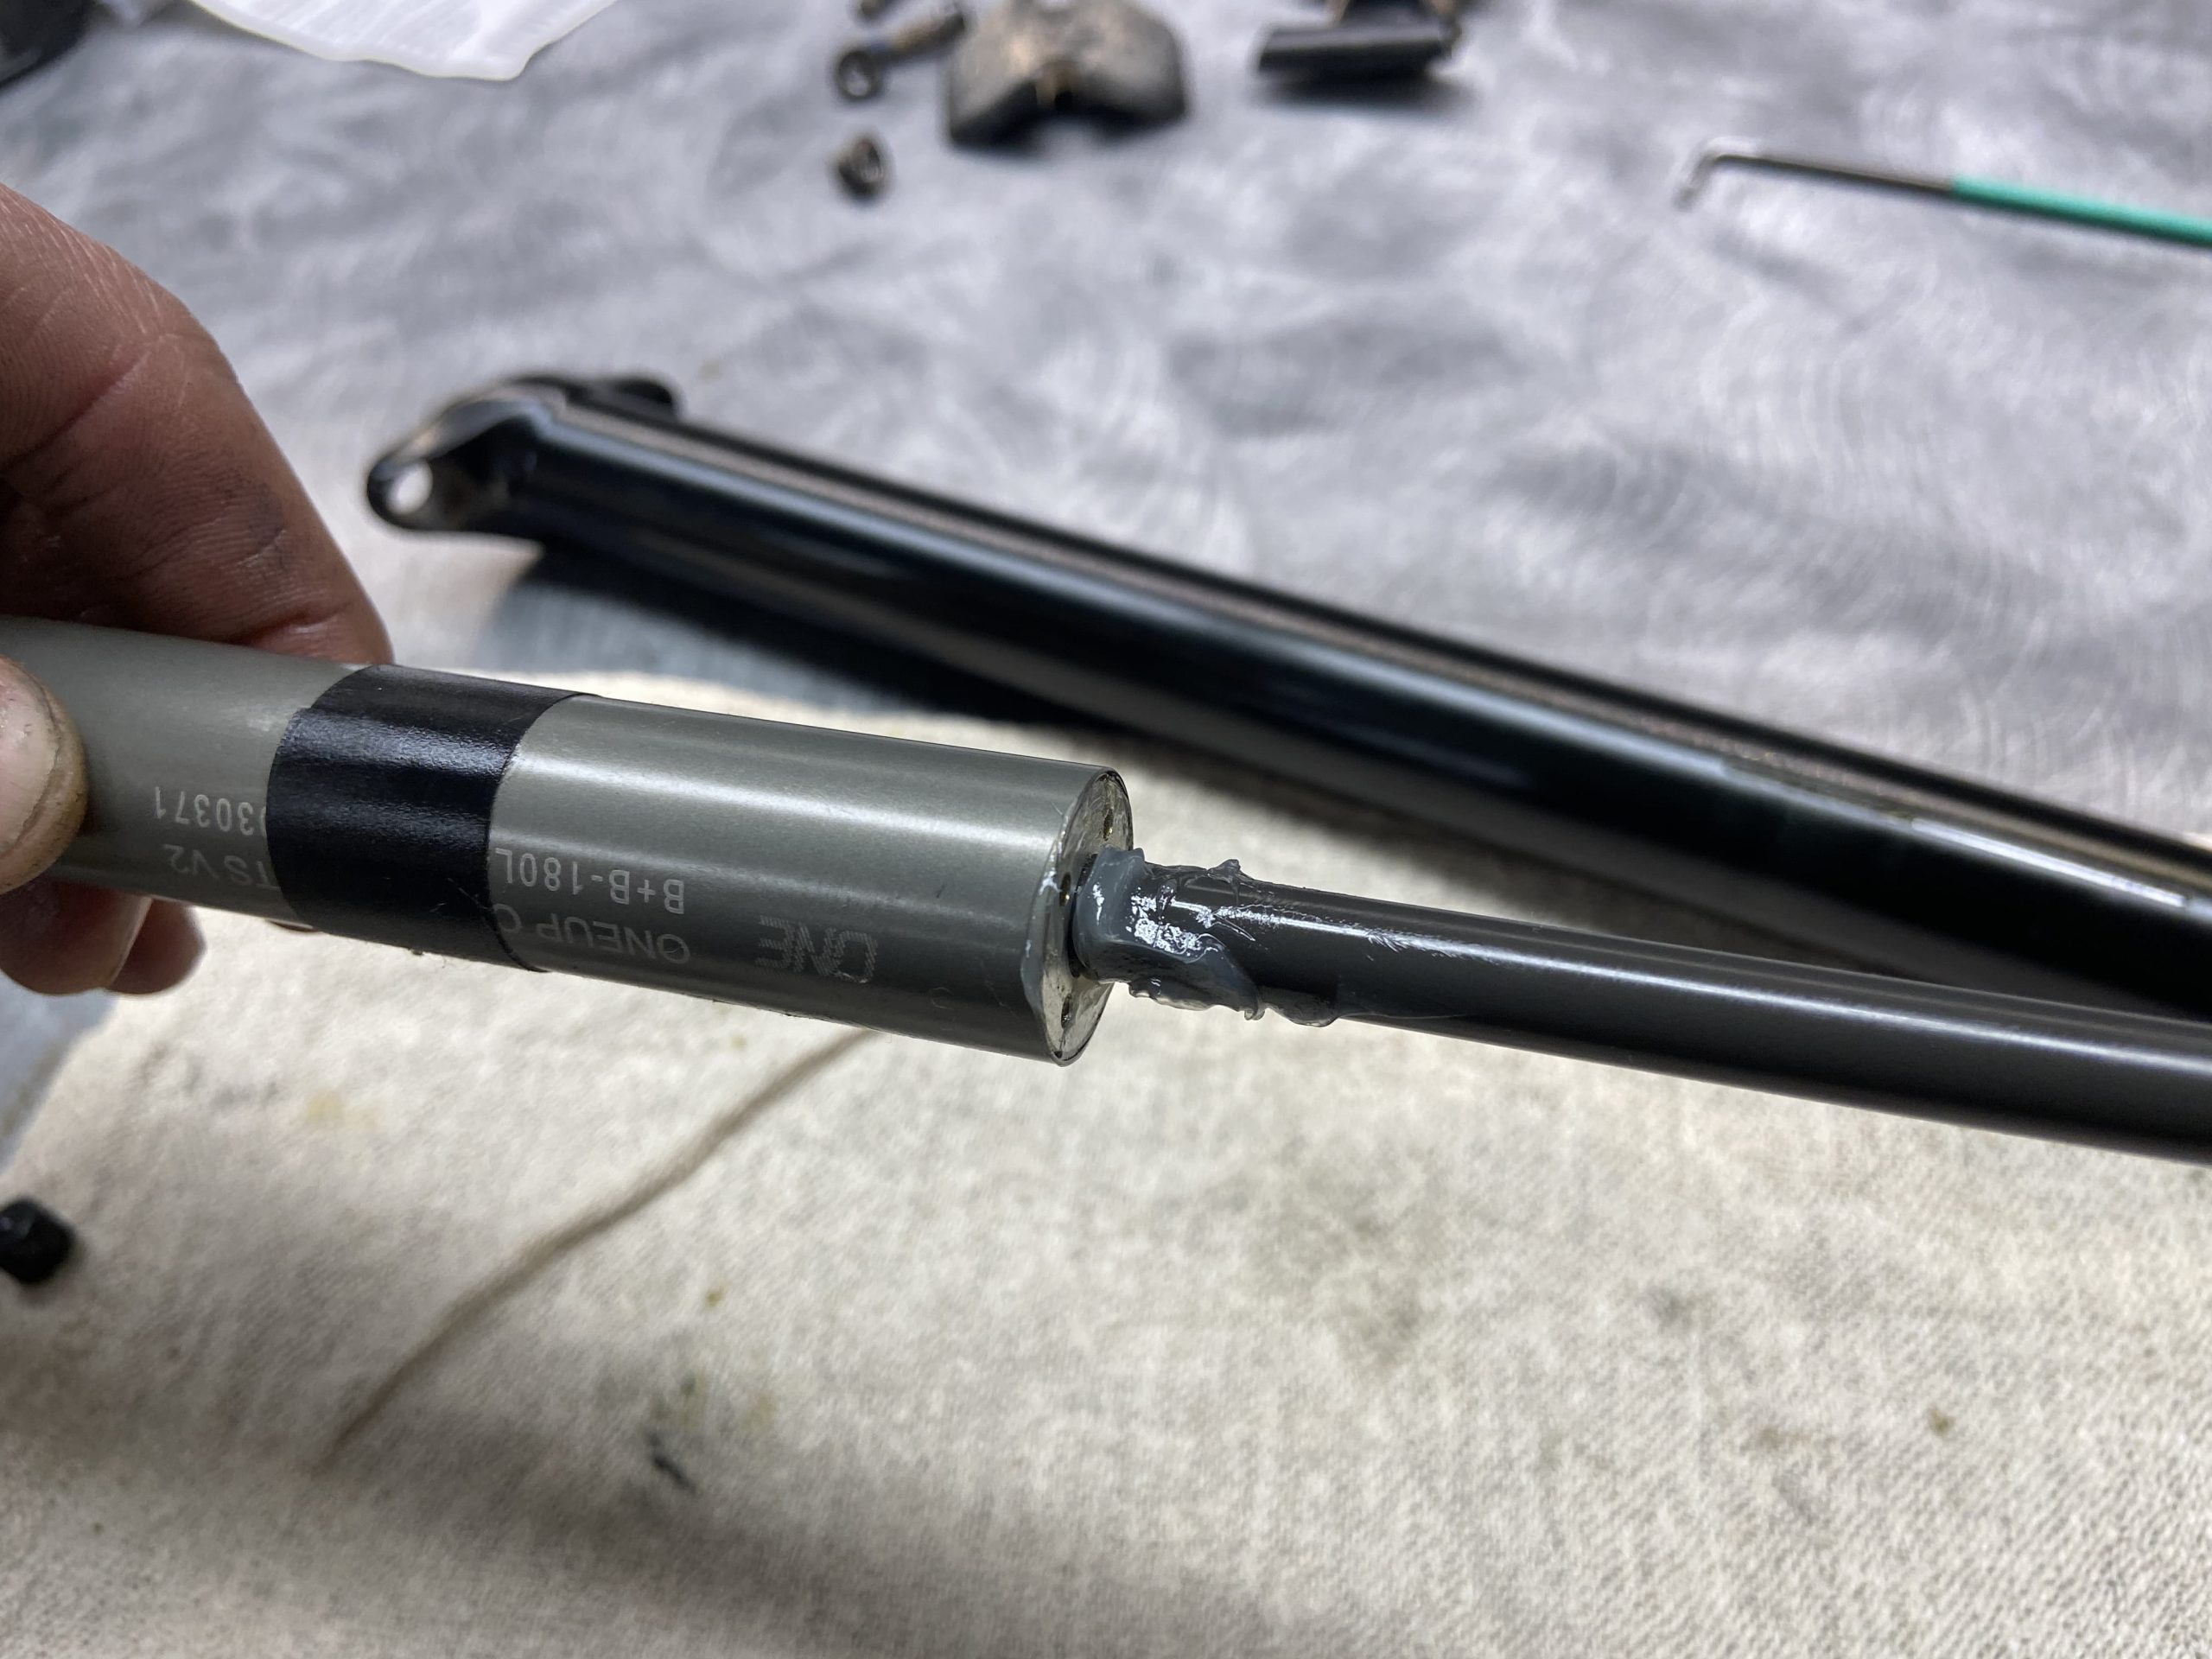
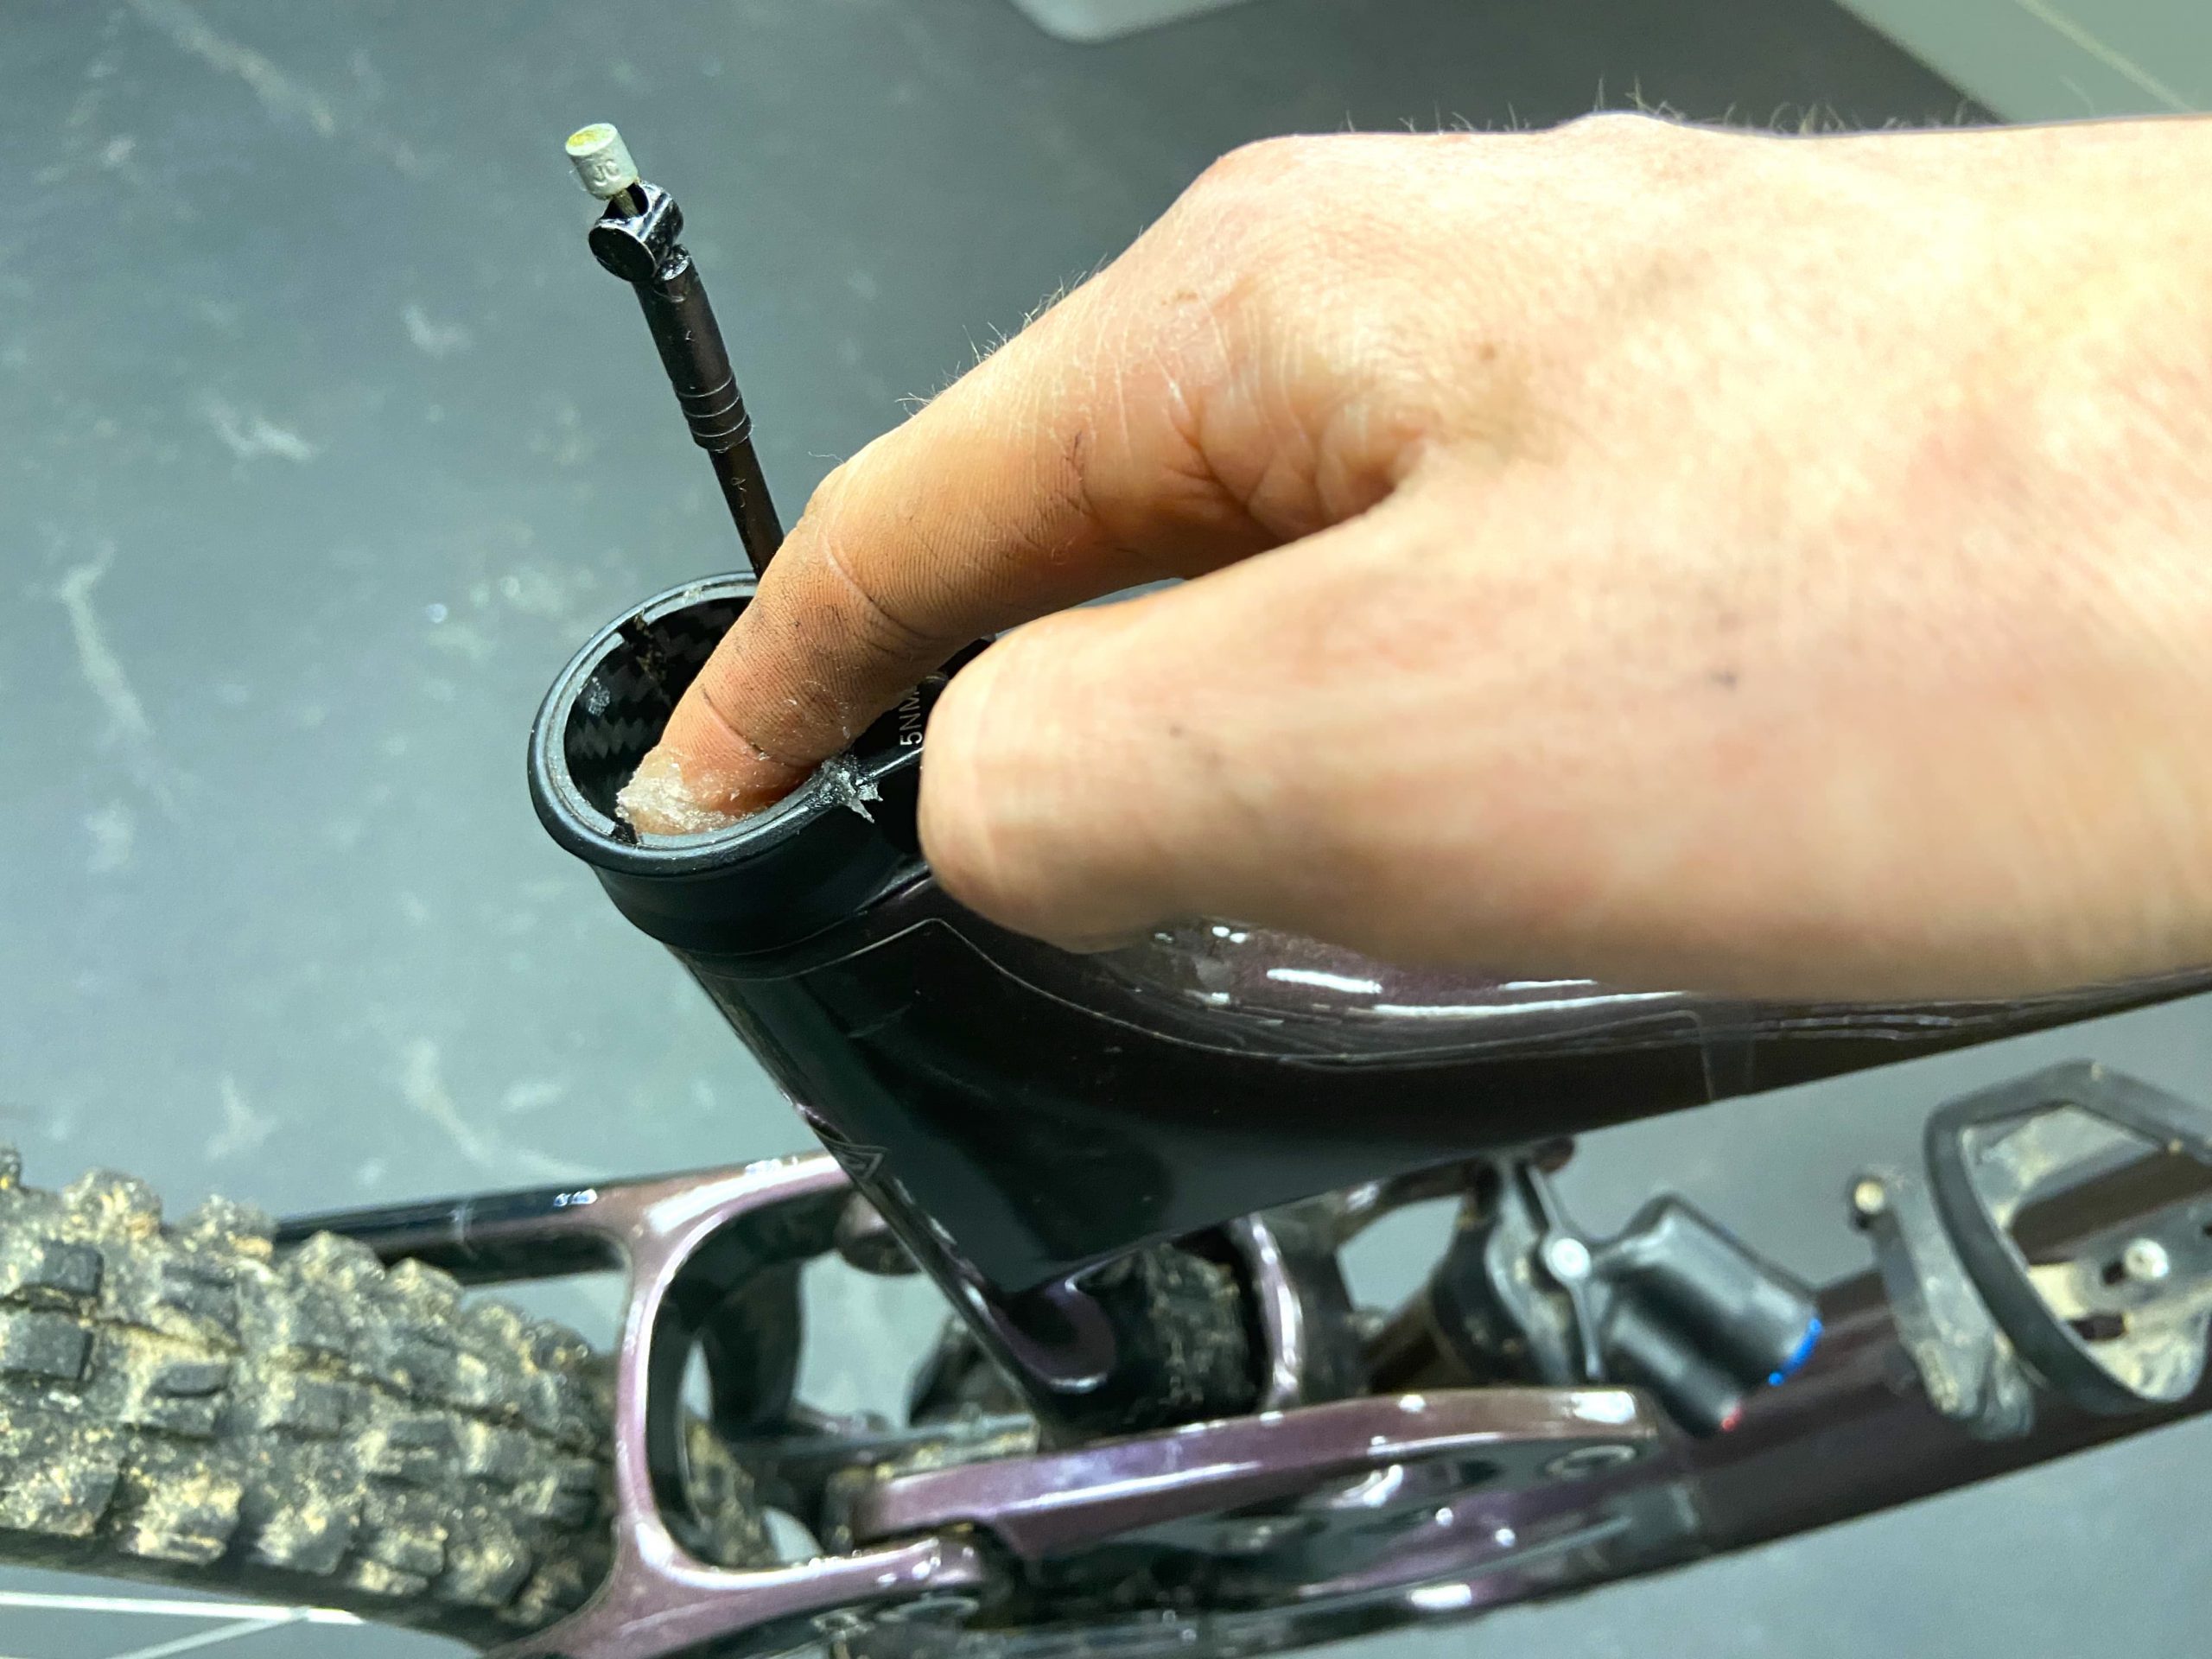
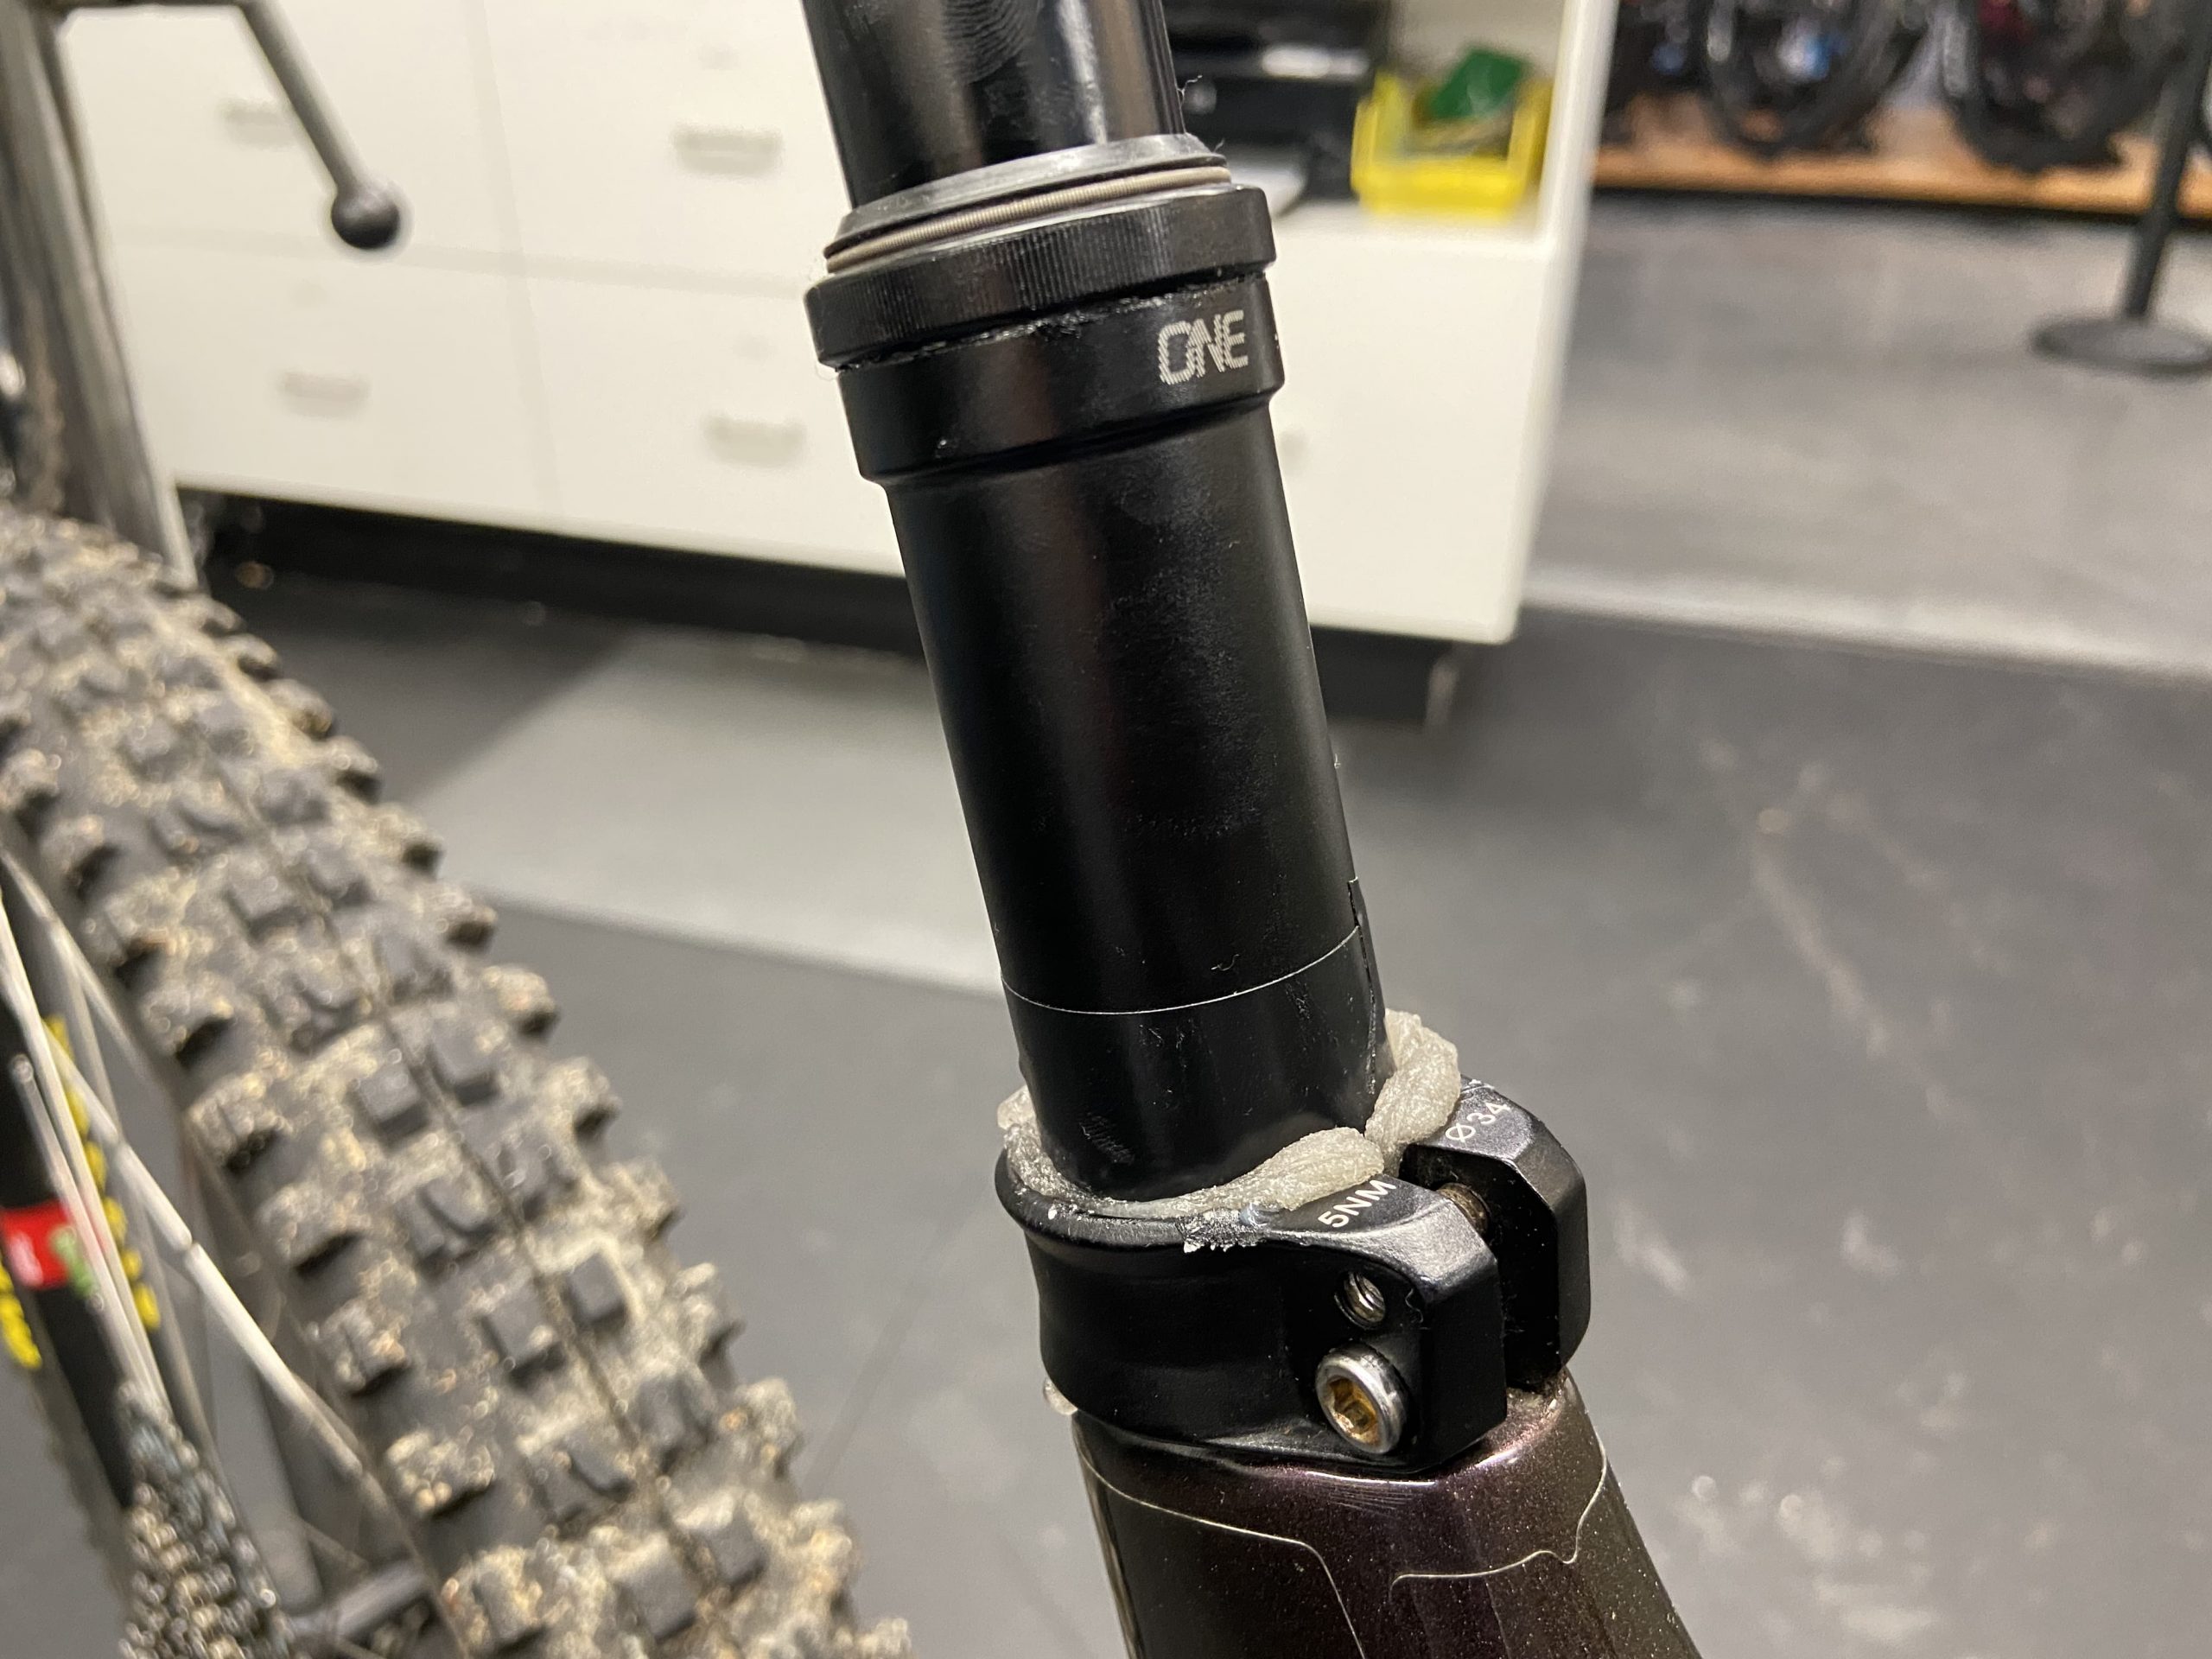
Next, you’re going to want to remove the seat post from the frame but don’t forget to mark your seat post height first. I like to wrap some electrical tape around the post where it enters the frame. The easiest way to remove your post is to remove the remote from the handlebar clamp first, usually with a 4mm hex or T25. Remove the remote and just let it hang from the cable port. Loosen your seat clamp so you can slide the post up and down. Now you should be able to pull the post out. It helps to hold the remote end and feed the cable through the frame at the same time so as not to snag or kink the cable. Once you’ve got the post out, simply unhook the barrel end of the inner cable from the actuator at the bottom of the post and let the remote hang.
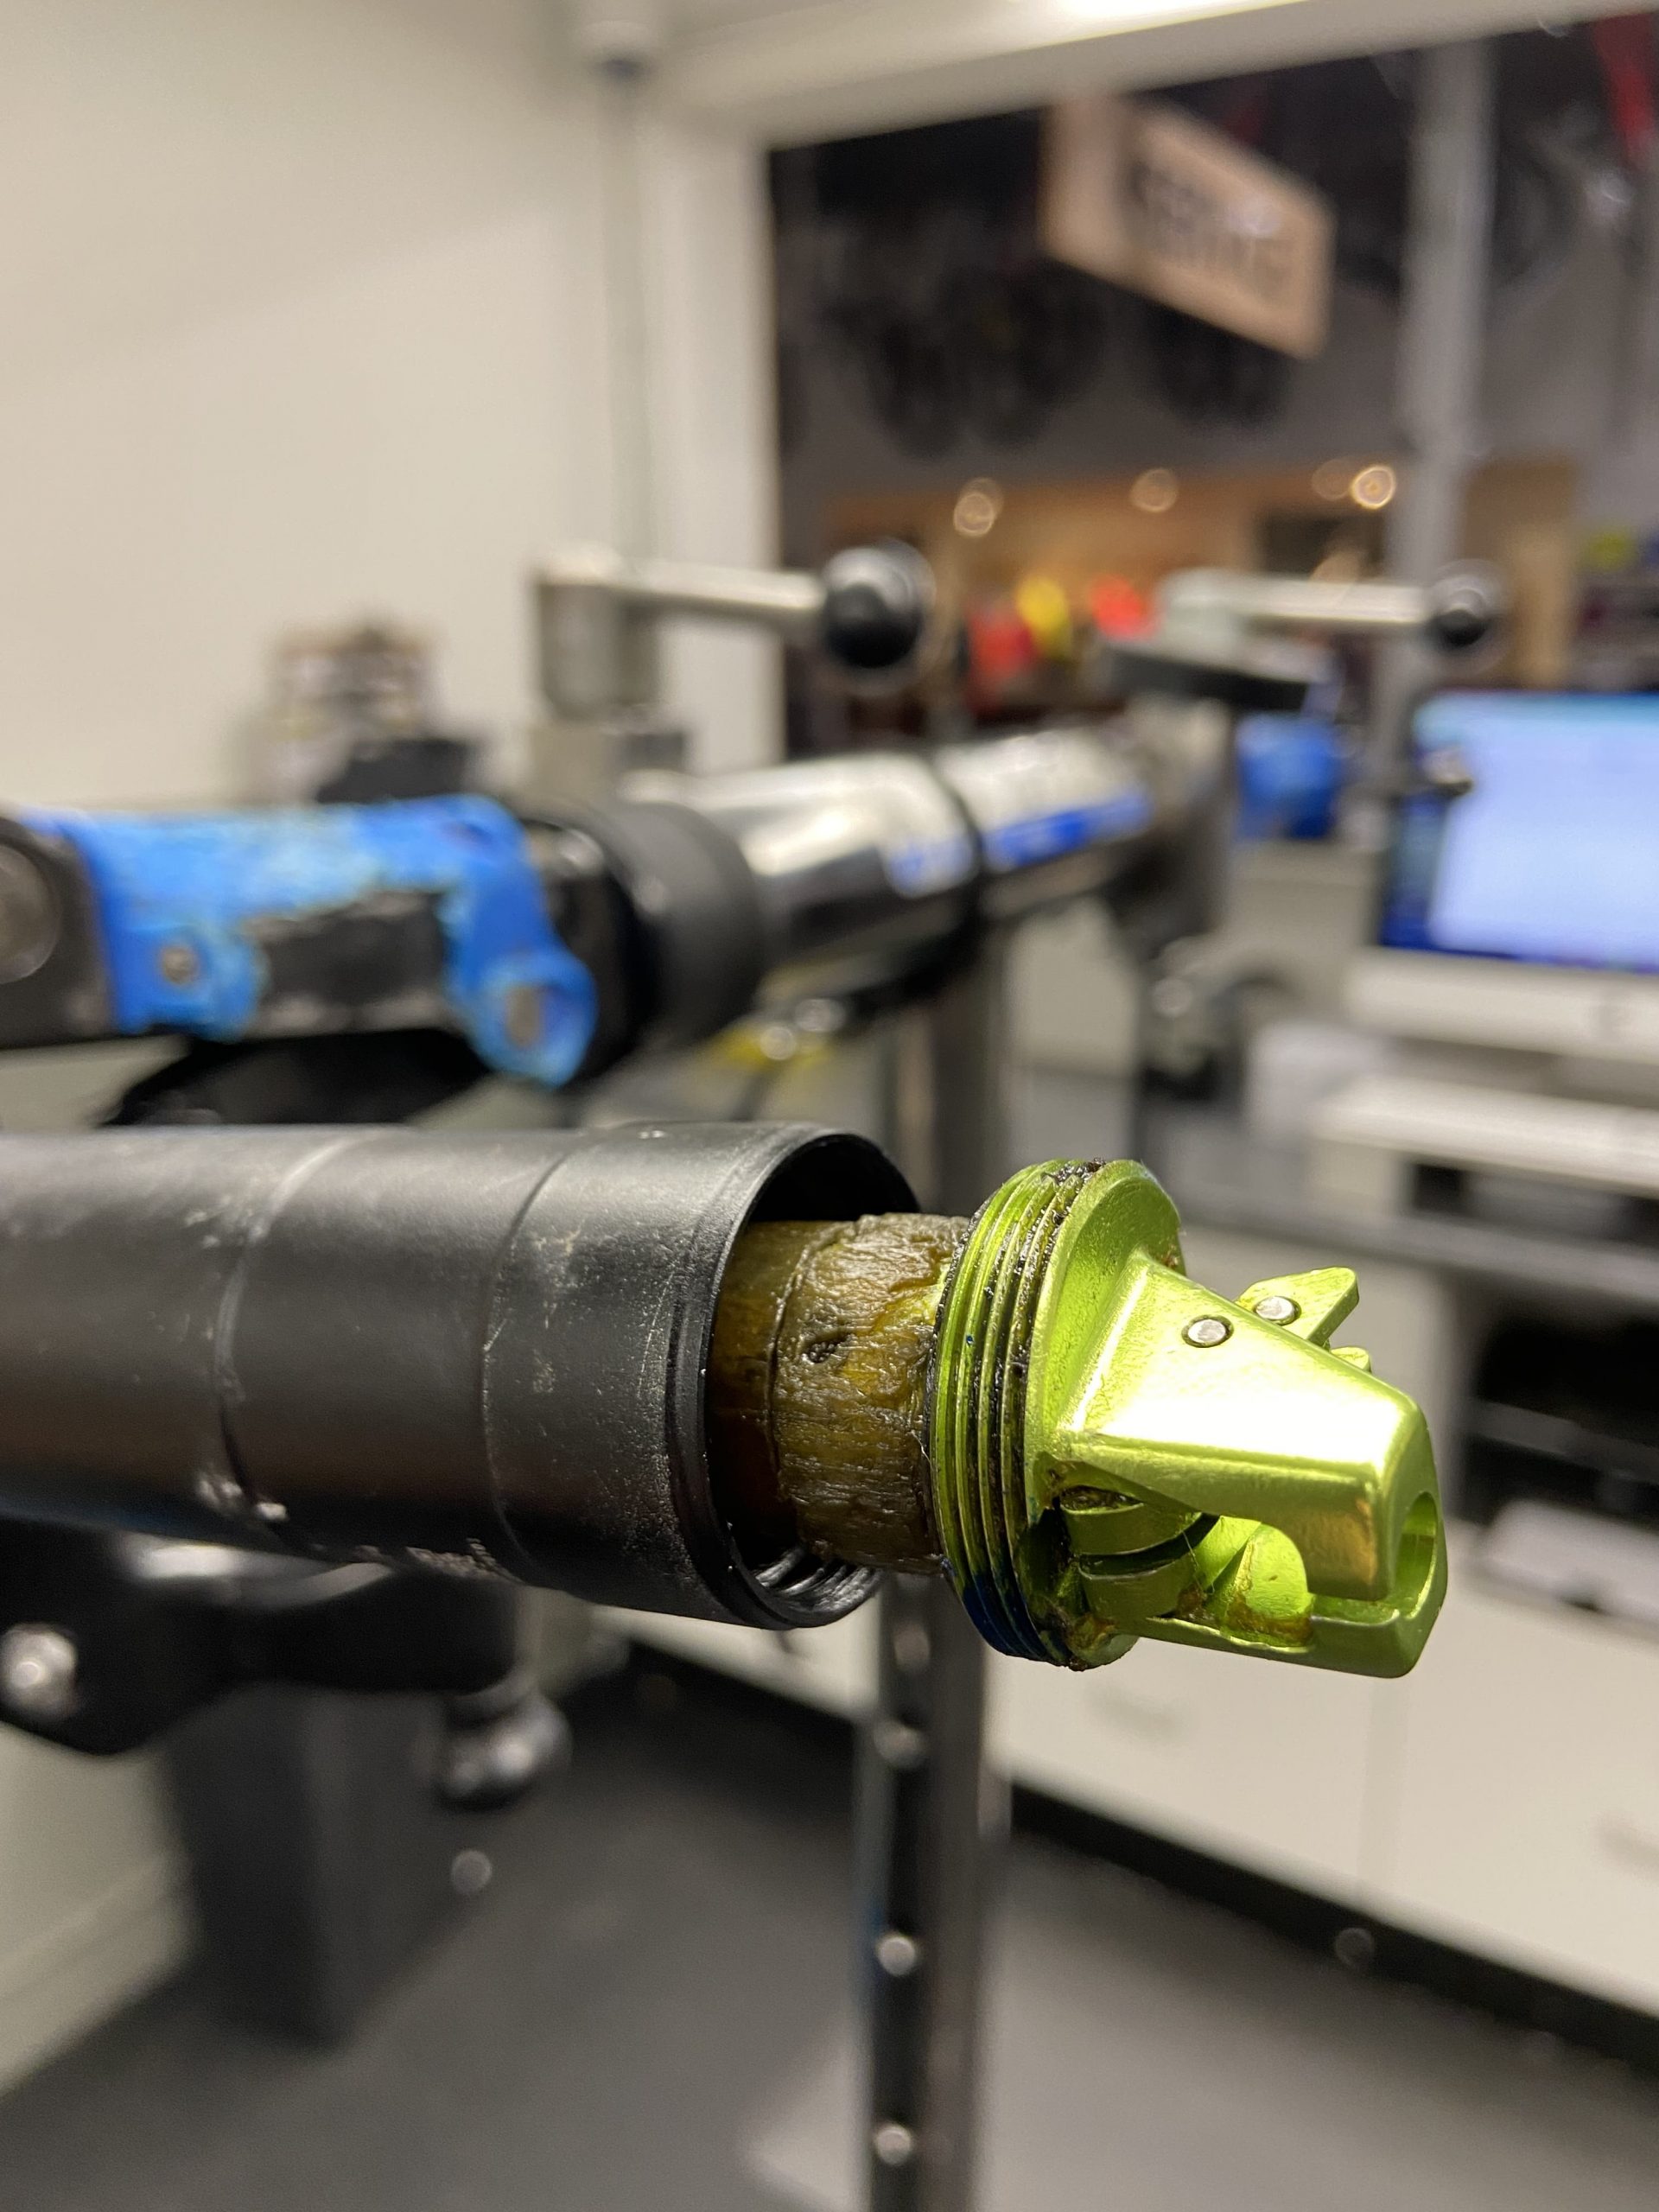
Step 3: Remove actuator
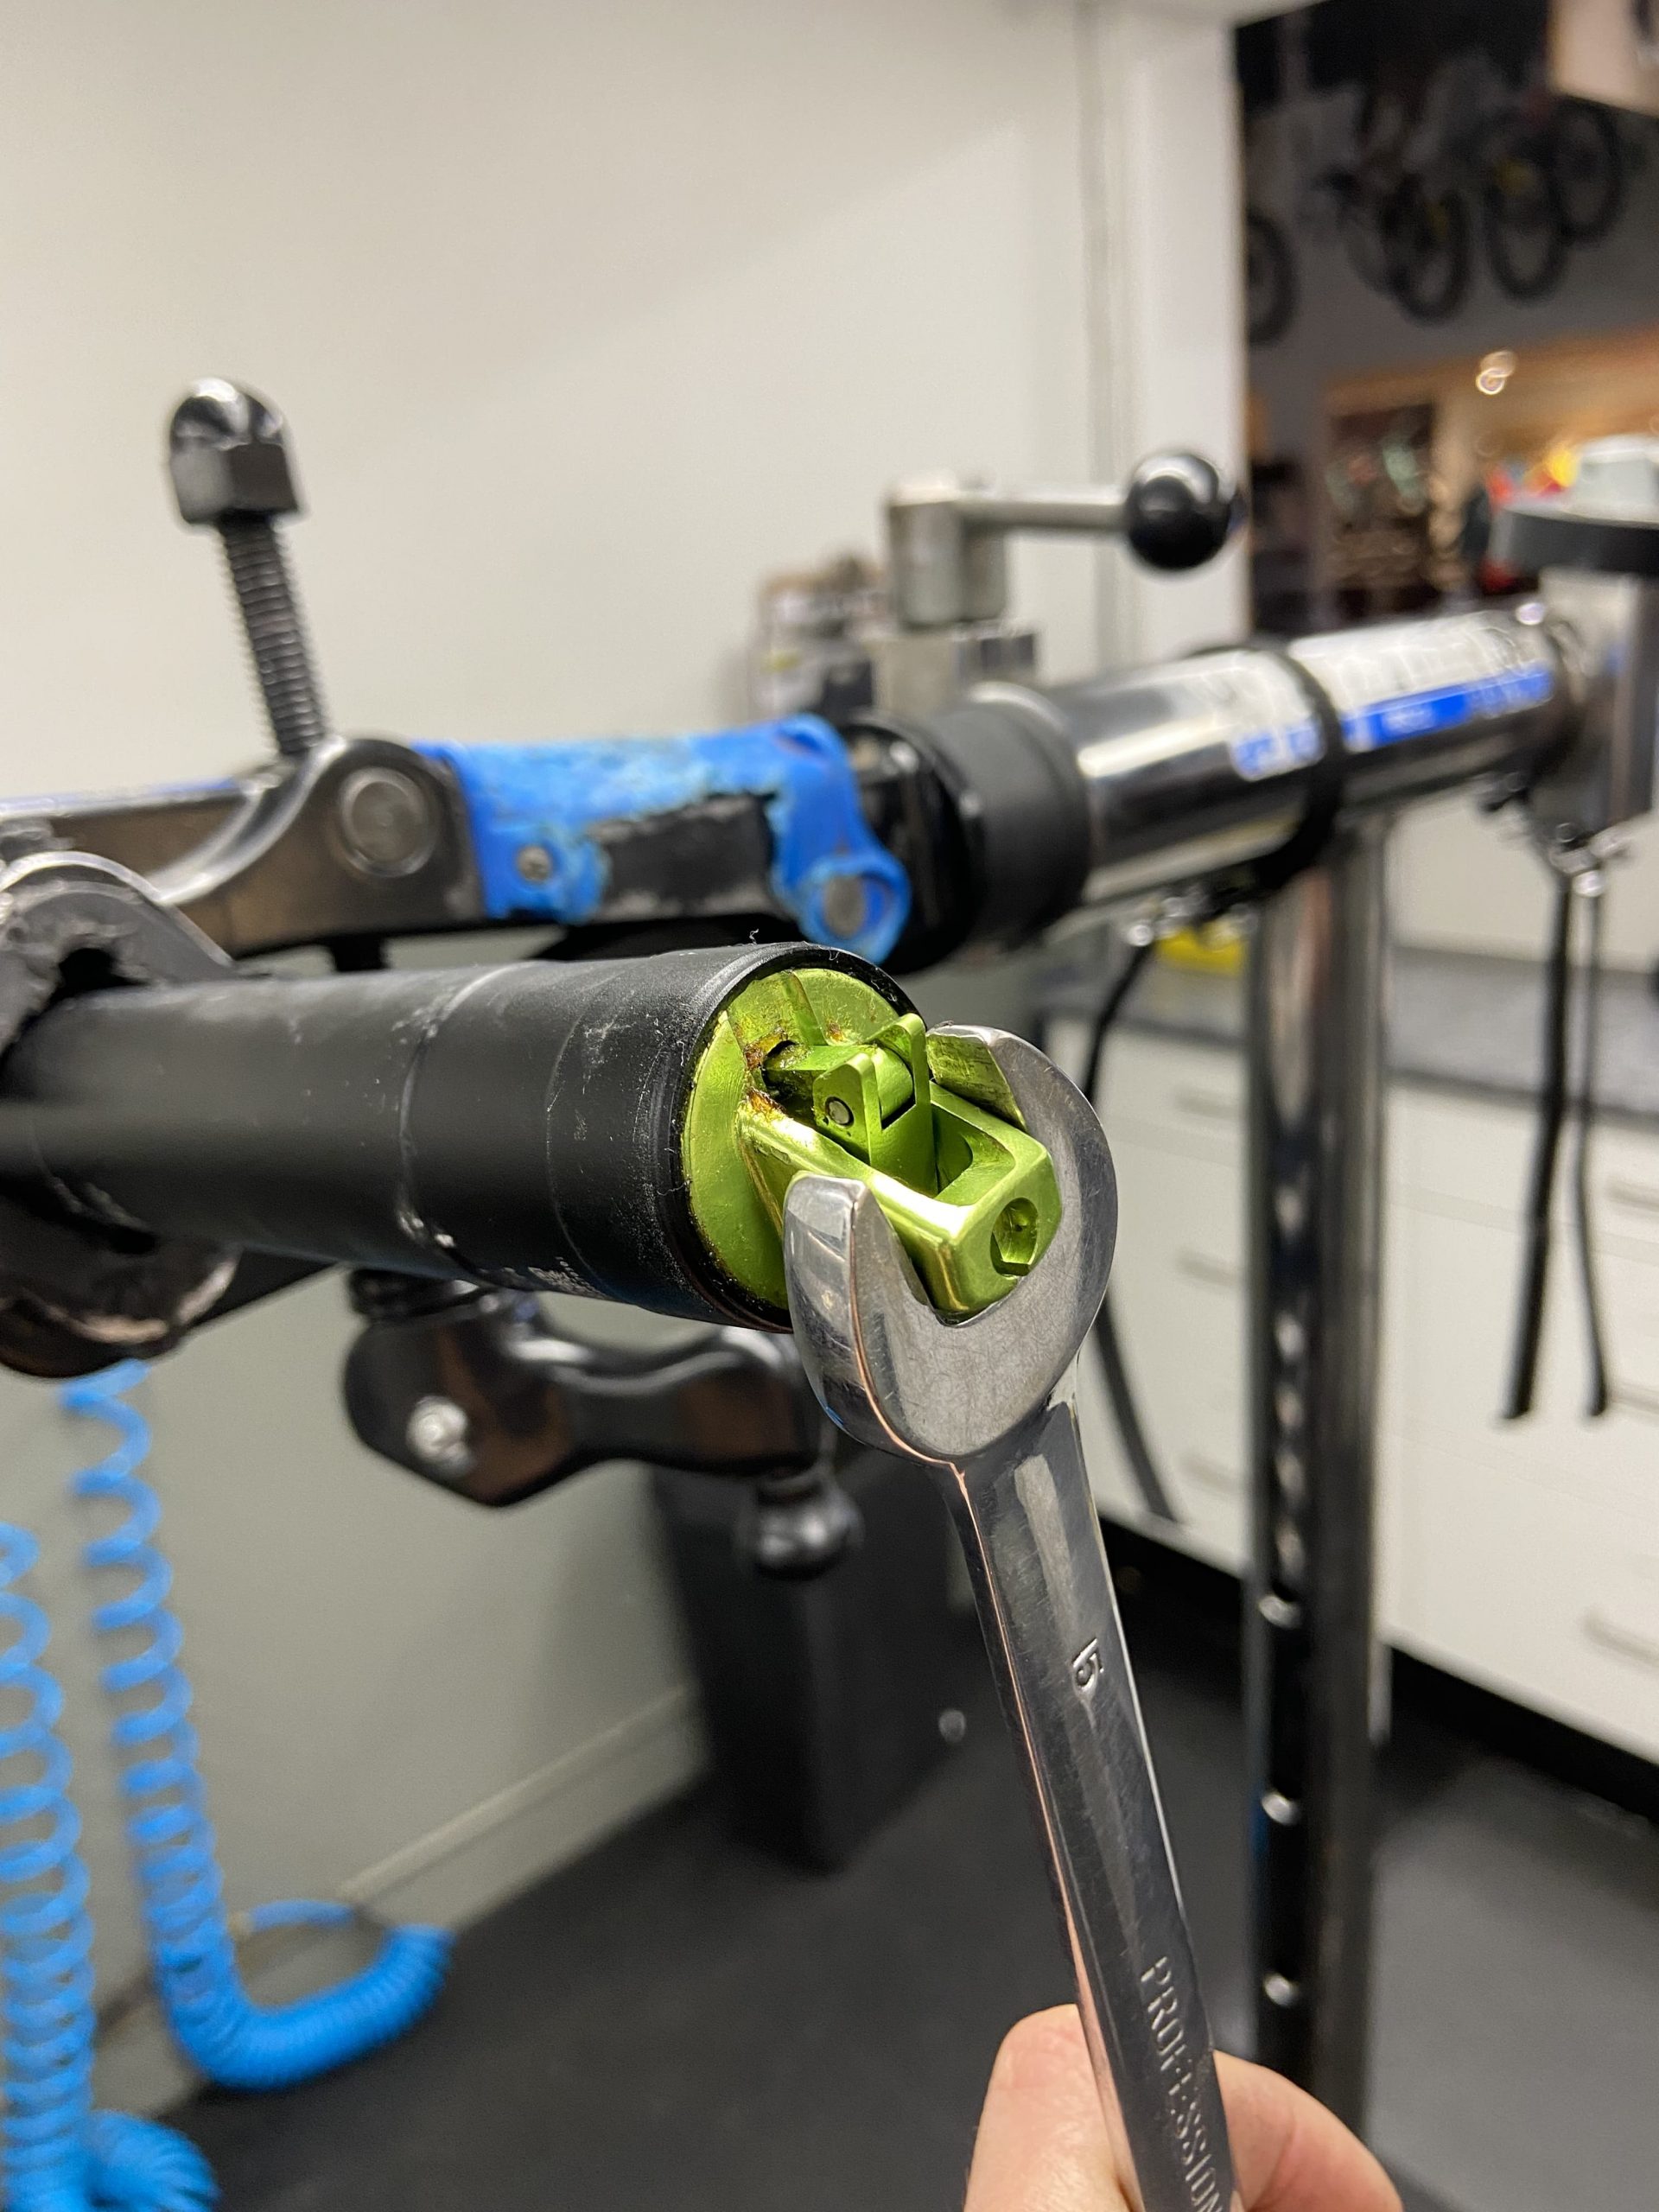
Next, we’re going to remove the actuator from the bottom of the post. It can be helpful to hold the seat post in a work stand to be able to work on it with both hands, but you can also just to do it on a bench top. The actuator is usually threaded into the bottom of the post and can be unthreaded either with a large open-ended wrench or in some cases an 8mm hex key fits into a slot to unthread it. Once it’s unthreaded we can remove the pins that hold it onto the end of the cartridge with a 2mm hex key. On other posts, the actuator may simply thread onto the end of the cartridge.


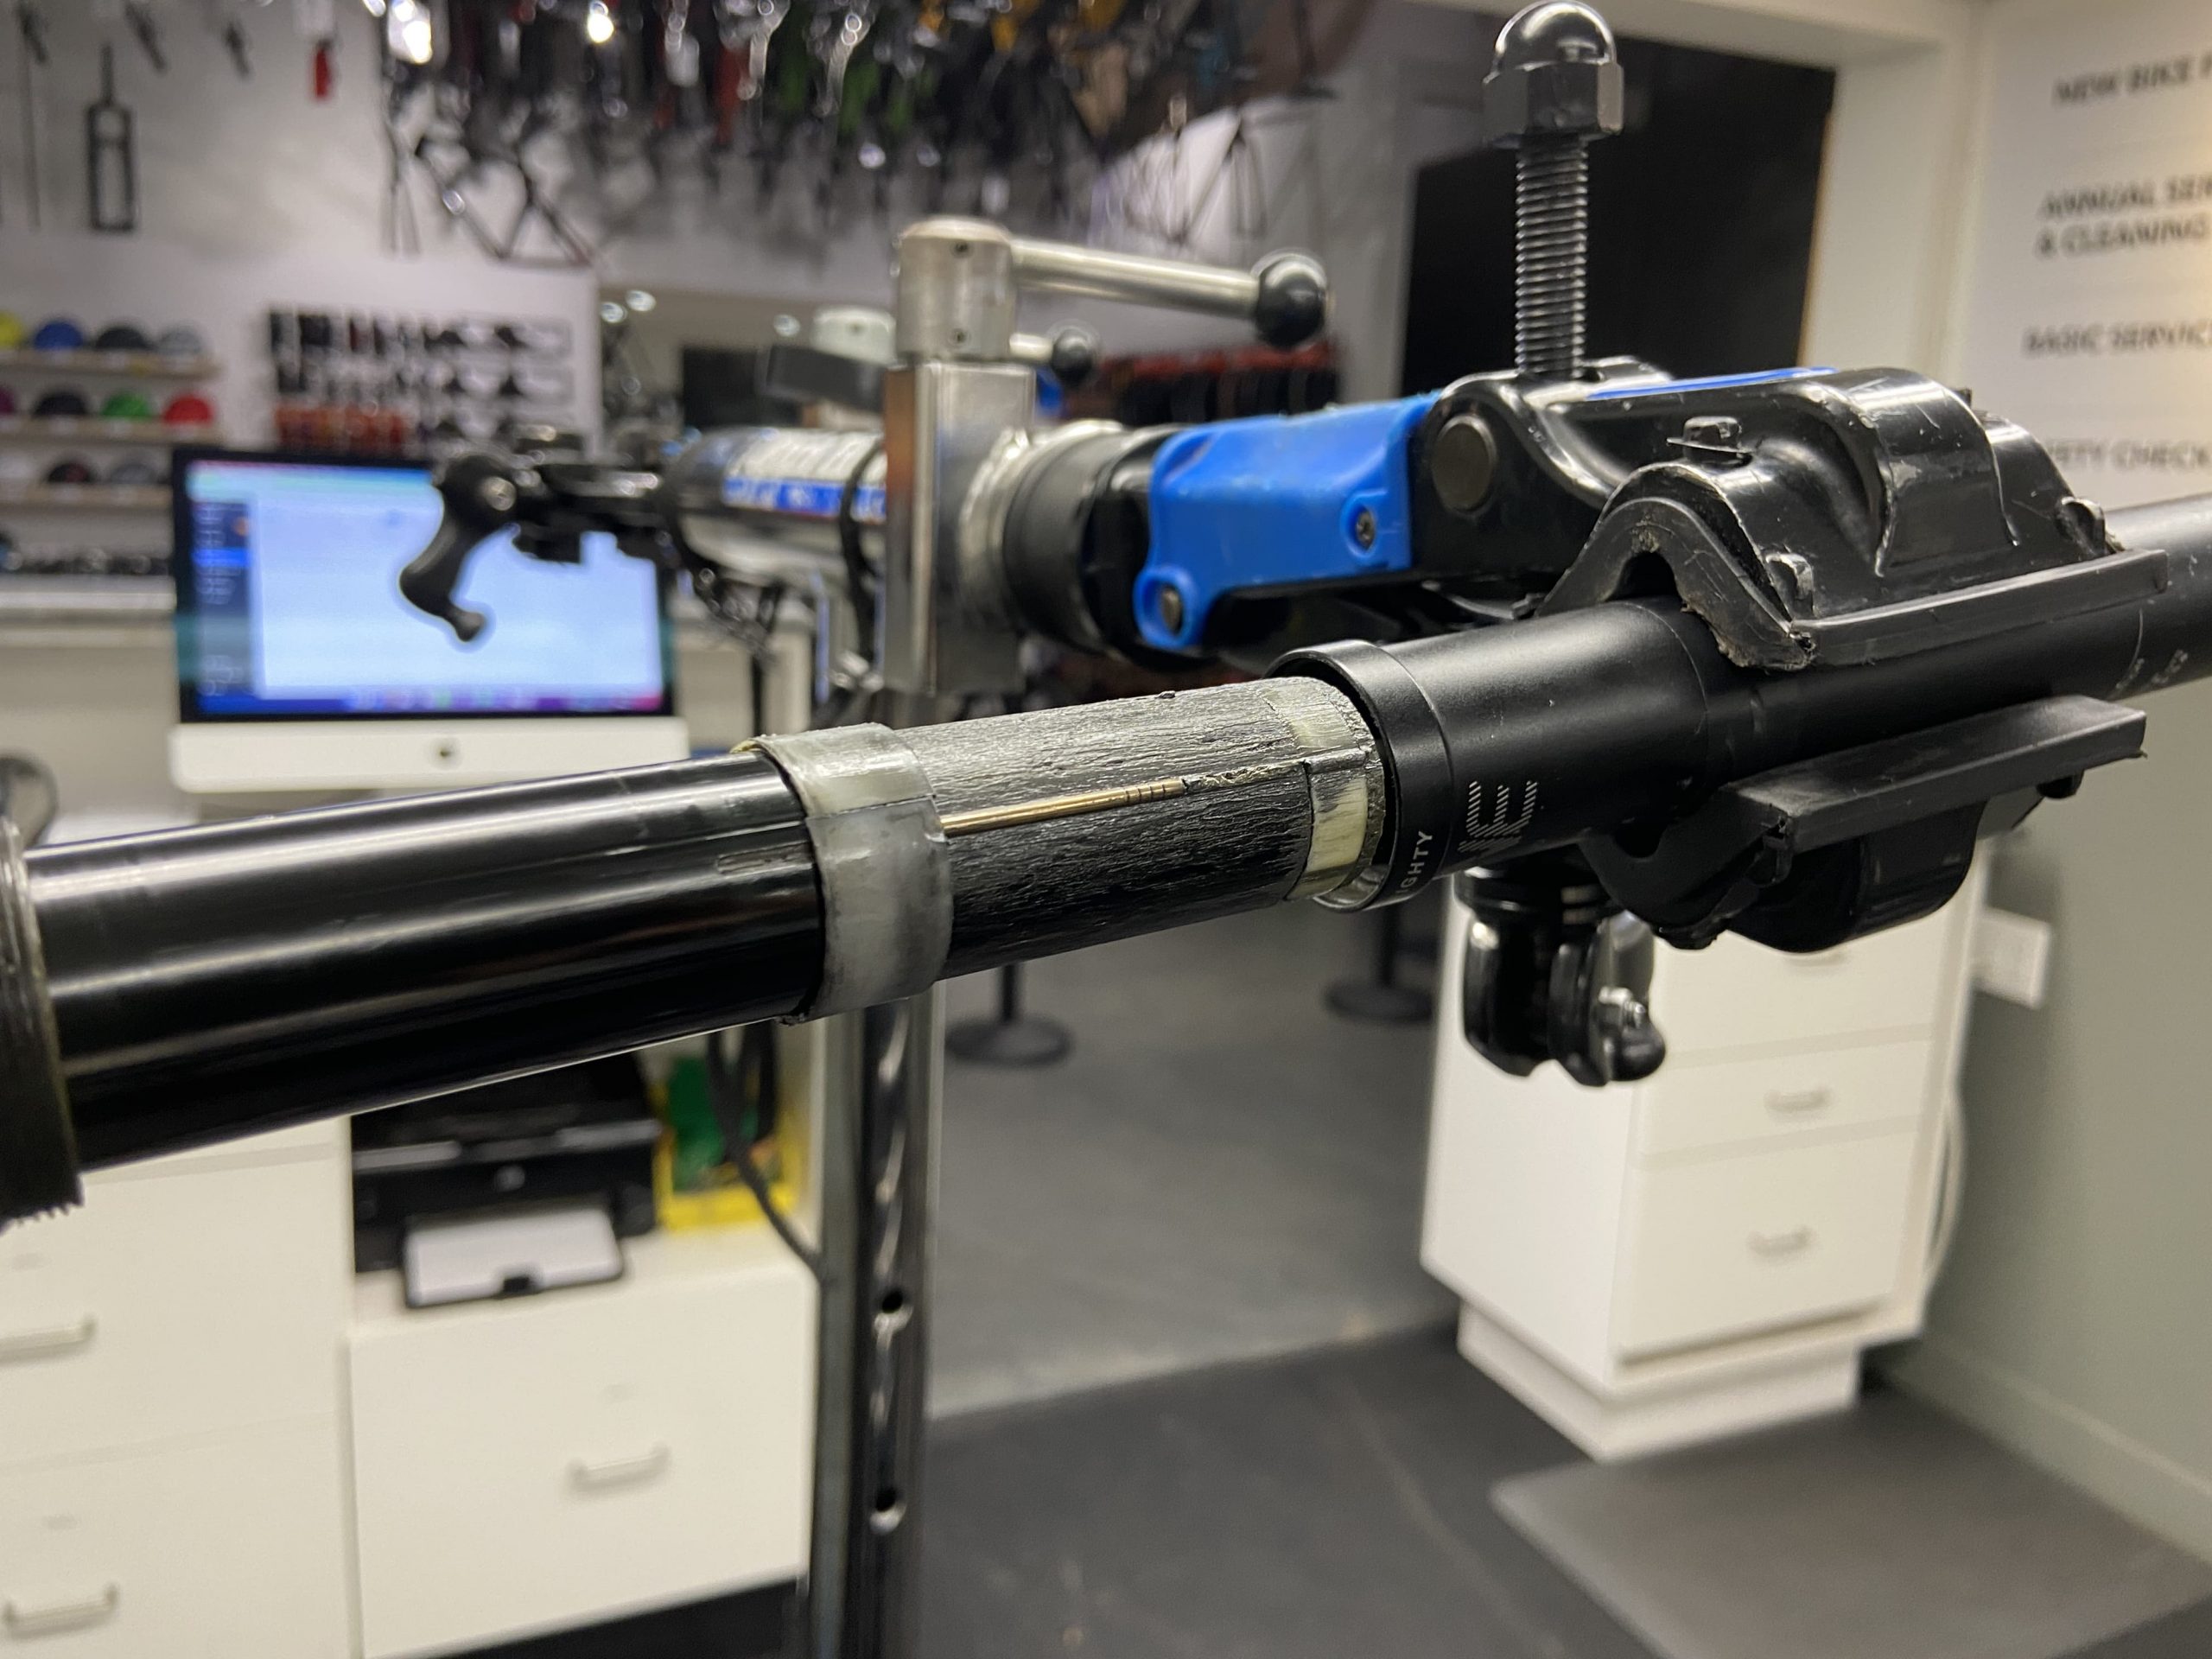
Step 4: Remove upper tube
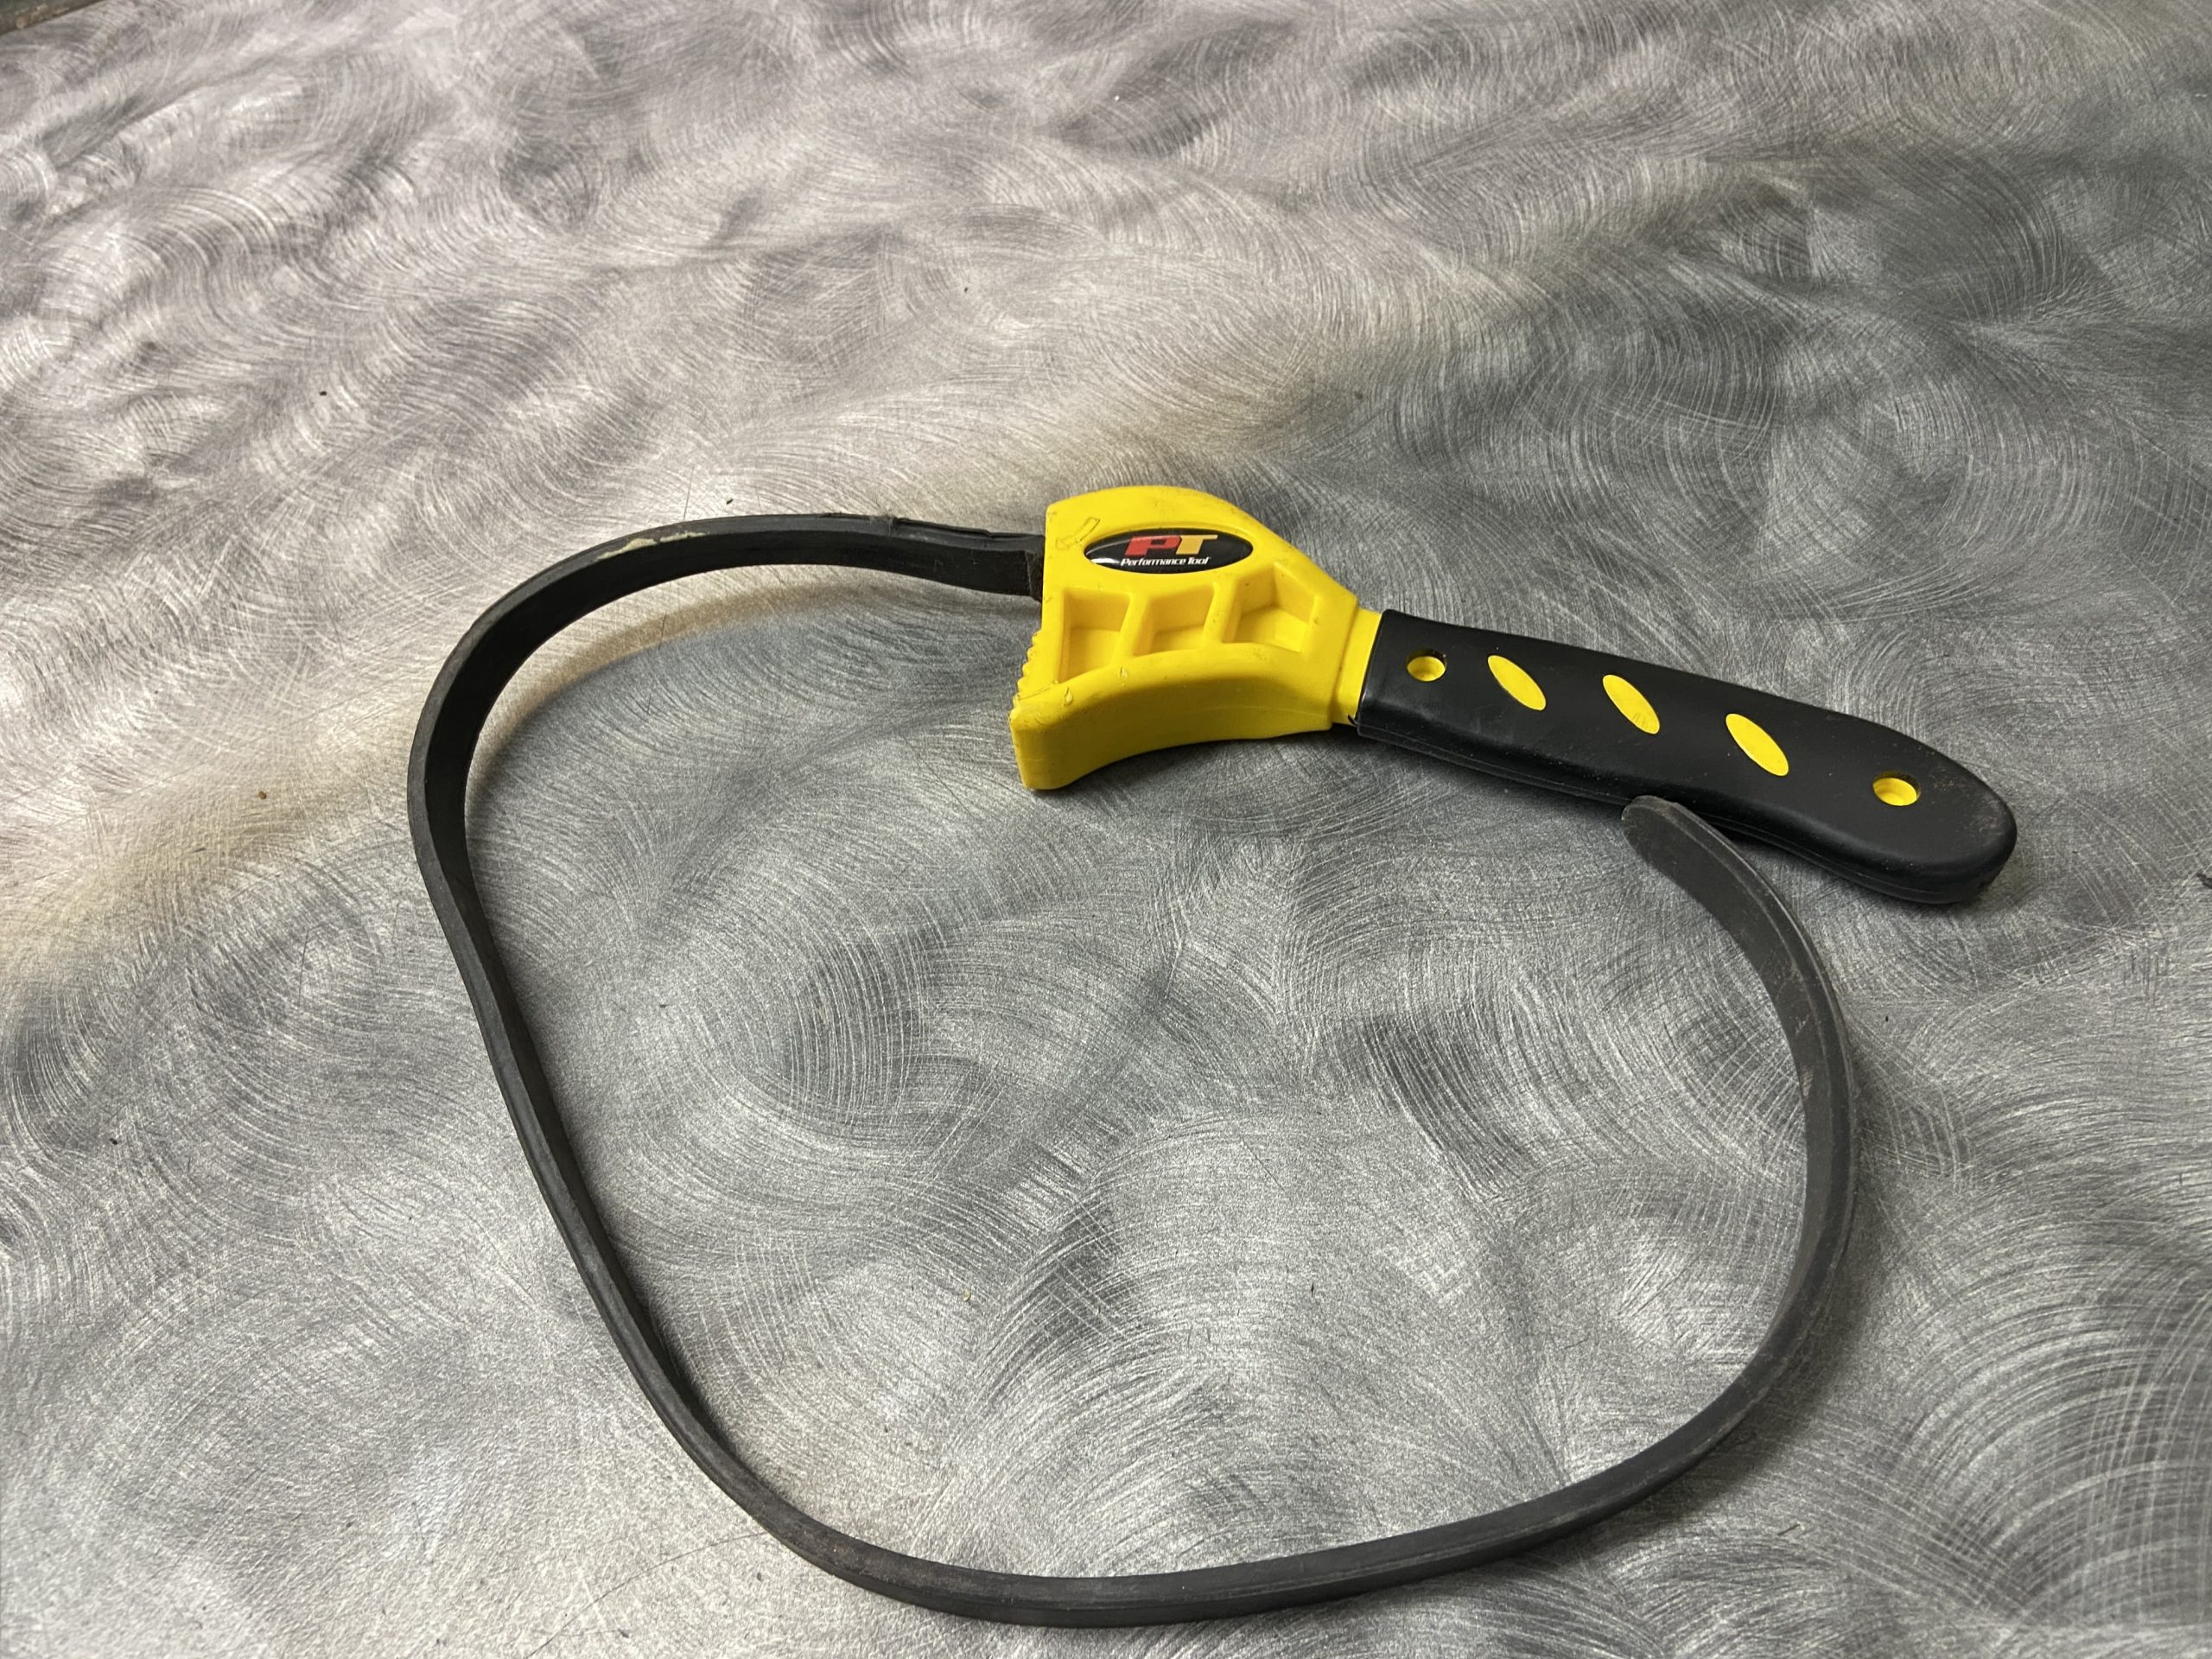
Next we will remove the upper tube from the seat post. All that holds the upper and lower tubes together is the seal head that threads into the lower tube. Simply unthread it by hand, or use a strap wrench to get it going if it’s tight. If you don’t have a strap wrench, you can simply cut a length of inner tube and wrap it around it a couple of times to give yourself some extra purchase.
Slide the seal head out of the way and the upper tube should simply pull out of the lower.


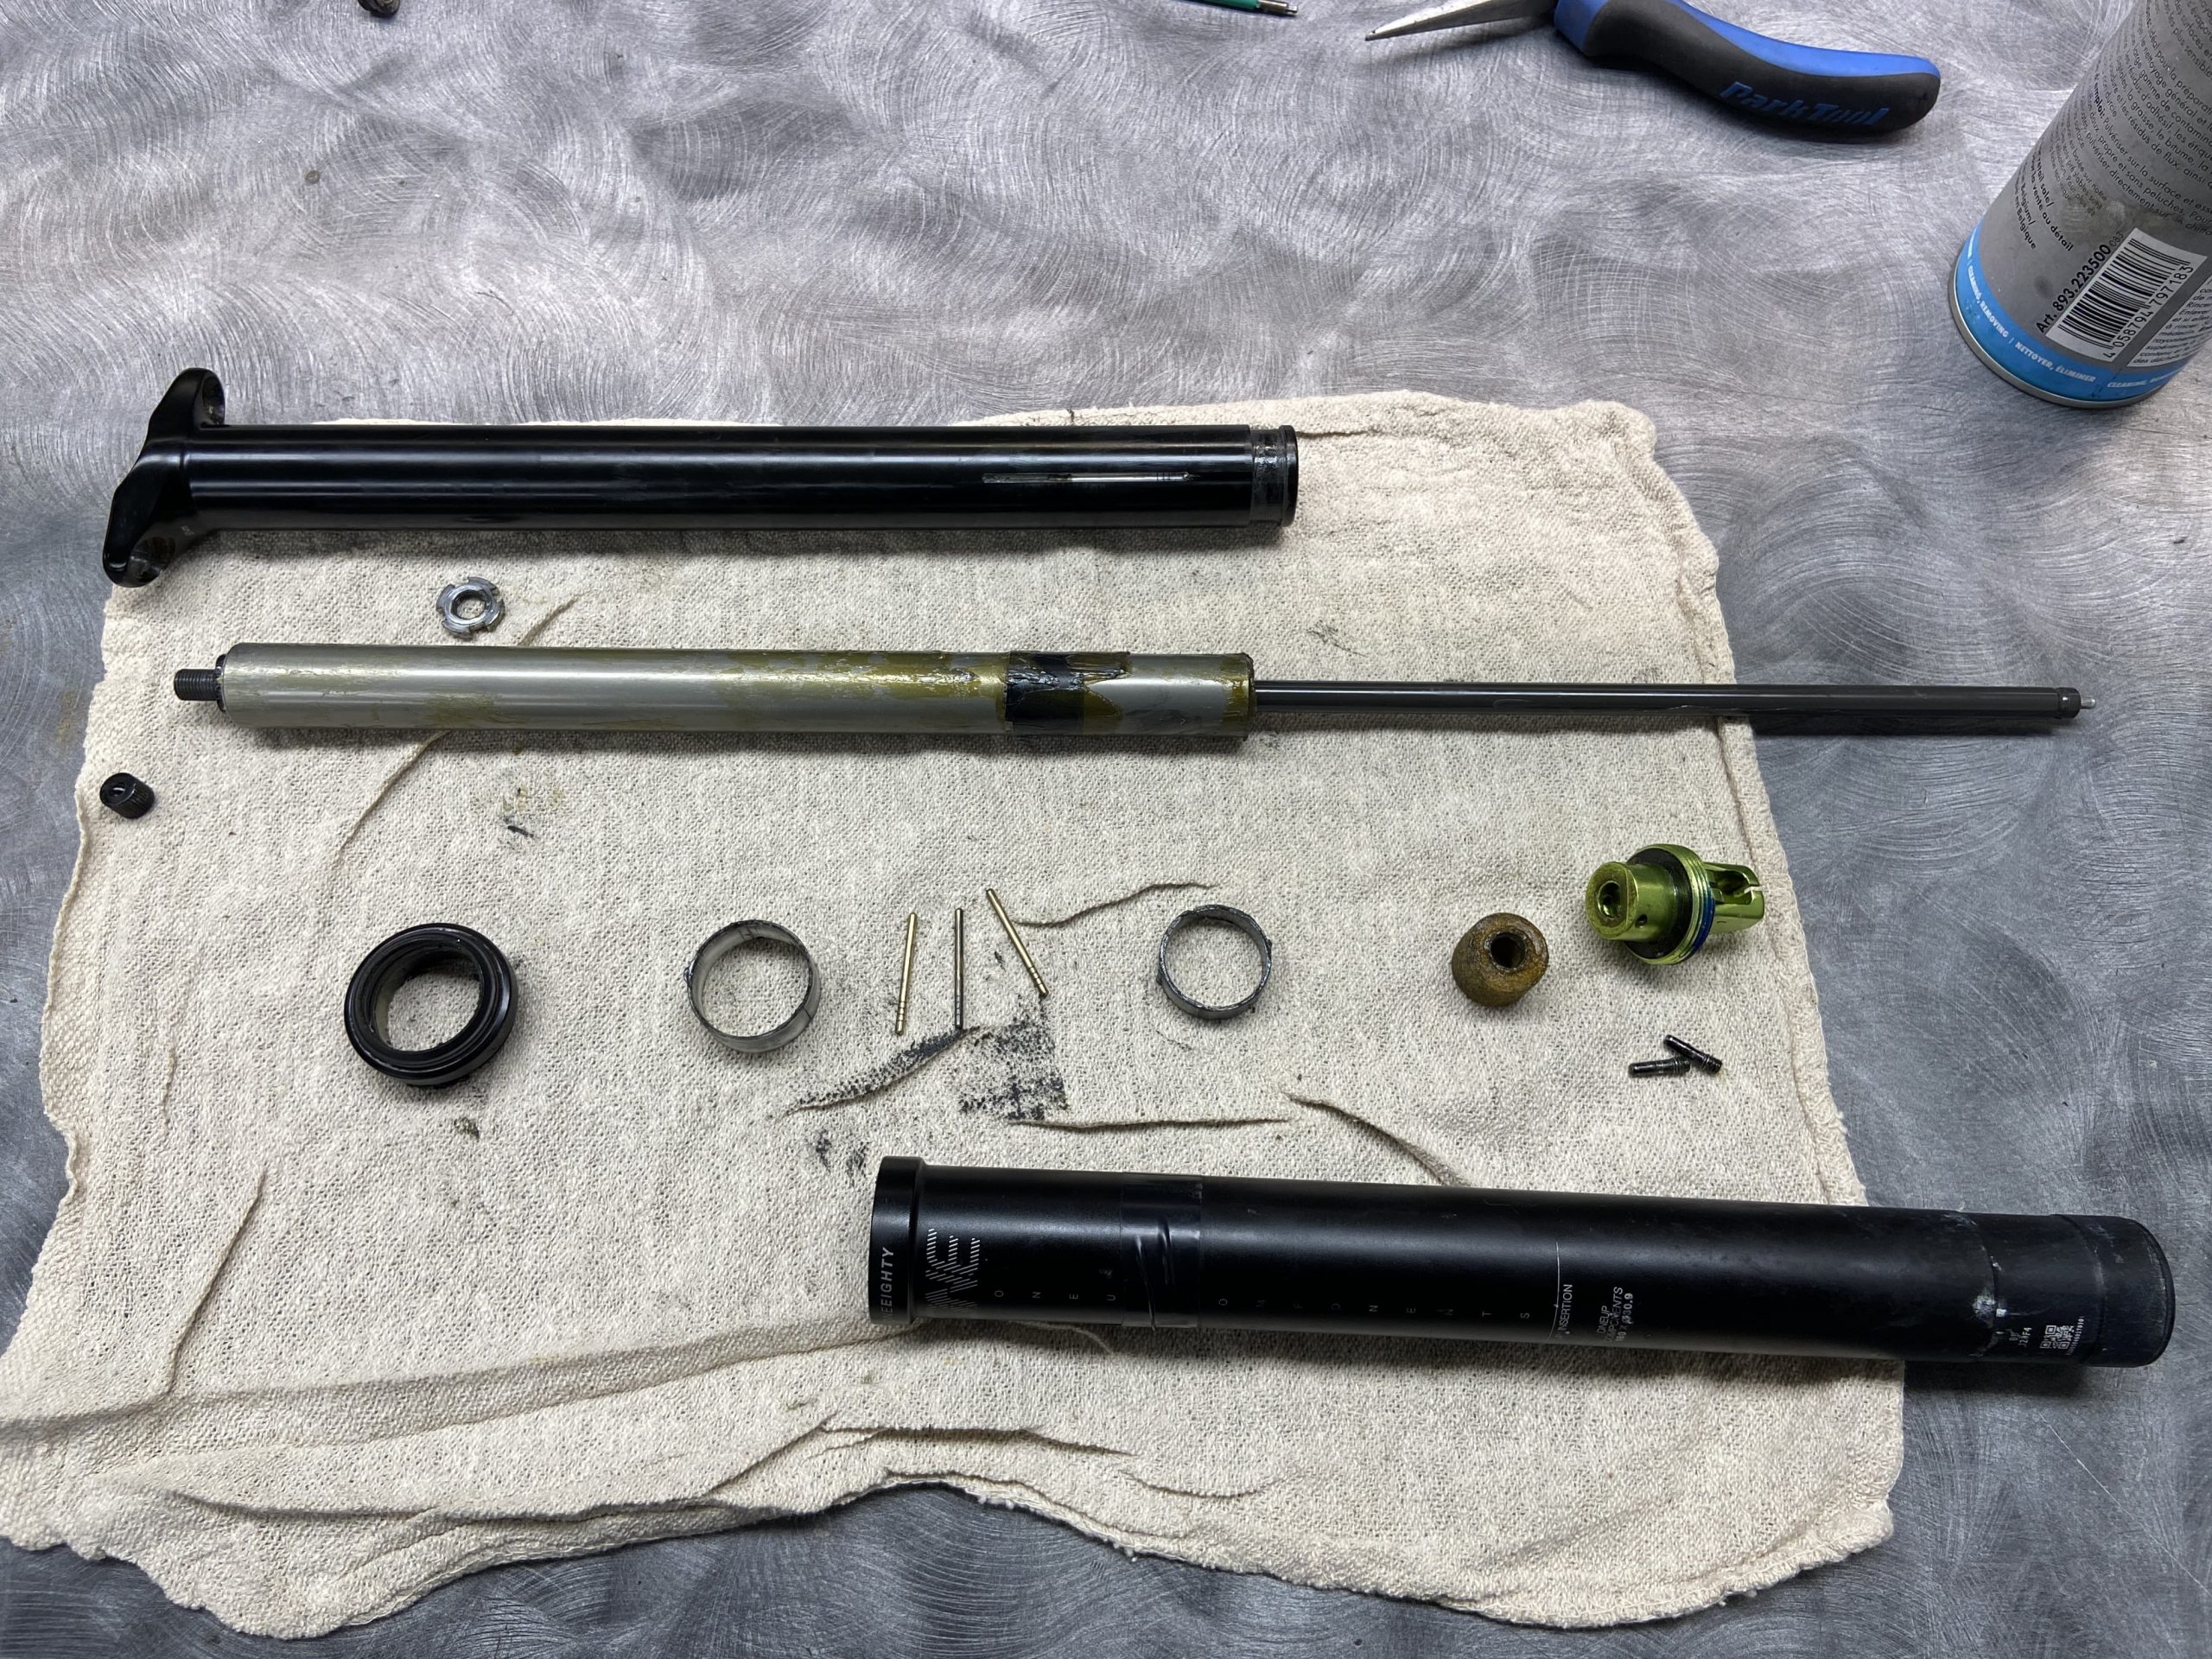
Step 5: Remove parts from the upper tube
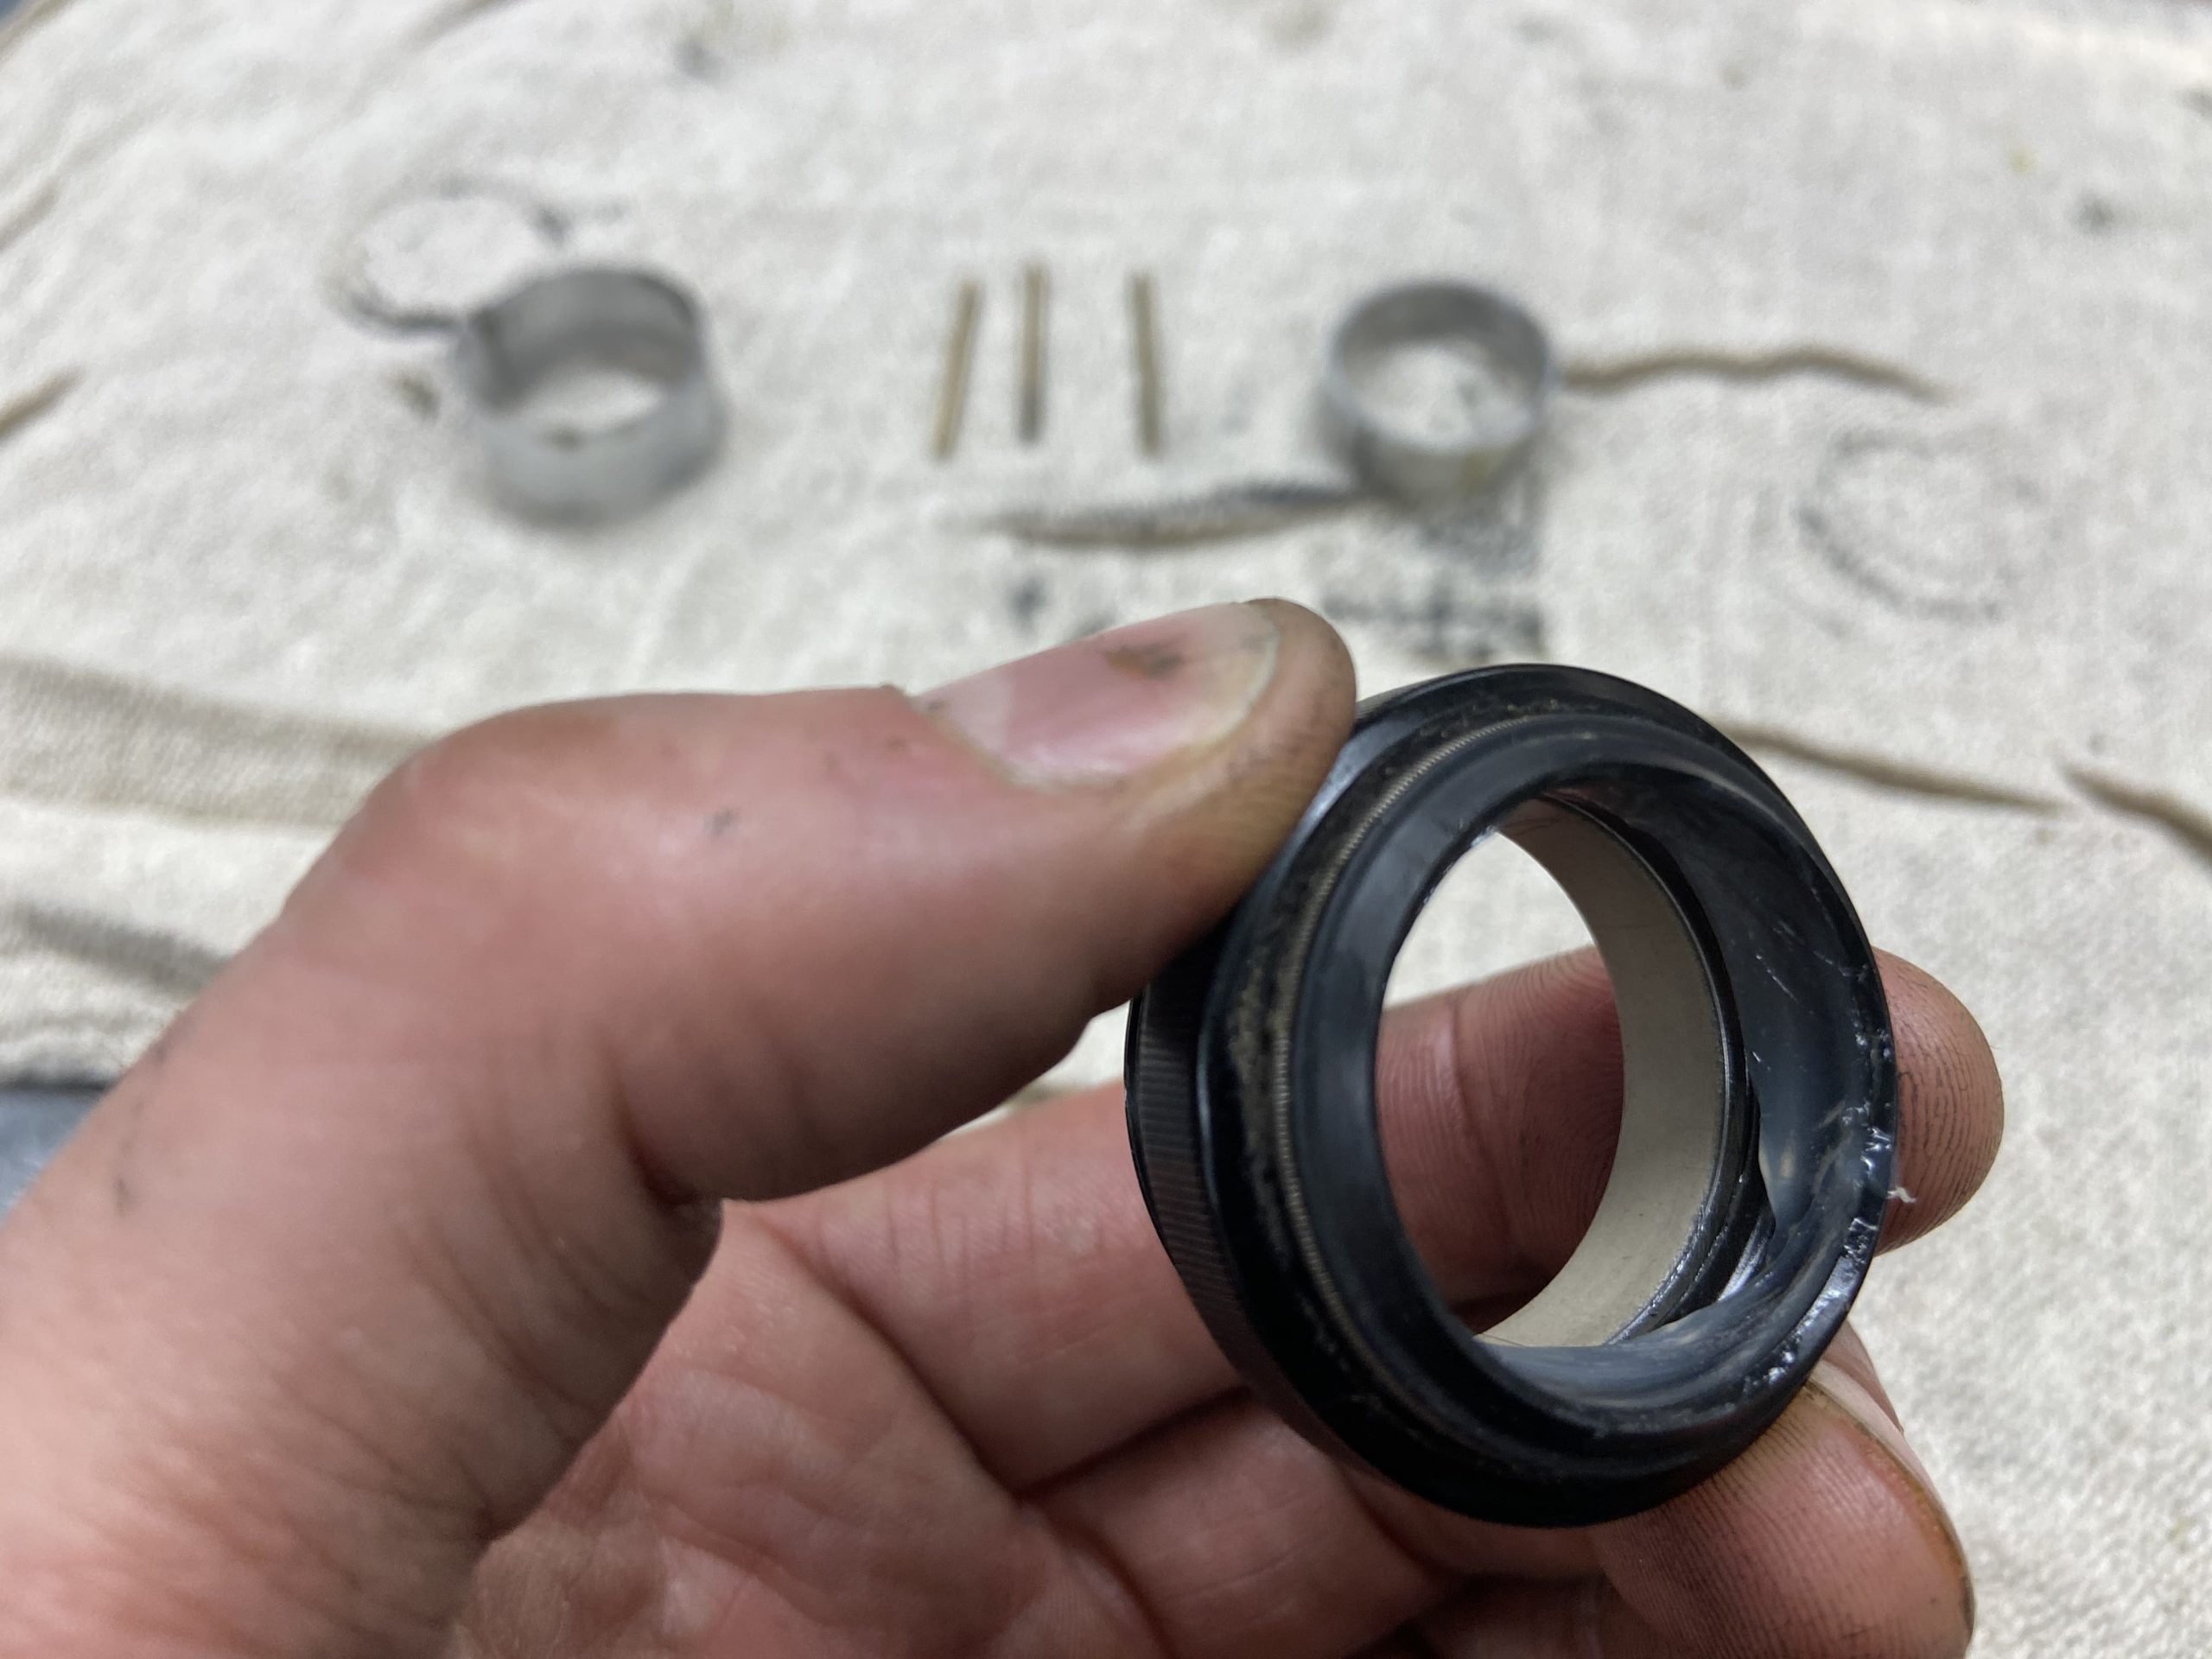
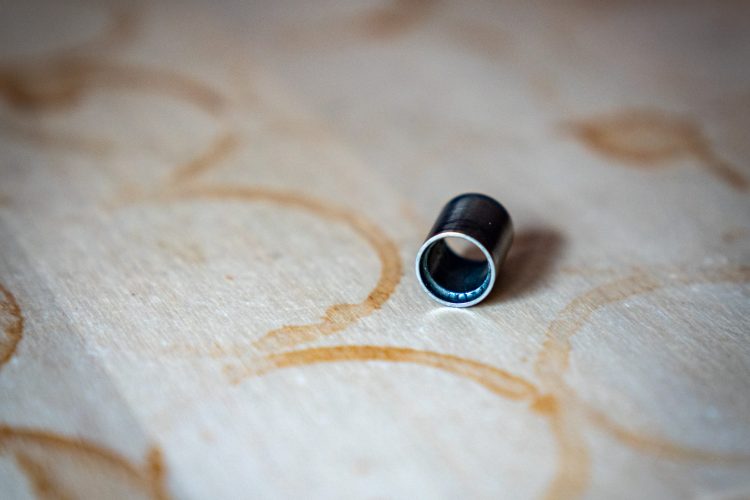
Now we simply remove all the parts from the post and clean them up. On the upper tube usually, there are a couple of bushings that help keep the upper and lower tubes aligned and moving smoothly, as well as a set of keys that prevent the upper tube from rotating within the lower tube. Remove the bushings and keys making a note of where they went. I like to organize them on my bench in the same order they came out. Once bushings and keys are removed the seal head should slide off the upper tube. Note that you may need to use a sharp pick to remove some of these parts, in particular the keys, so be careful not to damage/scratch any surfaces.
The cartridge can now be removed from the upper tube. Sometimes they thread in, and sometimes there are pins like in the actuator. In this case, there is a nut that threads onto the cartridge from the top of the upper tube. This can be removed with a set of needle-nose pliers and the cartridge should slide right out. Don’t forget to remove the valve cap first, if you have one.


Step 6: Inspect and clean parts
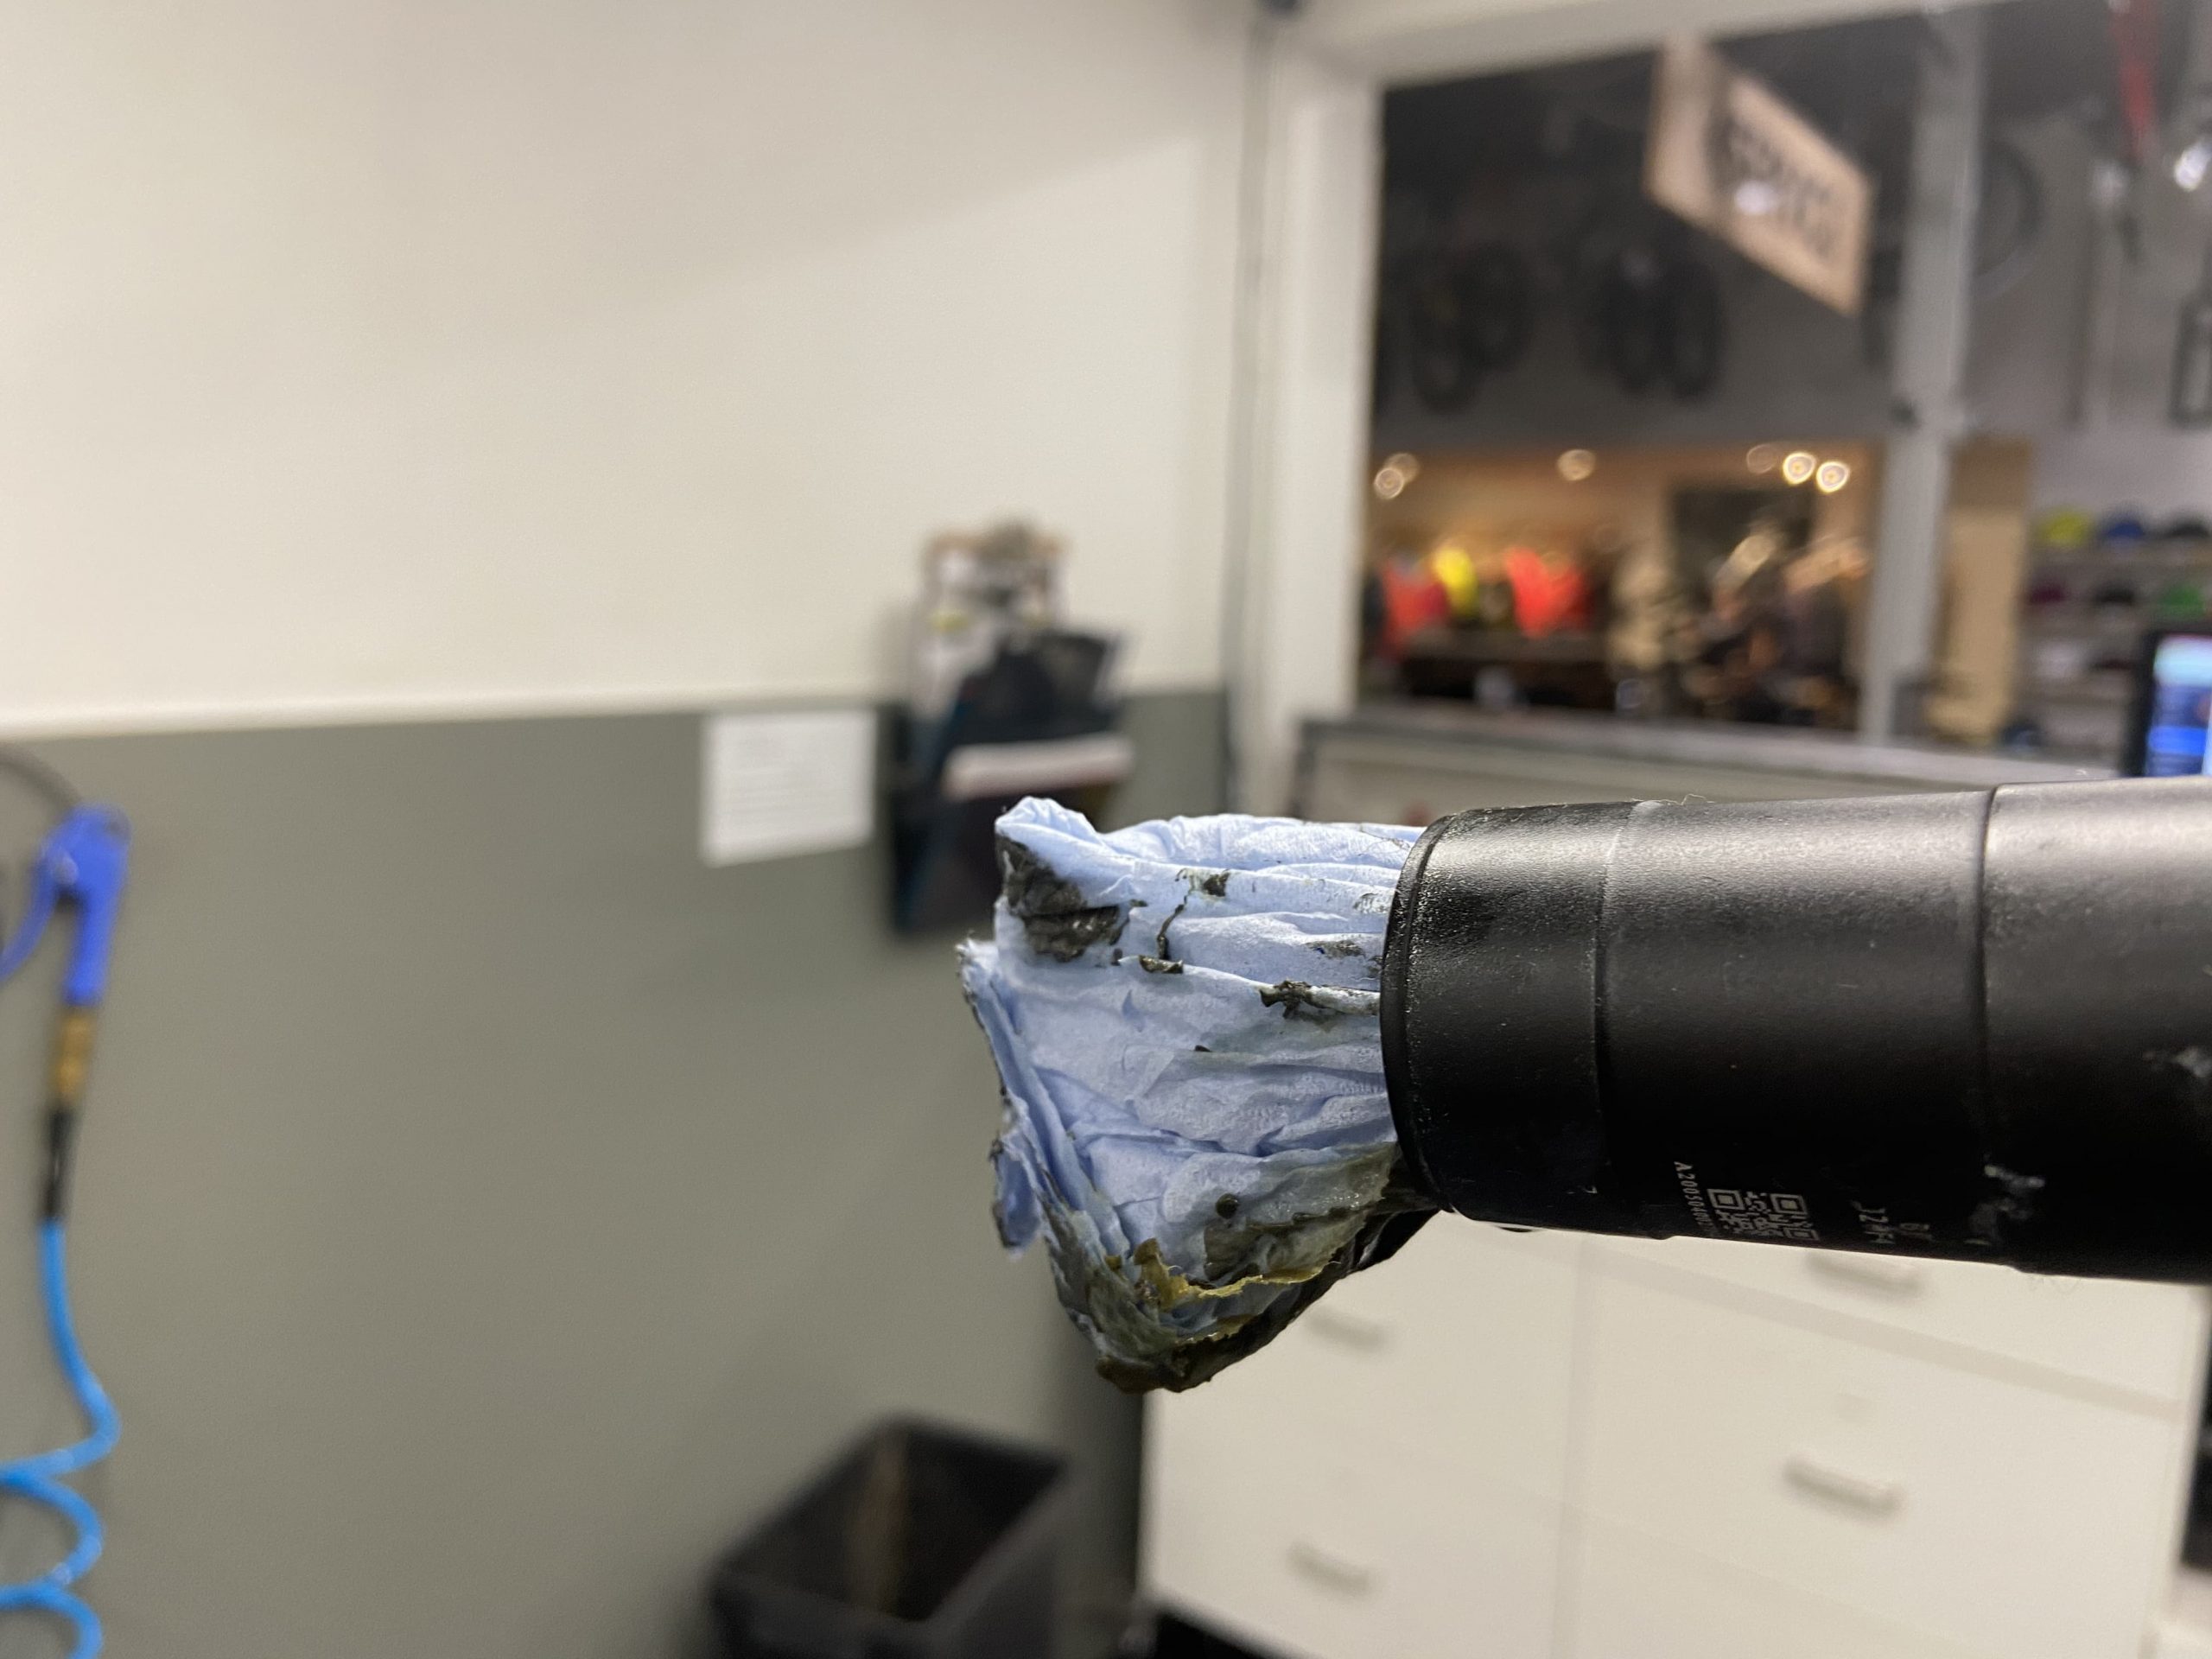
Now it’s time to clean your parts. The best thing to use is isopropyl alcohol also known as rubbing alcohol and a lint-free rag. While you’re doing this inspect your parts for any wear or damage. Often little needs replacing if the post is regularly serviced but it doesn’t hurt to have a service kit on hand with things like bushings, a seal head, etc. To clean the lower tube simply spray some alcohol in and push a rag through with a long stick, then repeat until the rag comes out clean.


Step 7: Grease and reassemble
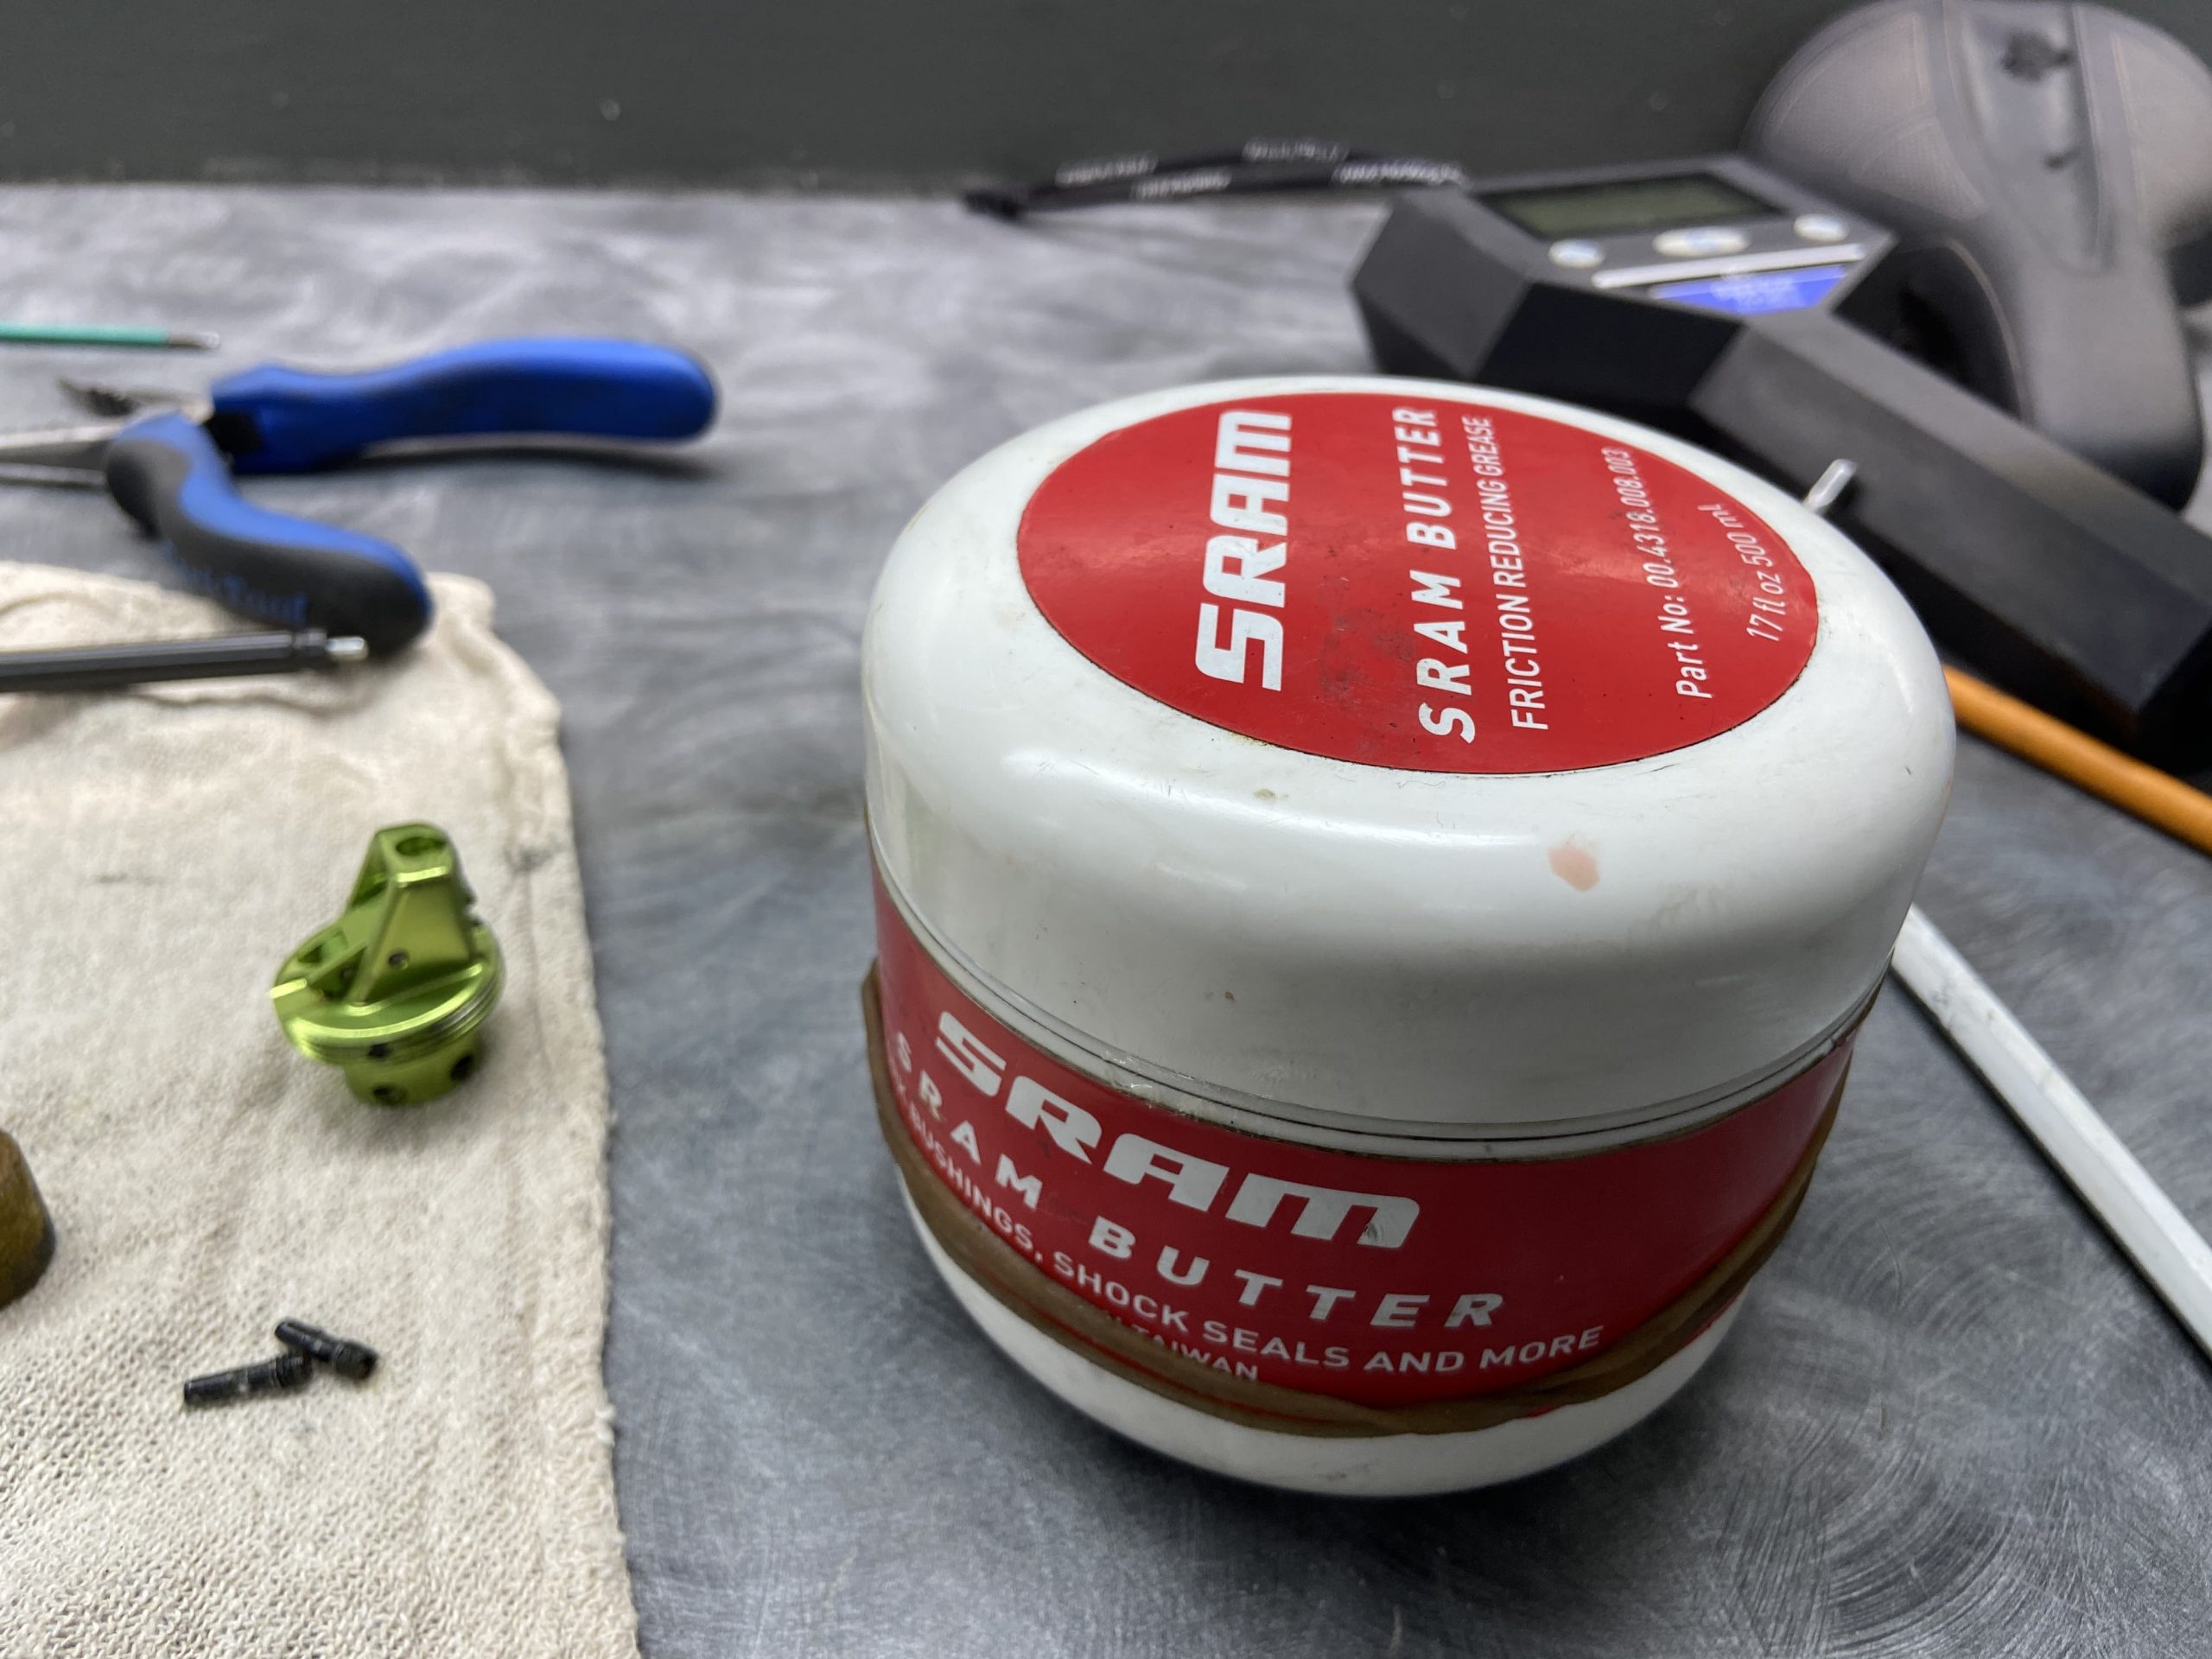
The next step is to grease your parts and reassemble the post. The best grease to use is a thin suspension-specific grease like Slickoleum, Slick Honey, or the SRAM Butter being used here. Grease the rubber seal on the cartridge and refit it to the upper tube the same way it came out. Coat the inside of the seal head with a liberal amount of grease then slide it onto the upper tube. Then slide the bushings back onto the upper tube and grease them. Fill the key slots in the upper tube with grease and insert your keys and grease again over the top — the grease helps hold them in place and lubricates the post. Grease the inside of the lower tube generously, making sure to correctly line up the upper tube and keys. The top part of the upper tube should be slightly nose-down at the front and the numbered markings on the lower post should be at the back.


Step 8: Tighten seal head and refit actuator
Once the lower and upper tubes are back together, thread the seal head back onto the lower tube to hold everything together. It doesn’t need to be crazy tight as they don’t usually come loose during riding. Next re-fit the actuator to the bottom of the post with the 2mm hex pins and thread the actuator into the bottom of the lower tube. It can be a good idea to put some grease on the actuator assembly to keep everything running smoothly.


Step 9: Refit the post
It’s time to refit the seat post to the frame. It’s worth cleaning out the seat tube and using fresh grease if you have an aluminum frame and carbon paste if you have a carbon frame. Note that it’s worth doing this every few months regardless, especially if you live in a wet climate. If left unchecked and ungreased the aluminum seatpost can corrode and expand inside the seat tube becoming completely seized in there, regardless of frame material. Aluminum does oxidize, contrary to popular belief. Hook the end of the cable back to the actuator and slide the seat post into the frame while gently pulling on the remote at the other end to help the cable move smoothly. Set the seat at the pre-marked height and snug the clamp up to the recommended torque.
Wipe off any excess grease from around the seat clamp and clean any excess grease off the upper post so that it doesn’t attract dirt.

Step 10: Inflate cartridge and finish up
It’s time to finish up. Use a shock pump to top up the air pressure in your cartridge so it can work at maximum efficiency. The OneUp seat posts go to a maximum of 300psi, and I like to use all of that since like anything containing pressurized air they tend to deflate over time. Screw the valve cap back on and refit your seat the same way it came off. Once your seat is on, make sure your cable tension is dialed using the barrel adjuster to take up any slack in the cable. If the post is working great, that’s it — you’re done. Give yourself a pat on the back.


Cartridge dropper post maintenance tips
Thankfully modern cartridge dropper posts don’t require much maintenance beyond an occasional rebuild, but here are some tips to keep your dropper post running smoothly.
Clean and lube the seal head
The seal shouldn’t need much attention but cleaning excess dirt from it after riding helps, as does the occasional lube. Dropping some chain lube on it and cycling it is enough to make a difference if it feels a little sticky. Alternatively, you can unthread it completely while the post is dropped slightly and put some grease both above and below the seal head, rethread it on and cycle the post a few times again to keep it feeling silky smooth. Don’t forget to wipe off any excess lube/grease to keep it from attracting dirt.
Adjust the cable tension
If you feel like there’s a lot of throw in your lever before the post actuates, it’s likely the cable has stretched and you need to dial in some cable tension. Simply wind the barrel adjuster on the remote out counter-clockwise until it feels good again. Alternatively, if the post goes up and down without you actuating the lever, you could have too much cable tension. Wind that barrel adjuster in clockwise until the post is solid underneath you.
Replace your cable
If adjusting your cable tension doesn’t help the above issues or the lever feels really stiff and/or slow to return, it might be that your cable is corroded/sticky and needs replacement. It makes sense to do both cable and housing at the same time since they’re pretty cheap — see our guide for replacing internal cabling for help with this.
Check out our dropper post buyers guide and our picks for the best dropper posts.


1 Comments
Dec 14, 2021