
CushCore was designed to improve the ride feel of modern, higher volume tires by taking up space inside the tire and removing the bouncy ride quality, much like a volume spacer inside a suspension fork. They also have the added benefit of being dense enough to ward off rim dents from rock impacts, and thanks to the snug fit around the rim, they can help lock your tire onto the rim, preventing air from burping out under hard cornering or other impacts. It’s one of the most popular tire inserts on the market today, and possibly the most difficult to install.
Fitting and removing CushCore or any other tire insert is one of those tasks that people tend to dread, unnecessarily so, in my opinion. Being able to remove your tire on the trail to repair a puncture is vitally important, especially if you find yourself off the beaten track. However, with the right tools — and more importantly the right technique — CushCore can be relatively easy to fit and remove. It’s all in the thumbs. I would also recommend checking out the official CushCore installation video at the bottom of this article.
I’ll go through removing the CushCore first, and then re-fitting, though the two processes are completely independent of one another. While many of these steps will apply to other inserts, there are several steps that can’t be skipped if you want to get this grey insert seated properly.
Removing the tire insert
Step 1
Remove air. Simply unthread your valve and let the air out just as you would with any other tire.

Step 2
Grab a tire lever – something solid and sturdy is best. I really like the Pedros tire levers because they’re super strong and have a nice hook to them. The CushCore Bead Dropper also works great. Metal tire levers work if you’re really struggling but they’re best avoided if possible to avoid damaging your rims.

Step 3
Grab a garbage can – round is best but square will do. If you’re trailside you’re unlikely to have a garbage can on hand, so just put the wheel on the ground – you just need something to put your weight on. You may not need this step with other inserts, but with Cuah Core it’s somewhat necessary.

Step 4
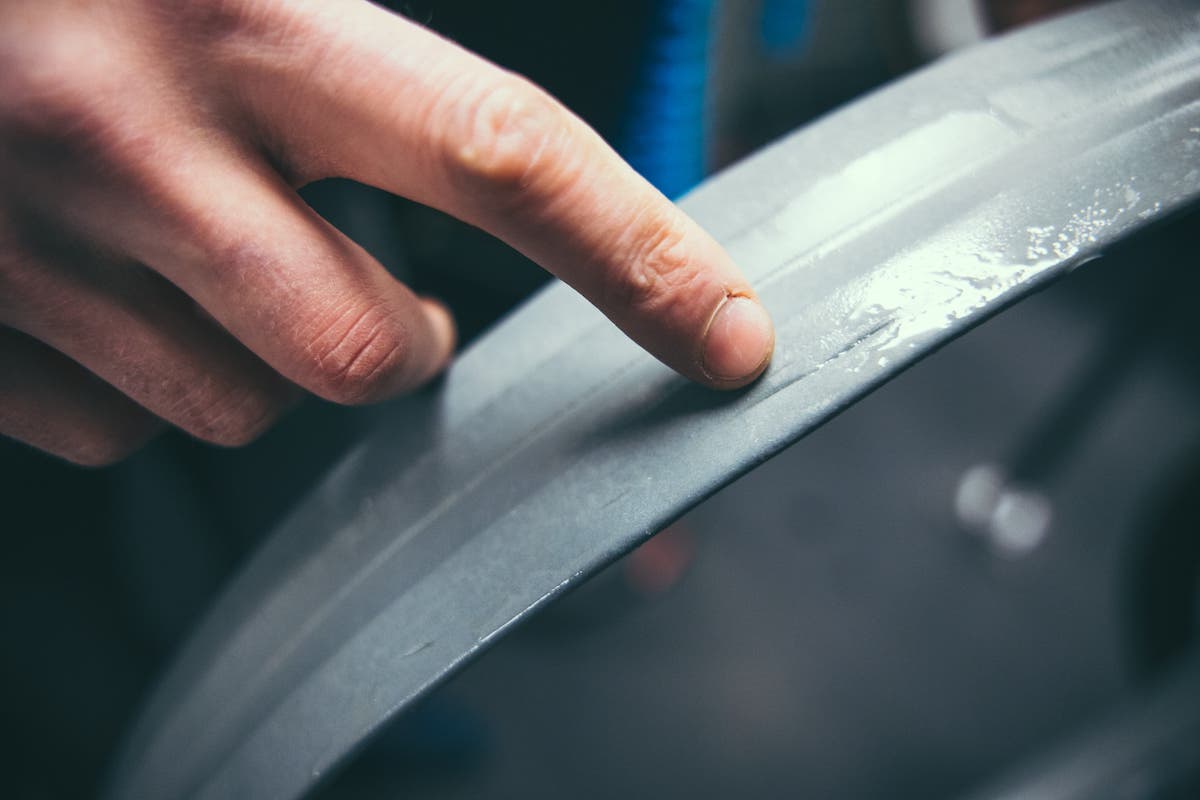
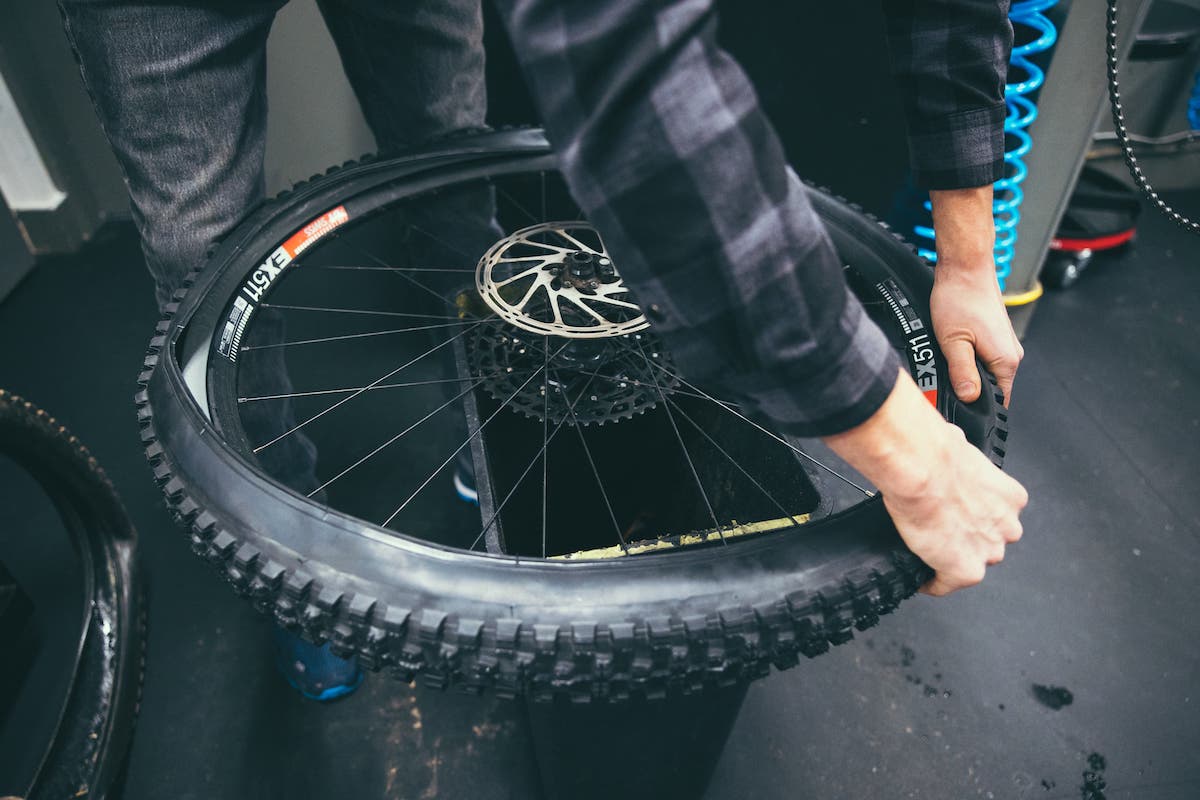
Break the bead. This is the most important step and it’s where most people go wrong. Holding one edge of the rim down with your knee, grab your tire lever, and push the tire down where it meets the rim on the opposite side of the wheel to your knee so that it unseats and drops into the center of the rim. Chase the tire all the way around the rim so that the tire is fully unseated. Incidentally, this is also good practice on any tubeless tire, insert or not, and is often the reason many people struggle to change tires. The difference is that without the insert this is usually possible without the garbage can and simply using your thumbs.

Step 5
Now the bead is fully unseated all the way around the tire, you can use the hook on the tire lever to remove the tire, just as you would a normal tire. Pop one edge of the tire off, then work your way around. If you’re struggling it’s worth checking that the bead is fully unseated all the way around, or you can use two tire levers at the same time if you just have a really tight tire. Once enough of the tire is off, you should be able to run the lever around the edge of the tire and it’ll simply peel off the rim.

Step 6
Pull the tire insert out. You should be able to reach inside the tire at this point; grab the CushCore and pull it out. It might be a little tight but manageable. Once the CushCore is out the tire should come off like any other tire. You may want to use a rag to soak up sealant inside the tire.
Fitting the tire insert
Step 1
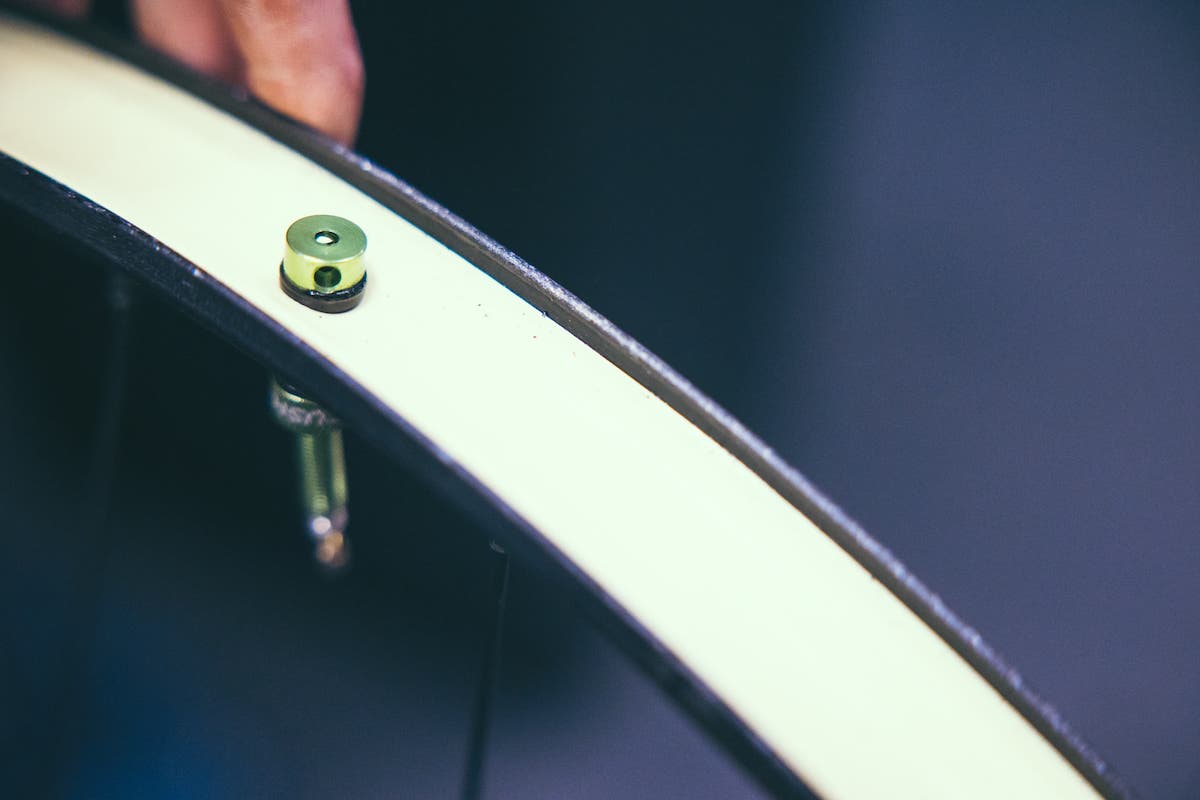
Fit the special CushCore valve to the rim. CushCore needs a different valve because the insert will cover the valve opening inside the tire on a regular presta valve, making it impossible to check your tire pressure or deflate the tire without removing the valve core and sticking a long, 2mm allen key down there. The official CushCore valves get around this by being drilled through the sides so the insert cannot plug the holes.
Step 2
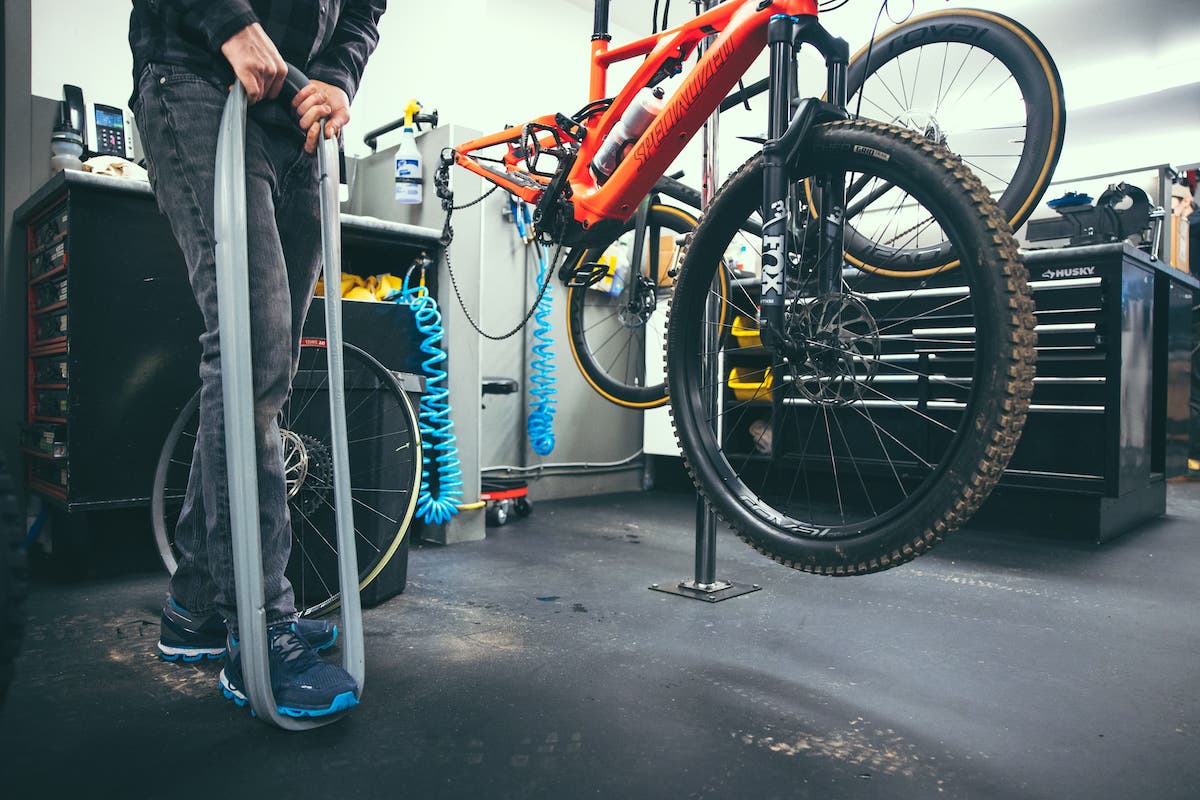
Let’s pretend we’re fitting a brand new tire insert here. Because the fit is quite tight, it’s a good idea to stretch the CushCore out to help it fit onto the rim. Put your foot inside and hold it down while pulling up as hard as possible to stretch it out. Don’t worry, it’s not going to break.
Step 3
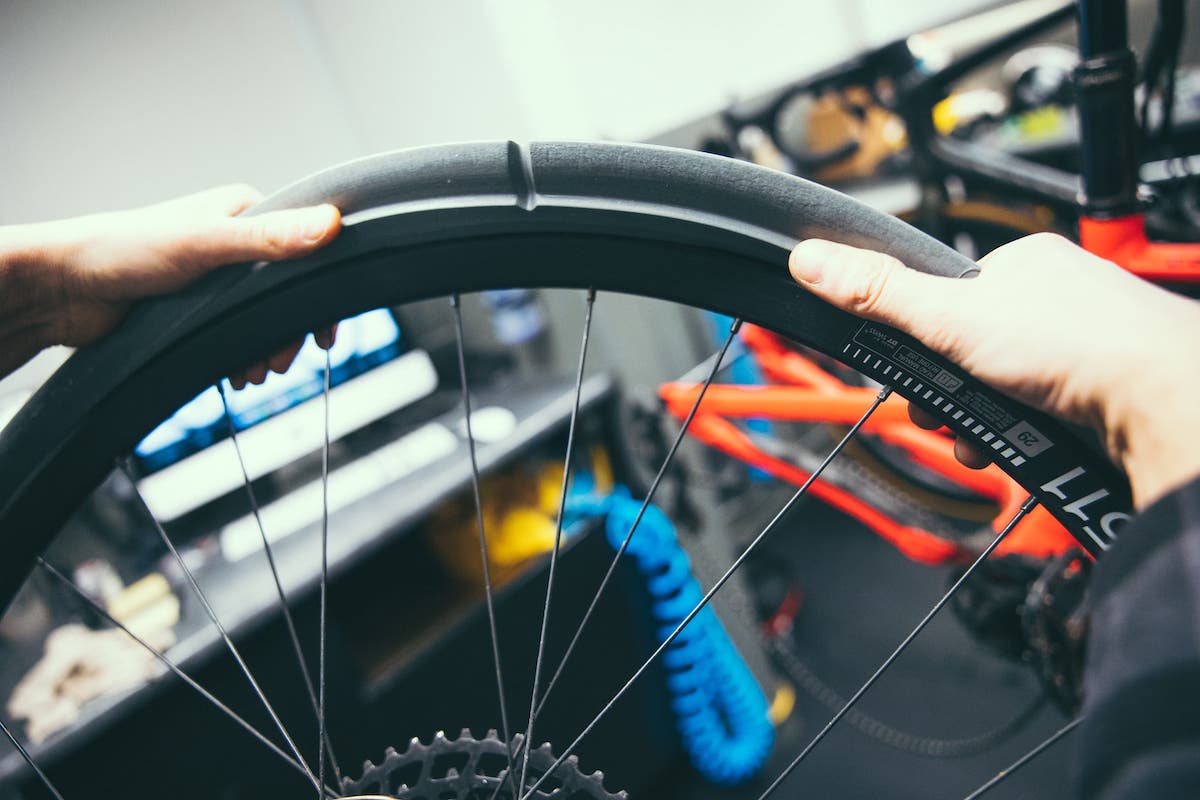
Fit the CushCore around the rim first – the center of the insert should fit inside the well in the rim. If it’s really tough to get on, you may need to stretch it out a little more. I use a technique much like mounting a tire — place it around most of the rim, then roll the last little bit on with your thumbs.
Step 4
Fit the tire over the CushCore – it doesn’t need to be on the rim at this point, just loosely over the insert. Sometimes it can be useful to use a long tire lever or similar to lever the last bit of tire over the CushCore. Pay attention to the rotation direction here as you don’t want to fit the tire backward and have to correct it later.

Step 5
Now we can start fitting the tire to the rim. With the wheel on your garbage can or the ground and starting at the valve, use your thumbs to roll the tire over the rim and under the CushCore to seat it nicely on the rim. Work your way as far around the rim as you can before it becomes too tough. Don’t forget to line your tire logo up with the valve for extra mechanic points.

Step 6
Here’s the important part to make it easier to get that last bit of tire on: grab your tire lever and push down on the parts of the tire you already fitted over the rim. Push down on the tire right next to the rim to unseat it and push it down into the center of the rim and work your way all the way around.

Step 7
There should now be enough slack in the tire to fit the last bit over the rim. This is often doable by hand but depending on your tire/rim combo you may need to use a tire lever, being careful not to pierce the rim tape. This is much the same as fitting any other tire, though a little tighter.

Step 8
Once you’ve got the one side of the tire fitted, flip the wheel over and get started on the other side using the same process as above.
Step 9
Now that the tire is fully fitted, it’s time to inflate. It’s a good idea to do this to fully seat the tire before injecting sealant just to avoid making a mess. The tire should in theory fully seal without the use of sealant, so during this step we can make sure the rim tape isn’t punctured anywhere, and the valve is tight, before adding sealant. The tire should fully seat all the way around, and thanks to the CushCore helping to push the tire onto the rim, this is usually achievable without a compressor. This is one benefit of CushCore to the home mechanic.

Step 10
Time to add sealant. Deflate the tire and remove the valve core. Use either a sealant injector or a two-ounce sealant bottle. I use the same amount of sealant as if I weren’t using an insert – about 4oz per tire.
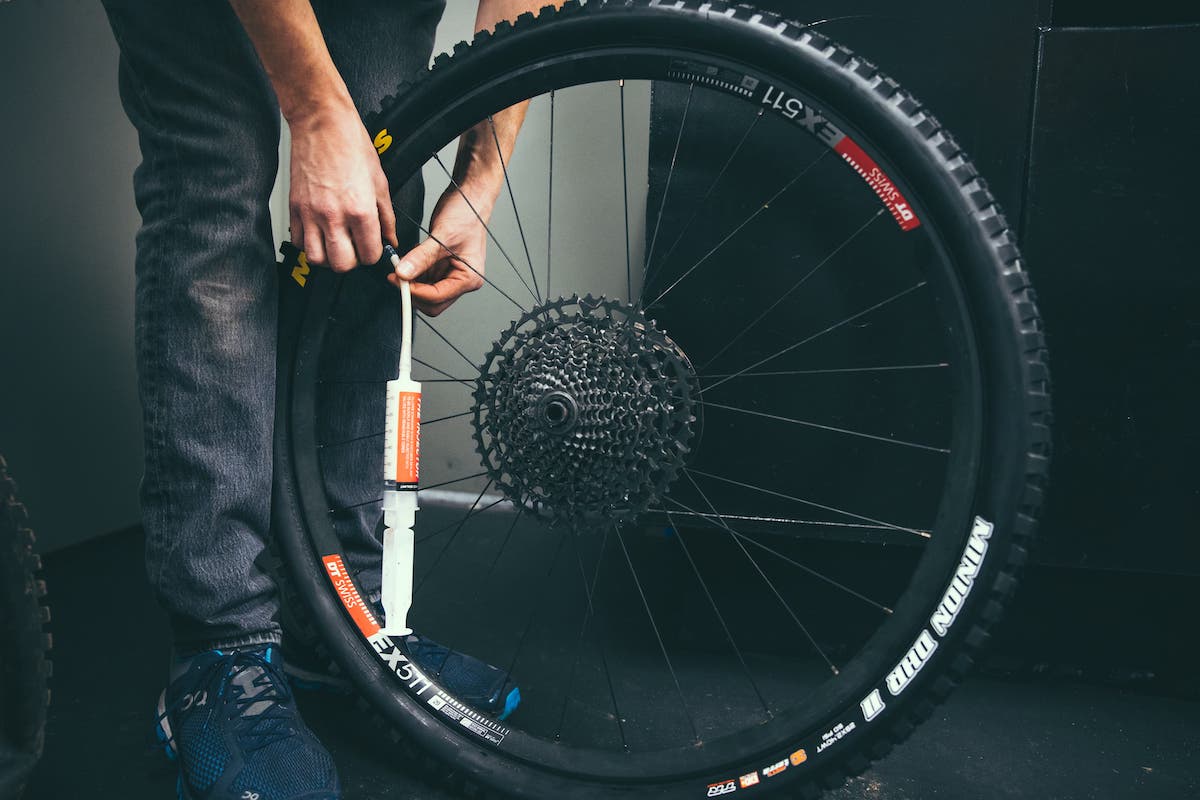
Step 11
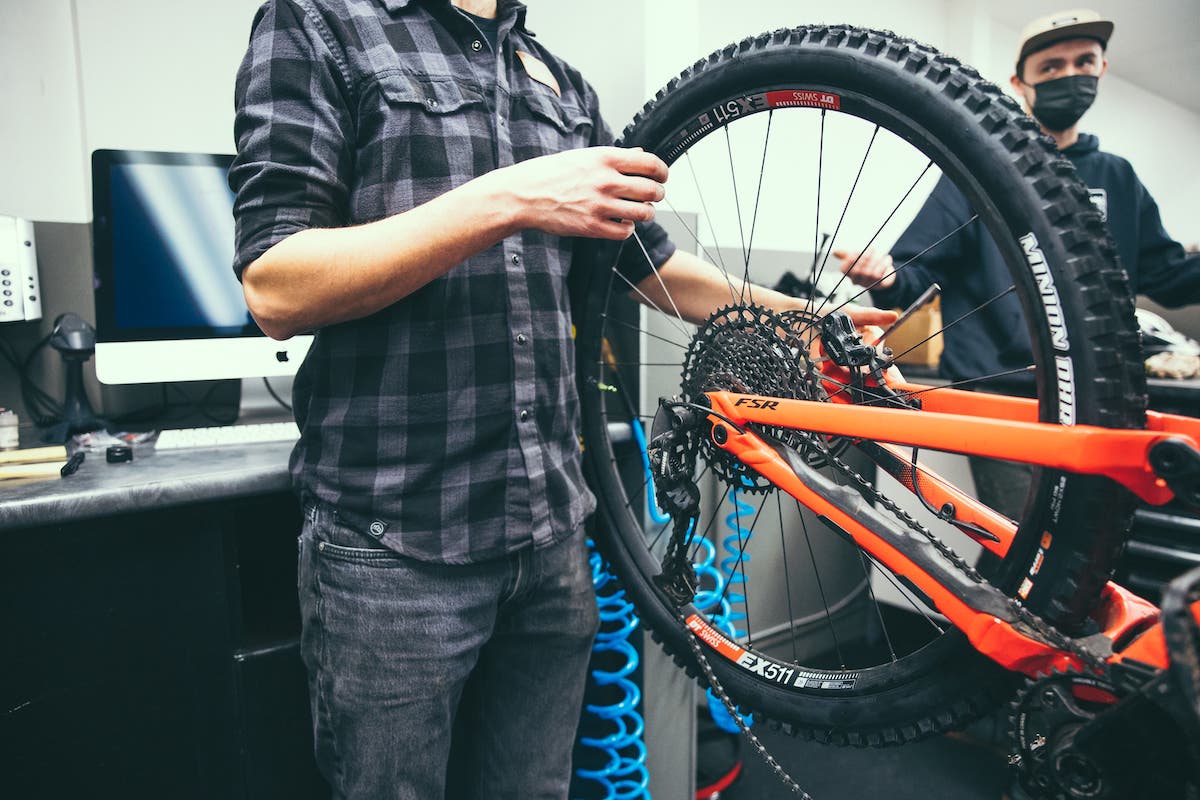
Re-install the valve core and re-inflate the tire. Give it a spin to ensure the sealant fully coats the tire and if the air stays inside, then you’re done. Bear in mind that with an insert you can safely run lower pressures than you otherwise might. Try dropping your regular pressure by 2psi and see how it feels out on the trail. Congratulate yourself, refit the wheel to your bike, and go ride!
Editors note: This article was first published at Steed Cycles


1 Comments
Feb 25, 2022