
Disc brakes are one of the biggest cycling innovations in recent years. They provide incredible stopping power even in the wettest weather, are relatively low maintenance, and allow for big tires on rims that aren’t as straight as they should be. They’ve changed the mountain biking game totally, and it’s fair to say that we rely on them these days, but that means when they’re not working at their best, it’s especially noticeable.
In this article we’ll talk about the finer points of brake adjustment, from the simple to the slightly more complex and round it off with some tips you’d maybe never even dreamt of. A lot of what we’re going over applies to both hydraulic and mechanical brakes, however this isn’t always the case. Skip to the bottom to see some specific tips for how to adjust mechanical brakes.

Before we get started I’ll throw out some general safety precautions:
- Be careful of spinning brake rotors – do not put your fingers near them as they can cause a lot more damage than you think.
- Do not touch your rotor/pad surfaces with your bare fingers. The oils from your skin can contaminate them.
- If you are not sure, seek help from your LBS. Your mountain bike brakes are important and it’s worth making sure they’re done right.
Signs that your brakes need adjusting
Let’s start with some symptoms that your brakes might need some work. Some of these are pretty common, some less-so. But I can pretty much guarantee that most of you will have experienced at least one of these at some point:
- Spongy brake lever
- Brakes rubbing
- Overly-firm brake lever
- Brakes howling
- Low stopping power

Spongy brake lever
A spongy lever or a lever with a lot of free-throw can mean one of two things: Either you need new brake pads, or your brakes need bleeding. One of the first things that you should check when addressing brake problems is pad life. Look into the caliper and check for pad material on the backing plate; if there’s little left then it could be worth changing them out. It can be worth removing the wheel to check pad life as pads often wear faster on the bottom than the top and it can be tough to tell without removing the wheel. Take a look at our guide on changing brake pads here.
If you’ve changed the pads and the lever still pulls to the bar, this is a sign that your brakes have air in the system and likely need a bleed. Bleeding brakes is a complex topic in itself, so stay tuned for a further article on brake bleeding.

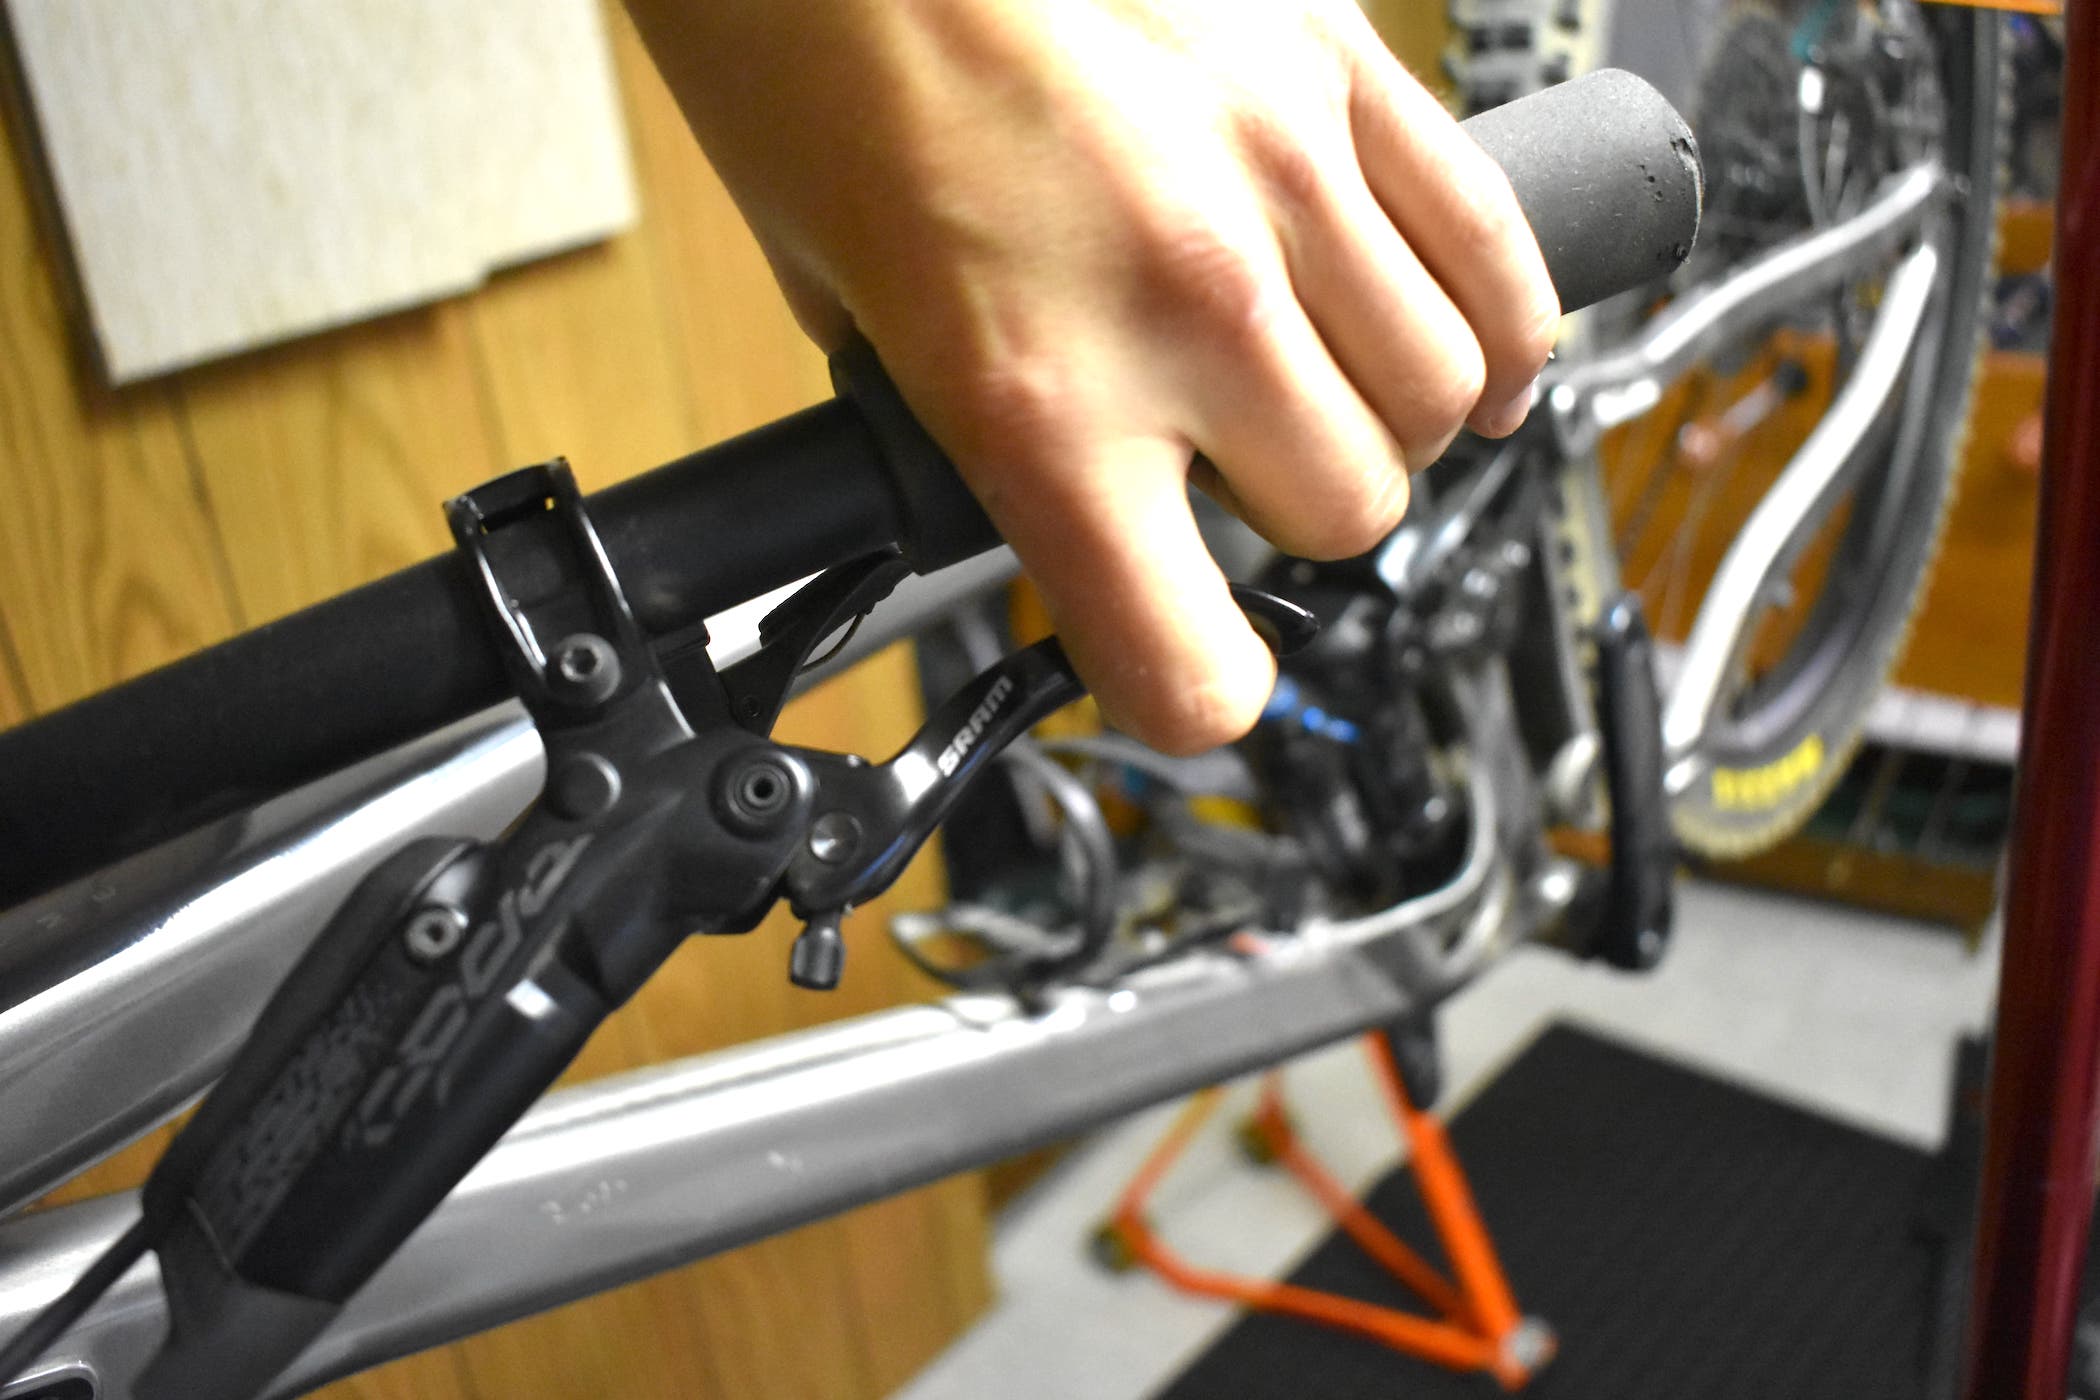
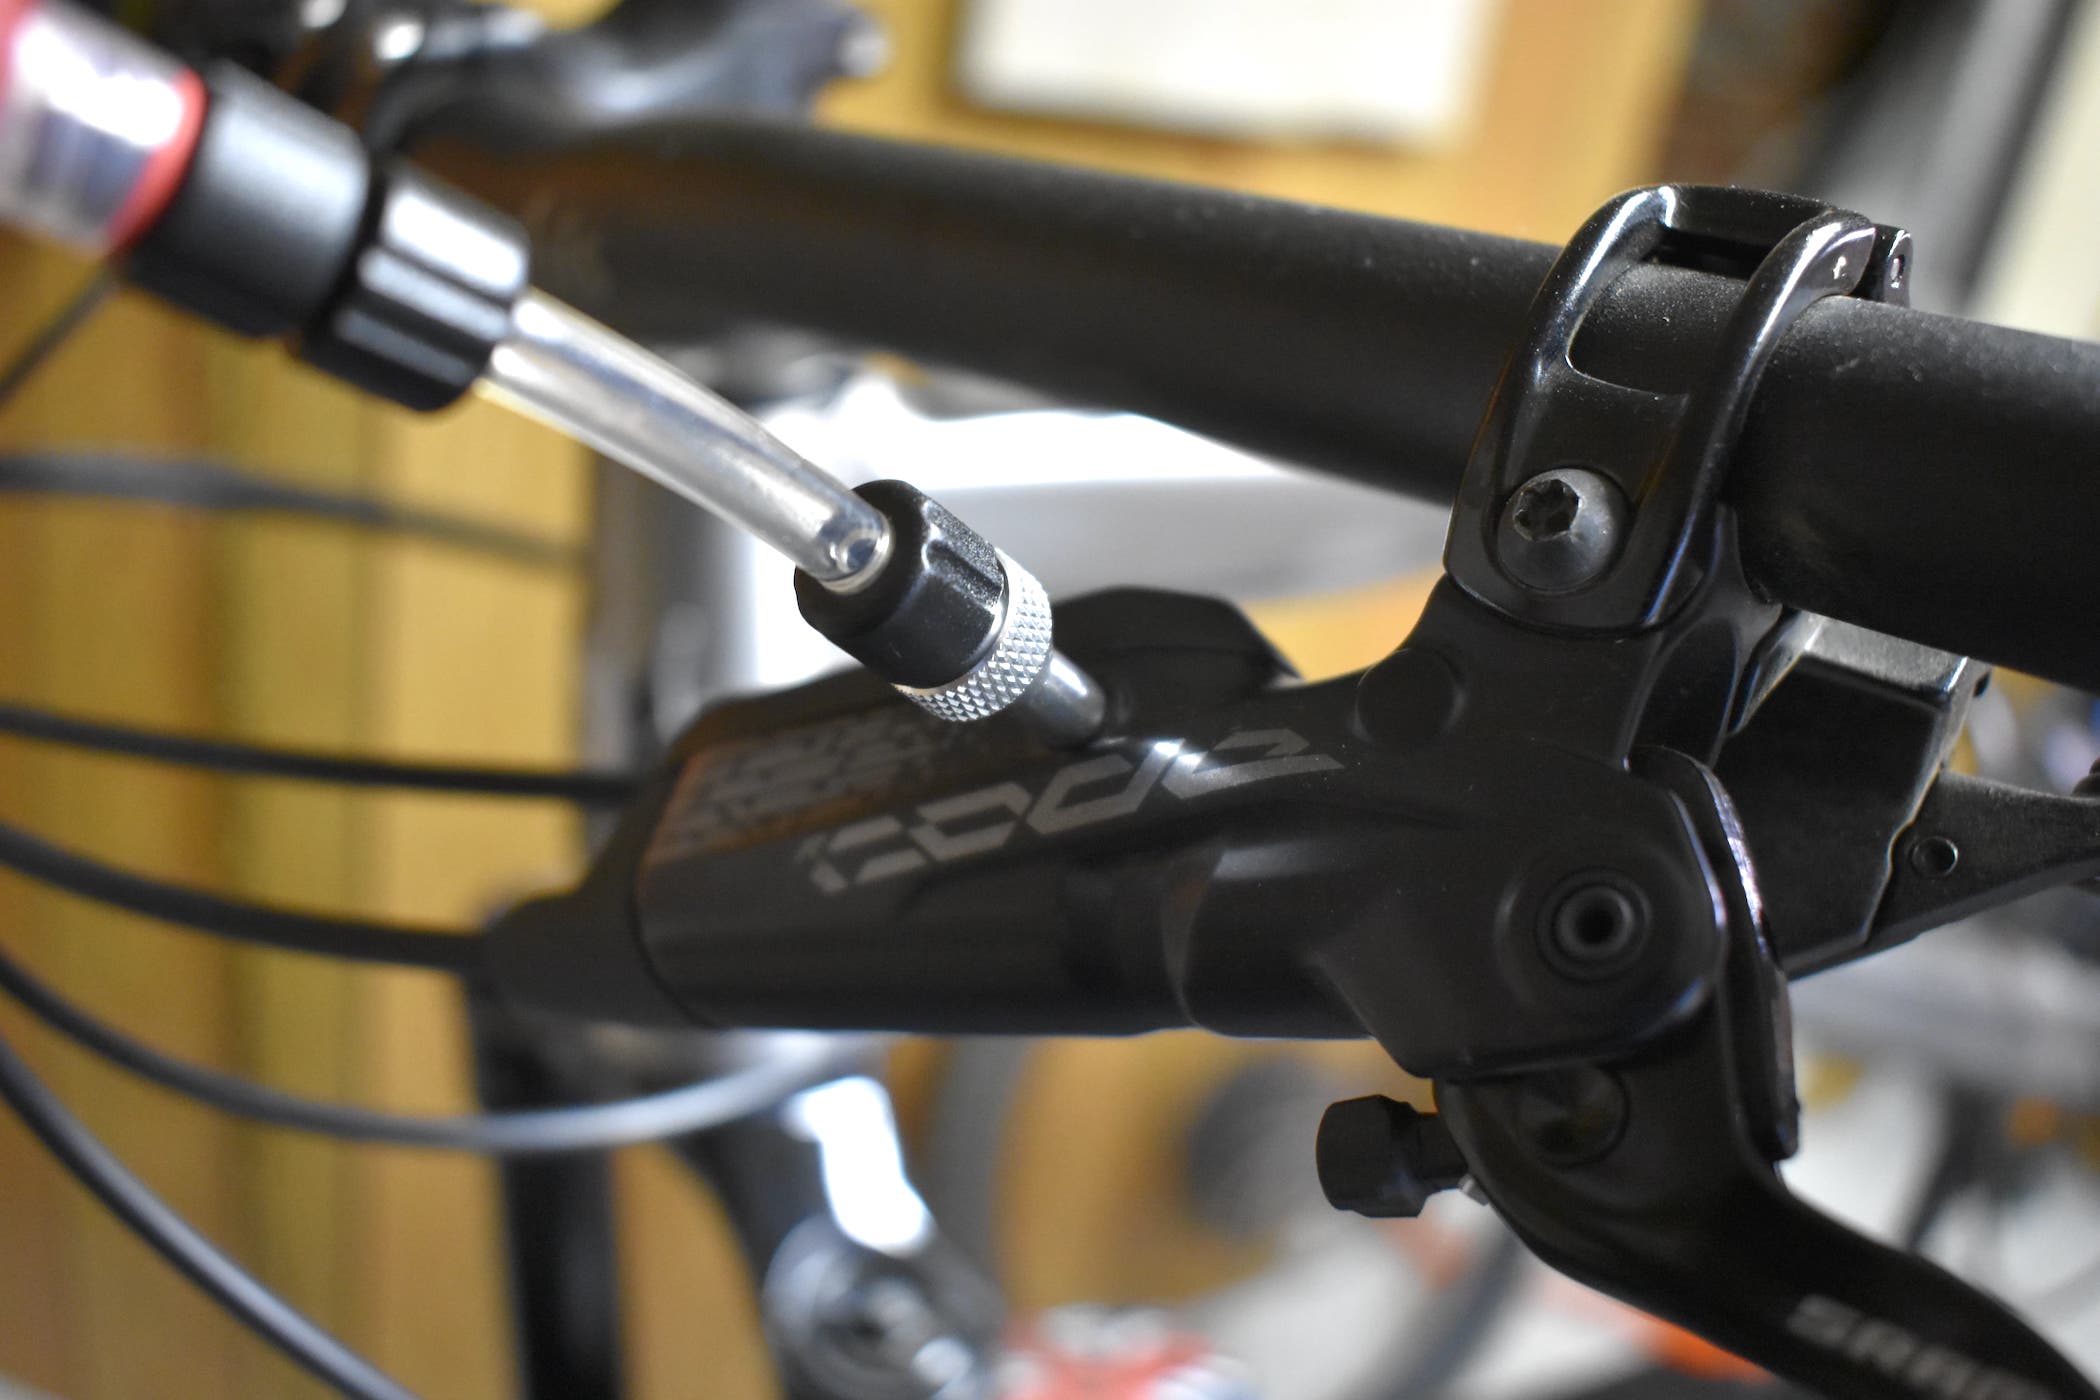
Brake Lever travels too far or not far enough
Many brakes offer lever adjustments, often without the need for tools. Be sure to consult the manual for your particular brake model to see which adjustments are available, and how they work.
Reach adjustment
Reach refers to the distance from the bars to the lever. Riders with smaller hands will likely want to adjust the levers so they’re closer to the bars. Note that this shouldn’t affect how the brake performs.
Bite point / free stroke adjustment

The bite point refers to the distance the lever needs to travel before the pads engage the rotor. This is also called free stroke adjustment. If your brakes aren’t engaging quickly enough, or the lever comes in contact with the bars when fully engaged, try adjusting the bite point first to see if that helps. If not, your brakes are likely in need of a bleed or pad replacement.
Rubbing brakes
Rubbing brakes are one of the most frustrating brake-related problems you can encounter because not only does it mean you’re losing the precious power you’re putting in with each pedal stroke, but the sound of the rotor rubbing can get extremely irritating. Thankfully there are a number of ways to fix this from simple to more complicated. Let’s start with the simple solution first and go from there
Re-align the caliper
One of the simplest fixes for rubbing brakes is simply re-aligning the brake caliper. Sometimes over time the caliper can move over to one side slightly, meaning one brake pad is closer to the rotor than the other, causing it to rub. Realigning the caliper with the rotor can quickly and easily fix that. If you have adequate lever travel (ie your brake lever actually moves) but it just rubs a bit, start with this.
Easy caliper realignment:
- The easiest way to do this is to put the bike in a work stand, flip upside down, or elevate the bike so the wheel can spin freely.
- Loosen the two caliper mounting bolts by about a half-turn – these are the bolts that hold the caliper to the frame/fork, not the bolts that hold the caliper halves together
- The caliper should be able to move side to side on the bolts
- Spin the wheel and slow it to a stop using the brake. Keep your finger on the brake.
- While still holding the brake, tighten the caliper mounting bolts
- Spin your wheel – hopefully it spins freely, if not repeat steps 2-5 a couple more times.


If this doesn’t work, I will often align the caliper by eye:
- Put the bike in the workstand or flip upside down.
- Loosen the caliper bolts just enough that the caliper can be moved by hand but doesn’t move freely, maybe 1/8 of a turn.
- Position yourself so that you can see through the caliper – you should be able to see a gap between the pads and rotor.
- Move the caliper by hand into a position where you can see a gap between the pads and rotor on either side of the rotor.
- Tighten caliper bolts – it may help to align one end, tighten that bolt and then align the other.
- Spin the wheel, hopefully we’re now rub free.

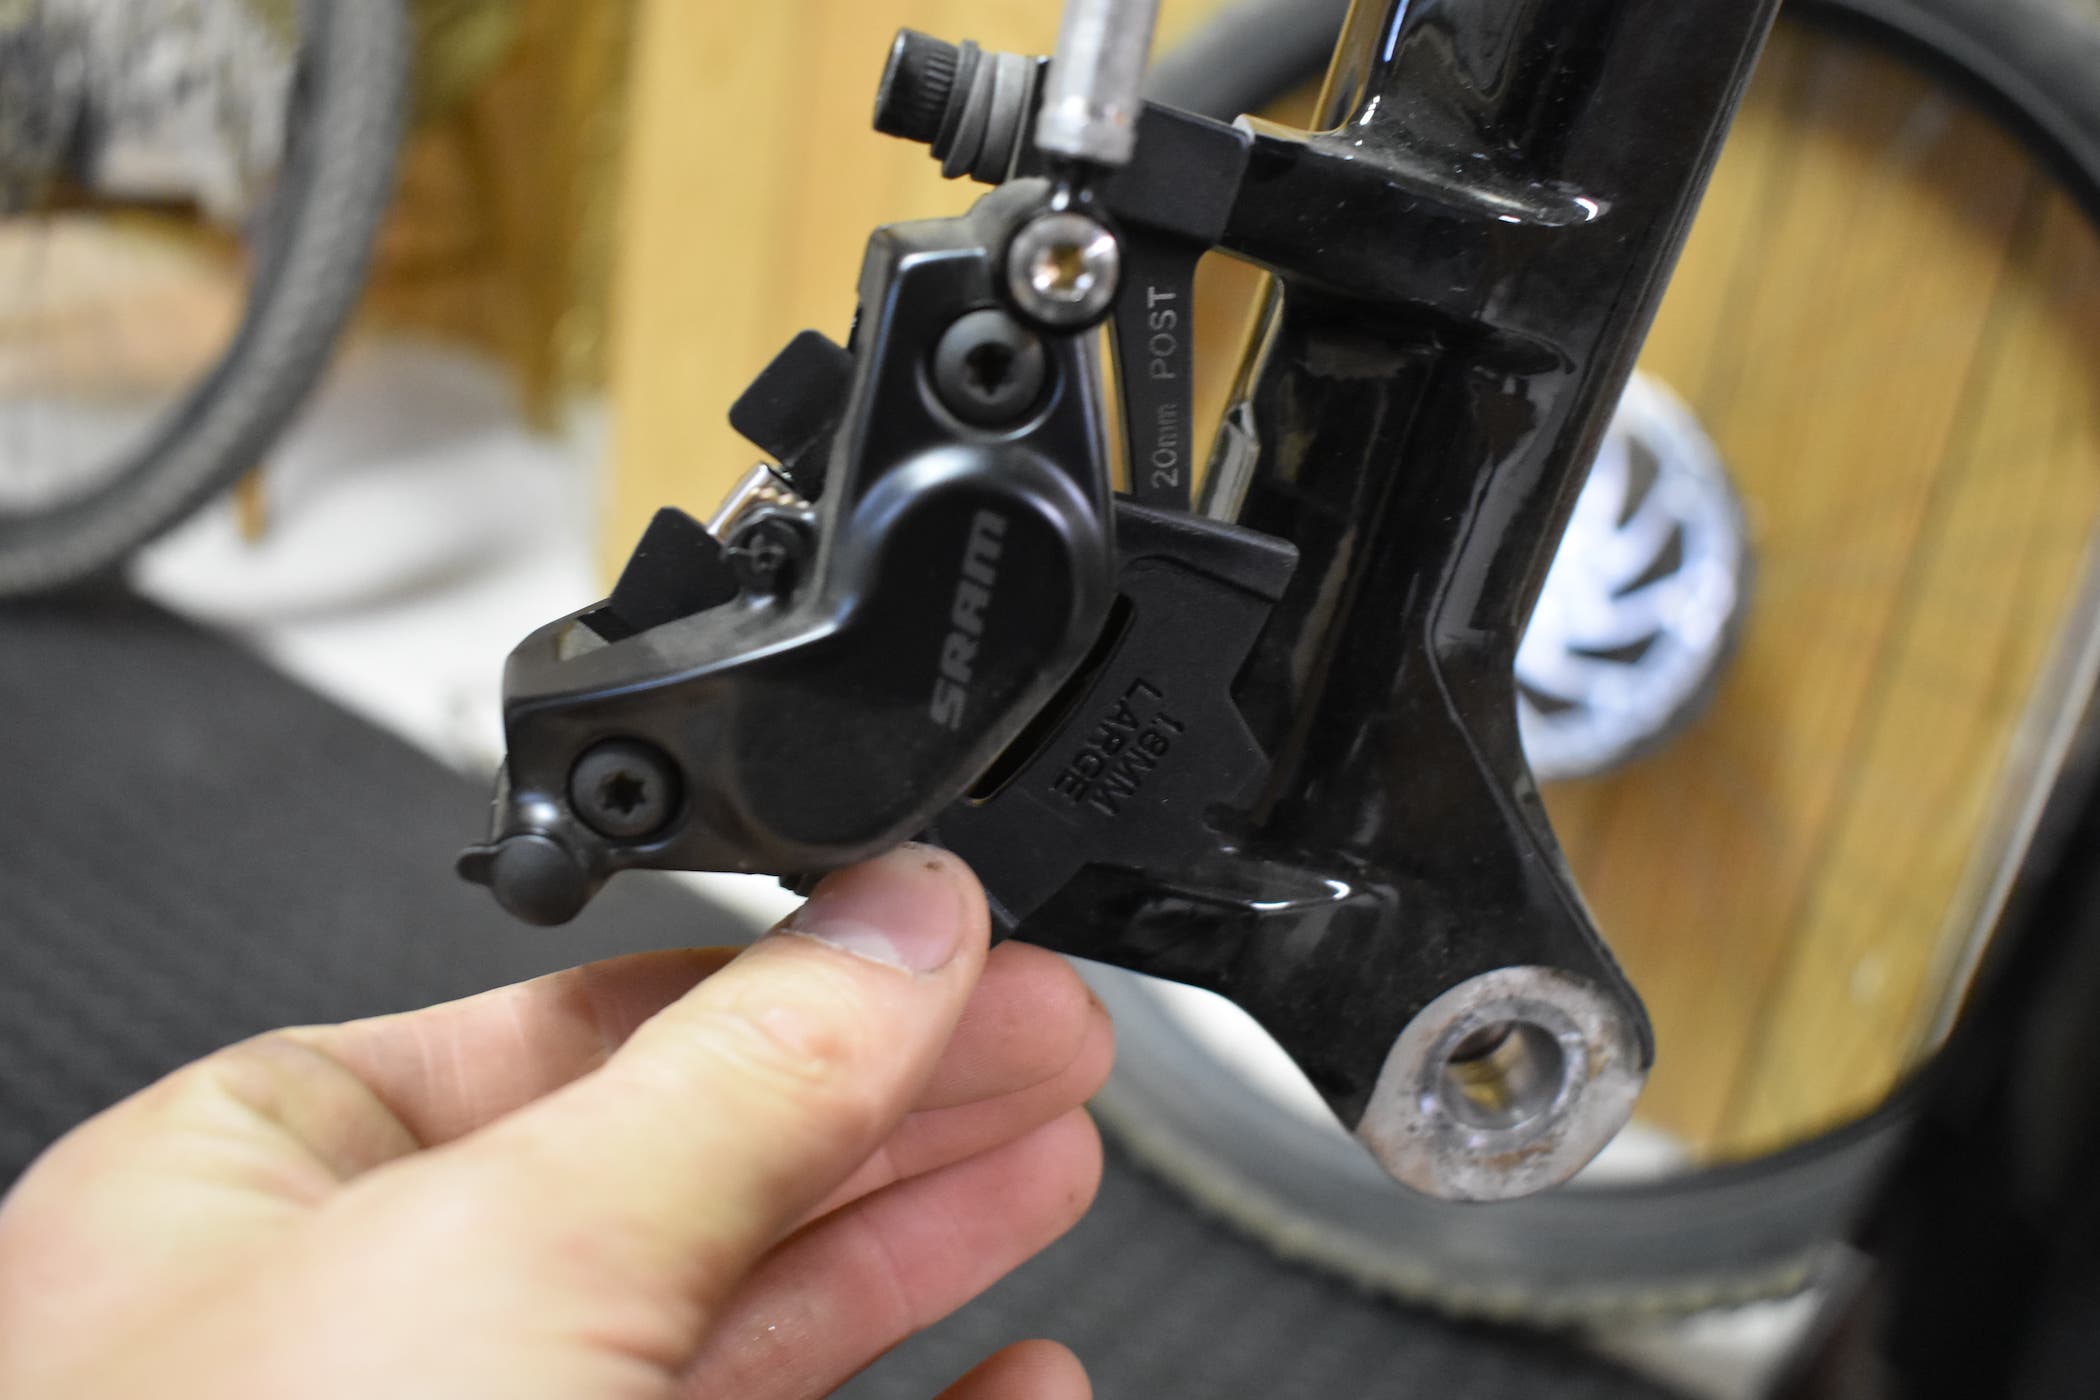
Reset the pistons (and burping excess fluid)
If the above tips did not work for you, it may be time to reset your pistons. When looking down into the caliper, you should be able to see the pistons moving out equally on each side. Occasionally one side will move out more than another, moving the caliper out of the range of adjustment that a simple caliper realignment can fix. Alternatively, maybe the lever got pulled while the wheel was out and the pistons have advanced out too far. Pushing the pistons back is a fairly easy fix.
Something a little less common but still a regular occurrence on any brake using DOT fluid (ie SRAM) is the lever firming up to the point where the brake jams on and there’s zero lever travel. This can happen when the brake fluid absorbs water and expands, essentially overfilling the brake system. This happens because DOT fluid is hydroscopic, meaning it absorbs water, and is not a phenomenon found on mineral oil (Shimano) brakes.
Thankfully we can fix this all at the same time by simply burping a little fluid and pushing the pistons back.
- Put the bike in a workstand.
- Remove the wheel.
- Remove the bleed port screw on the lever and insert a bleed funnel/syringe specific to your brake.
- If you do not have a syringe/funnel, simply loosen the screw by enough that a little fluid can leak out, and wrap a rag around it to soak up any fluid.
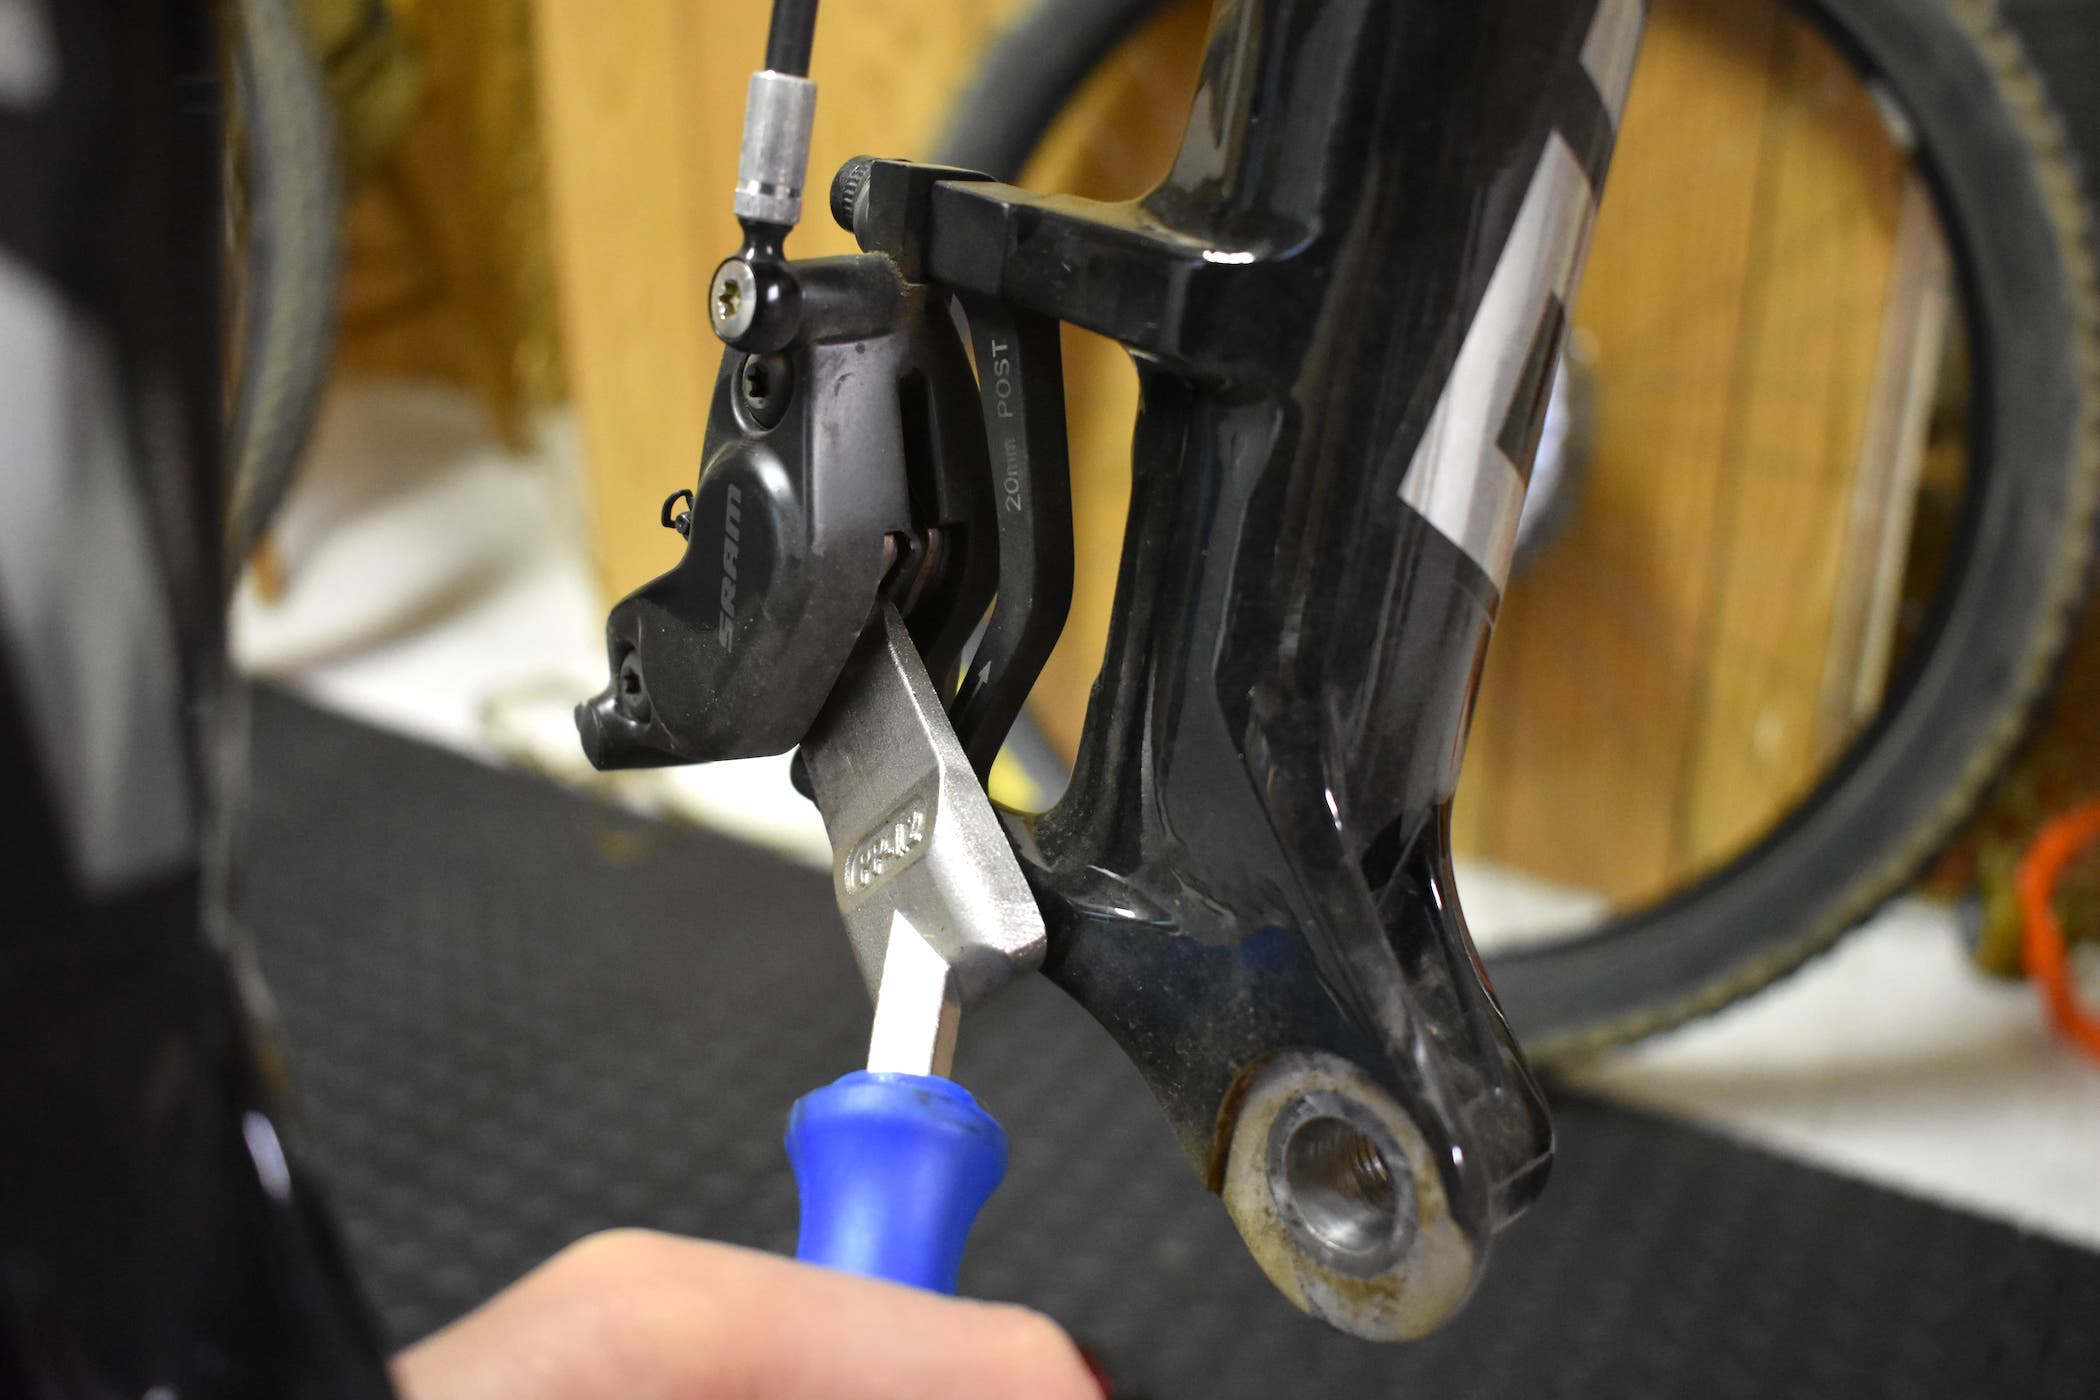
- Grab a piston press or similar; a plastic tire lever works well.
- Leaving the pads in place, insert your tool between the pads and gently lever the pistons back until they’re fully retracted.
- If working with SRAM brakes, I find that using the black plastic pad spacer they provide works well to align the pads. Insert the fat side of the spacer into the caliper, pull the lever until the pads grab the spacer, then flip it around and do the same again – your pads should now be spaced properly for a brake rotor and the pistons equally advanced.
- Refit the wheel.
- Carry out caliper alignment as above, noting that it may take a few pulls of the lever to get the pads to contact the rotor. Don’t panic!
If the above steps don’t work and you find that the pistons on one side are sitting out further than another, it could be a good idea to clean the pistons before trying again.


True the rotor
If you’re finding that you’ve gotten the brake mostly rub-free but it keeps rubbing in just one spot on the rotor, it’s highly likely that the rotor is bent. If the bend is pretty small and simply slows the wheel down a little this is usually fixable. If the bend stops the wheel dead, it’s probably new rotor time. It’s worth noting that brake rotors often come out of the box with a slight bend in them and no rotor is going to be 100% straight, so learning to do this is a useful skill.
For this, the only tool you need is a rotor truing tool. Many brands make a specific tool for this, however it’s easy enough to improvise with something like an adjustable wrench, just make sure to clean it first with isopropyl alcohol.
- Put the bike in the workstand or flip/elevate the bike so the wheel can spin freely.
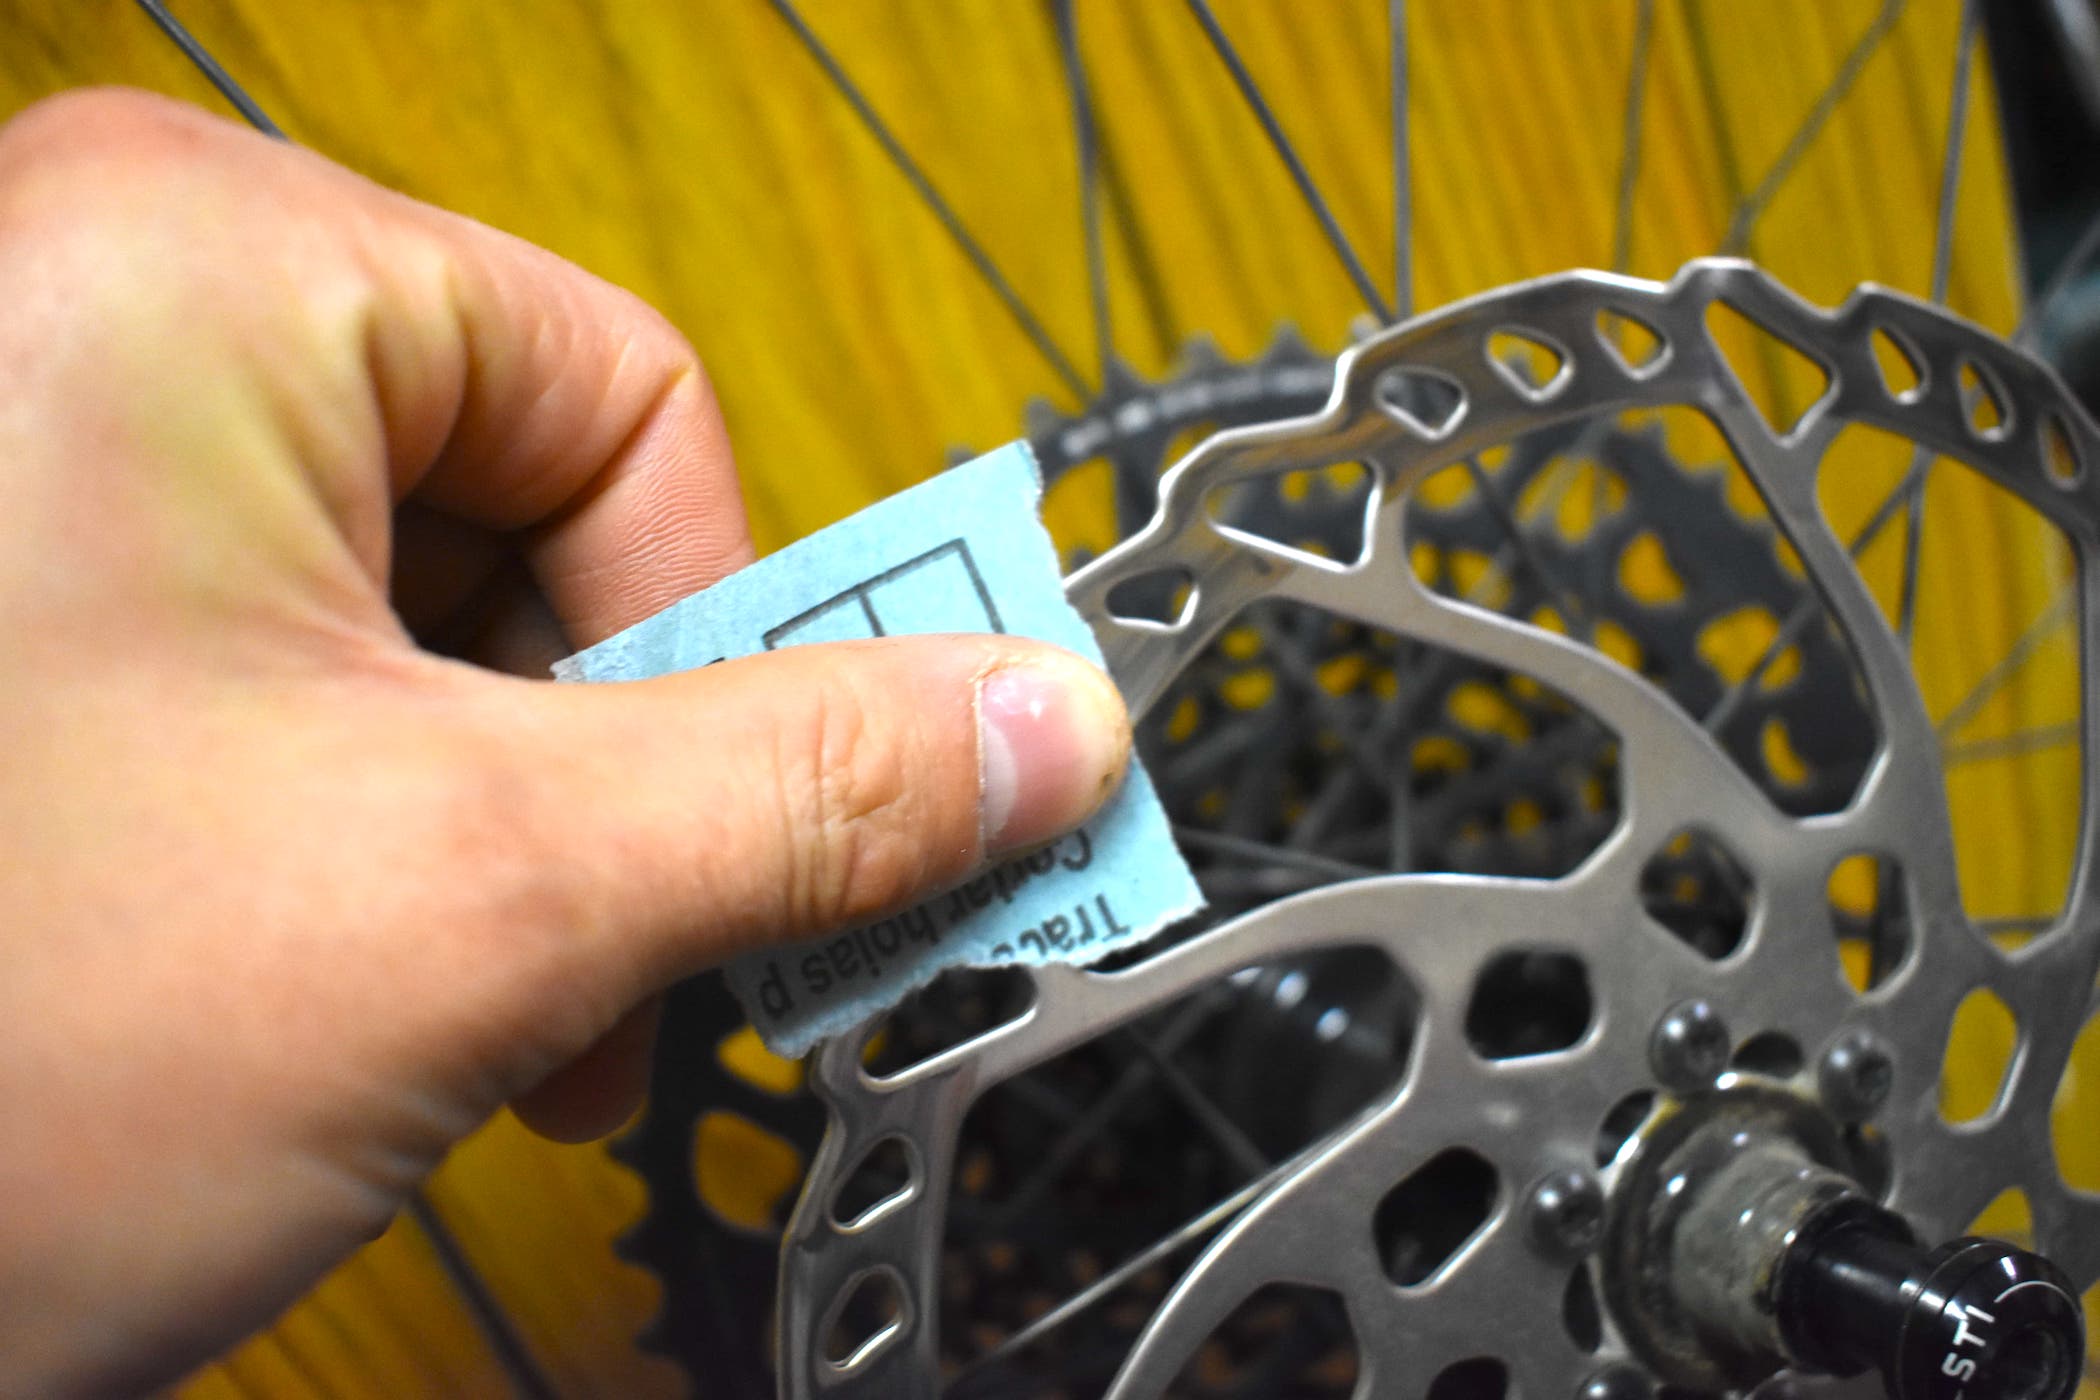
- Slowly spin the wheel and observe where the rotor rubs. It helps to be in a fairly quiet space.
- When it rubs, stop the wheel by hand, look down into the caliper, and note on which side the rotor rubs.
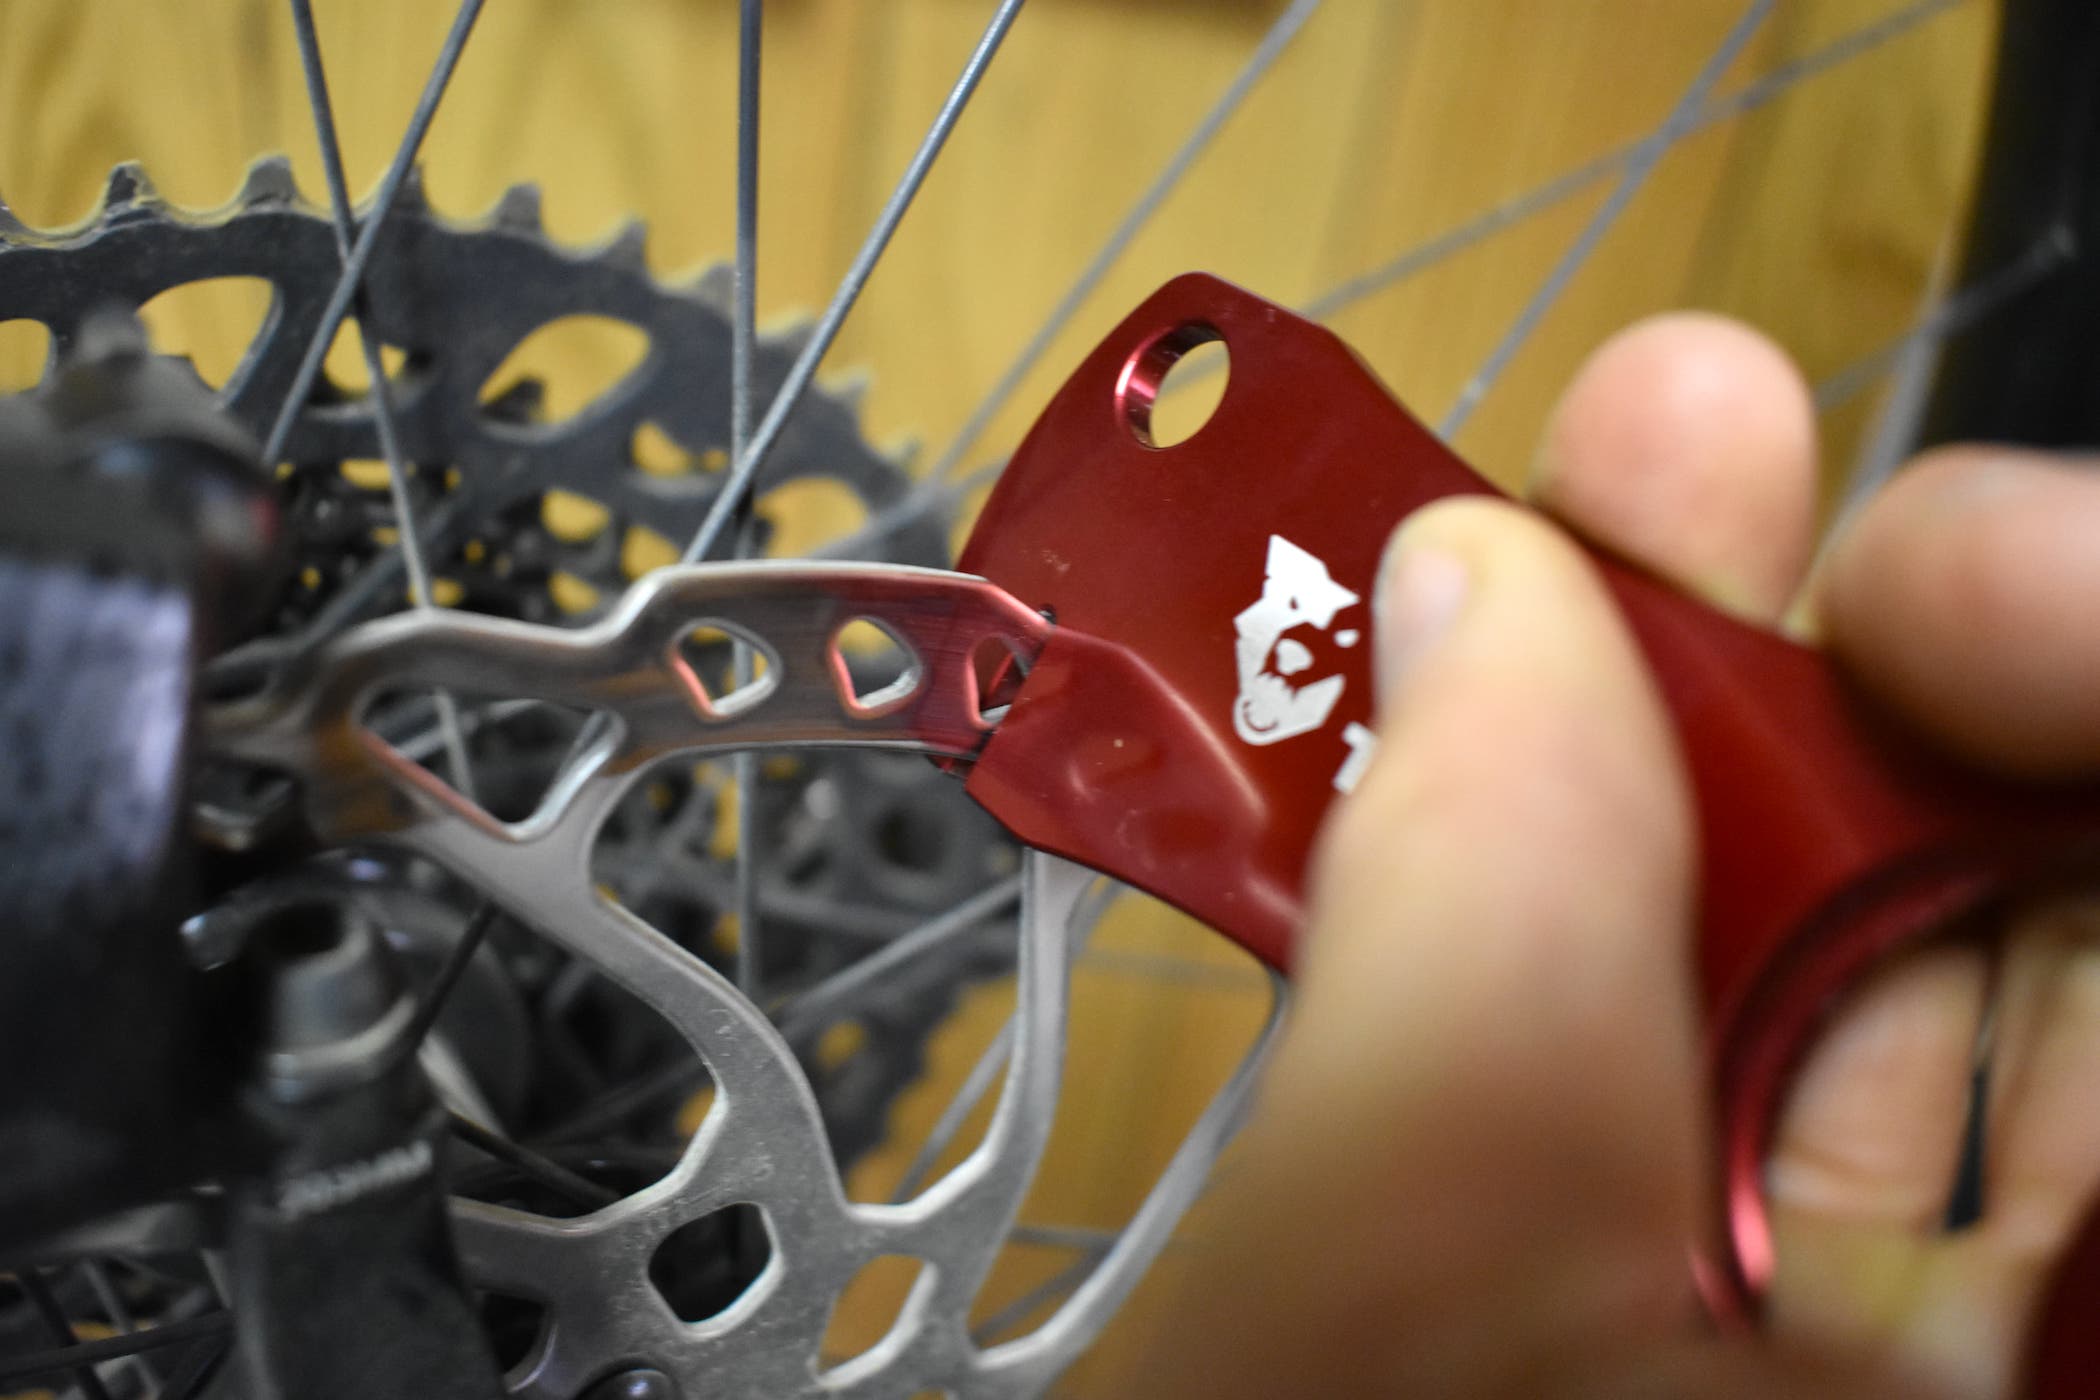
- Rotate the wheel back a bit, grab the rotor with your tool, and lightly bend it to the opposite direction of where it’s rubbing. Don’t go too hard, just a little.
- Repeat steps 2-4 as many times as necessary until the rotor is straight enough. Treat it like truing a wheel – small corrections are better than big ones, and just keep going round and round until you’ve got it. It can take some time but with practice this becomes really easy
Howling brakes
Howling brakes are annoying, there’s no doubt about that. Some brakes do make more noise than others, but howling brakes shouldn’t be ignored, since they’re usually making noise for a reason. There are a few reasons that brakes tend to howl or squeak, and if you pay attention to when and how it happens, it can be pretty easy to figure out the problem and therefore the fix. The first reason is water – if your brakes are fine in the dry and make noise when it’s raining, that’s totally normal. Do not worry about it. Usually after a period of hard braking the water will evaporate and the brake will be silent, only to howl again once you let off the brakes and let them get wet again. Again, this is normal and there’s not much you can do about it.
Contaminated pads
If your brake howls the second you touch it, even when only walking with the bike, at any speed and lacks power, there’s a good chance your pads are contaminated. Contamination happens when some kind of oil/contaminant gets on the brakes and reduces the friction between the braking surfaces, ie the pads and rotor, and causes poor braking and a loud noise. Often when pads are contaminated, the rotor will visibly have a black oily residue on it. Contamination can come from oil spilled while bleeding the brakes, over-sprayed lube, oil on the road, or even just grubby fingers. It pays to be careful around your brake pads.
So what can we do about contaminated pads? Well, the best thing is to simply replace your pads. People might tell you that you can save them by baking them in the oven, setting fire to them, sanding them and all manner of other things, but I’m here to tell you that in my experience, none of these things work, or they work so infrequently that it isn’t worth wasting your time trying. Just replace the pads. Give the rotor a thorough clean with isopropyl alcohol, follow the guide above for resetting the pistons, and once the the pistons are pushed back just slot some new pads in, carry out a bed-in procedure, and you should be good to go.


Glazed pads
Glazed brake pads are extremely common. This occurs when the brake gets too hot from a period of sustained braking and the pad surface glazes over and becomes glassy and shiny looking, usually paired with a burnt-looking rotor that’s discolored slightly orange/purple. Obviously when braking we want friction, and shiny surfaces do not help create friction. The easiest way to tell if pads are glazed is to note if the brake has very little power but makes no noise until coming right to a stop, when it makes a howling/honking noise. Also, when removing the pads, the pads will have a visibly shiny/glassy finish to them. Thankfully we can easily fix this following the steps below:
- Put the bike in a workstand/
- Remove the wheel.
- Remove the pad bolt clip and bolt, or split pin.
- Remove the brake pads. There is no need to push pistons back.
- Sand the pad surface with sandpaper until it is no longer shiny.
- Lightly scuff the brake rotor with sandpaper.
- Refit the pads and retaining pin, and put the wheel back in.
- Carry out a bed-in procedure.

Worn or misaligned brake rotor
The final thing worth checking for howling brakes is the rotor. If there is not good enough rotor contact, this can cause the brake to howl as it resonates through a small contact patch. Sometimes the brake just requires realigning, so try this first. Often however this can happen when new pads are fitted to an old rotor. The rotor is worn to a concave shape from the old pads, and when new perfectly flat pads are fitted, they do not conform to the shape of the rotor and they can make noise. Check your rotor surface for a concave shape, and also the thickness. Most rotors have a minimum thickness marked on them – you can easily check the thickness using a pair of vernier calipers. If they’re around or below the minimum thickness (usually 1.5mm for most standard 1.8mm rotors), simply replace them.
Are your brakes still squealing? This article offers tips on silencing noisy brakes.

Flat mount brakes
Flat-mount brakes are commonly found on gravel and road bikes, and now some ultra-light cross-country race bikes. All of the above repair methods work just the same however. The main difference between flat mount and post-mount brakes is that where post-mount calipers have bolts that pass through the caliper and thread into the frame/fork, flat mount bolts usually pass through the frame and thread into the caliper on the rear brake, but on the front the caliper bolts to an adapter and the adapter bolts to the fork. Usually, but not always. Long story short, pay attention to the bolts you’re loosening. Otherwise proceed as normal.


Mechanical disc brakes
Again, much of the same above applies to mechanical brakes, with the exception that since they do not use hydraulic fluid to actuate the pistons, there is no need to push the pistons back or burp fluid out. Instead, when changing pads the pad contact dial should be wound out and the cable clamp on the lever arm completely released.
Since mechanical disc brakes do not self-adjust as hydraulic brakes do, they need constant pad contact adjustments. Most mechanical disc brakes have a single pad-contact dial on the spoke-side of the caliper, with only one moving piston on the other side. When the brake lever has too much free-throw and it’s pulling too close to the bar, simply wind the pad-contact dial in clockwise – this manually pushes the pad closer to the rotor.

If you’re trailside and don’t have a tool, a quick fix can be to wind out the barrel-adjuster on the cable counter-clockwise, but this should not be done instead of winding in the pad contact. Often once either of these have been adjusted, the brake will need to be re-aligned since one pad will have moved and not the other. This can be done exactly the same as a hydraulic brake as above.


3 Comments
Nov 10, 2022
Nov 11, 2022
I have heard of people using a torch/lighter to burn off contamination, though in my experience it rarely (if ever) works.
Sep 5, 2024
One minor correction. When discussing DOT fluid the correct term for absorbing water is Hygroscopic, not Hydroscopic even though "hydro" would seem correct.
While absorption of moisture can happen over time with DOT brake fluid it does not happen quickly or in large amounts. Of bigger concern in my experience is the absorbed moisture's corrosive effect on system components. Also worth noting is that DOT brake fluid is damaging to painted surfaces. Always work with a clean rag nearby and wipe up any drips or spills promptly as brake fluid can strip paint.