

Despite the manufacturer’s recommendation for most mountain bikes insisting riders check every bolt across their frames and components before every single ride, when was the last time you remember doing so?
That’s not to say checking these components isn’t important, especially on a new bike, but bolt checks across a bike you’ve been riding regularly feels redundant sometimes. And if you’re trying to wrap up work quickly so you can meet a friend for a ride, then conducting a proper bolt check can quickly be forgotten.
A good bolt check doesn’t just keep you safe when you’re coming off of a drop; it also minimizes unnecessary component wear and breakage.
There is a method I’d like to talk about that you can perform quickly and conveniently and it only takes a second.
It’s as simple as this: The next time you’re pushing your bike from your garage or living room out to your car, pick it up with one hand on your head tube under the stem and the other hand on your seat post. Lift the bike one or two feet off the ground and then drop it.
Yep, simple as that. Pick your bike up and drop it onto the ground–on its tires of course.
It may take somewhat of a trained ear to go from here, but if you know what your bike usually sounds like and something seems off, then it probably is.
Now there are a few caveats. This bike drop test takes only one second, but if you do hear a rattle, be ready to dig in. Sometimes it’s a quick fix. Other times it may take a few minutes to fish out the rattle.
What is my mountain bike supposed to sound like?
Bikes make a lot of different sounds and each bike has a different construction, like internal or external cable routing. Therefor, each bike’s properly tuned sound is different. But I believe a healthy bike should give a rubbery thud sound when it hits the ground.
There are some acceptable noises for a bike drop test:
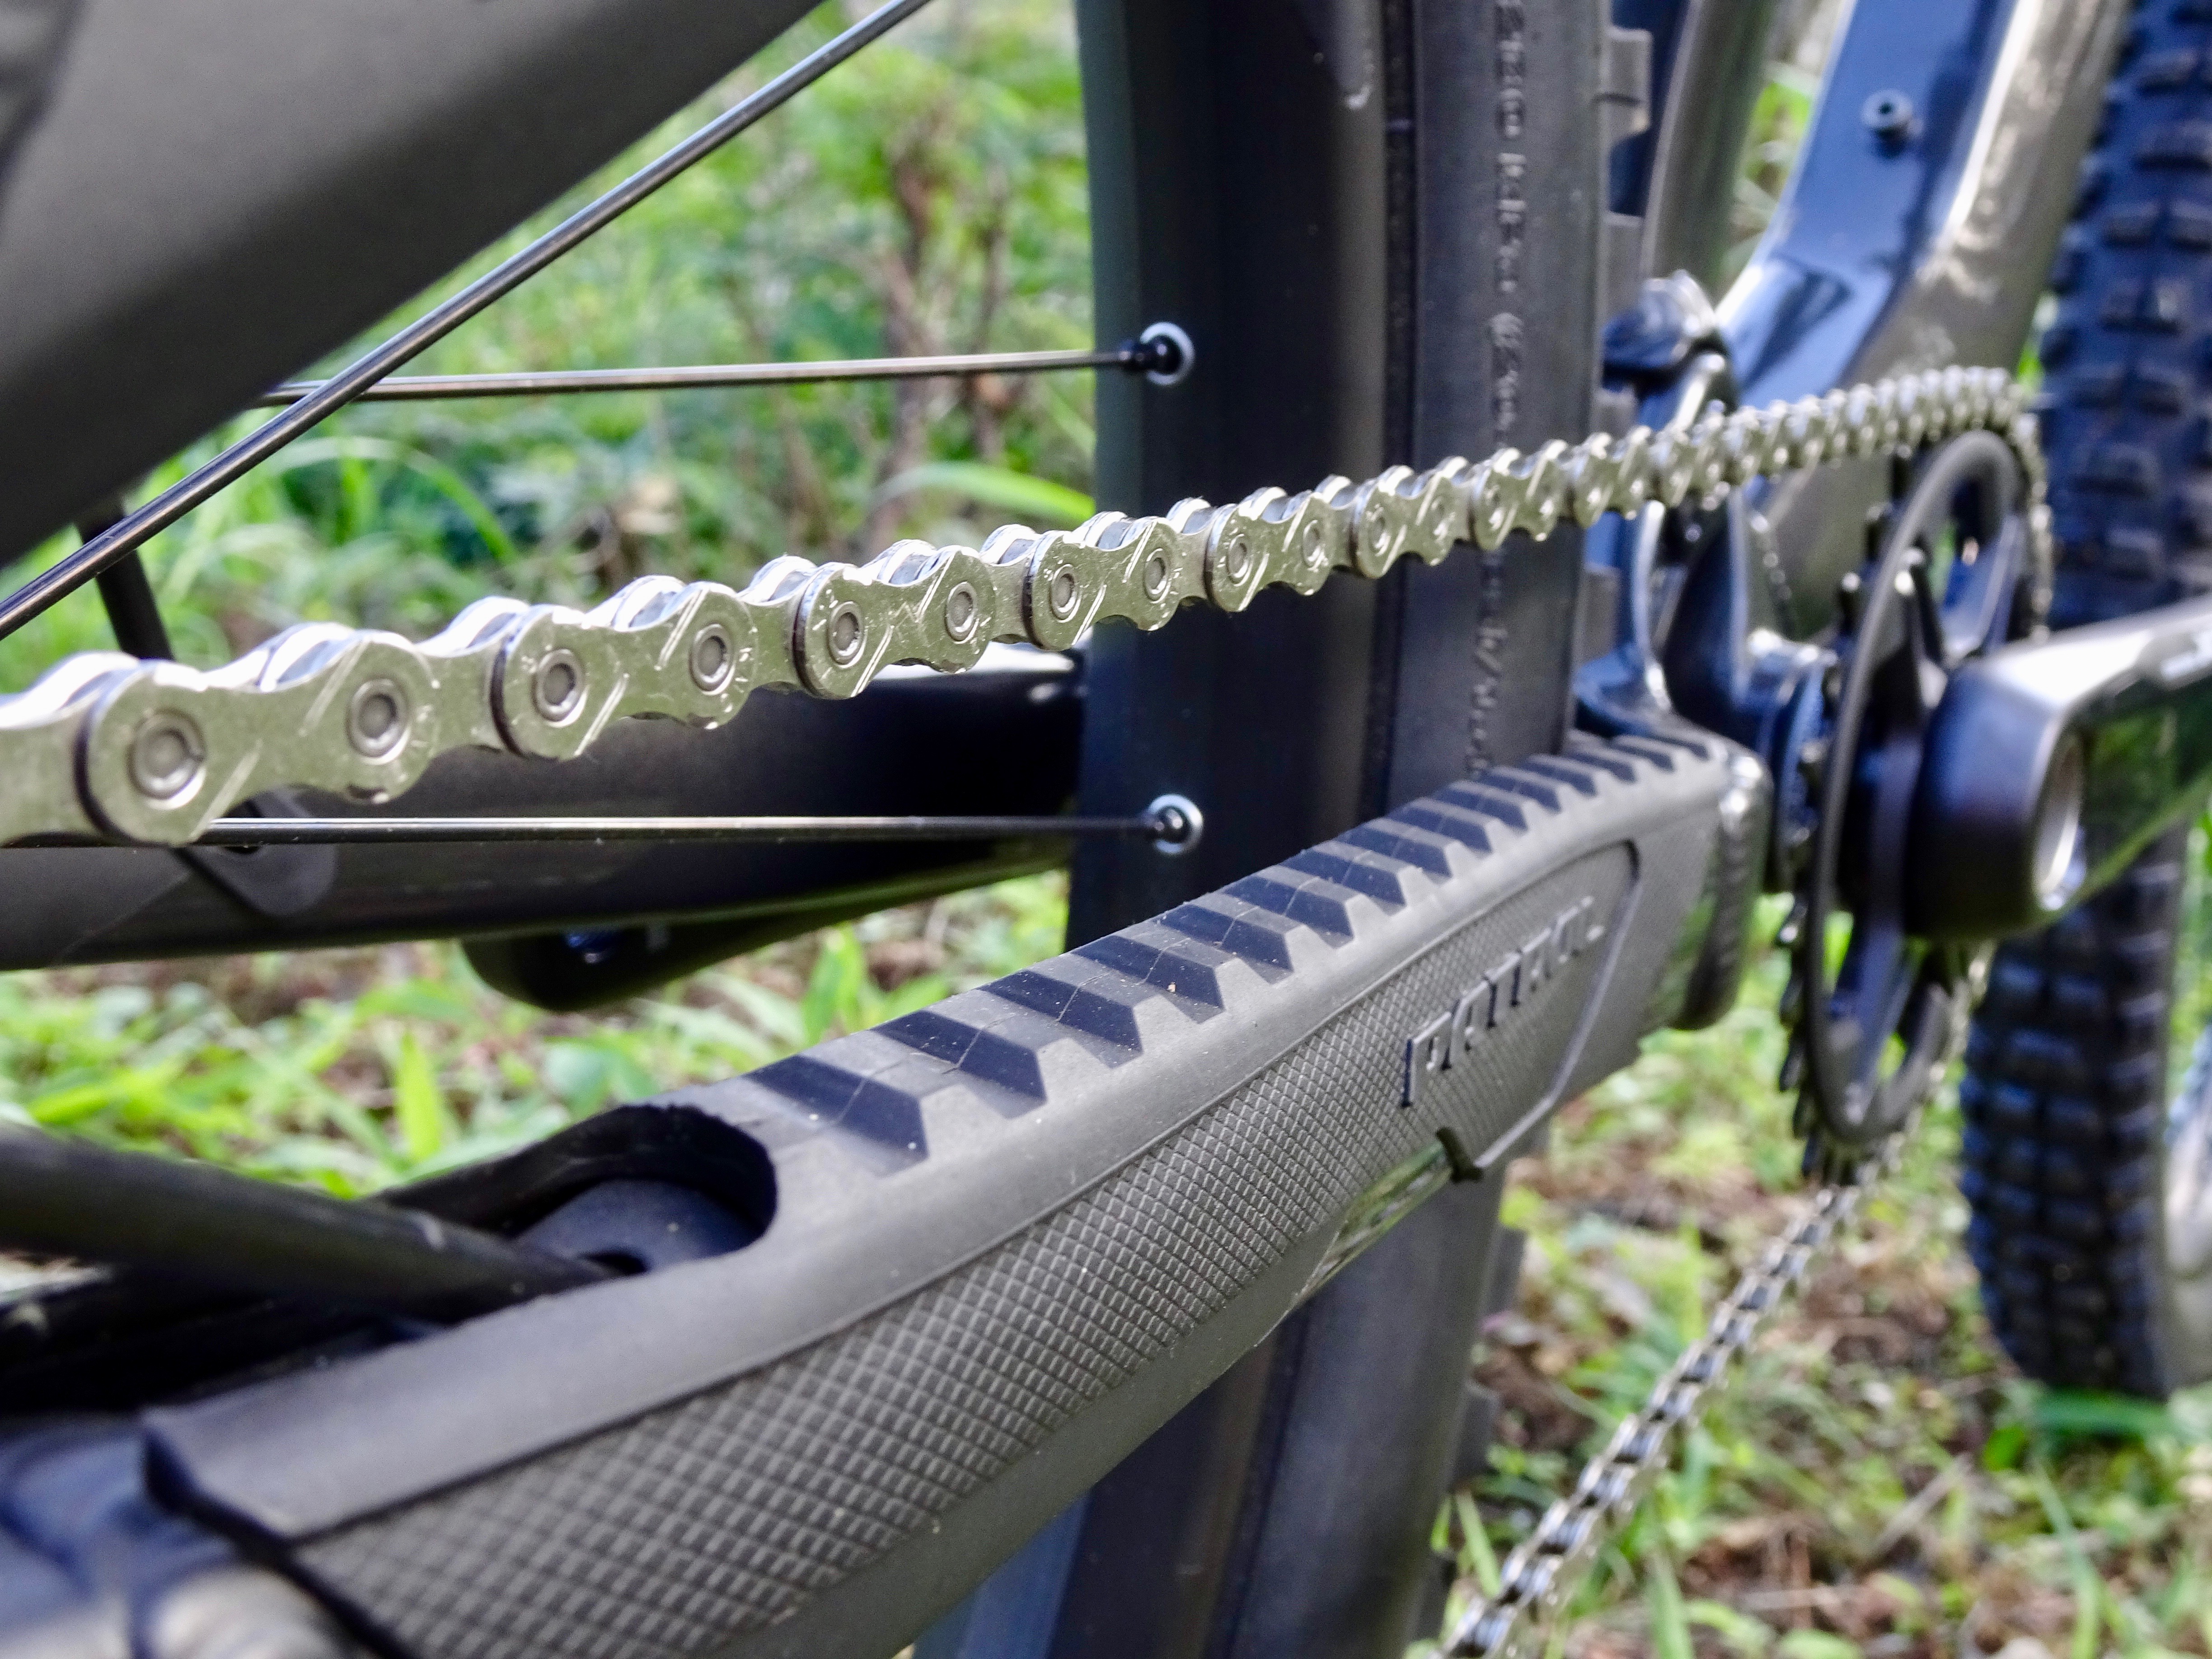
- Chain slap, from the chain to the chainstay: If you recently serviced your rear wheel and forgot to turn your derailleur clutch back on, or the clutch is in need of attention, there may be excessive slap and noise. Many new bikes also have rubberized chainstays to minimize noise, but certainly not all of them. Don’t worry if you’re just hearing some normal chain slap.
- Cable rattle: Most mountain bikes still have a lot of cables and hoses for the shifter, brakes and dropper post. If you’re questioning the cause of a rattle in your bike, try to grab your hoses in front of your handlebars and then drop it. You may just be hearing your hoses slapping together.
- That’s about it. Your cranks may spin when you drop your bike, but otherwise, it should be mostly silent.
Flush out your rattle
There are some very common rattles that I’ve seen over the years. Some come from the front of the bike, some come from the rear, and some from the middle.
If you hear a rattle at the front of your bike, here are some possibilities:

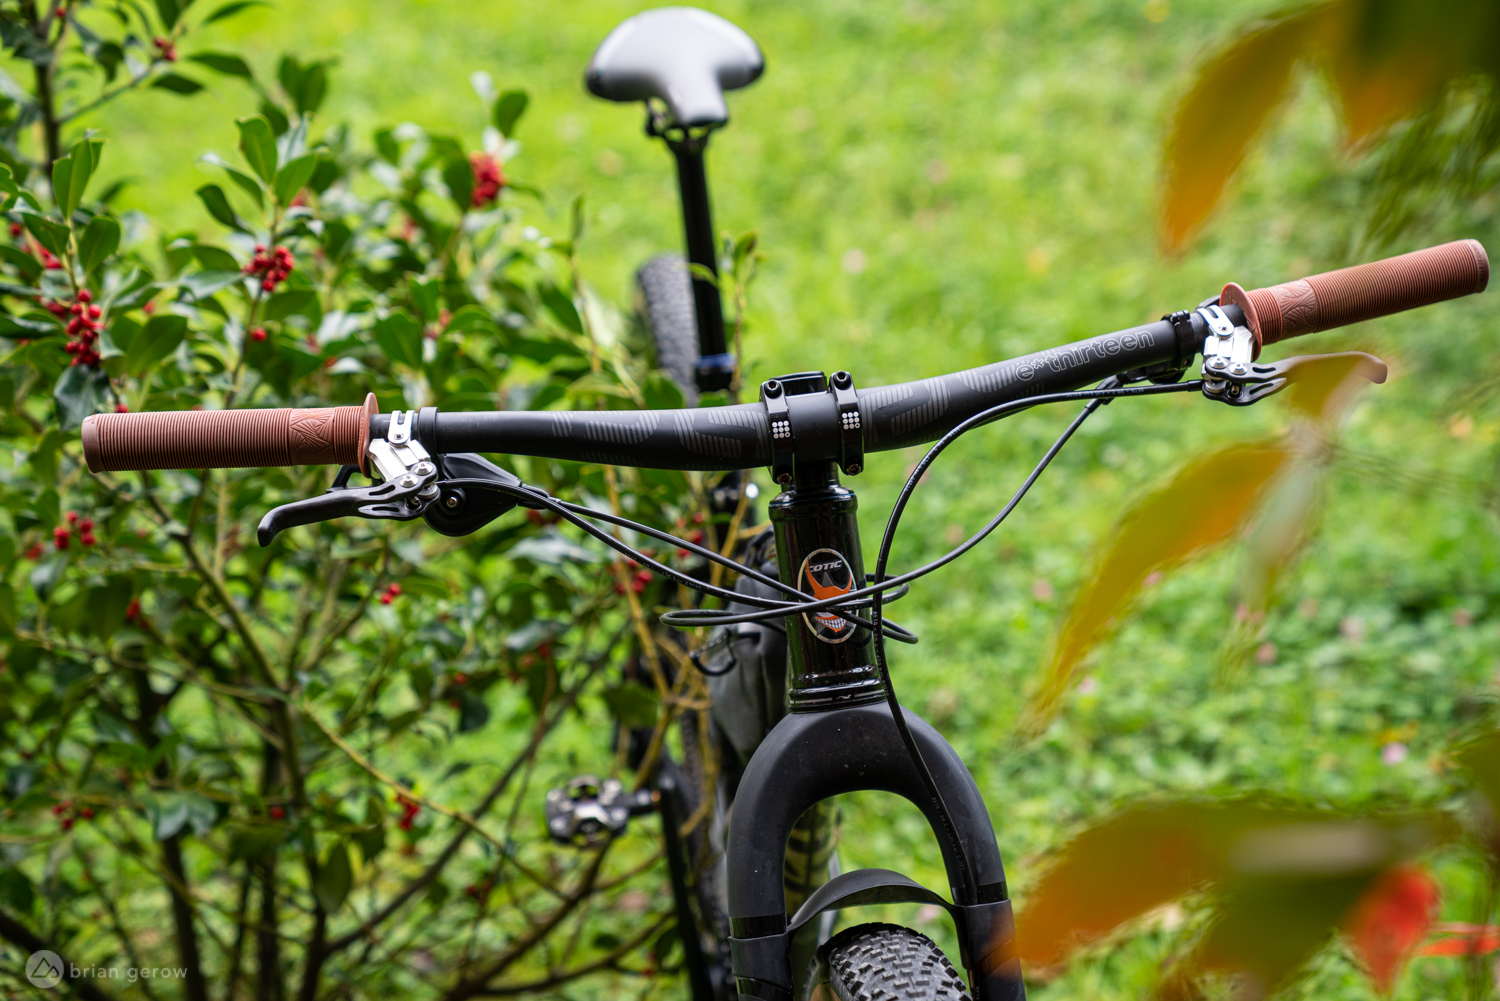
The headset: In a perfect world, the headset should be not too tight or too loose; otherwise you risk destroying the bearings. Over time, this setting should be held in place where your stem bolts clamp your fork’s steerer tube.
Things happen though. If you hear a rattle up front, grab your front brake and rock your bike back and forth and this should signal if you need to adjust your headset. If you’re still not sure, take your free hand and place your thumb and forefinger around your headset and head tube, and you should feel the play when you rock your bike.
For more headset tips, check this article out.

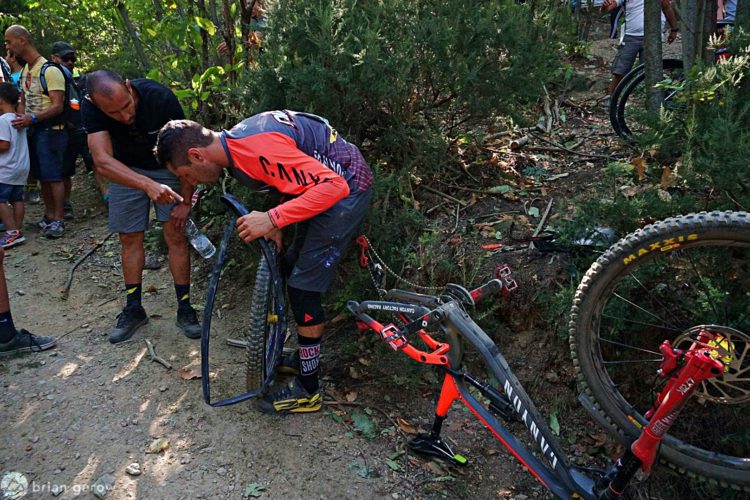
The front wheel: Another potential source of rattling can come from your front wheel if your axle has loosened. Grab the tire at the top of the wheel and rock it side to side, from fork stanchion to stanchion. If you feel play here, you may need to tighten your axle.
The brakes: Lastly up front is the potential for your brake caliper bolts or rotor bolts to become loose. Grab your brake caliper and give it a wiggle from side to side. Retighten the caliper bolts if needed.
If you suspect your brake rotor bolts have come loose, grab the front brake again and rock the bike forward and backward. If there is play in your bolts on brake rotor, you may need to tighten the rotor bolts, and don’t forget a fresh coat of Loctite. You can grab your rotor from the “spokes” and wiggle the rotor to confirm.

The rear of the bike: The rear of the bike holds some of the same components as the front and it should be inspected similarly, though a few other components add some complexity.
First, make sure it’s not just a loose axle causing play in your rear wheel. And also, check your brake caliper and rotor bolts in the same manner. If these aren’t the source of your rattle, you may want to check your rear wheel’s hubs.
Most wheel hubs shouldn’t present an issue, but some older wheel designs have end caps slotted for spanner wrenches and they may need to be tightened (toward each other) to stop a rattle at your hub and keep the hub components in one piece.
There is also the possibility that the cassette is loose. Pinch the top of the cassette and slide it from left to right along the hub driver. If there is play, you may need to tighten the cassette lock ring or it may be missing a spacer.

The crankset: Lastly, a potential source of rattling is your crankset. Cranksets have preload rings on the non-drive side, and just like any other bolt on your bike, it can come loose over time. Grab a crank arm and try to push or pull it. If there is play and your crankset is sliding through your bottom bracket shell, check the preload ring. It might be as simple as tightening the preload ring (toward the bike).
Wrapping up
This isn’t meant to be an exhaustive inspection of your bike before a ride. There are plenty of bolts that can be loose but silent and pose a big risk to bike or body, like loose stem bolts for instance.
Rather, this is a fast option to check the safety and security of your components and gives riders one more way to get to know their bike, the way it’s supposed to sound, and clues for when something might be out of order.


2 Comments
Dec 30, 2023
Jan 2, 2024