
Bike tires are pretty pricey, and seemingly more expensive than ever. Good tires can cost around $100 each, and unfortunately they’re a consumable item, meaning they will wear out, and you will have to pay for new ones. Occasionally however, due to the somewhat unpredictable nature of mountain biking, tires can suffer damage and become un-usable.
There are fixes that can be done out on the trail to get home, most of which require putting a tube in if you’re running tubeless. Then there are more permanent fixes that can be done at home to bring the tire back into tubeless service, or to make a tubed tire rideable again.
Disclaimer: none of the repairs in this guide are guaranteed and may result in further failure down the line. The only way to 100% guarantee a tire repair is to replace the damaged tire with a new one.


Trailside bike tire repair
There are certain things you can do on the trail to fix a tire to make it rideable again – it’s pretty rare to encounter such a failure that the tire isn’t at all rideable after a little work. If you’re running tubeless, as with tubes, you should of course always carry a spare inner tube. While tubeless will seal small holes, it won’t seal holes bigger than around 1cm — so carry a tube in case you get a major puncture.
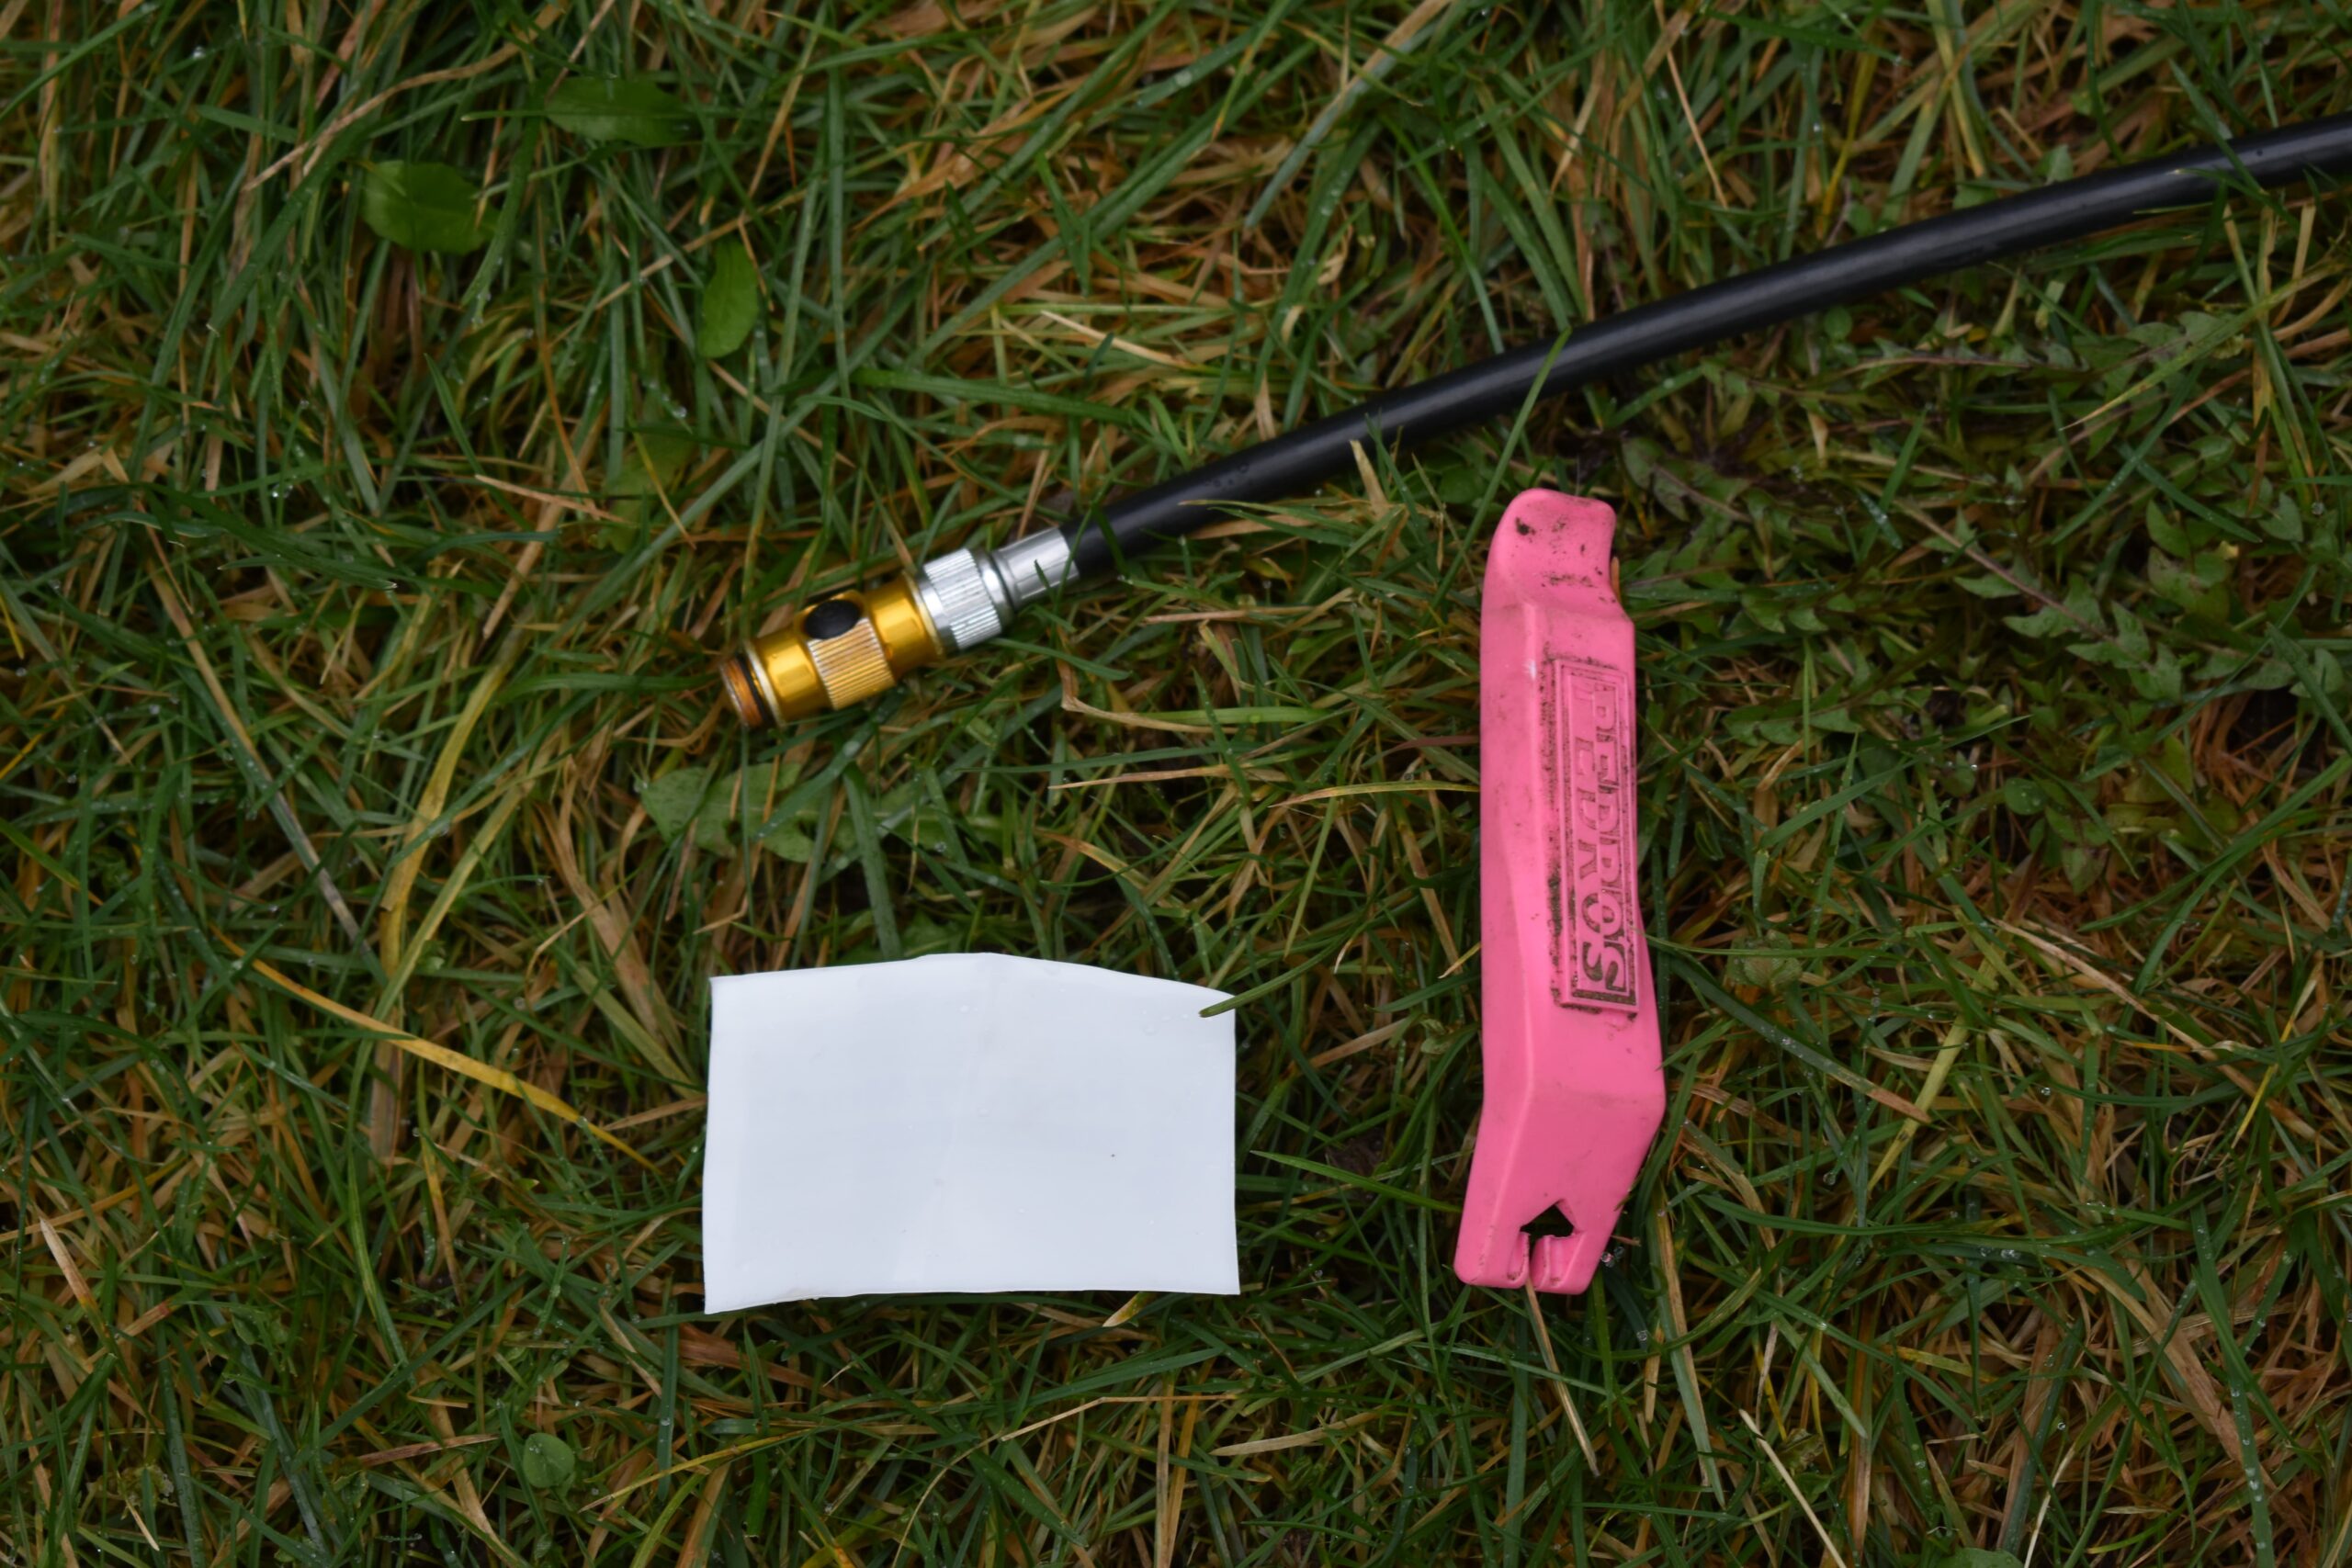
Often holes this size will be fine with a tube in there and nothing else, but occasionally the tube will poke out making itself vulnerable to puncture again, in which case a tire boot will work to line the tire and prevent this. Simply slide the boot in between the tire and tube. Since it’s worth carrying cash as part of your spares kit, it’s worth knowing that a banknote also works pretty well, as does a piece of cut-up toothpaste tube.


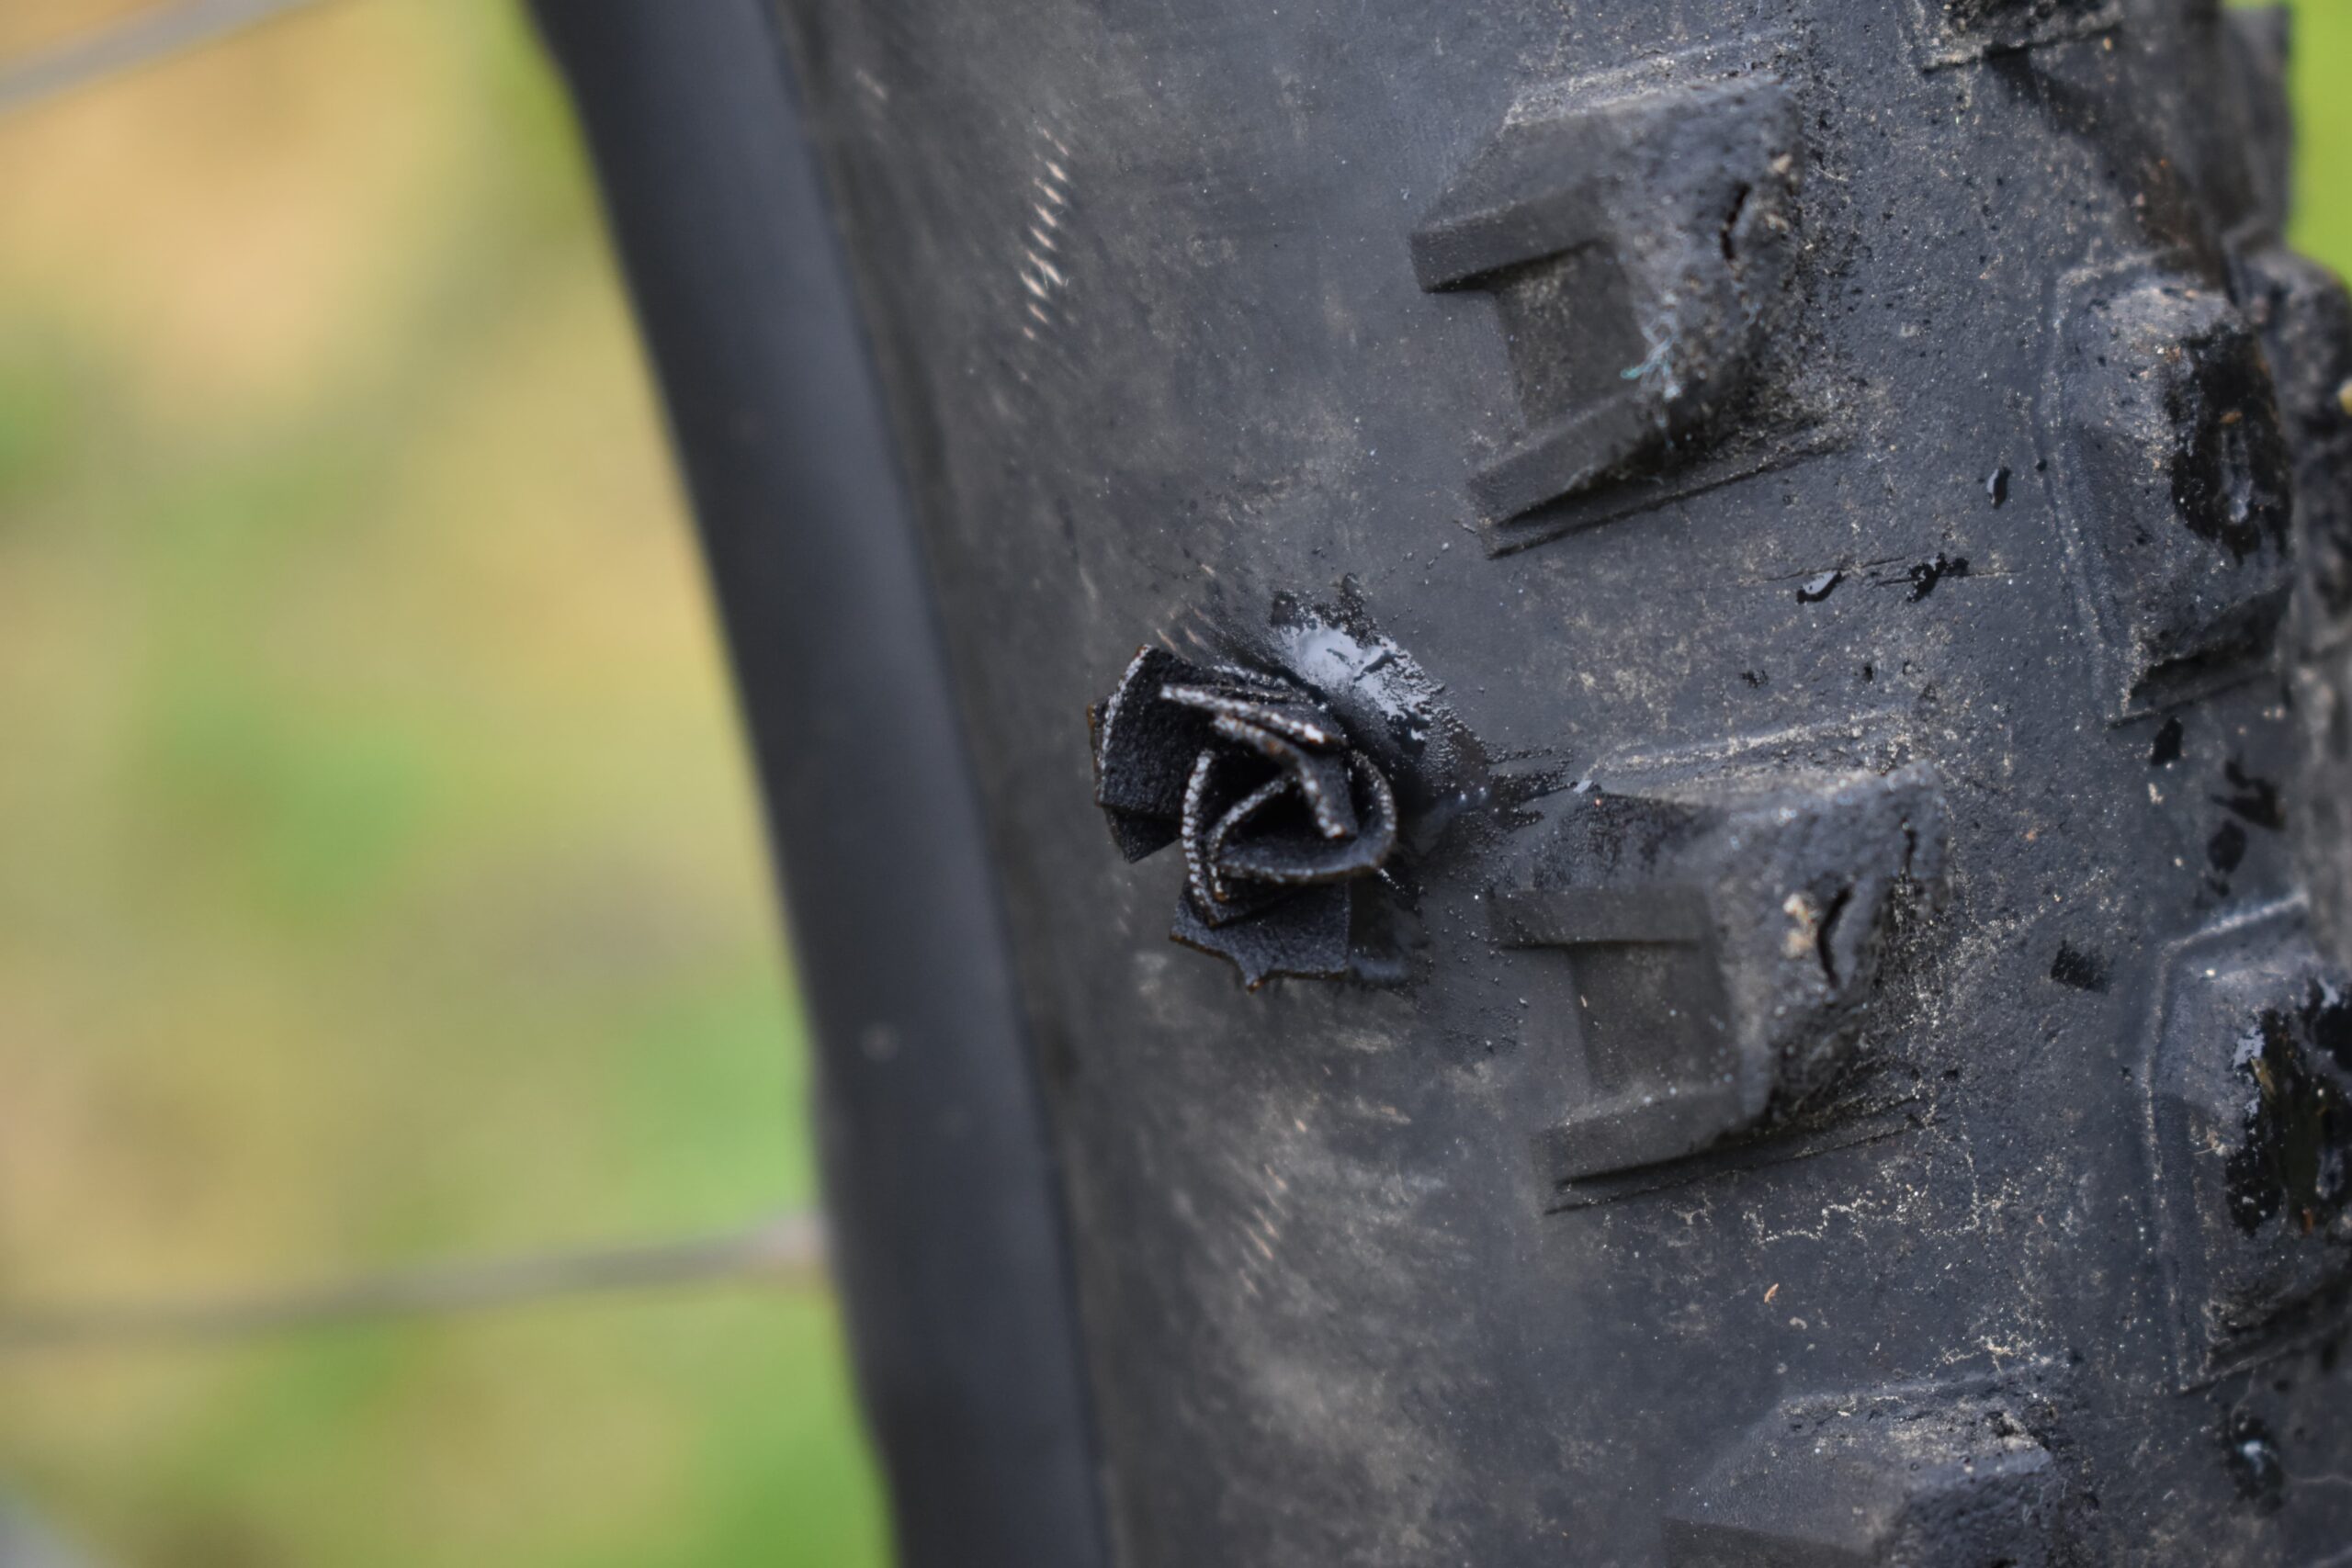
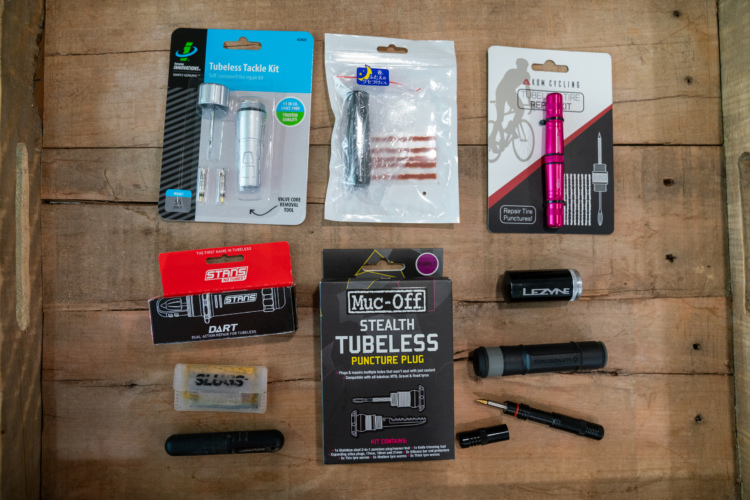
Tire plugs are a life saver while out on the trail when running tubeless. If you get a puncture too big for the sealant to seal, whip out your tire plugs. Tire plugs, also known as bacon strips, are rubbery strips that push into the tire to make the hole smaller, at which point the sealant can effectively seal the tire. You may need to use the tool that comes with the strips to widen the hole a little for the strip to fit.
I’ve had great success with Stan’s Darts lately. These are designed to work with Stan’s sealant, creating a chemical reaction with the sealant to seal the hole really quickly and easily. I’ve even permanently repaired tires just with Darts and kept riding them for months afterwards. The darts are pretty small however so it’s worth carrying a few as it can take more than one to seal a hole.


At-home bike tire fixes
Once at home there are some more permanent methods you can use to fix the tire, though it’s worth noting that in the case of a large cut right on the bead edge — ie a pinch flat — there’s usually little that can be done since there’s not enough material to make a decent repair. Darts or bacon strips may seal it but they don’t often hold and it’s usually worth just replacing the tire.
A sidewall tear means compromising the casing so simply putting a patch over it, while it might make it leak-proof for a time, is not really a permanent fix because with pressure the hole will bulge and tear further. The best thing to do here is to stitch the sidewall together using a needle and thread. A heavy duty thread is best; I’ve had good luck with carpet thread and dental floss, and others online have mentioned fishing line. This will hold the sidewall together and prevent it from tearing further.


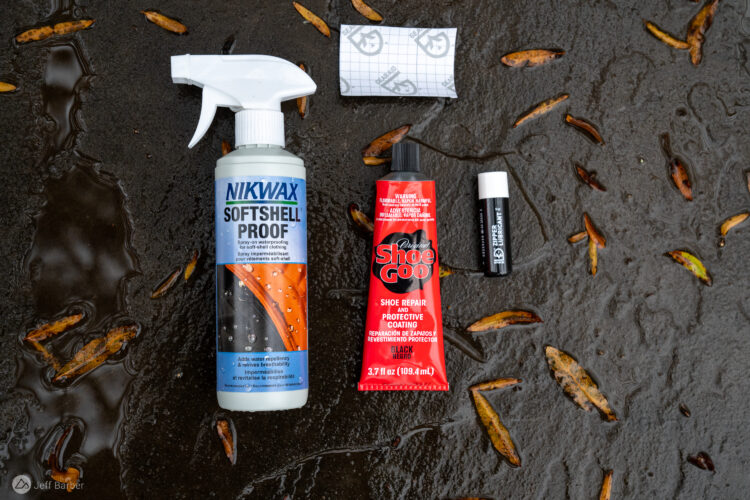
To leak-proof the tire you’ll also need to glue a patch on the inside of the tire, much like patching a tube. Tube patches will work for smaller repairs, and automotive patches will work for larger ones and are available at most automotive parts stores.
Ensure the area is clean of sealant and dirt ideally using isopropyl alcohol, rough the surface up a little using sandpaper, and use the supplied rubber cement in the same way you normally would with a tube. Apply to the surface to be bonded, wait until it’s almost dry, then apply the patch with pressure and hold for several minutes until it’s stuck. Inflating the tire with a tube inside for a few hours can also help the patch adhere.
To patch a gash in the tread rather than the sidewall, you can use a similar method to above, though stitching can be tricky. Luckily the casing on the tread tends to be a little less structural and gashes are often smaller, so simply patching will usually work. Dropping some rubber cement or even super glue into the gash from the outside can help to hold things together a little better.


Give the patch some time to dry before airing up. The tire should seat and seal without using sealant, so air it up before adding sealant so you can check for any leaks. This gives you the opportunity to check your repair to see if it’s holding or not without having to re-clean it. If it still leaks, you may need to give the repair another go, perhaps using a little more rubber cement.
Remember, there’s no shame in abandoning the repair and simply using a new tire — a new tire is always the safest, most reliable method. If you find yourself damaging tires frequently it may be worth thinking about why and perhaps trying a heavier casing, inserts, or both. Or maybe you just need to work on your line choice.
Good luck!


4 Comments
Jan 28, 2023
Jan 28, 2023
Jan 28, 2023
For the bicycle first aid kit, a proper tire boot is a basic requirement. The sidewall salvage boot is good for repairs where the tire can be properly cleaned and such (Home) vs. the boot that like a Tip Top patch works very well, although... Cleanliness of the repair area is mandatory. Not to be half assed!!
Excellent writeup, Sam!
Jan 29, 2023