Trails
Reviews
Tips
Community
Deals
Latest
Support
Trails
Find trails
Best bike trails
Destinations
Add a new trail
Reviews
Mountain bike reviews
Components
Tires
Clothing & shoes
Helmets
Accessories
Product news
Community
MTB Clubs
Races & Events
Bike Shops
Tips
Skills
Fitness & Training
Health & Nutrition
Beginners
Repair
Latest Articles
Podcast
Deals
Support Singletracks
Sign in
Create an account
About us
Newsletter signup
Suspension
Forks
Fox 38 MTB Fork: Should I Upgrade From My Trusty Fox 36?
3
Suspension
Don't get Wound Up: Mountain Bike Suspension Experts get to the Bottom of Coil (Mis)information
6
Forks
Ohlins RXF36 M.2 Coil Fork: Performance Comes with Patience [Review]
Rear Shocks
How do MTB Frame Engineers Determine Optimal Shock Length and Stroke?
Forks
Fox Drops the All-new 38 Fork with a Grip2, Updates X2 and DHX2 Shocks
Forks
5 Common Mountain Bike Suspension Misunderstandings
9
Rear Shocks
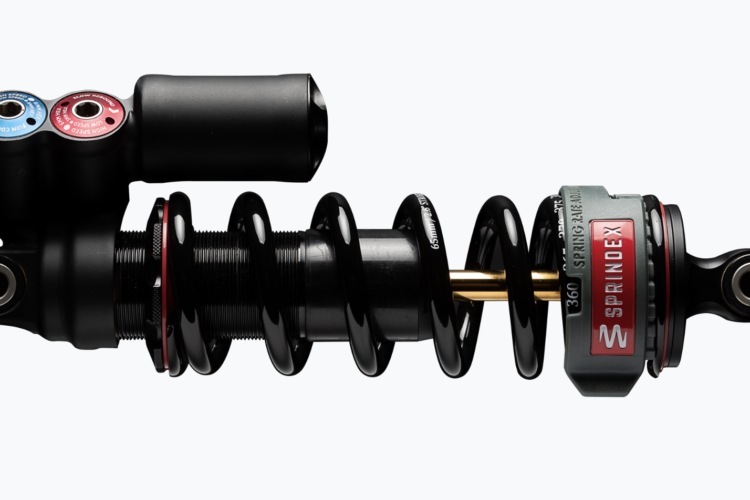
Sprindex Adjustable-Rate Coils Allow Mountain Bikers to Quickly Tune Their Spring Rate
Forks
How to Tune Your Mountain Bike Fork and Shock for Cold Winter Riding
2
Forks
Suspension Dampers: A Beginner's Guide to What Goes on Inside
2
Mountain Bikes and Gear
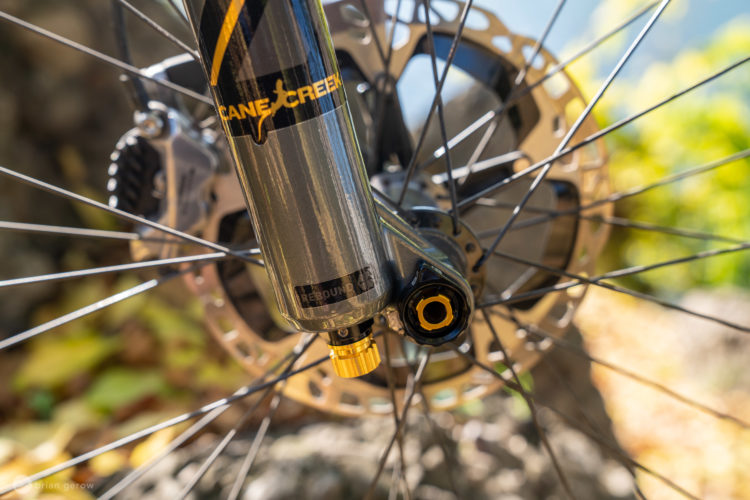
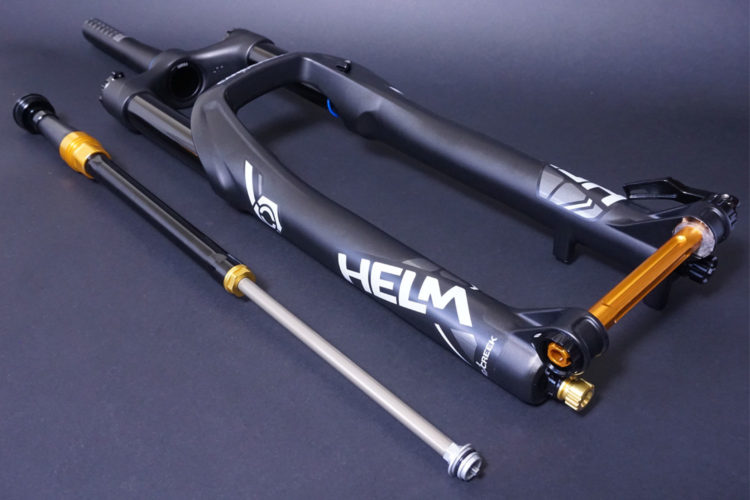
In For Test: Cane Creek Helm Air Fork [29er]
2
Mountain Bikes and Gear
Riding the 2015 Giant Reign: Are Modern Mountain Bikes Really Improving?
7
Forks
The Ever Tunable Öhlins RXF 36 Evo Air Mountain Bike Fork [Review]
2
Mountain Bikes and Gear
The Yari Up from Fast Suspension Offers a Fork Damper Upgrade
3
Mountain Bikes and Gear
Trust Adds the Shout, a Long Travel Linkage Fork for Mountain Bikes
1
Forks
How to Set up an Öhlins Mountain Bike Fork
5
Culture
Current EWS Series Leader, Martin Maes, Receives a 90 Day Ban After Testing Positive for Banned Substance
3
Mountain Bikes and Gear
Mountain Bike Controls Go Wireless, From Drivetrains to Dropper Posts and Suspension [Podcast #192]
2
Rear Shocks
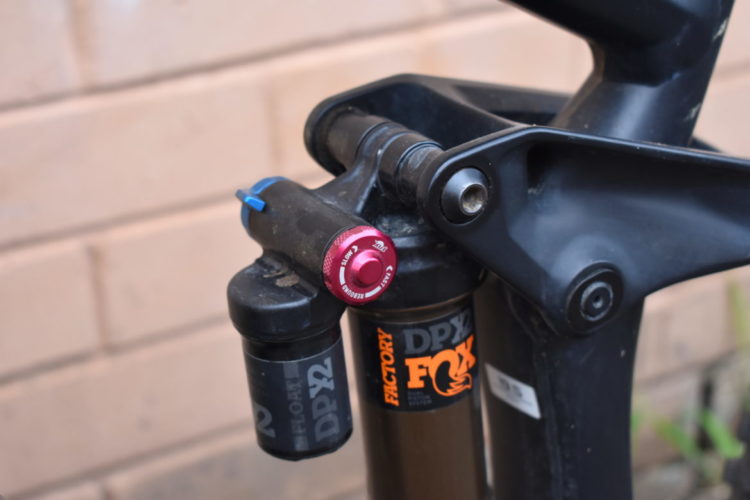
Review: Fox DPX2 Shock, the New Trail Shock From Fox
5
Mountain Bikes and Gear
Fox's New 175mm Transfer Dropper Post Drops Lower Without Raising the Price
1
Rear Shocks
First Impressions: Riding The Fox Live Valve Automated MTB Suspension System
2
Mountain Bikes and Gear
The ShockPro App Tells You When It's Time For MTB Suspension Service
Mountain Bikes and Gear
Marzocchi Bomber Z1 Mountain Bike Fork Review
4
Community
Pro EWS Racer Caro Gehrig on The New DT Swiss F 535 One Fork
3
Mountain Bikes and Gear
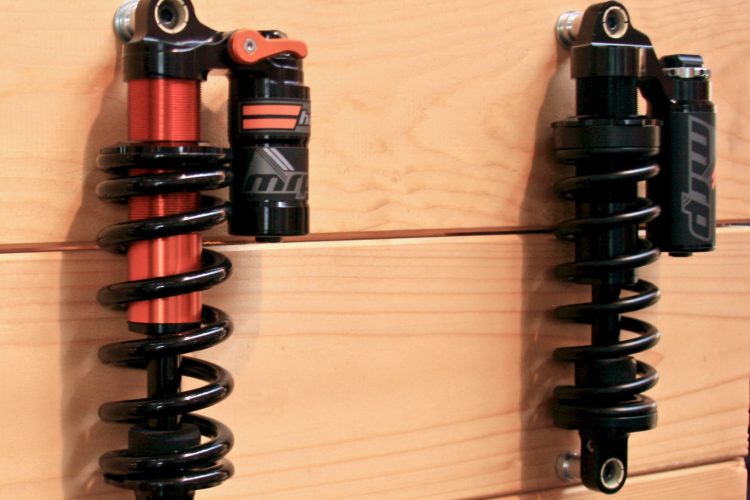
MRP Introduces New Hazzard Enduro Shock, Park-Ready Bartlett Fork, and Chainguides
Mountain Bikes and Gear
RockShox Releases 2019 Lyrik RC2 Fork and Updates Pike, Super Deluxe Shocks
Mountain Bikes and Gear
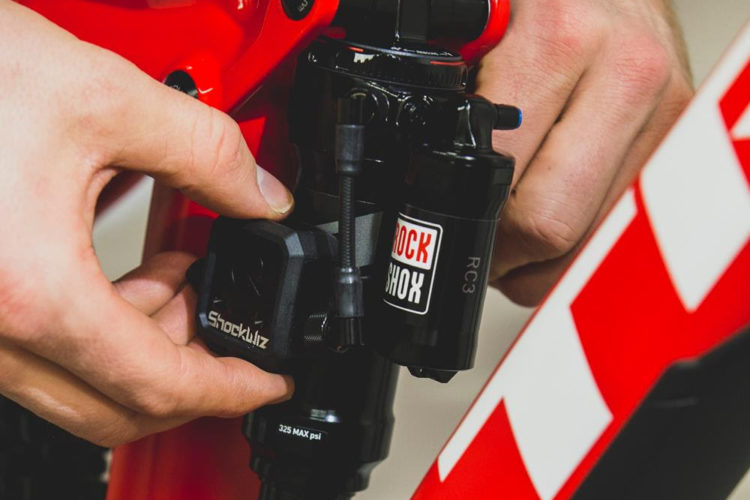
Quarq ShockWiz Drops Price and Adds New Features
Mountain Bike Podcast
Understanding Mountain Bike Suspension [Podcast #138]
Suspension
The Vecnum LeveLOC Reduces Mountain Bike Fork Travel For Climbing, Transport
5
Mountain Bikes and Gear
Survey Results: Your Favorite Suspension Forks of 2017
Mountain Bikes and Gear
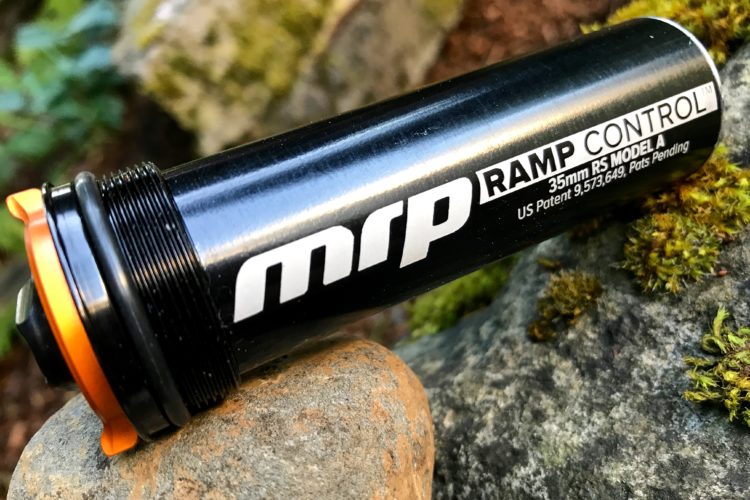
Ramp Up More, Bottom Out Less: MRP Ramp Control Cartridge Review
1
Culture
New Long-Travel 29er Fork from X Fusion Offers 170mm of Travel
Culture
MRP's New Ribbon Coil Fork Weighs Just 203g More than Air Fork
Culture
Air, Coil, or Both? New PUSH ACS-3 Coil Spring Fork Conversion Kit
1
Culture
Niner Shows Special Edition RIP 9, Push Edition
Culture
RockShox Releases New Pike Fork
Mountain Bikes and Gear
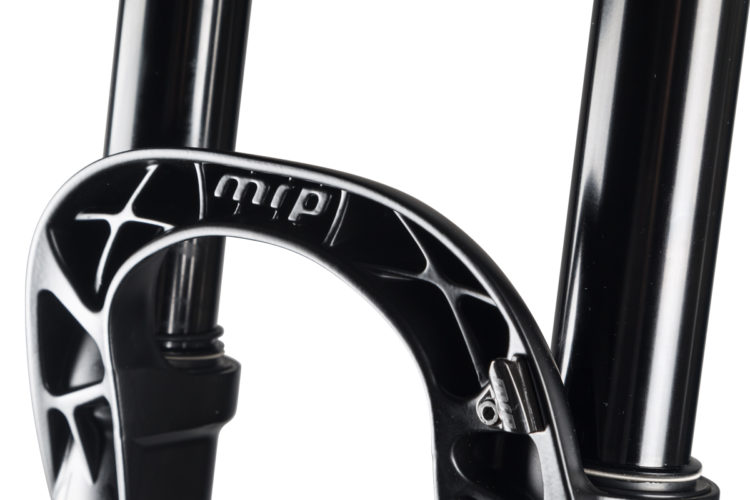
First Look: MRP's New Ribbon Fork Is a Head Turner
3
Culture
Cane Creek Releases Their First Suspension Fork: The Helm
2
Mountain Bike Podcast
Why Do People Still Choose to Ride Hardtails? [Podcast #75]
1
Culture
RST Launches New Inverted XC/Trail Fork
Culture
RST Renegade Fat Bike Suspension Fork Available with Straight Steerer
Mountain Bikes and Gear
Keep Your MTB Running Smoothly: 5 Things a Pro Mechanic Thinks You Should Know
7
Mountain Bikes and Gear
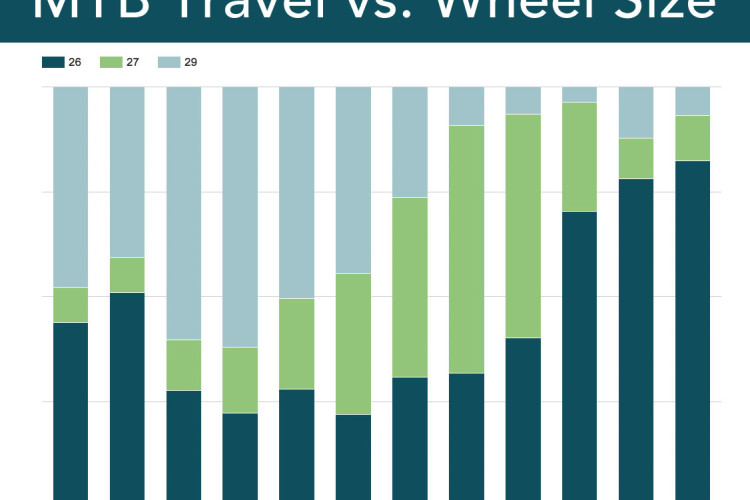
Visualizing MTB Suspension Travel VS Wheel Size
3
Mountain Bike Podcast
Mountain Bike Suspension Explained [Podcast #36]
4
Culture
Fox Racing Shox is Buying (Parts of) Marzocchi
Mountain Bikes and Gear
Review: SR Suntour Aion Fork
Forks
Review: RockShox Bluto Fat Bike Fork
5
MTB Tips
How To Decide How Much Suspension You Need
4
Mountain Bikes and Gear
SR Suntour Is Making an Awesome $850 Fork... For 20" Kids' Bikes
1
2
»

 3
3