Trails
Reviews
Tips
Community
Deals
Latest
Support
Trails
Find trails
Best bike trails
Destinations
Add a new trail
Reviews
Mountain bike reviews
Components
Tires
Clothing & shoes
Helmets
Accessories
Product news
Community
MTB Clubs
Races & Events
Bike Shops
Tips
Skills
Fitness & Training
Health & Nutrition
Beginners
Repair
Latest Articles
Podcast
Deals
Support Singletracks
Sign in
Create an account
About us
Newsletter signup
Pedals
Pedals
Hustle Magnetic REM Pedals Attract the Opposite Qualities of Both Flat and Clipless Pedals
9
Flat Pedals
Flat Pedal Fantastic: Exploring the Benefits of Mountain Biking Unclipped
24
Flat Pedals
MTB News Mix: EWS Doping Ban, New e*thirteen Pedals, and 2020 BC Bike Race Registration Opens Today
Clipless Pedals
How to Ride Clipless Mountain Bike Pedals: Transitioning from Flats
16
Pedals
Everything You Need to Know About MTB Pedals, From Flats to Clipless [Podcast #190]
Clipless Pedals
Watch: iSSi Flash III Mountain Bike Pedal Review
Mountain Bikes and Gear
10 Upgrades for Less Than $100 That Will Radically Improve Your Mountain Bike's Performance
20
MTB Tips
Watch: How To Ride Flat Pedals vs. Clipless on Technical Trails
Clipless Pedals
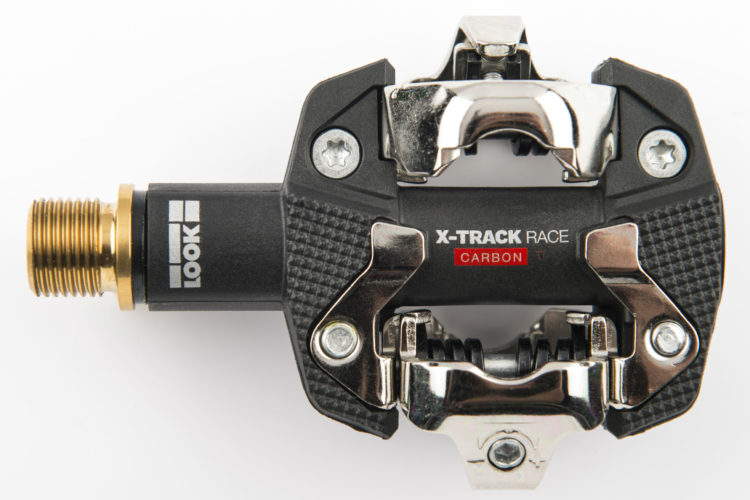
New Look X-Track MTB Pedals Claim Best Power to Weight Ratio on the Market
Clipless Pedals
The Perfect Pedal? Time ATAC MX8 Pedal Review
1
Cockpit
Tips for Optimizing Your Mountain Bike Cockpit [Podcast #104]
Clipless Pedals
Watch: HT T1 Clipless Pedal Review
5
Flat Pedals
Gamut Podium Pedals Review
2
Flat Pedals
Pedaling Innovations Catalyst Pedal First Impressions - The BIGGEST Flat Pedal Around
2
Flat Pedals
Canfield Brothers Crampon Ultimate Pedals Review
Mountain Bikes and Gear
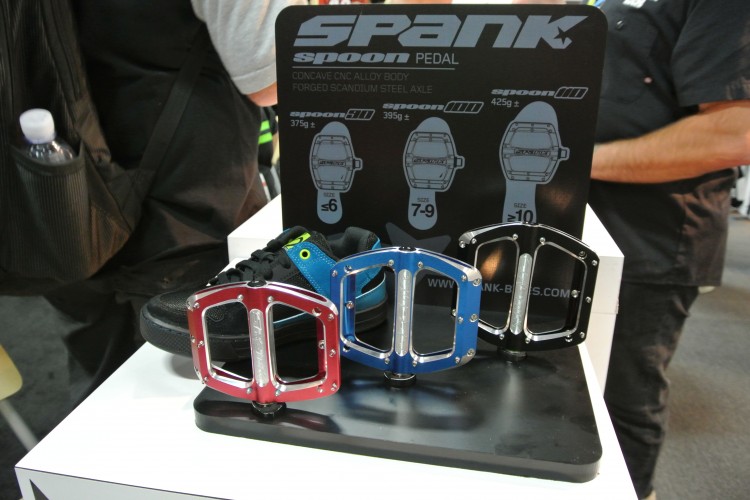
New Spank Spoon Pedals and Kid's Wheels on the Market
Clipless Pedals
Review: The iSSi Trail Pedal
Clipless Pedals
Review: Race Face Atlas Pedals
Mountain Bikes and Gear
Interbike 2013: New Products from Mavic
7
Pedals
My Journey from Flats to Clipless Pedals... and Back to Flats Again
62
Mountain Bikes and Gear
Interbike 2012: NukeProof Bikes + Components
3
Flat Pedals
Fyxation Mesa Plastic Platform Pedal Review
2
Flat Pedals
Review: Loaded Precision Pedals and Grips
10
Mountain Bikes and Gear
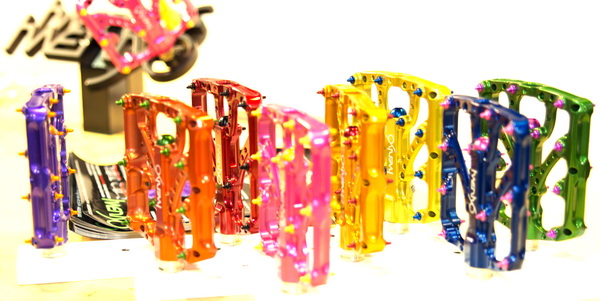
Twenty6 Gear for 2012: Pedals, Stems, and More
6
Mountain Bikes and Gear
Spank Spike Pedals: Reviewed
8
Culture
New 2012 gear from Interbike
3
Mountain Bikes and Gear
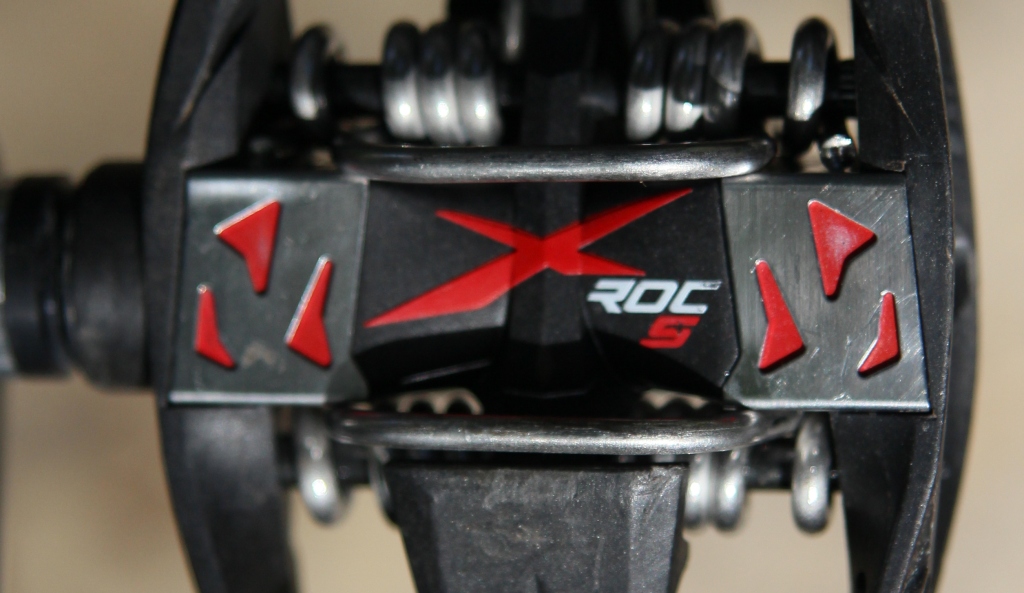
Time X-ROC S MTB Pedal Review
3
Pedals
Making the Switch to Clipless MTB Pedals
25
Mountain Bikes and Gear
Xpedo Hurtle 12 Pedal and MXS Mountain Bike Shoe
Mountain Bikes and Gear
Spank Tools for Superheros
Community
Syncros Crux Platform Pedal Review
Community
Syncros FR 31 Handlebar Review
4
Clipless Pedals
Xpedo MF-6 Mountain Bike Pedal Review
2
Mountain Bikes and Gear
The "Answer" to Controlling Your Mountain Bike
Flat Pedals
Xpedo Face Off and Utmost Platform Pedals Reviewed
2
Clipless Pedals
Look Quartz Pedal Reviewed
1
Clipless Pedals
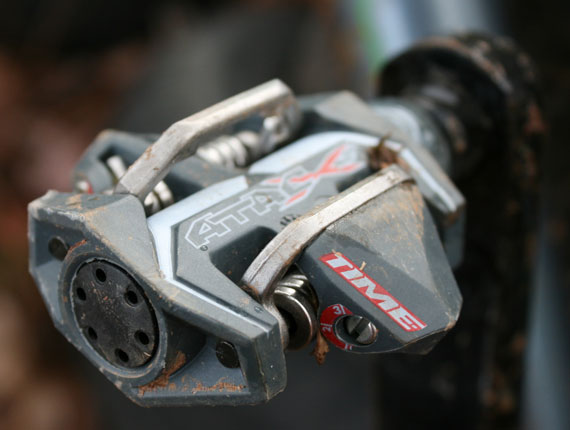
Time ATAC XS Mountain Bike Pedal Review
4
Community
Answer's Fall Line DH Grips and Rove FR Pedals
3
Clipless Pedals
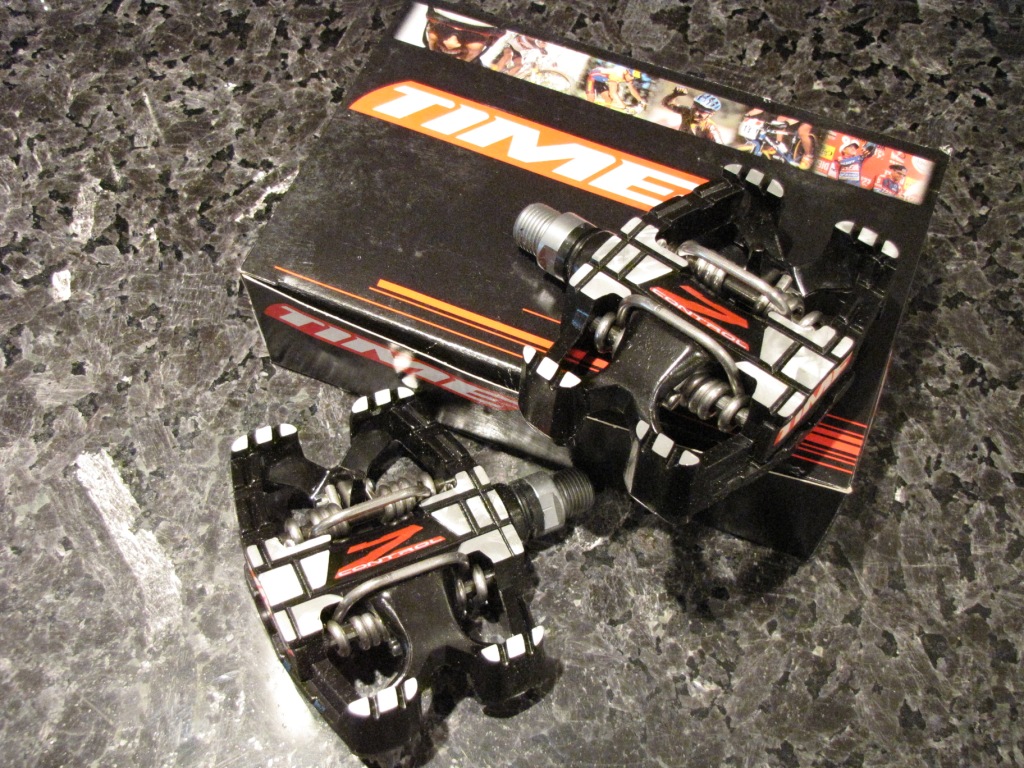
Time Z-Control MTB Pedal Review
1
Mountain Bikes and Gear
Straitline Components: Oh Canada. Ohh yeah!
1
Mountain Bikes and Gear
MTB Shoes & Pedals From Time
Mountain Bikes and Gear
New MTB pedals from Look
1
Mountain Bikes and Gear
The clipless pedal debate rages on
1

 9
9