Trails
Reviews
Tips
Community
Deals
Latest
Support
Trails
Find trails
Best bike trails
Destinations
Add a new trail
Reviews
Mountain bike reviews
Components
Tires
Clothing & shoes
Helmets
Accessories
Product news
Community
MTB Clubs
Races & Events
Bike Shops
Tips
Skills
Fitness & Training
Health & Nutrition
Beginners
Repair
Latest Articles
Podcast
Deals
Support Singletracks
Sign in
Create an account
About us
Newsletter signup
Culture
Beyond category.
Culture
Enduro World Series Managing Director Chris Ball Shares Insights on the 2021 Race Schedule
Culture
Singletracks Staff Hopes for the Coming Mountain Bike Season
1
British Columbia
Changes are Coming to North Vancouver's Mount Seymour Trails
4
Culture
2021 Enduro World Series Race Calendar is Revised and Ready
Culture
Mountain Biking Through the Rocky Trail of Grief
9
Suspension
Knolly Bikes Sues Intense, Claims Patent Infringement
Mountain bikes
New Santa Cruz Nomad Keeps Balanced 170mm Travel and 27.5" Wheels, Cuts the XXL Size Option
Clipless Pedal Shoes
Crankbrothers has 3 new MTB Shoe Models With 3 Different Cinching Systems
Mountain bikes
Marin Adds Carbon Version of Alpine Trail Enduro Bike, Price Starts Under $3,200
Culture
New Gary Fisher Autobiography hits Bookshelves
Mountain bikes
New Evil Offering Lurks into the Foreground
Culture
Wolf Tooth Components Offers new GeoShift Angled Headset, Slackens Head Tubes by up to a Degree
Hardtail bikes
All New Canyon Stoic Hardtail is Both Aggressively Specced and Priced
1
Mountain bikes
Riders Get 2 Tool Docks and a New Shock Configuration Aboard the New Pivot Mach 6
1
Brakes
Trickstuff Taps the Brakes on Sales to Restructure and Triple Their Workspace
Hydration Packs
New Camelbak 'Light' Options are Lighter by Nearly 50%
1
Culture
New Specialized Hotwalk Carbon is a $999 Balance Bike Designed for Tiny Trail Tamers with Huge MTB Dreams
2
Culture
Join this Virtual MTB Movie Night with Hannah Bergemann, Angi Weston, and Kate Pearce
Mountain bikes
Knolly Chilcotin Enduro Bike now Goes Super Boosty
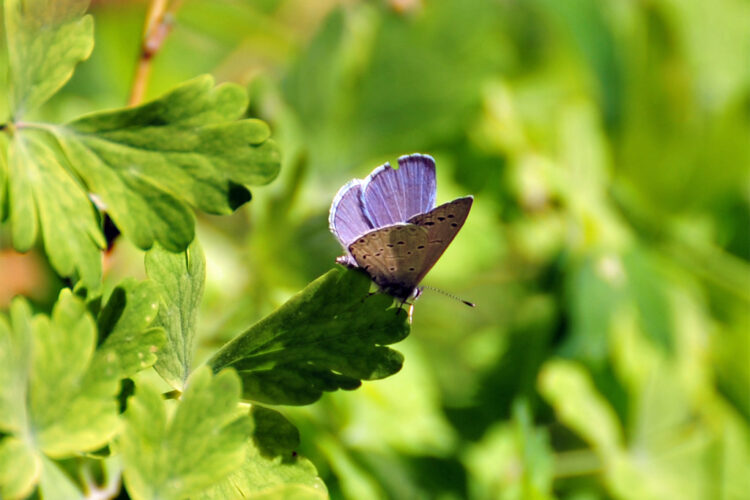
Nevada
A Butterfly Could Cancel Plans to Build New MTB Trails at a Resort Near Las Vegas
4
Tennessee
$6M Federal Grant Will Fund 50+ Miles of Singletrack in Appalachian Mountains of Tennessee
1
Mountain bikes
The Canyon Spectral Goes 29er for 2021, with 150mm of Rear Travel and 150 or 160mm Forks
1
Mountain bikes
Canfield Drops Two New 29ers, the Tilt and Lithium
United States
Critics Sound Alarm After DOI Misses LWCF Dates, Changes Order
2
All-Mountain bikes
First 30 of the new Cotic Jeht Full-Sus Steel 29ers are Made in the UK
Cockpit
ENVE has a new MTB Stem, in Alloy
Repair
New 8-Bit Pack Pliers from Wolf Tooth Will Cover Most Trailside Repairs
Enduro Bikes
The Santa Cruz Bullit is Back with 170mm, Mixed Wheels, and a Battery
1
Repair
OneUp Simplifies the EDC Multi-Tool System Using a Star nut
Clothing
What gets Cold First When Mountain Biking in Winter? [Survey]
2
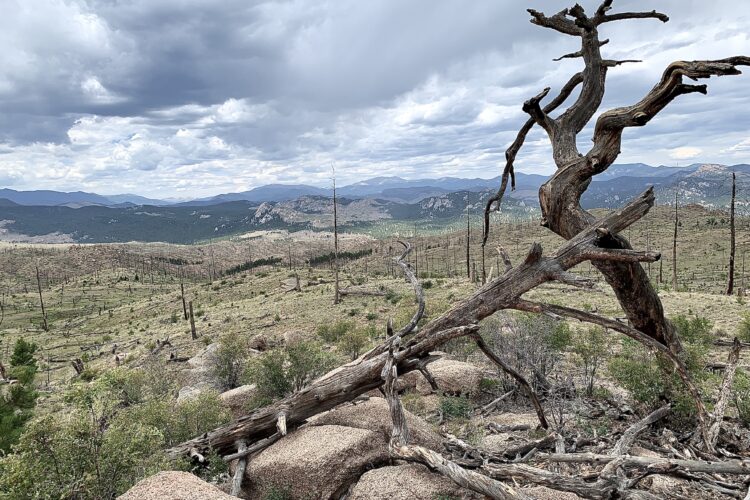
Colorado
The Fires are Dying Down but Popular Colorado Trail Networks Remain Burned, Damaged, and Closed
1
Culture
Cannondale is Launching Cycling Programs at Tribal and Historically Black Colleges and Universities
Tools
Stash Tools Beneath Fizik Saddles with their new Alpaca Tool Carrier
3
Forks
Cane Creek Adds Limited IPA-Inspired Colorway to MTB Fork, Bottom Bracket, Headset
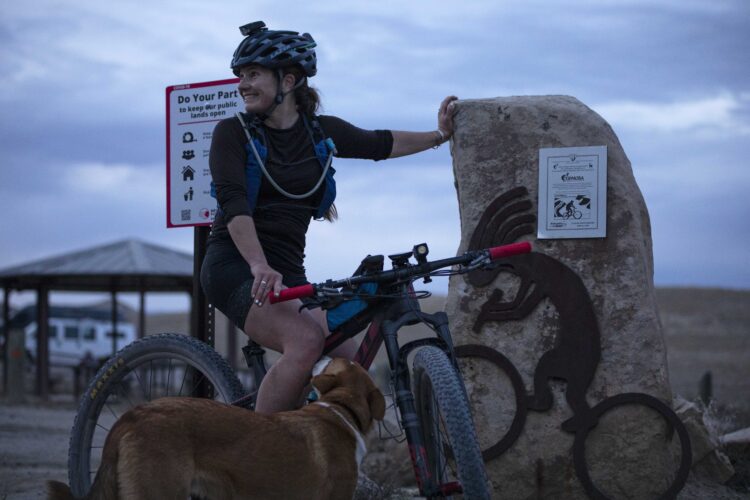
Colorado
Kait Boyle and Kurt Refsnider Beat Kokopelli Trail Fastest Known Times
1
Culture
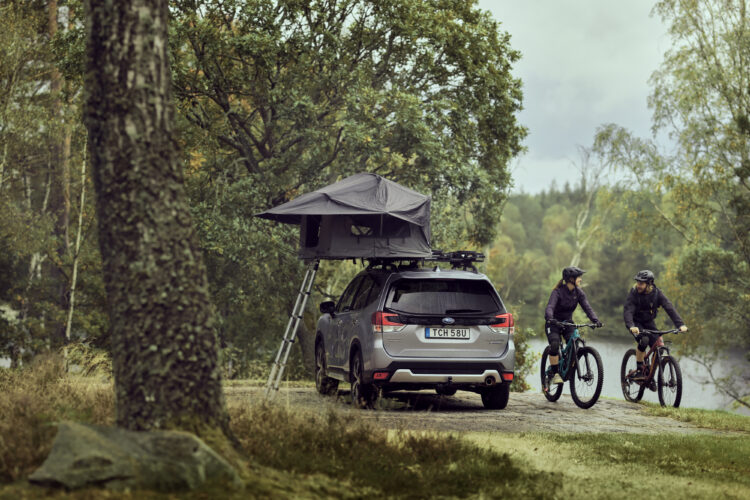
Thule has a new Rooftop Tent That Leaves Space for Bikes
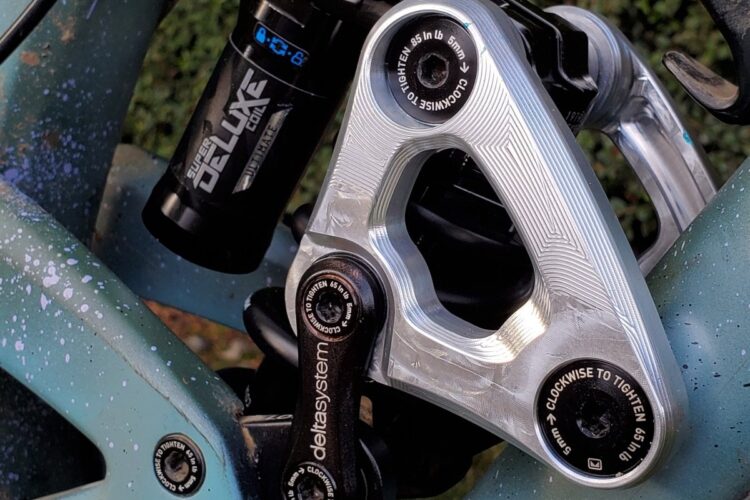
Culture
New Evil Offering Suspension Link from Cascade Components Bumps Progressivity to 35%, adds 5mm of Travel
Mountain Bike Shoes
New 2FO Roost Mountain Bike Shoes from Specialized come in Clipless or Flat Versions
Culture
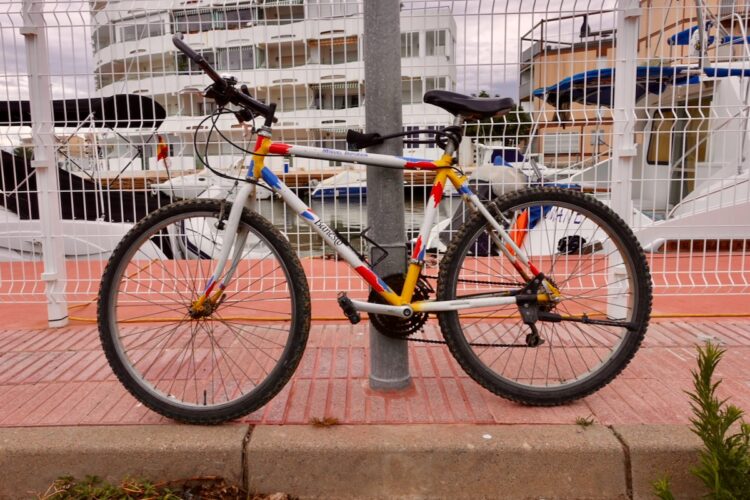
Do You Bike Commute? [Survey]
2
Hardtail bikes
Breadwinner Cycles Updates their 160mm Bad Otis Hardcore Hardtail with a nod to Ducati
1
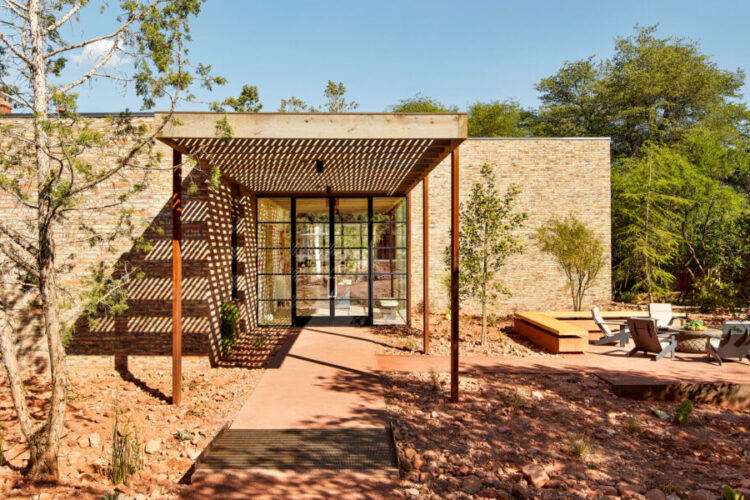
Arizona
Amenities at the Sedona Trail House Include Guided Rides and a Bike Shop
2
Vermont
The Vermont Mountain Bike Association is Looking for a New Executive Director
Repair
New Torque Tools, Cassette Wrench, and More from PRO
Hardtail bikes
New Squatch 130mm Steel Hardtail from Stif Mountain Bikes Looks Ready to Launch
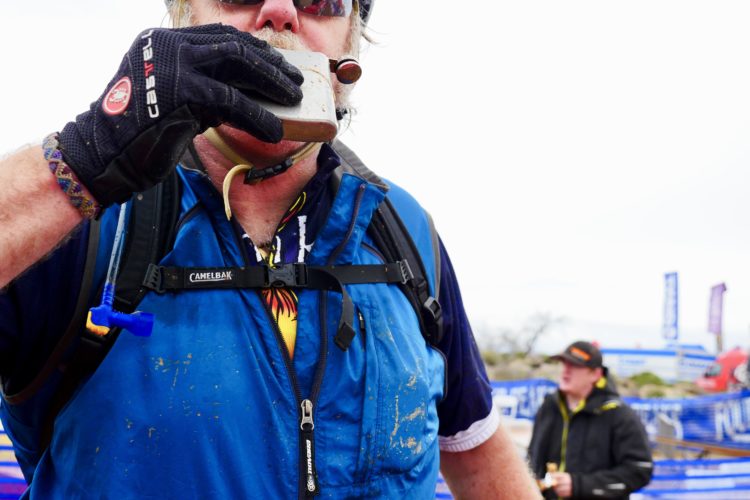
Kansas
DK Gravel Race, Formerly Dirty Kanza, Officially Rebrands as Unbound Gravel
Tires
Switzerland's ONZA Tires Releases new EU-Made Tubes and Their Burliest Gravity Tread to Date Called the Porcupine RC
3
Cockpit
Nukeproof Introduces Kid-Friendly MTB Cockpit Goods
Culture
On the Trail, Everything Is Actually Happening, Right Here — Right Now
6
«
1
2
3
4
…
33
»

 1
1