Trails
Reviews
Tips
Community
Deals
Latest
Support
Trails
Find trails
Best bike trails
Destinations
Add a new trail
Reviews
Mountain bike reviews
Components
Tires
Clothing & shoes
Helmets
Accessories
Product news
Community
MTB Clubs
Races & Events
Bike Shops
Tips
Skills
Fitness & Training
Health & Nutrition
Beginners
Repair
Latest Articles
Podcast
Deals
Support Singletracks
Sign in
Create an account
About us
Newsletter signup
Fork
Forks
Fox 38 MTB Fork: Should I Upgrade From My Trusty Fox 36?
3
Forks
New ERA Fork From Extreme Shocks Brings Rally Racing Tech to the Front of Your Mountain Bike
Forks
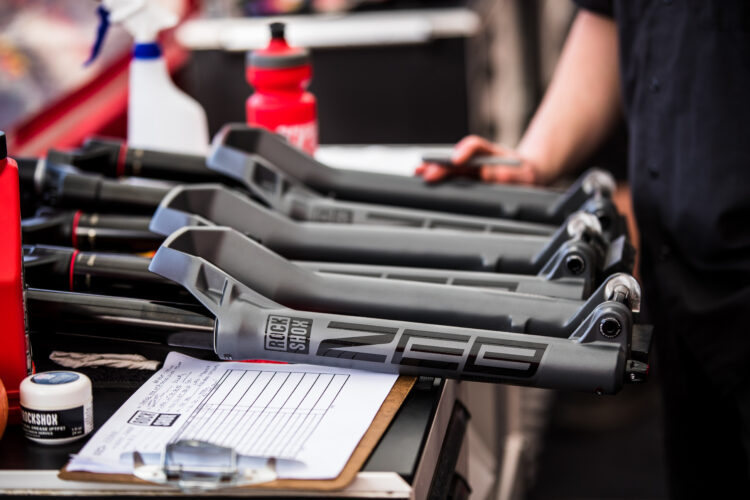
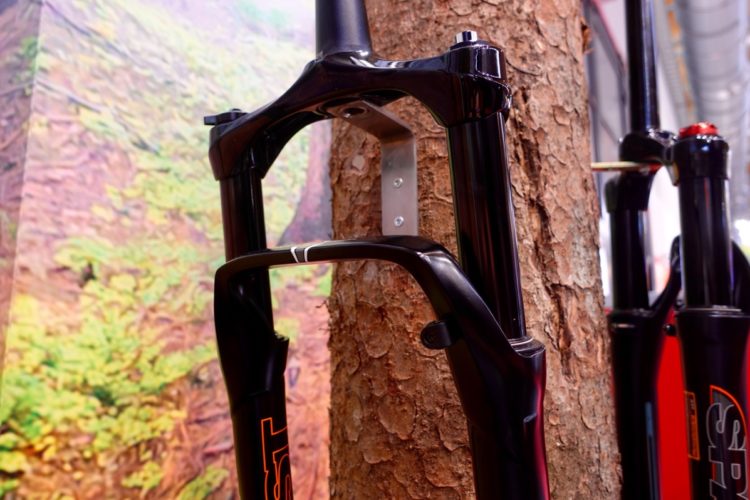
The new RockShox ZEB is a Fox 38 Rival
Forks
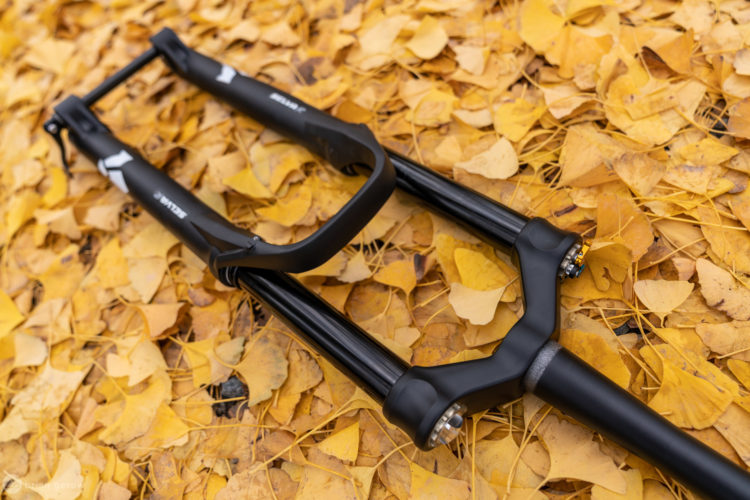
DVO Diamond D1 Mountain Bike Fork Review: Unique Adjustments for a Velvety Smooth Ride
Forks
The Marzocchi Bomber Z2 Sets the New Standard for Affordable MTB Forks [Review]
1
Forks
SR Suntour Brings Affordable Performance With the Durolux36 Boost EQ Mountain Bike Fork [In for Test]
Forks
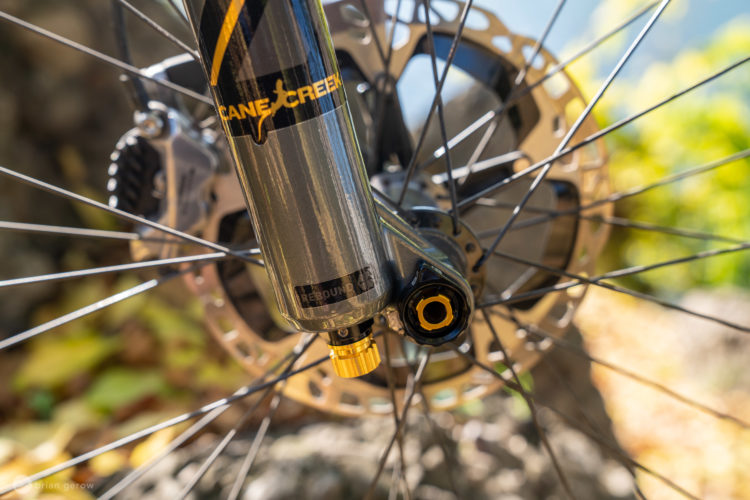
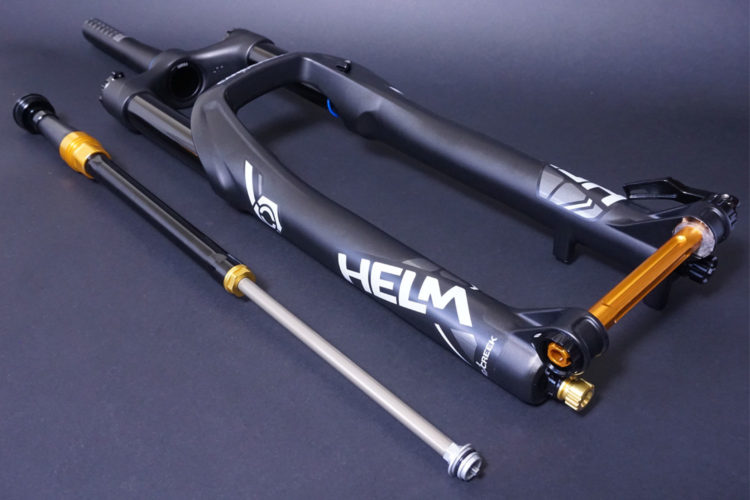
Cane Creek Helm Works Series 130 Mountain Bike Fork [Review]
1
Mountain Bikes and Gear
The Diamond D1 Fork From DVO Promises Generous Suspension and Customer Support [In for Test]
2
Forks
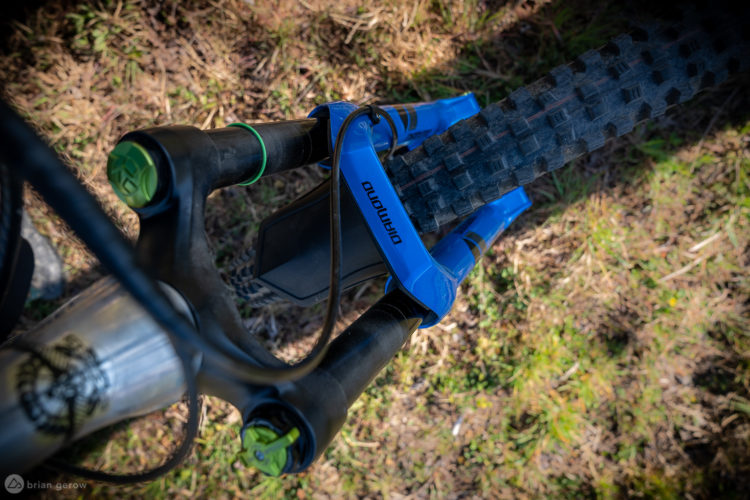
The Formula Selva R is 7 Distinct MTB Forks in One [Review]
Culture
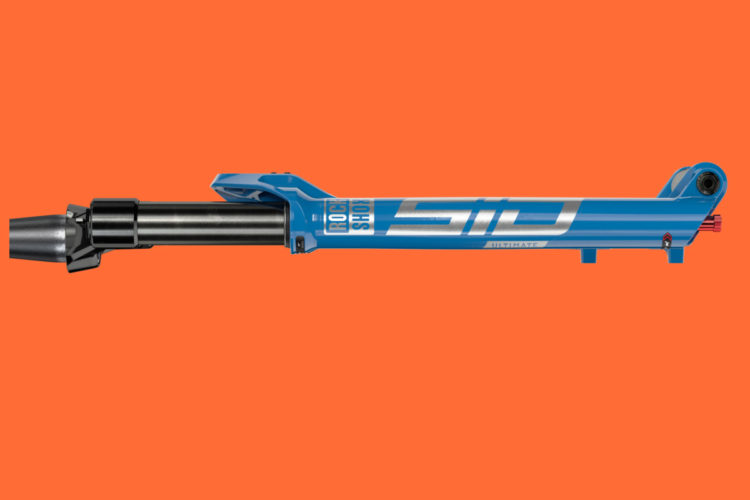
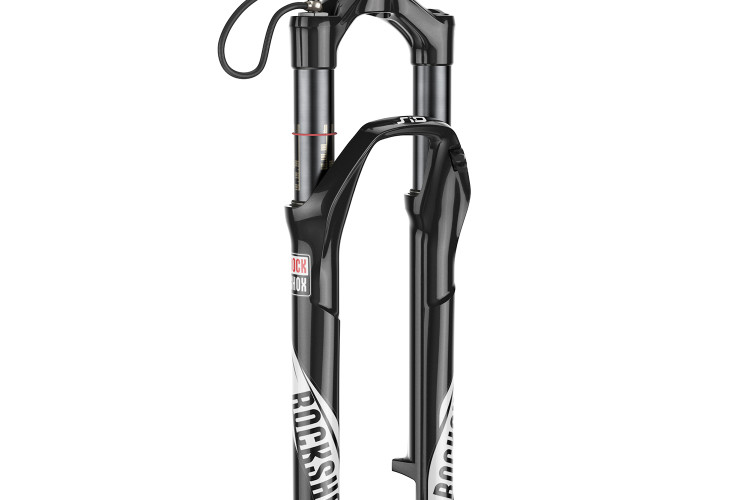
The Latest RockShox SID Fork Comes in Race or Trail Versions, adds a Lightweight Shock
Forks
The Sleek Cane Creek Helm Air Fork is a Legit Workhorse on the Trail [Review]
1
Mountain Bikes and Gear
In for Test: Formula Selva R Mountain Bike Fork and Cura 4 Brakes
3
Mountain Bikes and Gear
In For Test: Cane Creek Helm Air Fork [29er]
2
Culture
Giant Announces First Mountain Bike Suspension Fork, the Crest 34
1
Mountain Bikes and Gear
Trust Adds the Shout, a Long Travel Linkage Fork for Mountain Bikes
1
Mountain Bikes and Gear
What is Fork Offset? The Basics, Plus What it Means for Mountain Bike Handling
5
Culture
Hayes' New Enduro Collection Includes the Mezzer Fork with 37mm Stanchions, Plus a New Shock, Brakes, and Cockpit
1
Forks
First Ride: The Unusual-Looking SCW1 Front End Linkage Mountain Bike
16
Culture
The Trust Performance Message Fork is Progressive, Link-Driven, and Like No Other MTB Fork
3
Forks
How A Volume Spacer Changes Your Mountain Bike Suspension
Mountain Bikes and Gear
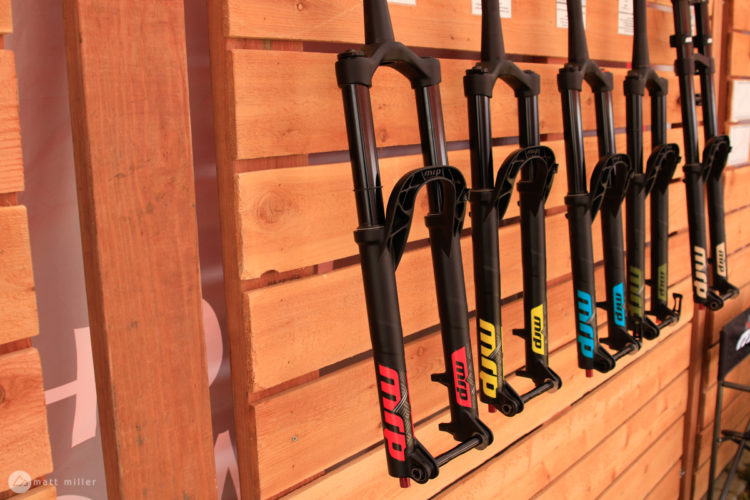
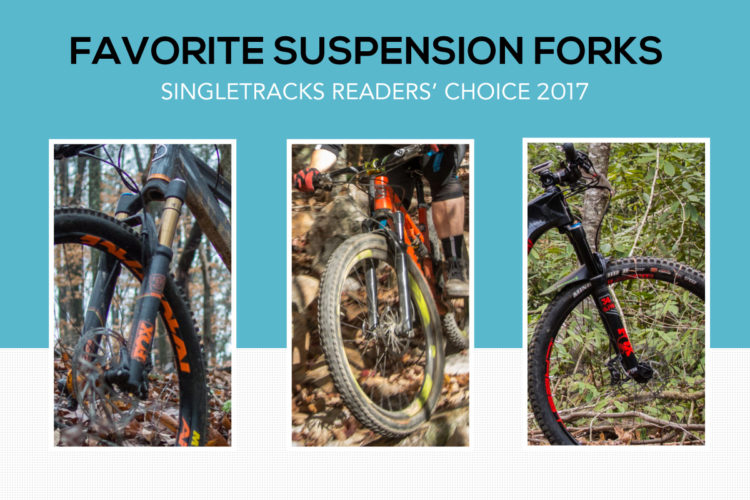
Survey Results: Your Favorite Suspension Forks of 2017
Mountain Bikes and Gear
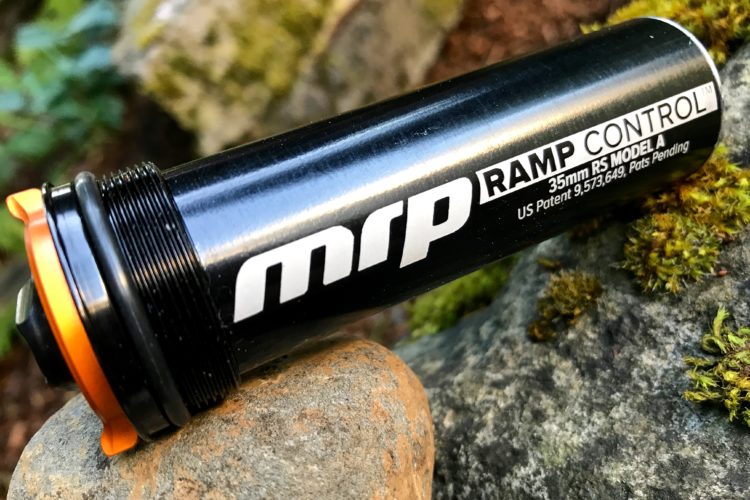
Ramp Up More, Bottom Out Less: MRP Ramp Control Cartridge Review
1
Culture
New Long-Travel 29er Fork from X Fusion Offers 170mm of Travel
Mountain Bikes and Gear
Watch: How To Build a Fork Mount Bike Rack for $20 in 30 Minutes
1
Culture
RockShox Releases New Pike Fork
Mountain Bikes and Gear
First Look: SR Suntour Durolux Fork
Mountain Bikes and Gear
First Look: MRP's New Ribbon Fork Is a Head Turner
3
Culture
Cane Creek Releases Their First Suspension Fork: The Helm
2
Culture
RST Launches New Inverted XC/Trail Fork
Culture
RST Renegade Fat Bike Suspension Fork Available with Straight Steerer
Mountain Bikes and Gear
RockShox's New SID Fork Returns to its Racer Roots
Mountain Bikes and Gear
Review: SR Suntour Aion Fork
Forks
Review: RockShox Bluto Fat Bike Fork
5
Mountain Bikes and Gear
Test Ride Review: Lauf Fat Bike Fork
MTB Tips
Video: How To Set Up Suspension Forks
Culture
Sneak Peak: "Renegade" Fat Bike Suspension Fork Coming from RST
2
Mountain Bikes and Gear
11 Forks That Are Smoothing the Trail Better Than Ever Before
Mountain Bikes and Gear
Review: RockShox Bluto Fat Bike Suspension Fork
Culture
News: ENVE Ships New Rigid MTB Fork
3
Mountain Bikes and Gear
Review: 2014 Fox 34 TALAS
Mountain Bikes and Gear
Review: Marzocchi 380 C2R2 Ti Fork
Mountain Bikes and Gear
Final Review: SR Suntour Auron Fork
2
Mountain Bikes and Gear
Review: The Updated 2014 Manitou Dorado Pro Fork
2
Culture
News: First-Ever Fat Bike Suspension Fork Announced: RockShox Bluto RL
3
Culture
News: RockShox Releases Details About Their Brand-New RS-1 Fork
Culture
News: Cannondale's OverMountain Team Switches to Lefty SuperMax Fork
2
Mountain Bikes and Gear
Rigid Fork Shootout: QR Open Dropout VS Thru-Axle
4
Community
2012 RockShox BoXXer World Cup Fork Review
1
2
»

 3
3