Trails
Reviews
Tips
Community
Deals
Latest
Support
Trails
Find trails
Best bike trails
Destinations
Add a new trail
Reviews
Mountain bike reviews
Components
Tires
Clothing & shoes
Helmets
Accessories
Product news
Community
MTB Clubs
Races & Events
Bike Shops
Tips
Skills
Fitness & Training
Health & Nutrition
Beginners
Repair
Latest Articles
Podcast
Deals
Support Singletracks
Sign in
Create an account
About us
Newsletter signup
Trail
Forks
The New Intend BC Blackline Ebonite Fork Goes Upside Down To Simplify Things
2
Mountain bikes
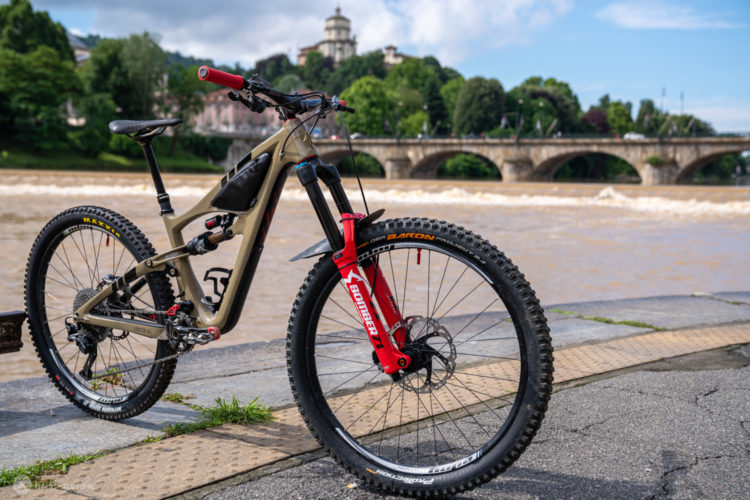
The Ibis Mojo HD5 is a 27.5" Trail Paver [Bike Check]
2
Mountain bikes
The New Santa Cruz Heckler is a Step Forward for eMTB Lovers [First Ride Review]
Mountain Bikes and Gear
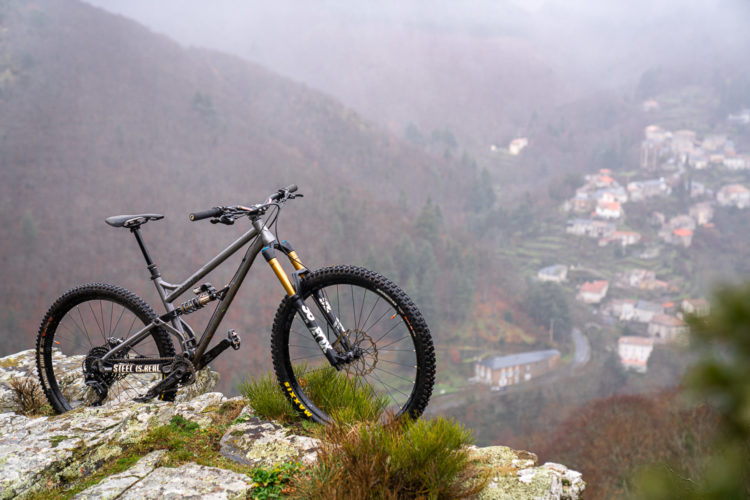
The Production Privee Shan N°5 is a Unique Steel Full Suspension Mountain Bike [Test Ride Review]
3
Mountain Bikes and Gear
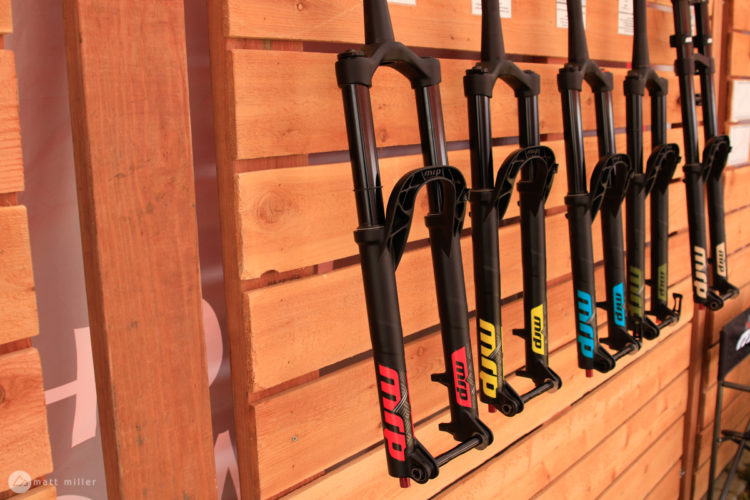
What is Fork Offset? The Basics, Plus What it Means for Mountain Bike Handling
5
Mountain Bike Trails
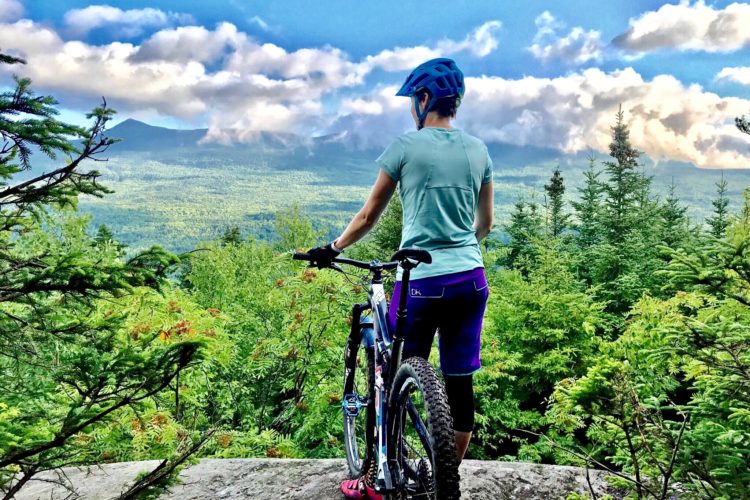
Five2Ride: 5 of the Best Beginner Mountain Bike Trails in Phoenix
6
Mountain Bike Trails
Trail Funding Part I: How MTB Organizations Raise Money for Trails
1
Mountain Bike Trails
A Short History of MTB Advocacy, and Why It's As Important As Ever
1
Mountain Bike Trails
Interior Secretary Zinke Adds 19 New National Recreation Trails Across US
1
Mountain Bike Trails
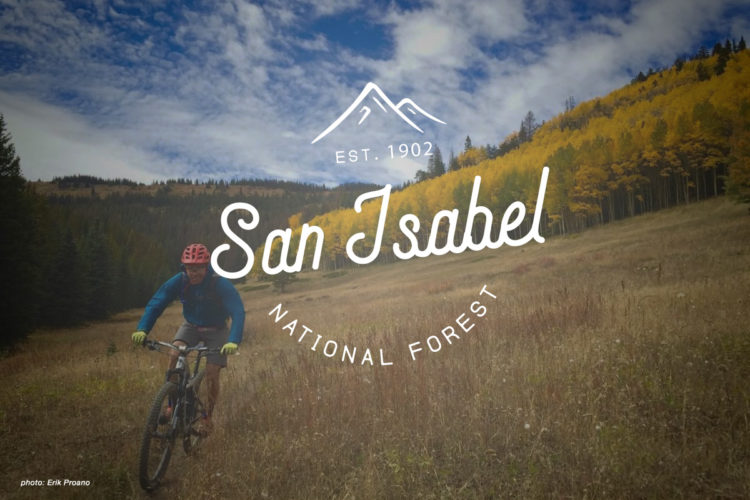
10 Best Mountain Bike Trails in the San Isabel National Forest
1
Mountain Bike Trails
Experience Bears Ears with Western Spirit Cycling, Before It's Filled with Oil Wells
14
Community
The Biggest Bike Sale in New Zealand, Coming to Taupo in April
Mountain Bike Trails
Your Backyard Trails Are Somebody Else's Destination
7
Culture
Over a Beer: Attend Meetings, Get Trails Built
3
Mountain Bike Trails
Mountain Bikers Receive Rare Approval to Ride in a National Park
3
Mountain Bike Trails
10 of the Best Mountain Bike Trails in the Chattahoochee National Forest
2
Mountain Bikes and Gear
Bell Drops Two New Mountain Bike Helmets for 2018: Sixer and Super DH
Arizona
Sedona Is Breaking Ground on a New 27-Mile Trail System
4
Mountain Bike Trails
The Secret's Out: Go Mountain Bike Hong Kong
5
Mountain Bike Trails
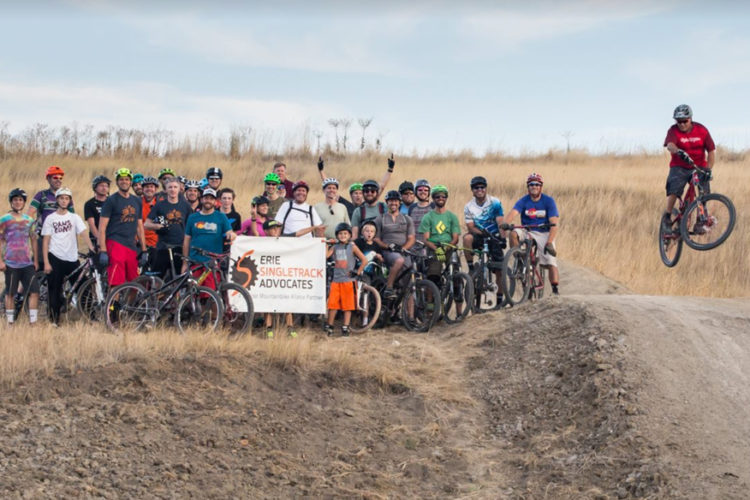
From Rogue Pipe Dream to Community Playground: The Birth of Erie Singletrack
2
Mountain Bike Trails
Challenges that Trail Builders in the UK Must Overcome
Downhill Bikes
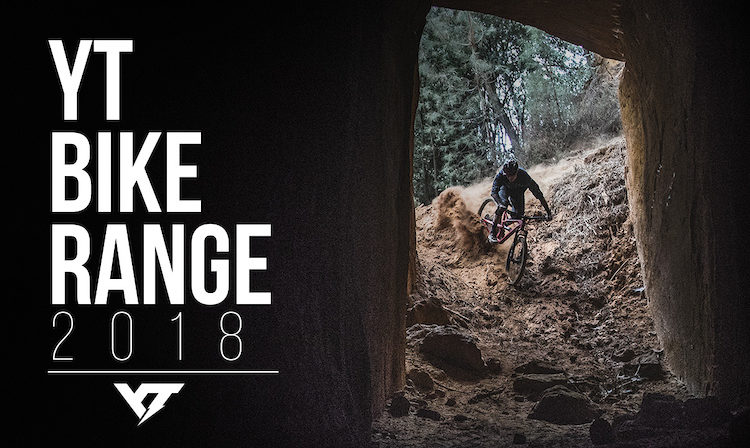
YT Industries Launches New 2018 Bike Range, Drops Prices
5
Mountain Bike Trails
Fast, Fun Flow on the New Fire Mountain Trails in Cherokee, NC
3
Mountain Bike Trails
7 Must-Ride Mountain Bike Trails in Maine
Mountain Bike Trails
Five2Ride: The Best Bike Trails near Tucson, AZ
Mountain Bike Trails
Five2Ride: The Best Bike Trails near Las Vegas, NV
Mountain Bike Trails
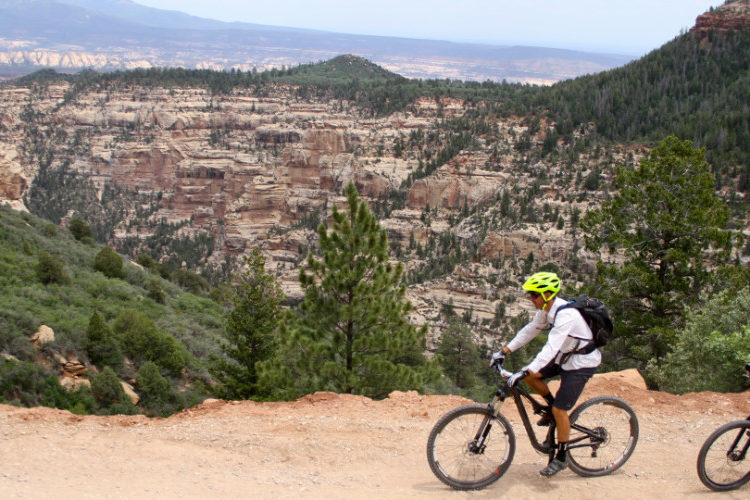
10 Best Mountain Bike Trails in Cibola National Forest
1
Mountain Bike Trails
Five2Ride: The Best Bike Trails near Kansas City
1
Mountain Bike Podcast
These Are the Mountain Bikes You Should Buy [Podcast #133]
8
Mountain Bike Trails
The 2017 IMBA Epic Trail List Includes Routes in New Zealand, Finland, Alaska
2
Mountain Bikes and Gear
Watch: Is the GoPro Mouth Mount a Cheap Gimbal Alternative?
4
Mountain Bike Trails
The 10 Best Mountain Bike Trails in the Angeles National Forest
1
Mountain Bike Trails
The 10 Best Mountain Bike Trails in Willamette National Forest
Mountain Bike Trails
Five2Ride: The Best Mountain Bike Trails near Phoenix, AZ
2
Mountain Bike Trails
The 10 Best Mountain Bike Trails in Sequoia National Forest
Mountain Bike Trails
The 10 Best Mountain Bike Trails in Deschutes National Forest
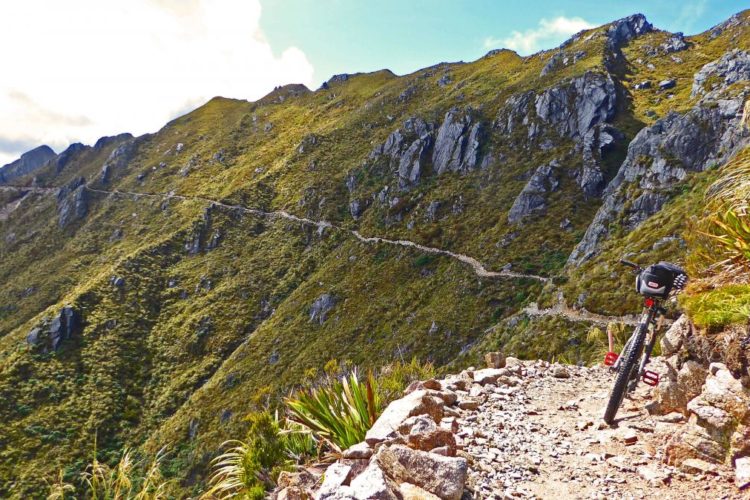
Mountain Bike Trails
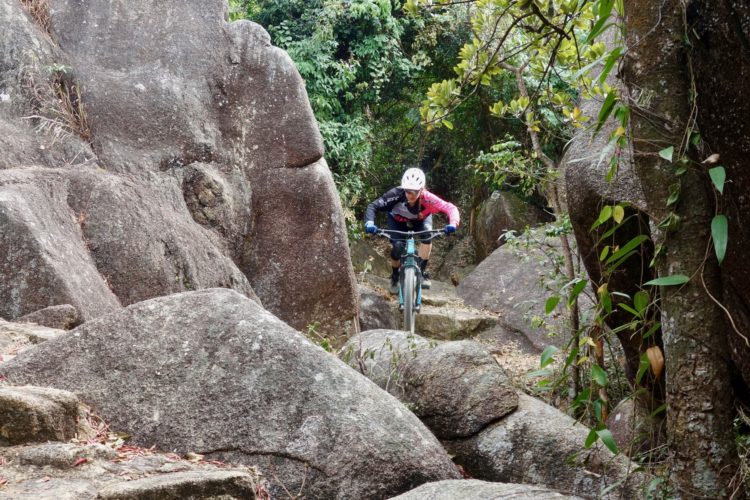
Five2Ride: 5 of the Best Mountain Bike Trails in Colombia
Clipless Pedal Shoes
Review: Riding - and Hiking - Beyond the Limits of the Pearl Izumi X-Project P.R.O. Shoe
3
Mountain Bike Trails
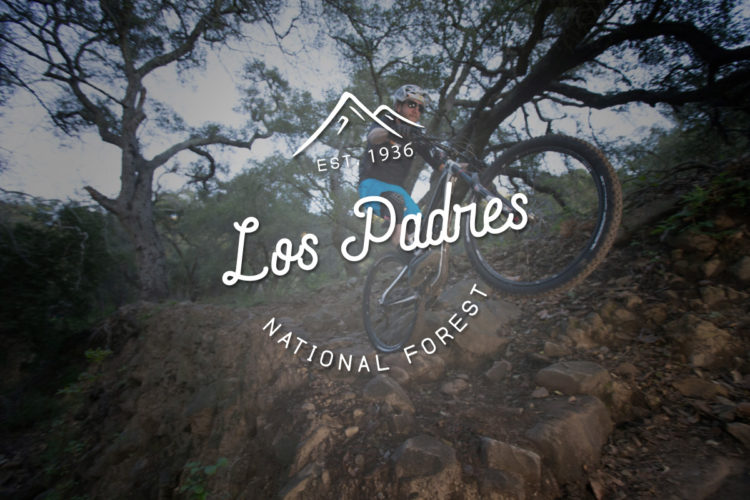
10 Best Mountain Bike Trails in Los Padres National Forest
Mountain Bike Trails
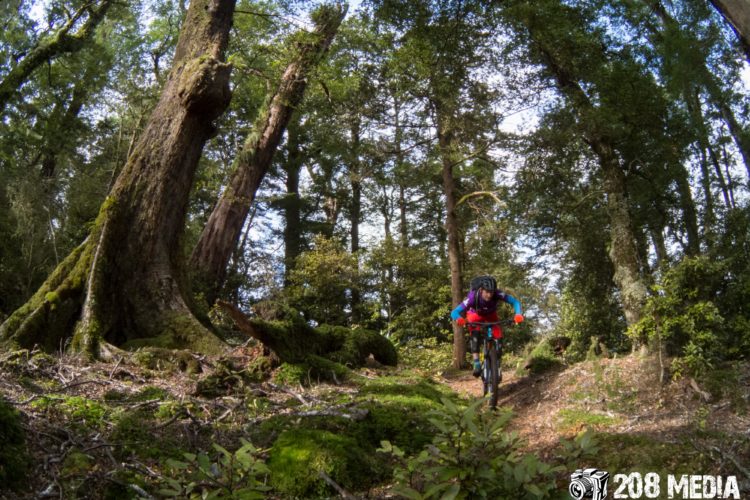
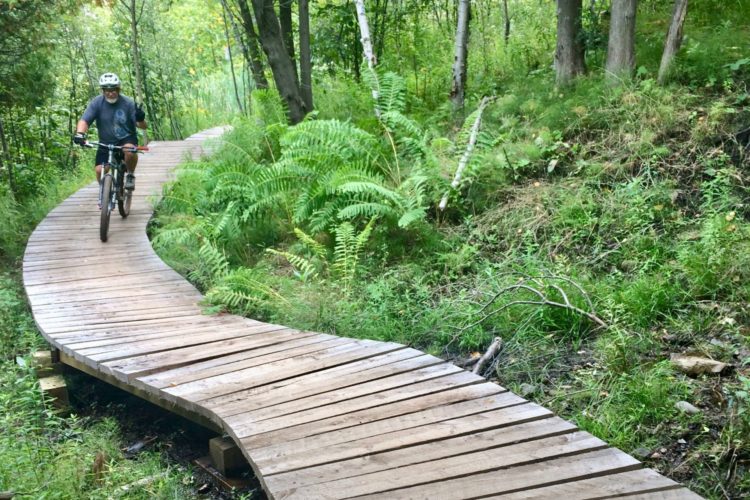
Duluth, MN: An Unexpected Mountain Bike Destination
1
Mountain Bike Trails
The Summit at Snoqualmie Plans To Welcome Back Mountain Biking
1
Mountain Bike Trails
Five2Ride: 5 of the Best Mountain Bike Trails in France
Iceland
Watch: Riding Iceland with Jeff Kendall-Weed
Mountain Bike Trails
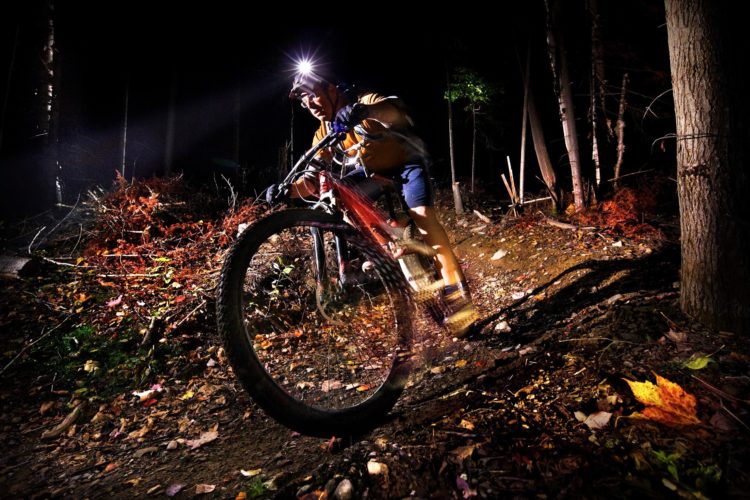
10 Reasons to Mountain Bike in the Dark
23
Mountain Bike Trails
Watch: Reopening Virginia Key Bike Trails After Hurricane Irma
Mountain Bike Trails
Watch: Man Caught on Camera Destroying Bike Trail Berms With a Shovel
1
Mountain Bike Trails
Powderhorn: The Cool Way to Get Dirty in Western Colorado
Mountain Bike Trails
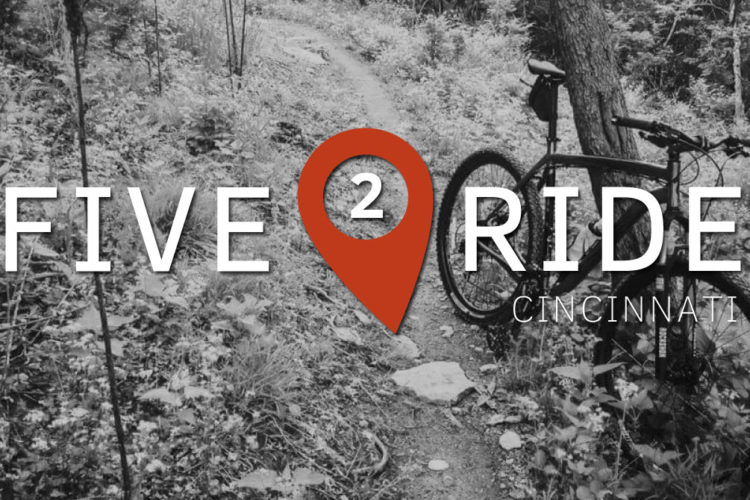
Five2Ride: The Best Bike Trails near Cincinnati, OH
4
1
2
3
…
7
»

 2
2