Trails
Reviews
Tips
Community
Deals
Latest
Support
Trails
Find trails
Best bike trails
Destinations
Add a new trail
Reviews
Mountain bike reviews
Components
Tires
Clothing & shoes
Helmets
Accessories
Product news
Community
MTB Clubs
Races & Events
Bike Shops
Tips
Skills
Fitness & Training
Health & Nutrition
Beginners
Repair
Latest Articles
Podcast
Deals
Support Singletracks
Sign in
Create an account
About us
Newsletter signup
Fox
Community
Droolworthy Mountain Bikes and Gear from Rocky Mountain, Giro, Fox and Maxxis
Goggles
7 Mountain Bike Goggles Tested and Reviewed for 2020
Gear Bags
Fit it All in The Fox Transition Duffle Bag [Review]
Forks
Fox Drops the All-new 38 Fork with a Grip2, Updates X2 and DHX2 Shocks
Half Shell Helmets
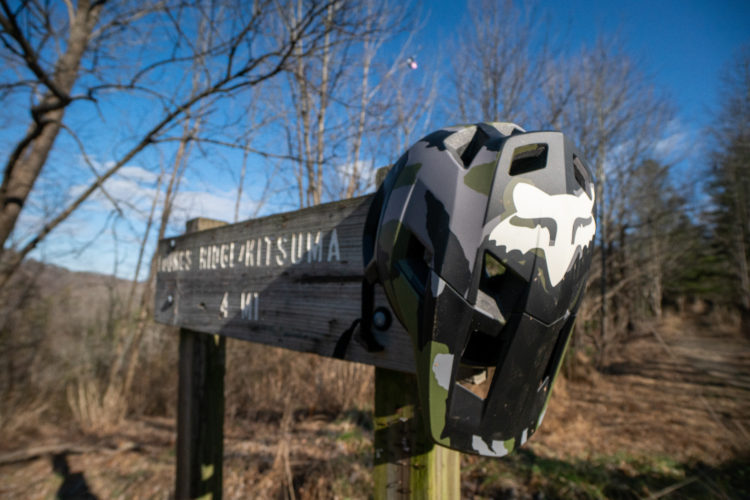
Fox Speedframe Pro Helmet Review
Half Shell Helmets
Fox Dropframe Helmet and Enduro Pro Knee Guard Review
Gloves
This Fox Kit Was a Winter Mountain Biking Game Changer
Forks
How Often Should Mountain Bike Suspension Components be Serviced?
5
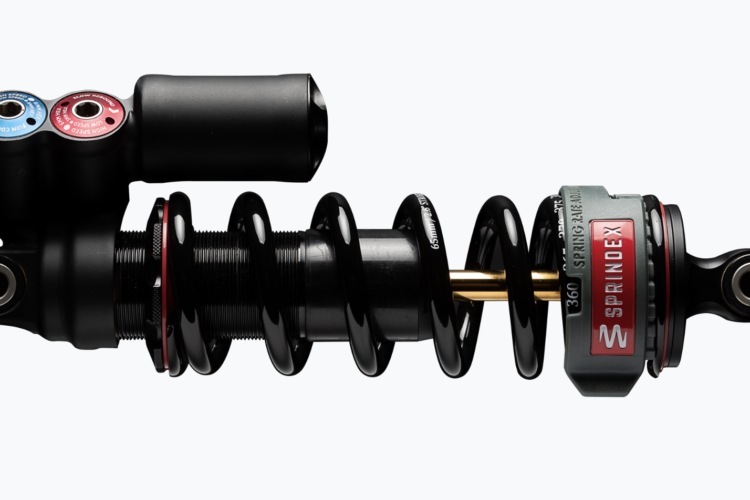
Rear Shocks
Sprindex Adjustable-Rate Coils Allow Mountain Bikers to Quickly Tune Their Spring Rate
Forks
Suspension Dampers: A Beginner's Guide to What Goes on Inside
2
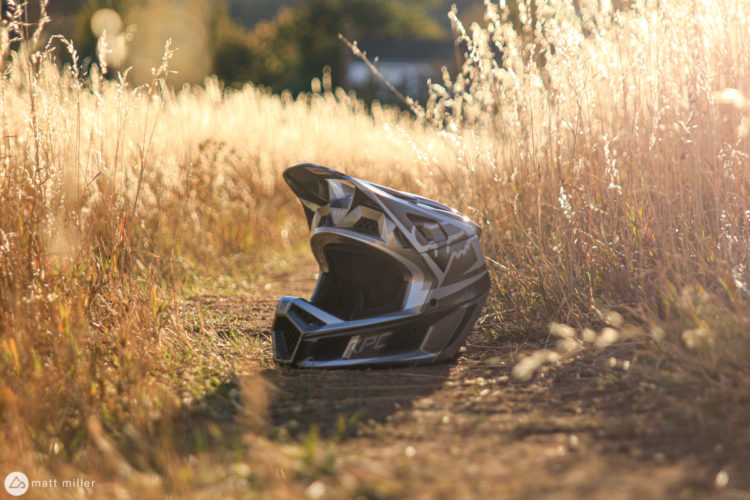
Full Face Helmets
The Fox Rampage Pro Carbon Full-Face Mountain Bike Helmet is Like a Vault for your Head
2
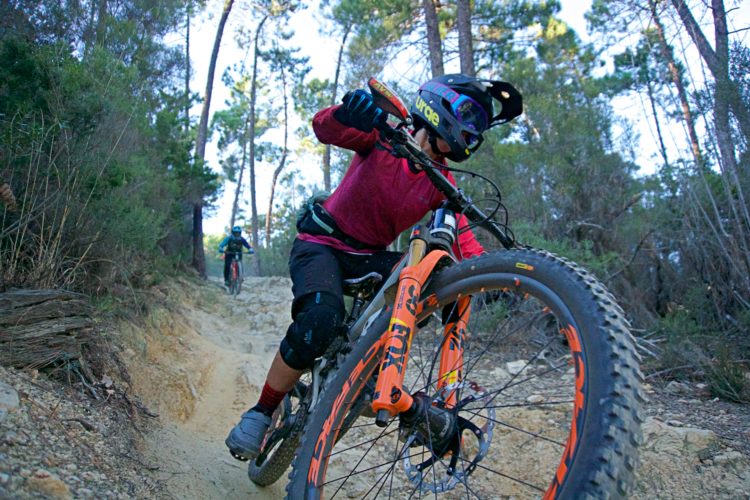
Forks
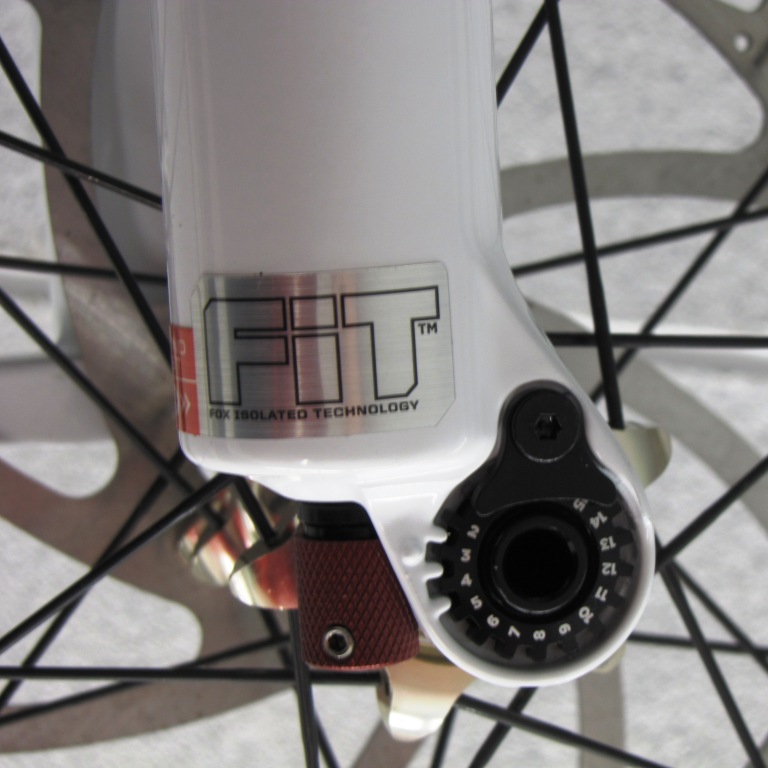
What's With This Other Rebound Knob on my New Mountain Bike Fork? Set Up and Ride Tips for High and Low Speed Rebound
1
Mountain Bikes and Gear
7 Rotational Impact and Concussion Prevention Technologies for MTB Helmets [Round Up]
1
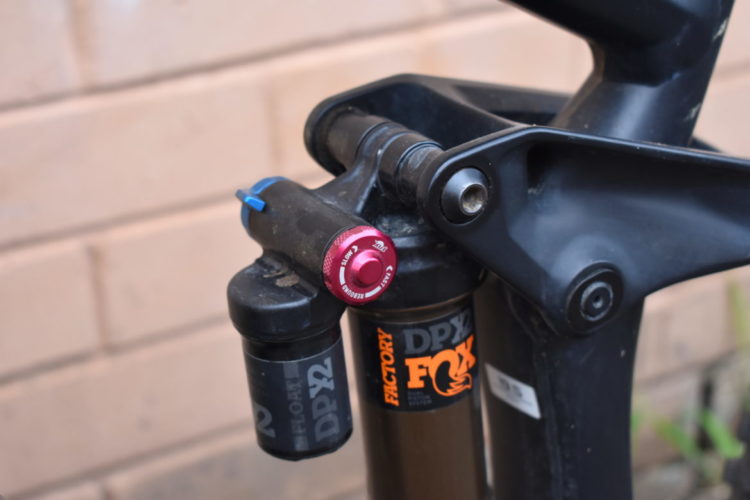
Rear Shocks
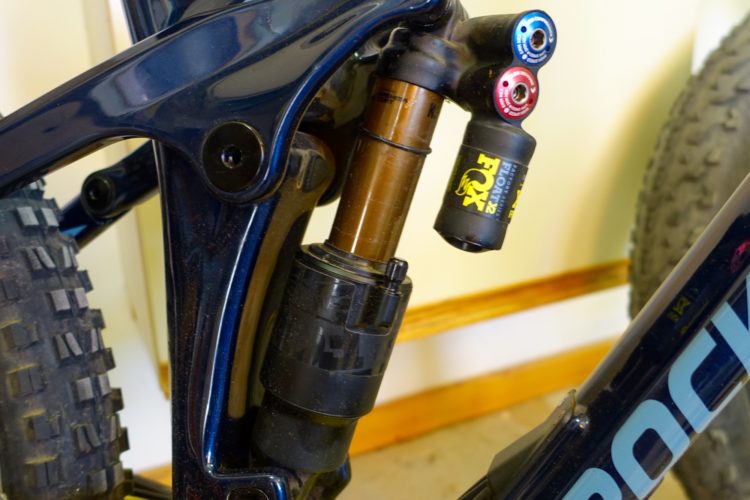
Review: Fox DPX2 Shock, the New Trail Shock From Fox
5
Mountain Bikes and Gear
Fox's New 175mm Transfer Dropper Post Drops Lower Without Raising the Price
1
Rear Shocks
First Impressions: Riding The Fox Live Valve Automated MTB Suspension System
2
Mountain Bikes and Gear
Fox Factory Tune Program Allows Mountain Bikers to Customize Suspension, Upgrade Performance
2
Mountain Bike Podcast
We Round Up New, 2019 Bikes and Gear at Sea Otter Classic [Podcast #153]
Dropper Posts
Fox Transfer Dropper Post Review
6
Gloves
5 Best Gloves for Summer Mountain Biking
6
Mountain Bikes and Gear
Watch: 2017 Fuji Rakan 27.5+/29er Review
4
Culture
Updated: Fox Recalls 7,300 Float X2 Shocks Due to Possibility of "Rupture"
3
Mountain Bikes and Gear
The 10 Most Popular MTB Forks for 2016 (Plus 3 that Aren't Fox or RockShox)
1
Dropper Posts
How to Choose the Best Dropper Post: A Buyer's Guide
8
Culture
Fox Racing Shox is Buying (Parts of) Marzocchi
Mountain Bikes and Gear
Review: Fox 32 Float 29 CTD Mountain Bike Fork
Mountain Bikes and Gear
Review: Fox 36 Float 27.5 160 FIT RC2 Fork
6
Mountain Bikes and Gear
Life with a Santa Cruz Bronson
11
Mountain Bikes and Gear
The Best Mountain Bike Brands and Products of 2014
5
Community
Review: Fox 40 Float RC2 Downhill Fork
Culture
News: Yeti Releases New SB5c 27.5/650b Trail Bike with New Switch Infinity Technology
20
Mountain Bikes and Gear
Review: Fox 34 Talas CTD 26"
1
Mountain Bikes and Gear
Suspended at Interbike
Culture
25 Awful Things that are Better Than Losing Your Fox 15QR Thru Axle Skewer
17
Mountain Bikes and Gear
Electronic Gadgets for Mountain Bikers
3
Mountain Bikes and Gear
Fox 32 Float (100mm FIT Terralogic) Fork Review
1
Community
2012 Fox 40 FIT RC2 Review
Mountain Bikes and Gear
Review: 2012 Fox RP23 with Adaptive Boostvalve
1
Mountain Bikes and Gear
2012 Fox 32 Talas 150 FIT RLC Review
9
Culture
New 2012 gear from Interbike
3
Mountain Bikes and Gear
Interbike MTB Suspension Report: Fox, Rockshox, Marzocchi, and More
2
Mountain Bikes and Gear
Fox 40 "Pimp my Fork": How to Upgrade Your MTB Ride
3
Community
Fox DHX RC4 Mountain Bike Shock Review
Mountain Bikes and Gear
MTB Review: Fox F29 Terralogic Fork
7
Forks
2011 Fox 36 Talas 180 FIT RC2 Review
1
Mountain Bikes and Gear
On Test: Fox F29 Terralogic Fork and WTB LaserDisc Trail 29
4
Mountain Bikes and Gear
Fox Racing Shox 2011: Forks & Telescoping Seatpost Prototype
2
Mountain Bikes and Gear
2010 Fox 32 Float 150 FIT RLC Installation & Configuration
1
1
2
»


 5
5