
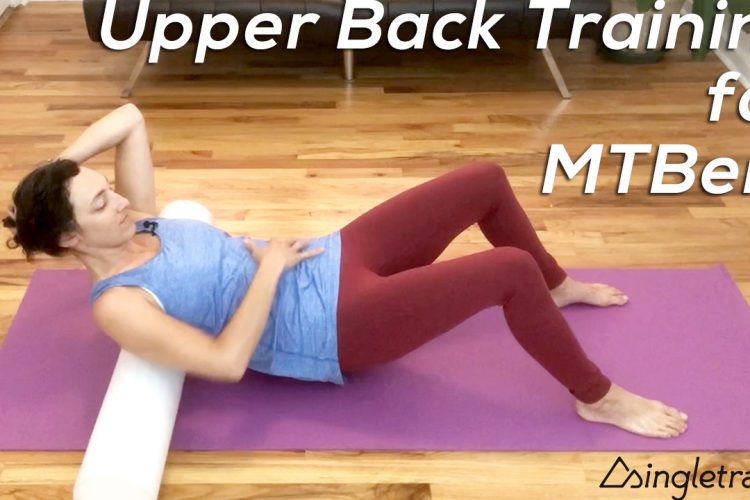
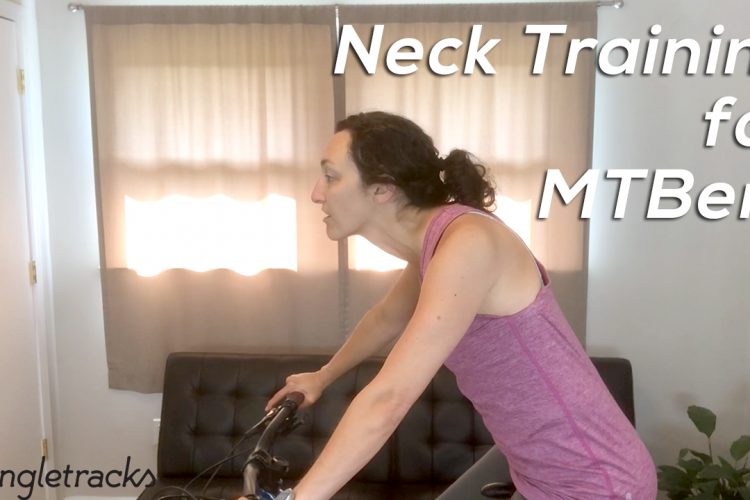
Maintaining mountain bike fitness in the winter months can be a challenge. Not everyone has the will, want, or knowledge to work out at a gym. We get it. It’s dark, it’s cold, and mountain biking might be not be feasible.
Fortunately, there are things you can do in your home without weights that can help you maintain some semblance of strength during the off season and not fall completely off the fitness wagon. Below you will find a video with four strength moves to help supplement your fitness through the often intermittent rides of fall, winter, and spring. Remember, sometimes the most beneficial fitness moves are small, core-oriented, and surprisingly simple.
Perform each move 15-20 times in a row, for three rounds of each exercise before moving to the next exercise, or perform each move for 15-20 reps and move to the next exercise in the sequence, then repeat the whole sequence three times total. If you are alternating sides, do 15-20 reps on each side, or 20-40 reps in total. Repeat. Repeat. Repeat.
Dead bugs

Dead bugs seem pretty easy at first glance. However, if you perform them slow and controlled, and graduate to the hardest progression, they are a great tool for engaging your core and overall stability on and off the bike. They help build a solid, stable foundation that will help protect the spine and prevent or relieve low back pain sometimes caused by sitting on saddles for an extended period of time. Dead Bugs are a supine abdominal exercise. That means you do them lying on your back.
Starting position: Lay with your back flat on the ground then elevate your legs into a 90° position, knees in line with hips. Keep your core engaged. Pretend there is a string pulling your belly button through your spine and attaching your lower back to the floor. There should be no gap in your lower back. Your knees should remain directly over your hips, with your legs at a 90° angle at the start and end of each progression. After your legs are in the correct position, elevate your arms, straight in front of your body, positioned directly over your shoulders (if you flipped yourself over, you’d be in a perfect table-top position). This is your starting point.
Progression one: With your core engaged and no gap between your lower back and the floor, extend one leg to a straightened position, hovering approximately 6″ off the ground, and hold for a moment. Return your leg to the starting position, ending with your knee directly over your hip. Alternate legs for 15-20 reps each side. If your lower back remains pinned to the floor, you’re ready for progression two.
Progression two : Keep that core engaged and extend one leg and the arm on the same side, at the same time. Your arm should also hover about 6″ off the ground. Remember, slow and controlled is the goal. Return to the starting point, with your knee directly above your hip and arm extended directly over your shoulder. Perform 15-20 reps on one side, then the other.
Progression three: Extend one leg and extend the opposite arm at the same time. Keep your core engaged, with your back flat on the ground. Repeat 15-20 reps on each side.
Progression four: Lift your head and shoulders off the ground by contracting your abdominals. Make sure your arms remain in line with your shoulders and repeat progression three.
Progression five: (Not included in video) If you find these to be too easy, add light weights or full water bottles to your hands (3-5lb should be sufficient) and perform progression three or four. The weight should be light enough that your arms remain straight throughout the exercise and the “pull” is coming from just behind your shoulders.
Clock squat

Clock squats — or three point squats — are a great exercise for unilateral strength and stability training. This means that you will be training one side of your lower body, independent of the other. This will also allow you to realize imbalances in your body. For instance, if you primarily ride with one leg forward (your bracing leg) you may find that leg to be slightly stronger than the other. It’s important to realize those discrepancies and to try to balance strength on both sides of your body for maximum efficiency on the bike.
Starting position: Start by placing both feet together or a maximum of hip width apart. Hinge back with your hips and sit into an invisible chair. The ideal chair position keeps the knees at a 90° angle, tracking directly over your ankles. However if you’re not there yet, go as low as you can sit without falling backwards. The goal is to engage your glutes and sit “in your heels” more than your toes. This chair pose, or low and narrow squat, will be your starting and ending position.
Progression one: From the starting position balance your weight onto one leg; this is your stationary leg. Staying as low as possible with your stationary leg, move the other leg backward in a bent position, and lightly tap your foot behind your body. The moving leg should not bear much weight as you make your tap. Most of your weight should remain in the stationary leg. Return the moving leg to the starting “chair” position.
When performing this exercise, you may want to look in a mirror. Try to keep your hips level. Your stationary leg should remain in alignment, with your hips, knees, ankles, and toes all tracking straight forward throughout. If you feel pressure in your knee, press your hips back further, even if you are not quite in a 90-degree angle. Alternate your stationary and moving legs, one side to the other, for 15 reps on each side. If your legs aren’t burning, you’re doing it wrong. Once you can successfully make taps behind your body without your legs giving out, move to progression two.
Progression two: Start in the chair position (low, narrow squat). Repeat progression one on the first side, starting with a tap behind the body. Next, while still supporting your weight with your stationary leg, and staying in a low squat, extend your moving leg straight and tap directly to the side of your body, then return to your chair position. Repeat the back and side taps on one leg for 15 reps (back and side = one rep), or alternate sides until you reach 15 on each.
Progression three: Once you have mastered the back and side taps, it’s time to add the front tap. Perform progressions one and two, then take your straight leg from the side to a tap in the front, keeping the leg straight and the stationary leg low. In progression three you are tapping behind, to the side and then to the front as one rep. This is an extremely difficult move. It takes a lot of balance and strength to hold a low squat for any amount time, especially when all your weight is being held and balanced with one leg. Remember to sit back into your bum and heels. Try a few on each leg, and see how it goes.
If you can’t get three taps in a row, try to master just back taps, then just side taps and finally the front tap (the most difficult). Once your strength is sufficient, attempt to do 5-10 reps (with all three taps) on each side. Alternate legs to give one side a break.
Prone cobra

The prone cobra is a great core strengthener. Fun fact: core strength refers to both the front and back of your middle section. Many people work their abdominals, but forget to work their posterior chain which is the back of body. The prone cobra helps strengthen the muscles that support your spine, which are absolutely essential for mountain biking.
Starting position: As the name suggests you will start in a prone position, which means, lying on your stomach. Start with your legs relaxed and in a straight position with your arms extended forward past your head.
Progression one: While in the lying position, move your arms to a 90-degree angle starting from your shoulders. This should look something like a goal post, with your face being in the middle, forehead facing the floor. Once you have your arms in the goal-post position, contract your lower back muscles to lift your chest and arms off the ground, keeping them in the goal-post position throughout the move. Your chest, head, and arms should move as one. Hold the top position for a few seconds then return all to the ground as one.
Progression two: Start with progression one. At the top of the chest lift, pull your elbows back toward your sides, and squeeze your shoulder blades together.
Progression three: Repeat progression one and two and lift one leg off the ground at the same time. Hold the top position, lower your leg, and then lift your other leg. You can either alternate leg lifts while holding the chest/arms up, or relax your body into the start position while lifting the chest/arms and one alternate leg at a time. Lower and relax your body completely in between each move.
Progression four: Perform progression one and two and lift both legs at the same time. Completely contract your lower back and glutes to lift your quads slightly off the ground while you also lift your chest and squeeze your shoulder blades together. Hold the top position for a few seconds and relax completely. Repeat for 15-20 reps.
Forward lunge with a twist

Forward lunges are a great exercise to strengthen your leg muscles and glutes for mountain biking. In this instance you will take alternating forward lunges and add a twist toward the forward leg. The twist has the added bonus of body and core stability and is helpful during those times you need to hold a track stand for a few seconds before proceeding with your line.
Starting position: Start in a standing position, feet hip-width apart and a medium step forward. Check your forward leg for alignment; your knees should be in line with the ankle and not over your toes. If you cannot see your toes, push the hip of the forward leg back and sit into your heel. The back leg should have a slight bend and be hovering just above the ground with toes tucked. If your back leg is straight, take a smaller step and try again. In the forward lunge position, keep your head up, gaze forward, chest up and shoulders down and back. This is the starting position of your lunge.
Progression one: Step into the forward lunge with one leg and check your form. Press your forward leg back to a standing position, then repeat with your other leg. You should be feeling tension in your glutes and quads. If you feel a strain in your knee, check your form, press your hip back, and take a smaller step if necessary.
Progression two: Step into your perfect forward lunge and pause for a moment to maintain balance. Keep your back flat, head up, and shoulders down and back. Once balance is established, twist your torso (from the hips up) toward the forward leg. It is helpful to think of your belly button as your guide for the twist and take your gaze in the same direction. As the saying goes “look where you want to go.” This is a slow move, meant for balance and maximum core stability. Control the twist by contracting your abdominal muscles, pause in the twisted position, then untwist, taking your torso, belly button, and gaze forward once again. Press your forward leg back to the standing position. Repeat using your alternate leg.
Progression three: Repeat progression two, while holding a weight of some sort. This can be a hand weight, weighted ball, gallon of milk, full backpack, really anything you can hold while maintaining your balance during the twist. Repeat for 15-20 reps on each leg.
Want to see more body weight or gym moves that will help strengthen your body for mountain biking? Give us a like on the YouTube video or drop a comment below. Thanks for watching and reading, now get your fitness on!


0 Comments