Trails
Reviews
Tips
Community
Deals
Latest
Support
Trails
Find trails
Best bike trails
Destinations
Add a new trail
Reviews
Mountain bike reviews
Components
Tires
Clothing & shoes
Helmets
Accessories
Product news
Community
MTB Clubs
Races & Events
Bike Shops
Tips
Skills
Fitness & Training
Health & Nutrition
Beginners
Repair
Latest Articles
Podcast
Deals
Support Singletracks
Sign in
Create an account
About us
Newsletter signup
Travel
Mountain Bike Trails
How many overnight MTB trips do you have planned in 2025?
15
Mountain Bikes and Gear
MTB Trips: Rental Bike or Bring Your Own?
10
Mountain Bikes and Gear
Pack Up and Explore New Trails with These Travel Picks
Mountain Bike Trails
Where Will You Travel to Ride This Summer?
1
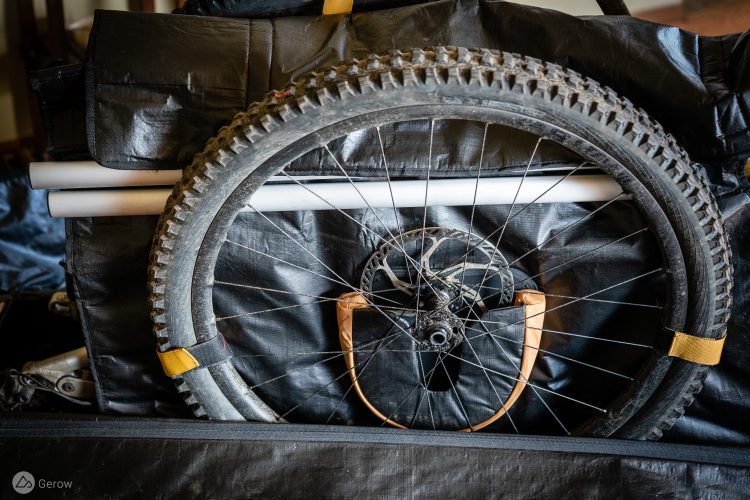
Bike Transport
Thule Roundtrip Bike Travel Bag Has a Repair Stand Hidden Inside [Review]
Italy
A Massive System of Rifugio Huts Facilitates Endless MTB Adventure in the Alps
2
Oregon
Mountain Biking Rad Trails Along the Oregon Coast [Video]
Canada
Canada Border Will Reopen to US for Nonessential Travel (AKA Mountain Biking)
British Columbia
Ride Like a Local: The North Shore [Podcast #296]
1
Mountain Bike Trails
How Far Will You Travel to Go Mountain Biking This Season?
5
Mountain Bike Trails
Have you Explored Any New Bike Trails this Year?
4
Community
The Case for Staying Within 300 Miles of Home for Mountain Biking This Summer
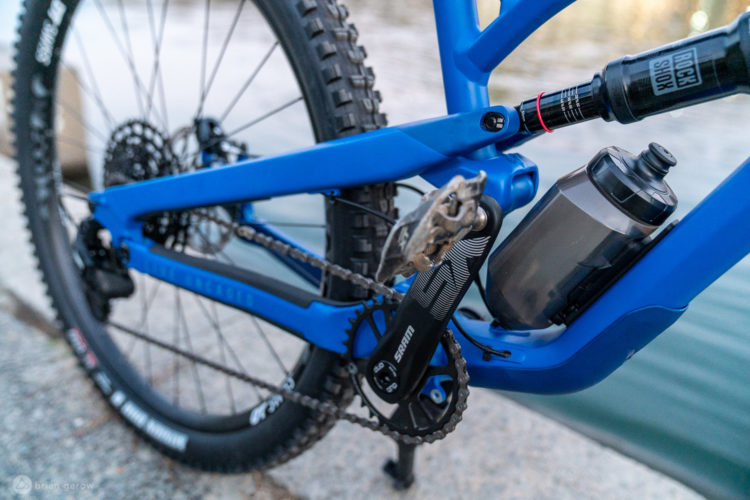
Rear Shocks
How do MTB Frame Engineers Determine Optimal Shock Length and Stroke?
Gear Bags
Fit it All in The Fox Transition Duffle Bag [Review]
Culture
How I Found Community and Self Confidence in Mountain Biking
5
Mountain Bike Trails
The Czech Republic Has Mountain Bike Trails for Everyone, From Family Flow to Gravity Pro
2
Bike Transport
The Dakine Bike Roller Bag Opens Up a Whole New World of Possibilities
4
Mountain Bike Trails
A Panhandle Mountain Bike Ramble in the Land of Famous Potatoes
1
Mountain Bike Trails
Singletracks and Moose Tracks in Moscow, Idaho
Mountain Bike Podcast
Sharing the Mountain Bike Stoke Around the World [Podcast #203]
Sponsored
Palisade, Colorado: Where Your Singletrack Adventure Begins!
Mountain Bike Trails
Worldwide Shredlist: Evo Bike Park, Digne les Baines, France
California
Mountain Biking the 2019 EWS Destinations: We Preview the Trail Riding at Each Stop Around the World
1
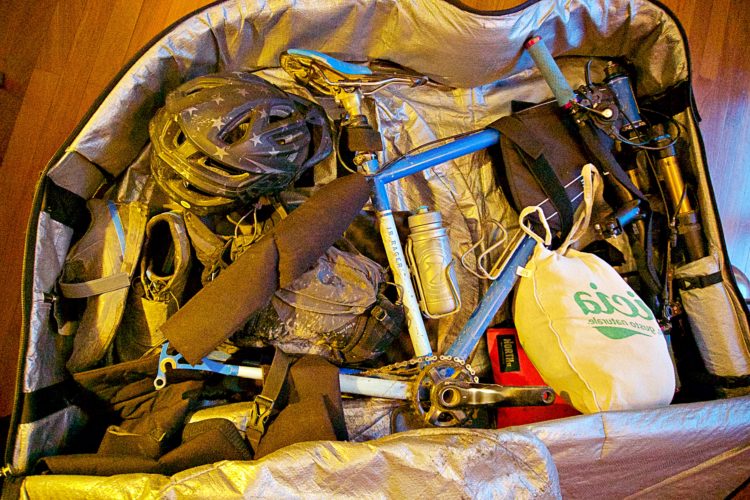
Bike Transport
The Other Bikepacking: How to Pack Your Bike for the Airplane
7
Mountain Bikes and Gear
Fox's New 175mm Transfer Dropper Post Drops Lower Without Raising the Price
1
Mountain Bike Trails
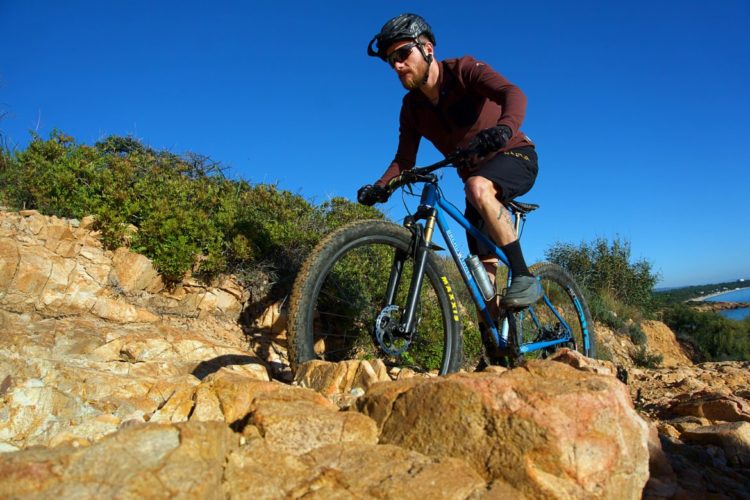
Worldwide Shredlist: The Ever Rugged South Sardinia, Italy
3
Mountain Bike Trails
Watch: On Her Terms // Mountain Biking Iceland
Mountain Bike Podcast
Living the Mountain Biker's Van (or RV) Life [Podcast #174]
1
Community
How to Take a Family Mountain Bike Trip
4
Mountain Bike Trails
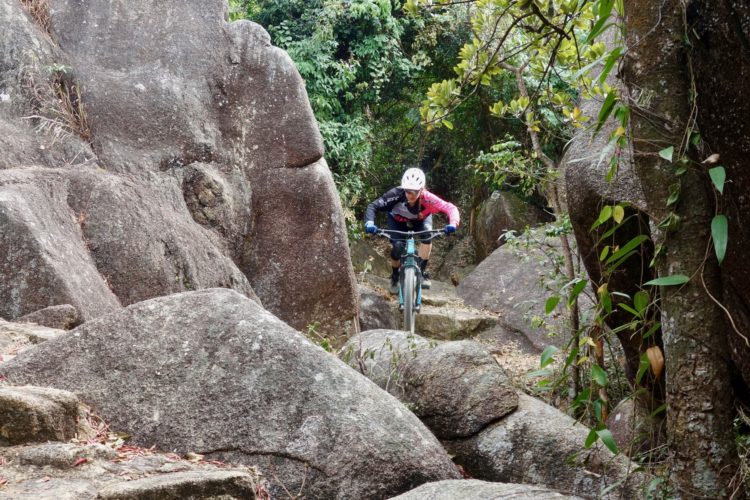
The Secret's Out: Go Mountain Bike Hong Kong
5
Community
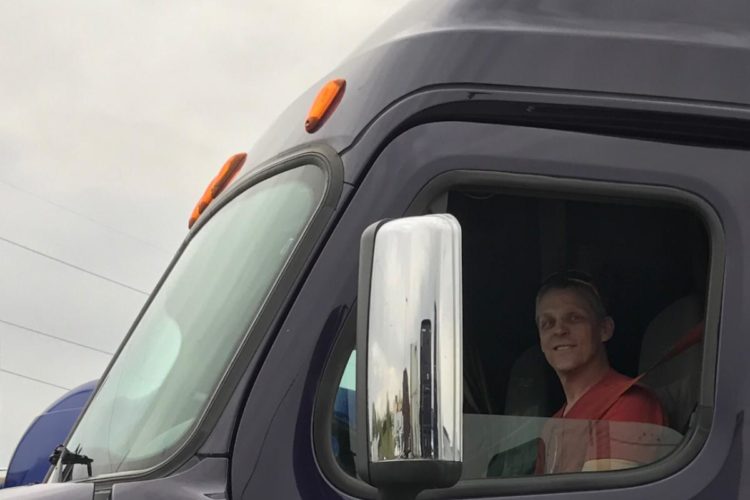
Getting Paid to Hit the Open Road With a Mountain Bike
1
Mountain Bike Trails
Watch: 5 Unexpected Singletrack Surprises Along I-70
1
Mountain Bike Trails
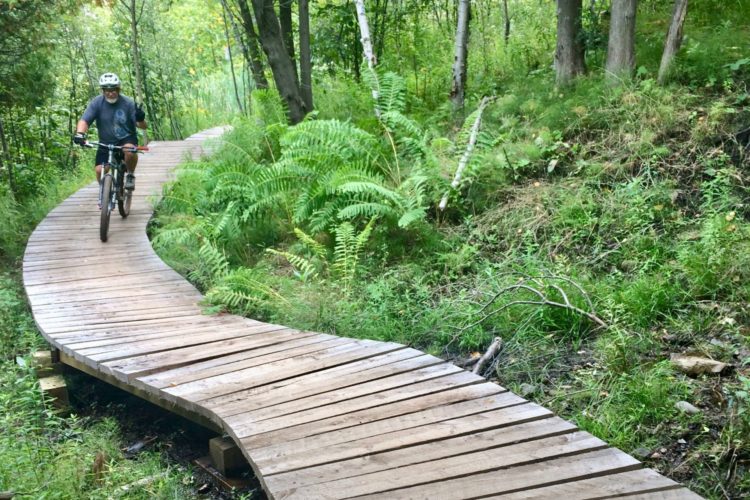
Duluth, MN: An Unexpected Mountain Bike Destination
1
MTB Tips
How to Survive in the Backcountry In an Emergency [Podcast #124]
Mountain Bike Podcast
Singletracks Summer Travel Updates [Podcast #120]
Mountain Bike Trails
Sacred Rides Bring Your Partner Adventures Facilitate Marital Bliss
2
Mountain Bikes and Gear
How To Safely Transport Your Mountain Bikes on a Long Distance Road Trip
4
Mountain Bike Trails
Five2Ride: 5 of the Best Mountain Bike Trails in Kansas
Culture
5 Reasons Why You Should Take a Road Trip this Summer
1
Mountain Bike Trails
Most Popular Mountain Bike Trails in the US and Canada, State-by-State (2017)
Mountain Bike Podcast
How Mountain Bike Tourism Works [Podcast #96]
Mountain Bike Trails
Riding the North Shore... of Oahu: A Day on the Pupukea Trail
3
Mountain Bikes and Gear
Watch: Swagman Patrol Bike Rack Review
4
Culture
20 Rad Airbnbs for Your Next MTB Vacation
4
Mountain Bike Podcast
The Best Destinations for Escaping the Snow and Riding Dry Dirt this Winter [Podcast #84]
4
Mountain Bike Trails
7 Trails Along I-70 That Will Make Your Next Road Trip Rock
1
Culture
MTB Dreams Can Make Your Wildest Singletrack Fantasies Come True
6
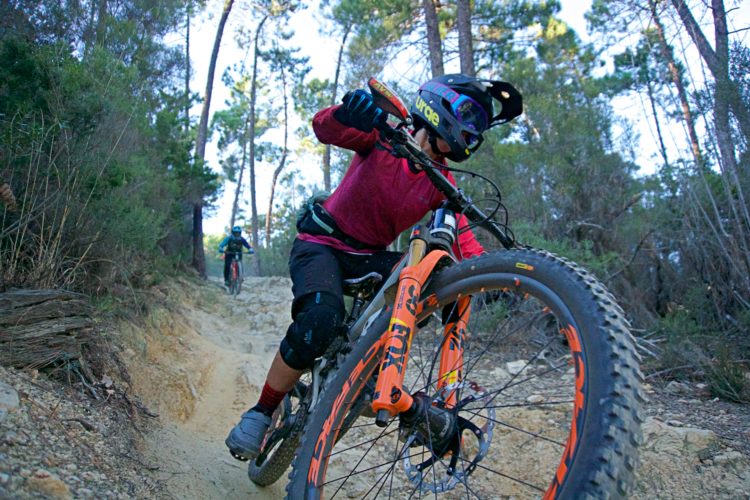
Mountain Bike Podcast
Greg's MTB Trip to Spain [Podcast #72]
1
2
3
»

 15
15