

When it comes to traveling with your mountain bike in North America, the road trip is king. Until gas prices climb back up to astronomical levels, it will almost assuredly be cheaper to drive than to fly. Once you’ve computed gas costs and plane tickets, correct those numbers by comparing the cost of flying or shipping your bike, or renting one in your destination, to just bringing one with you. Factor in the cost of a rental car if you can’t ride right from your accommodation. And then multiply that by the number of people that are on your trip and/or could fit in your vehicle. Finally, consider all of the gear that you can bring–camping gear, extra repair supplies, beer…
Yeah, driving is cheaper.
[see_also id=”214778″][/see_also]
The question is: how do you make sure your mountain bikes stay safe on the long drive across the nation? Whether you’re going east to west or north to south, you want to make sure that your bike arrives safely, ready to ride. Here are my 9 quick tips based on countless days spent crisscrossing the continent with bikes on the back of my vehicle, making mistakes so you don’t have to.
1. Put the bikes inside the vehicle if at all possible.
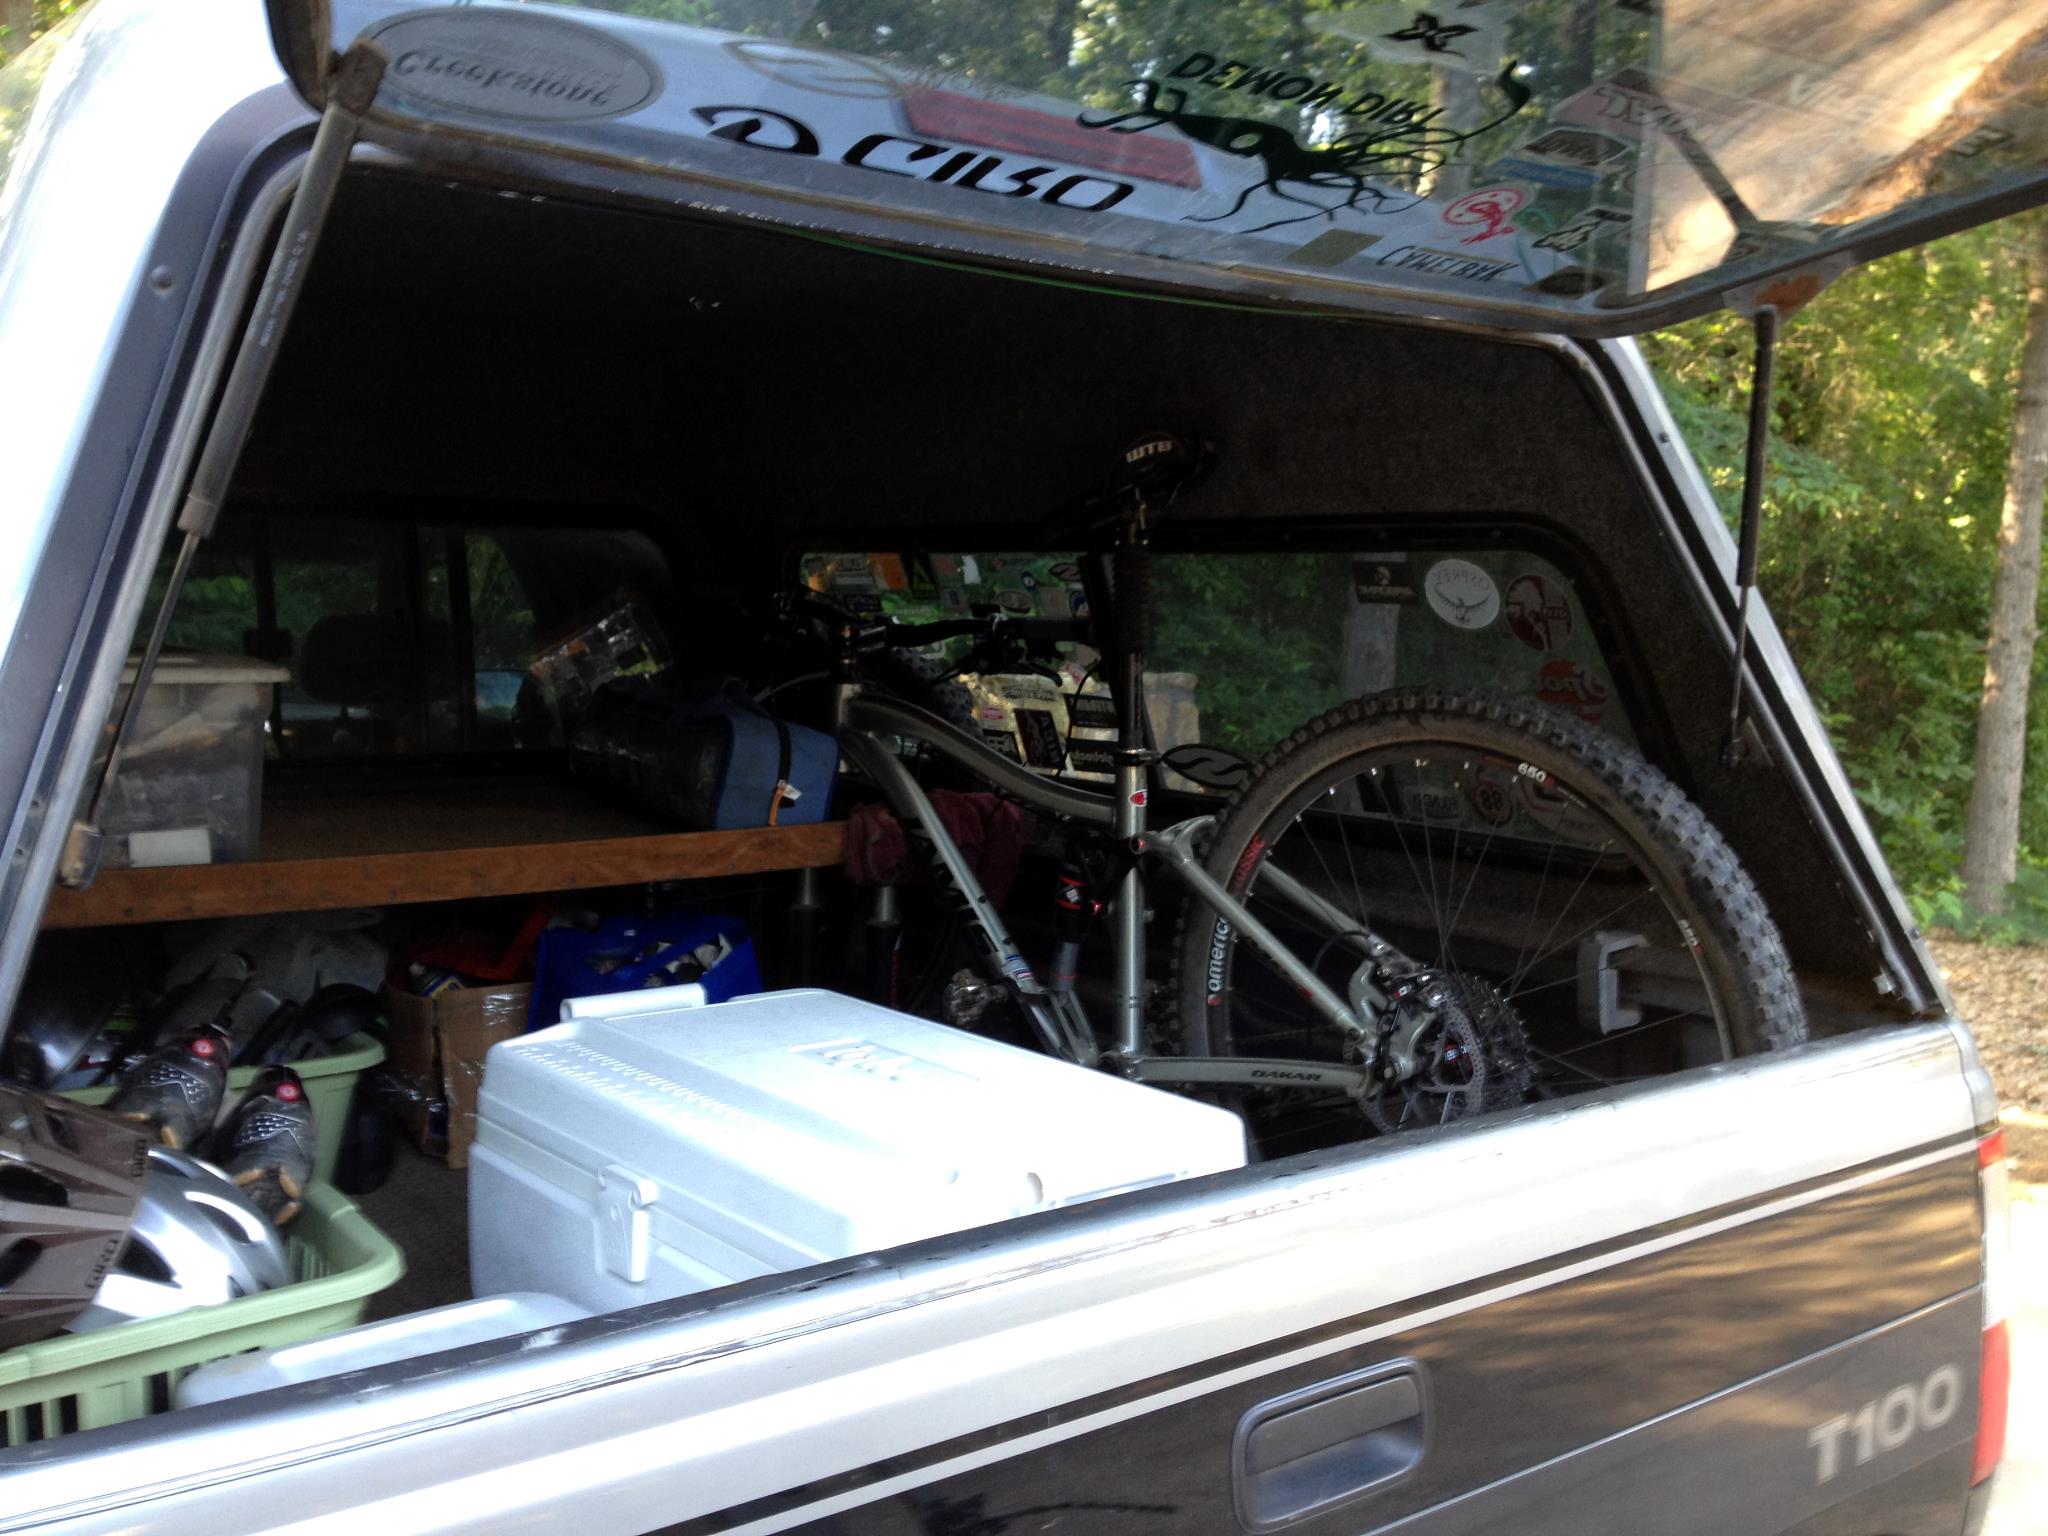
If you’re able to transport all of the bikes inside the vehicle, it eliminates almost all of the other points on this list. For years I had a Toyota T100 pickup truck with a topper, and I created a bike carrying system that allowed me to easily haul two bikes in the back while still saving most of the bed space for gear. This was far and away the best long distance bike hauling system I’ve ever used.
If you’re able to accomplish this one tip, you effectively don’t have to worry about numbers 2, 4, 5, 6, 7, or 8 below.
Pro tip: Don’t rule out more pedestrian vehicles like the lowly minivan–these can be great for hauling bikes inside if you take out a seat or two. I’ve seen moto guys not only haul a dirt bike inside a minivan, but also still have enough space for a twin bed.
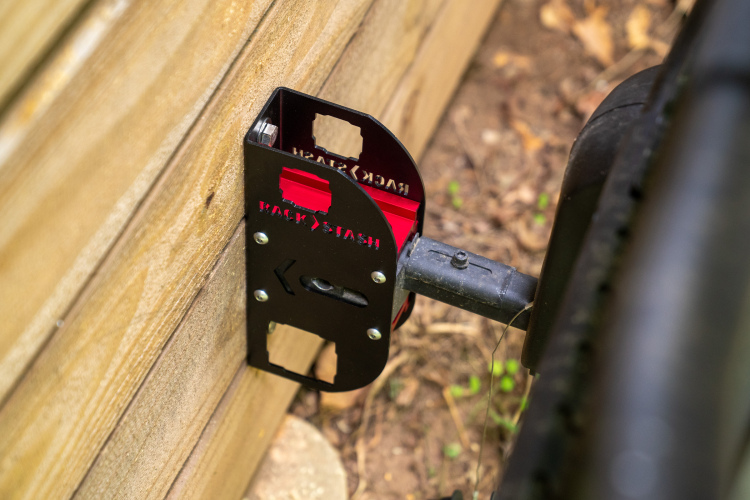
2. A quality bike rack is worth its weight in gold.

If you’re taking any sort of road trip that’s more than an hour or two, investing in a quality bike rack will help make almost all of the other bullet points on this list radically easier to accomplish.
Pro tip: I recommend a tray-style hitch rack, similar to the one pictured above.
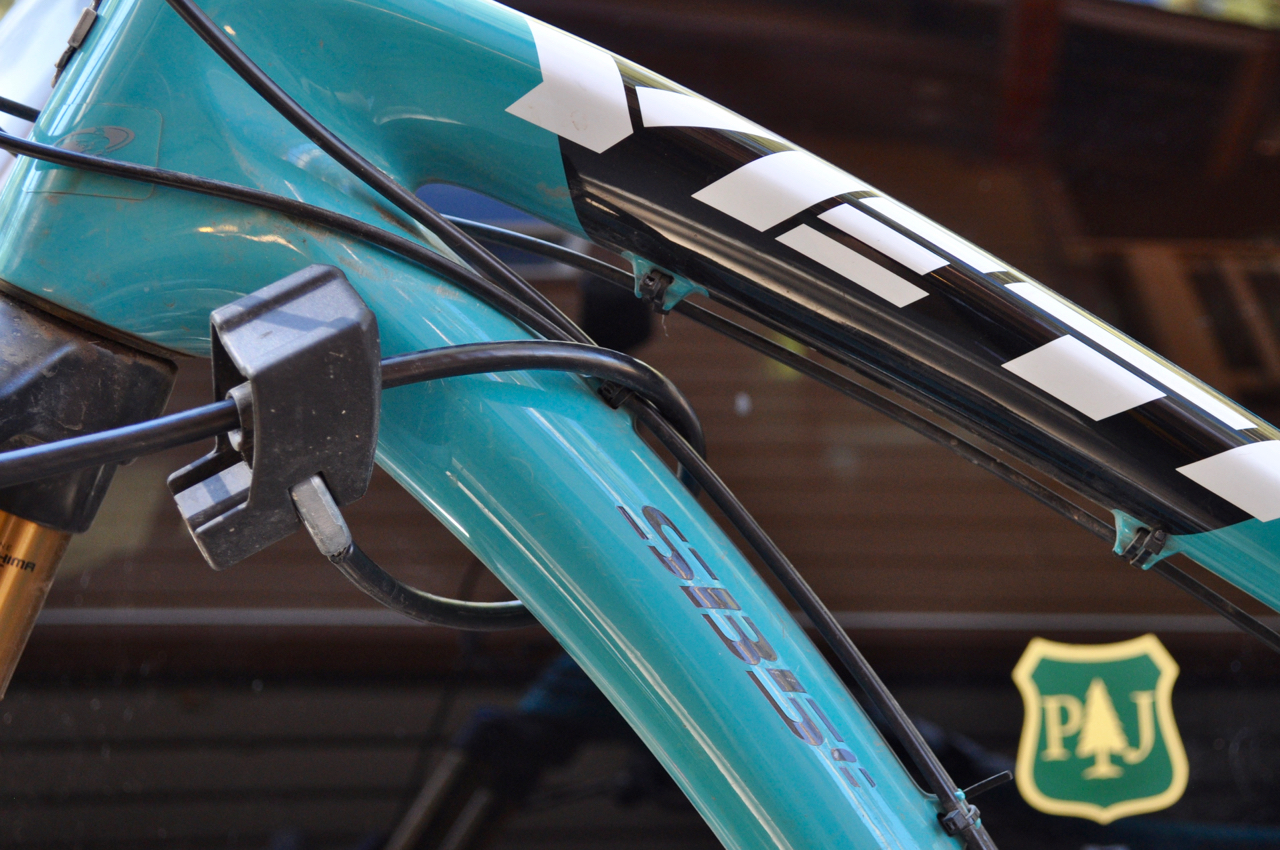
3. Make sure the bikes don’t touch anything at all.

Ahh, the bike rack is already starting to pay off!
If your bikes are touching anything at all–be it slightly touching another bike, leaning against a metal bar in the bed of a truck, or something else–the vibrations of driving down the interstate for thousands of miles will wear straight through the metal or (gasp) carbon that’s in contact. This can cause hundreds or even thousands of dollars of bike damage. A quality bike rack will hold the bike onto your vehicle by only touching the rubber tires. Even if the bike rack’s arm touches the fork a bit, generally the contact point on the arm is also soft rubber, meant to degrade before your bike does.
Pro tip: If there are unavoidable points of contact, use bubble wrap, rags, or some other form of protection to keep the bikes from wearing.
4. No bikes on the roof.

While you can purchase a quality roof rack, I advise against using it for a long distance road trip. For one, it will seriously degrade your gas mileage, especially if you’re cooking across the Great Plains at 80+mph. But secondly, keeping your bikes behind the vehicle protects them from bug gunk and other nastiness that they’ll pick up on the roof.
Pro tip: Don’t drive underneath a low overhang with bikes on your roof.
5. Lock your bike, and be especially careful when stopped for the night.
Most quality bike racks include some sort of locking system–generally cables for a tray-style hitch rack. I recommend locking your bike on the rack for the duration of your trip, which means you don’t have to worry about it when running into the gas station to use the facilities.
However, when you stop for the night, you should consider extra precautions. If at all possible, wheel your bikes into your motel room or other lodging for the night. While this keeps them safe from possible bike thieves, it also protects them from any inclement weather that might roll through in the night.
Pro tip 1: Book a motel room with a ground level outside door. Then, you can generally back your vehicle right up to the motel room door, easily allowing you to unload your bikes and put them in your room.
Pro tip 2: Ask for forgiveness, not permission, when it comes to putting your bikes in your motel room. Odds are good that your bikes collectively cost more than the vehicle you’re using to haul them, so do whatever you need to do to make sure they don’t wander off in the sketchy interstate town you stopped in. Finally, if you maintain your bikes well, keeping them nice and clean, and follow pro tip 1, nobody will be the wiser anyway.
6. Watch the weather carefully, and time your travels for rain and snow-free windows.
After road vibration, the #1 factor that can damage your bike in transport is the weather. I’ve had bikes covered in thick, wet snow and road salt that resulted in significant rust and degradation. These days, I always try to time my long-distance road trips for weather-free days… but if you’re operating on a limited timeframe, or you’re driving across the entire nation with varying weather conditions along the way, or you’re on the road indefinitely, it can be very difficult to avoid inclement weather.
Sometimes if a big weather system is coming through it’s pretty obvious on the radar, and you may be able to adjust your route or timing. If you can travel when it’s not raining or snowing, your mountain bike will thank you!
Pro tip: I recommend Weather Underground for quality forecasts and a radar map on your smartphone.
7. Try to protect your bike as much as possible if it is snowing or raining.
If the snow or rain is unavoidable, I try to protect my bike as much as possible. Generally I resort to covering sensitive bits like the handlebar controls, drivetrain, etc. with trash bags, duct taping them shut.
Unfortunately, this generally doesn’t help very much. The wind will inevitably rip the bags apart, especially if you’re driving for multiple hours per day.
Pro tip: Tarps don’t work well at all for this job, and will also flap and rip apart.
This is why you should…
8. Wash and lube your bike once you get to your destination.

A soaked bike is sometimes unavoidable, so the best thing you can do is to wash and lube it immediately upon arrival in your destination. Washing it will get rid of the salt or grime from the road, preventing further corrosion. Then, lube all the parts you normally would… and presto, your bike is back to normal!
[see_also id=”190997″][/see_also]
Leaving your bike to sit for days, covered in nastiness from the road, is a recipe for corrosion.
Pro tip: I recommend Squirt chain lube for long-lasting protection.
9. Check suspension sag and tire pressures upon arrival.
Changes in elevation and air temperature can affect suspension sag and tire pressures. I’ve fielded numerous questions about this issue, but the reality is that you just need to check where your pressures once you arrive at your destination, and reset them to your normal levels. Whether you’re going up in elevation, going down, etc., just ensure that your settings are the same, and either add or remove pressure if they aren’t.
[see_also id=”196202″][/see_also]
Pro tip: Write down your ideal front and rear tire pressures, fork, and shock pressures before you leave. A quality electronic tire pressure gauge helps with getting accurate readings for the tires.
Your Turn: Do you have any long distance mountain bike hauling tips? Share them in the comments section below!


4 Comments
Jul 22, 2017
As I'm planning a road trip front Ontario to Arizona next Jan
Thanks
Jul 21, 2017
Thanks for a thorough report!
Jul 18, 2017
We had planned on carrying our bikes across country until we discovered that our suv wouldn't come with a bumper hitch. Ultimately, we decided it would be less hassle to just rent bikes (since we didn't have room inside the vehicle to carry bikes, camping gear, food, and transport the dog).
Enjoyed the article Greg!
Jul 18, 2017
Just be sure you keep all your interior loads secure.