Trails
Reviews
Tips
Community
Deals
Latest
Support
Trails
Find trails
Best bike trails
Destinations
Add a new trail
Reviews
Mountain bike reviews
Components
Tires
Clothing & shoes
Helmets
Accessories
Product news
Community
MTB Clubs
Races & Events
Bike Shops
Tips
Skills
Fitness & Training
Health & Nutrition
Beginners
Repair
Latest Articles
Podcast
Deals
Support Singletracks
Sign in
Create an account
About us
Newsletter signup
Tire
Tires
What is the Most Important Thing You Look for in a MTB Tire?
6
Community
MTB Wheels and Tires for Gravity & Trail Riding
Tires
How Do MTB Tires Grip? We Asked the Rubber Engineers at Specialized Bicycles
6
Tires
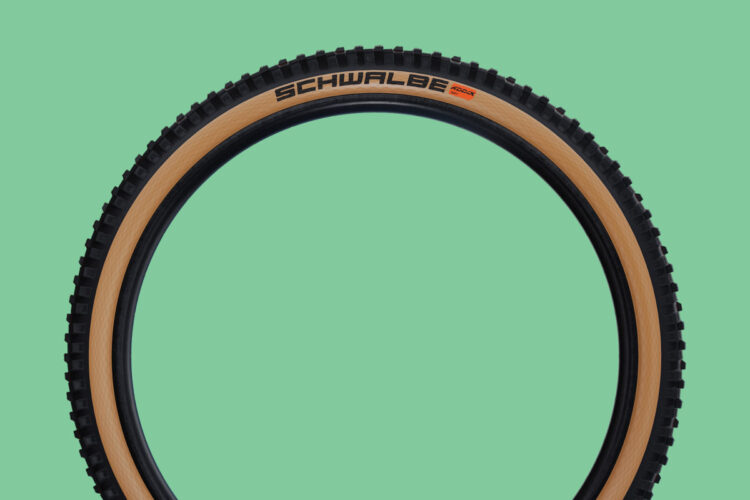
Schwalbe Simplifies MTB Tire Casing Lineup, Updates Big Betty and Nobby Nic Treads
1
Tires
Pirelli Makes eMTB-Specific Tires with HyperWALL
Tires
Vittoria Mazza Mixed Terrain Mountain Bike Tire [Review]
1
Tire Inserts
Ken Avery from Vittoria Talks Mountain Bike Tires [Podcast #249]
Tires
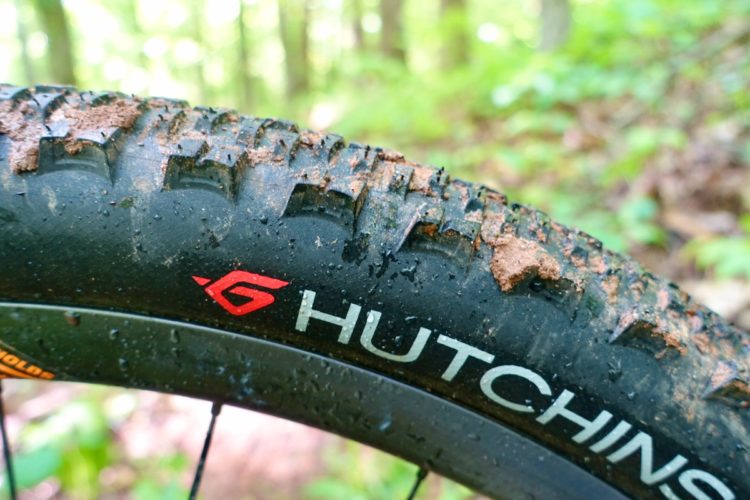
The Hutchinson Kraken MTB Tire is a Fast Roller, Corners Well [Review]
Tires
Vee Snap Trail Tire Offers Gravity Tread in a Lighter Package [Review]
1
Tires
Grippiest MTB Tires of the Year: Continental Der Baron and Der Kaiser Combo [Review]
3
Tires
Teravail Honcho is a True All-Around Mountain Bike Trail Tire [Review]
11
Tire Inserts
New Pro and XC Mountain Bike Tire Inserts from Cushcore Protect with Pleasure, but Aren't Without Pain [Review]
5
Mountain Bikes and Gear
Kenda Regolith Pro Trail Tire is Versatile, but not Quite a Quiver-Killing Mountain Bike Tire
2
Mountain Bikes and Gear
The Kenda Hellkat Pro Gravity Tire Sinks Its Claws Into the Earth for Superb Grip [Review]
Culture
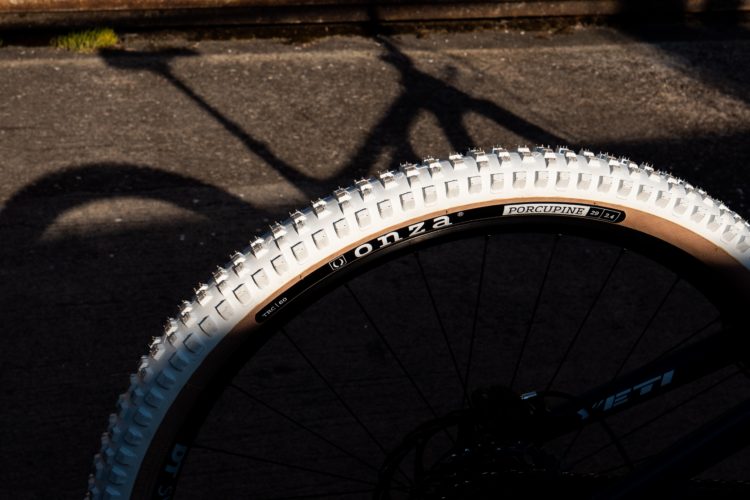
Onza Porcupine Mountain Bike Tires Are Back in Black...and White
1
Tires
Review: Pirelli Scorpion MTB R is a Solid Choice For Rear Tire Speed and Grip
Mountain Bikes and Gear
Could the Dissector be the New Go-to Mountain Bike Tire from Maxxis?
7
Mountain Bike Podcast
Mountain Bike Tires Explained, From Widths and Sealants to Inserts [Podcast #207]
Mountain Bikes and Gear
Review: Vee Rail Escape Trail Tire is High on Grip, Low on Price
1
Mountain Bikes and Gear
New Hutchinson Griffus Mountain Bike Tire is Made to Win Enduro Races
Mountain Bikes and Gear
Review: Vee Snap WCE World Cup Downhill Tires Are Grippy and Burly, But Heavy
Mountain Bikes and Gear
Review: e*thirteen LG1 EN Semi-Slick Tire Boasts Grippy Corners With a Ripping Fast Center
8
Mountain Bikes and Gear
New e*thirteen S/S is a Semi Slick Mountain Bike Tire
Mountain Bikes and Gear
Review: The Vittoria Martello is an Aggressive 29er MTB Tire
Mountain Bikes and Gear
Goodyear Introducing All-New, High Performance Line of Mountain Bike Tires
2
Mountain Bikes and Gear
Finish Line Claims New Mountain Bike Tire Sealant Will Never Dry Out
8
Mountain Bikes and Gear
Terrene Tires McFly 27.5+ Review
Tires
Terrene Cake Eater Fat Bike Tire Review
1
Culture
e*thirteen Beefs Up New TRS and LG1 Tires
Mountain Bikes and Gear
4 Michelin Wild AM Tires Were Sacrificed During this Review
3
Culture
Innova Shows Integrated Tubeless Tech: Half Tubed, Half Tubeless Tire
Culture
Over a Beer: 5 Reasons Why Plus-Size Tires Are Overrated
50
Mountain Bikes and Gear
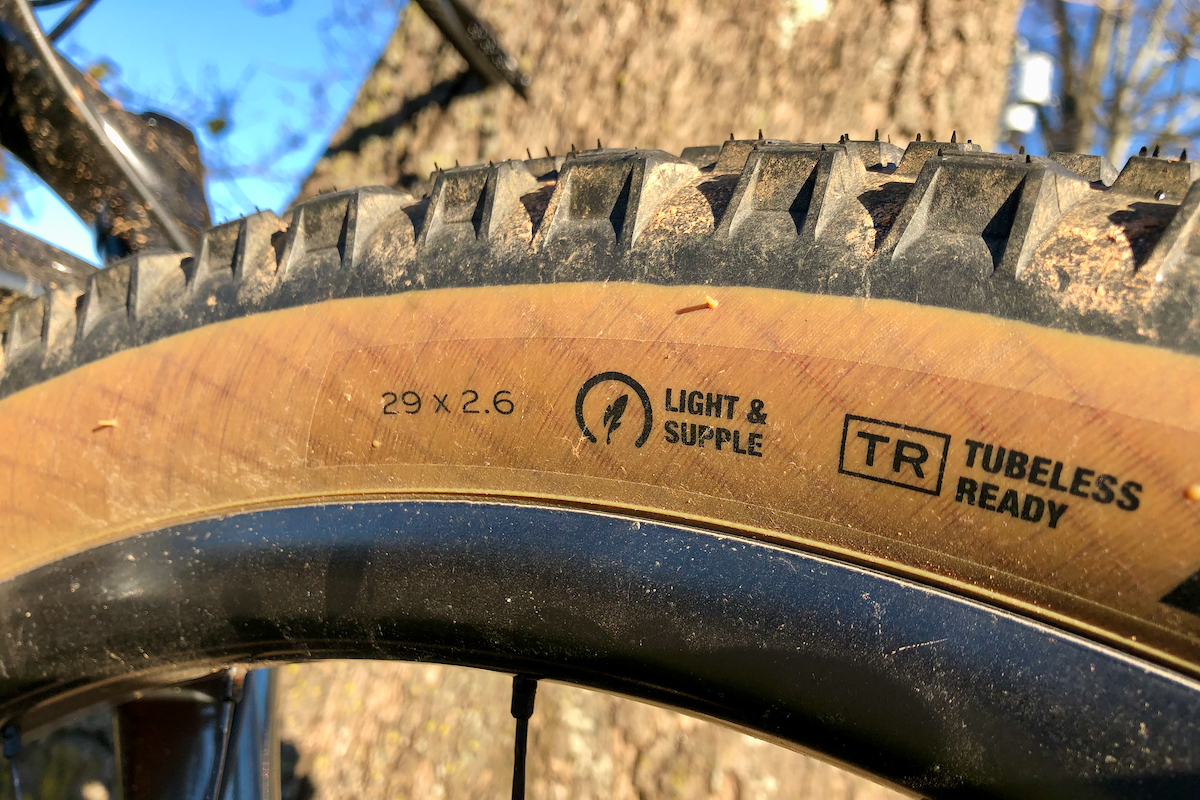
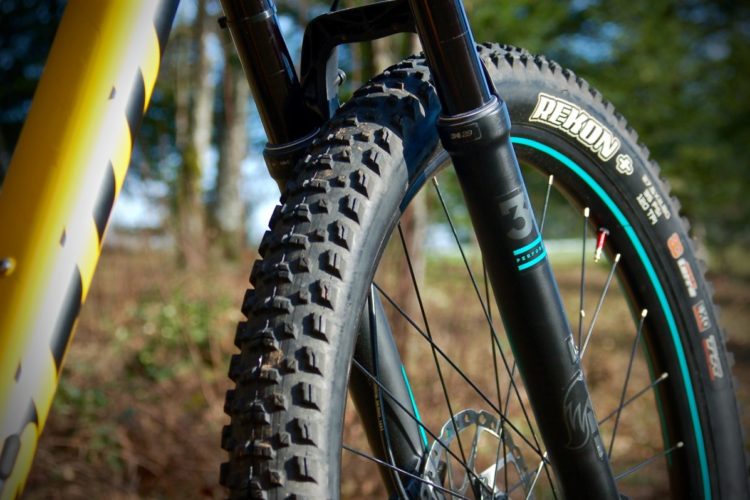
Are 2.6" Tires the Sweet Spot? Maxxis Rekon 2.6" Tire Review
13
Culture
Terrene Releases New Plus Tire: The "McFly"
1
Culture
Vittoria's Fast-Rolling Mud Tire is a Rotating Oxymoron
Culture
Teravail Shows Brand New Bikepacking, Aggressive 27.5+ Mountain Bike Tires
Mountain Bikes and Gear
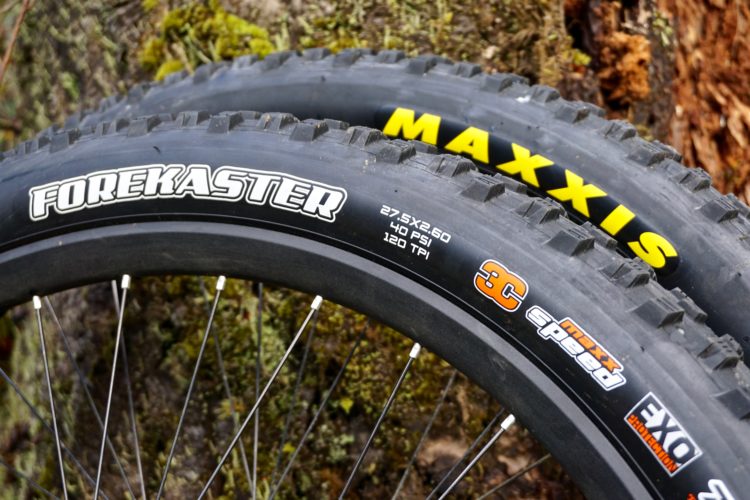
Maxxis Forekaster 2.6" Tire Review
4
Culture
All Mountain? I Don't Think So! The New Michelin Force AM Tire, Reviewed
5
Tires
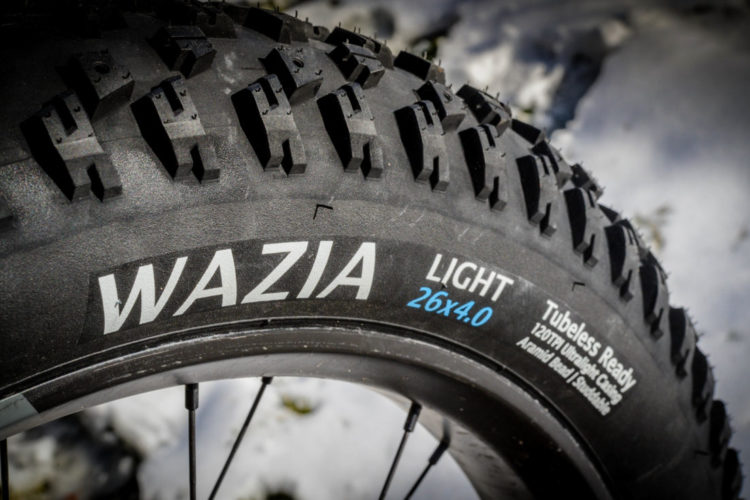
Terrene Wazia Fat Bike Tire Review
4
Culture
Over a Beer: Brands, Please Stop Speccing Useless Tires on Mountain Bikes
22
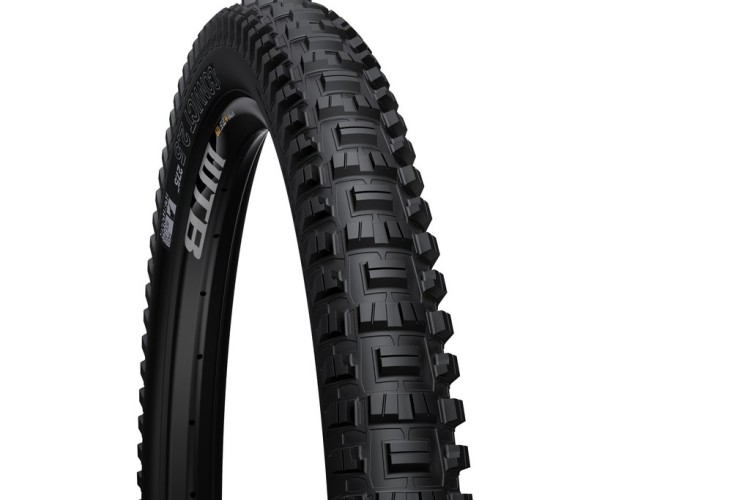
Culture
WTB Releases New Convict Gravity Tire
Culture
WTB's First 29+ Tire Offers Trail Performance and Durability
Tires
Maxxis Mammoth 4" Fat Bike Tire Review
5
Tires
News: Panaracer Announces Fat B Nimble Tires for your Fat Bike
Mountain Bikes and Gear
Review: 45NRTH 26x4.0 Vanhelga Fat Bike Tires
3
Mountain Bikes and Gear
Review: Continental Mountain King Tires: Black Chili Protection Series
15
Mountain Bikes and Gear
Review: WTB Vigilante 27.5 Tires
1
Tires
Review: Origin8 Devist-8er Ultralight Fat Bike Tire
1
1
2
»

 6
6