Trails
Reviews
Tips
Community
Deals
Latest
Support
Trails
Find trails
Best bike trails
Destinations
Add a new trail
Reviews
Mountain bike reviews
Components
Tires
Clothing & shoes
Helmets
Accessories
Product news
Community
MTB Clubs
Races & Events
Bike Shops
Tips
Skills
Fitness & Training
Health & Nutrition
Beginners
Repair
Latest Articles
Podcast
Deals
Support Singletracks
Sign in
Create an account
About us
Newsletter signup
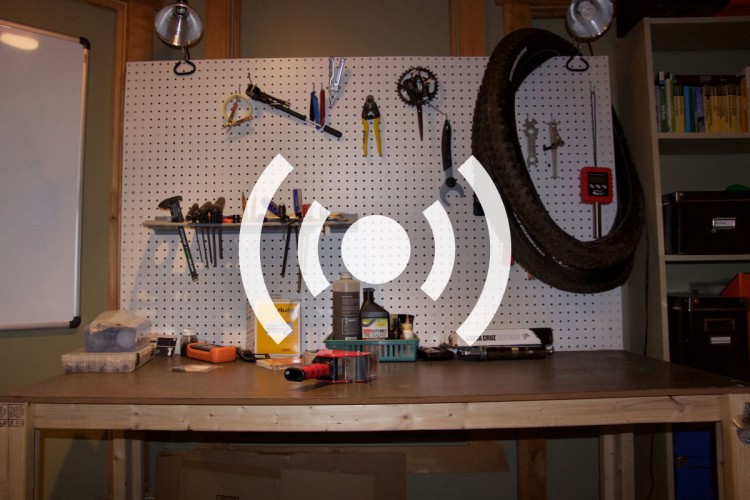
Maintenance
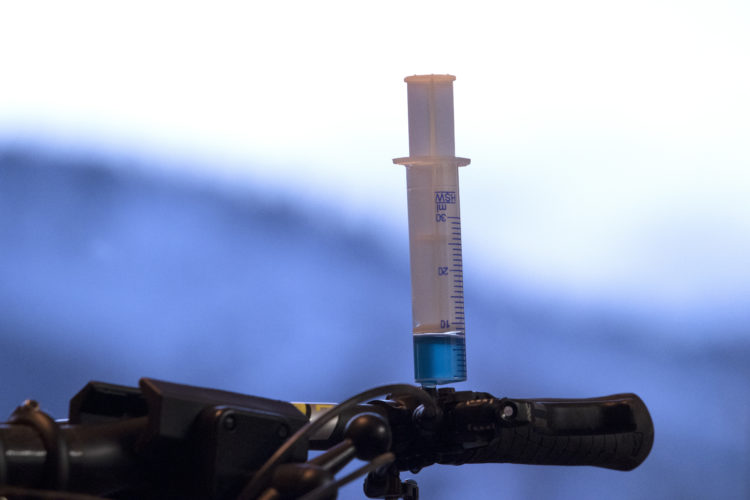
Tire Sealants
How often do you top off your tire sealant?
12
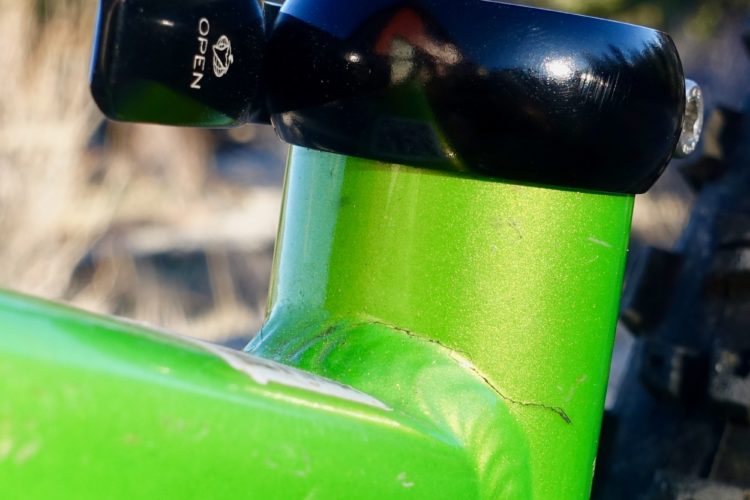
Mountain Bikes and Gear
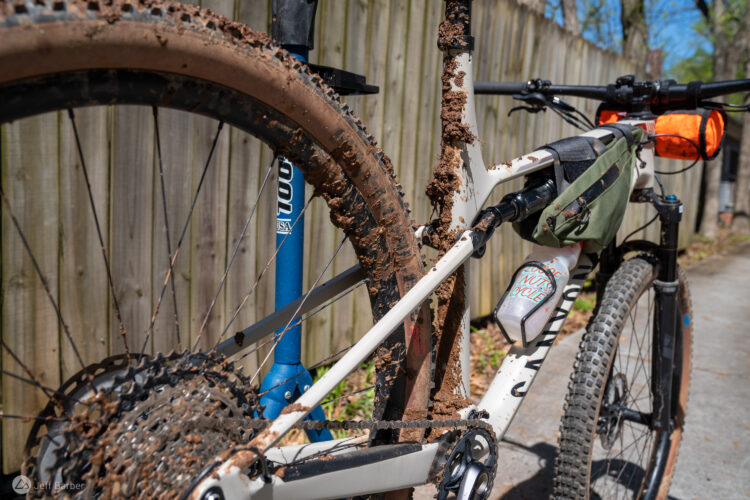
How Often do you Wash Your Mountain Bike?
5
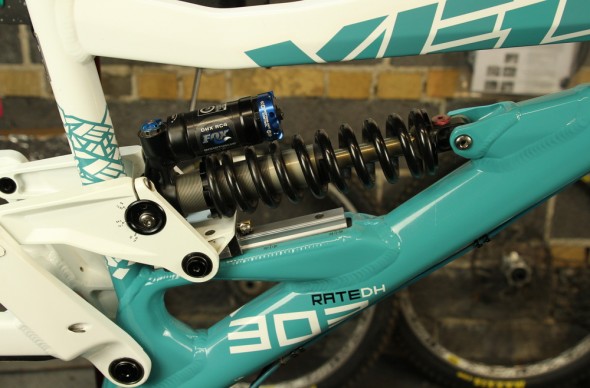
Suspension
How Often do you Service Your MTB Suspension?
10
Mountain Bikes and Gear
E-bike Repair and Maintenance: How to Diagnose and Solve Common Electric Bike Problems
8
Mountain Bikes and Gear
What's Your Least Favorite Bike Maintenance Task?
11
Brakes
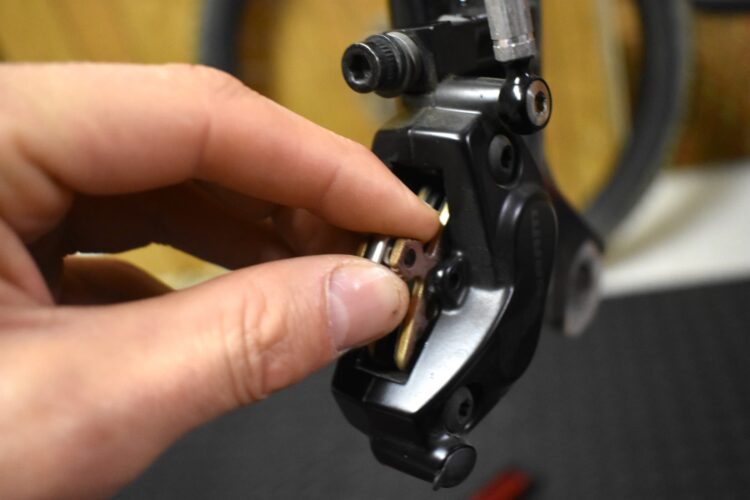
Quick and Easy MTB Brake Caliper Service: Hold the Lube!
6
Dropper Posts
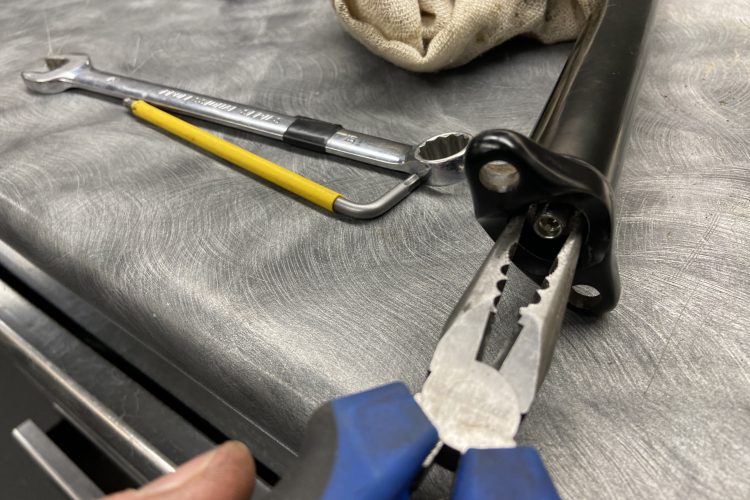
How to Rebuild a Cartridge Dropper Post
1
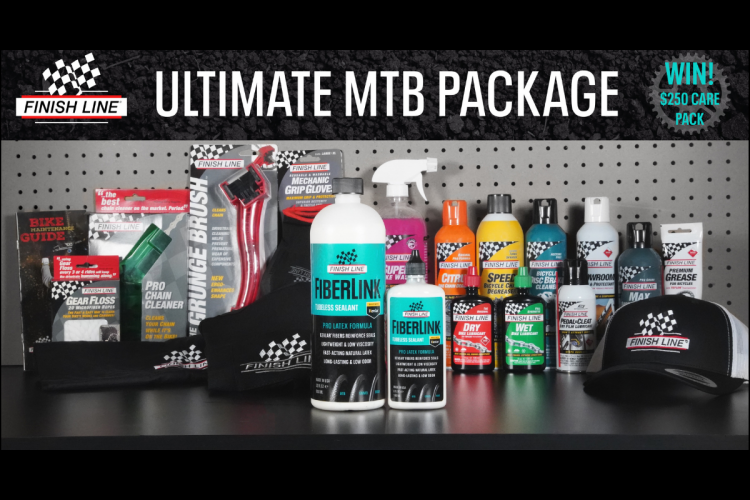
Sponsored
Giveaway: Finish Line Ultimate Mountain Bike Maintenance Package
Mountain Bikes and Gear
What Are You Always Replacing on Your Mountain Bike?
17
Brakes
How do I Replace my Disc Brake Pads? [Quick Question]
Lubes & Cleaners
MTB Lube Theory: Which Oil or Grease Goes Where? We Asked a World Cup Mechanic
12
Brakes
How Often do you Bleed Your Hydraulic MTB Brakes?
6
Mountain Bikes and Gear
5 Things You Can Do To Stop Rust Or Corrosion From Ruining Your Mountain Bike
1
Culture
Squeaks and Creaks: Ride On, or Seek and Destroy? [Survey]
12
Culture
Which Mountain Bike Component Gives You the Most Trouble?
20
Culture
IMBA Europe Receives Funding for a Trail Builder Training Project
Derailleur
How to Service Your Shimano Derailleur Clutch
22
MTB Tips
5 Keys To A Healthier, Longer-Lasting Mountain Bike
8
MTB Tips
9 Tips for Mountain Biking on a Budget, Some of Which Were Learned the Hard Way
13
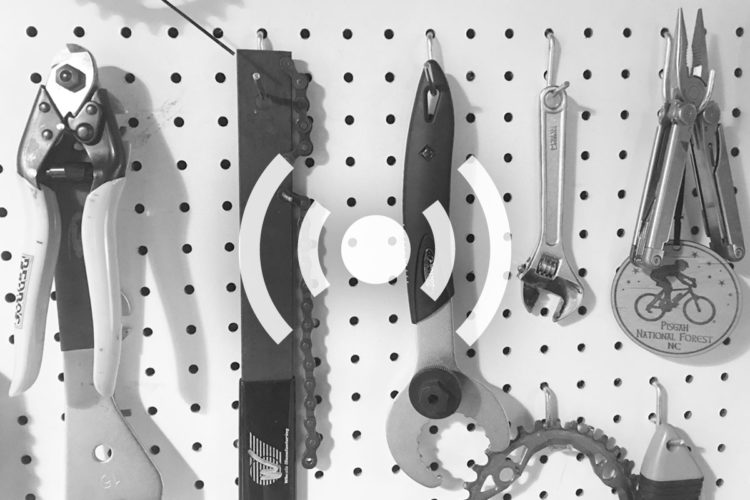
Tools
The Milkit Tubeless Valve System Makes Filling, Checking Sealant Levels a Cinch
5
Mountain Bike Podcast
Why You Should Stop Putting off Mountain Bike Maintenance [Podcast #140]
Mountain Bikes and Gear
Mountain Bike Product Warranties Don't Cover as Much as You Think They Do
7
Mountain Bike Trails
Watch: Reopening Virginia Key Bike Trails After Hurricane Irma
Tools
The Tools You Need to Work on Your Mountain Bike [Podcast #125]
1
Mountain Bikes and Gear
Watch: Two Tips for Making Your Bike Shine
1
Mountain Bike Trails
Why You Should Keep Singletrack Single
4
Mountain Bikes and Gear
Restoring the Peace - 9 Ways to Quiet Your Mountain Bike
1
Culture
Over a Beer: Rutting Up Trails Is an Act of Pure Selfishness
20
Mountain Bikes and Gear
6 Reasons Why You Should Repair or Upgrade Your Mountain Bike During the Winter
3
Mountain Bikes and Gear
Keep Your MTB Running Smoothly: 5 Things a Pro Mechanic Thinks You Should Know
7
Lubes & Cleaners
How To Lube Your Bike Chain: A Beginner's Guide
24
Mountain Bike Podcast
Get Your Mountain Bike Ready for Spring! [Podcast #41]
Mountain Bikes and Gear
The Importance of the Pre-Race Shakedown
1
Mountain Bikes and Gear
How To Prevent Scratches on a Budget
5
Community
Ask a Pro: Off-Season Mountain Bike Maintenance
2
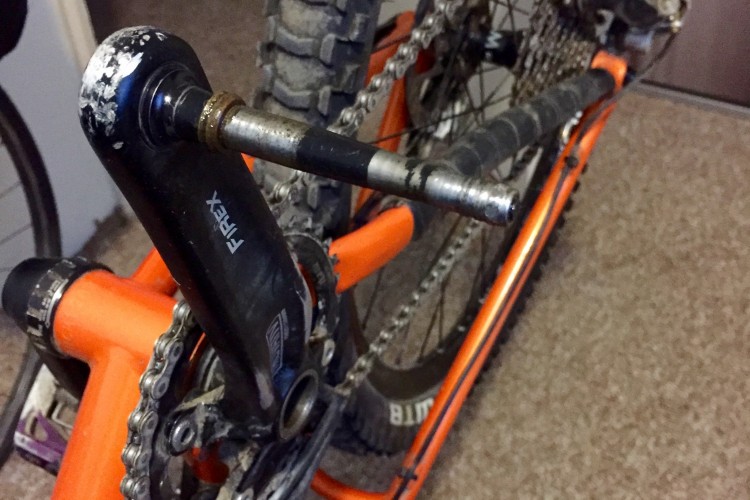
Mountain Bikes and Gear
How To Service, Repair, and Replace Your Bottom Bracket
1
Mountain Bikes and Gear
How To Destroy Your Bike in 5 Easy Steps
5
Mountain Bikes and Gear
How To: Basic Bike Maintenance for Beginners
5
Mountain Bikes and Gear
Mountain Bike Spring Cleaning, Part 2: Drivetrain, Pivots, and Brake Maintenance
1
Mountain Bikes and Gear
Mountain Bike Spring Cleaning, Part 1: Washing and Fork Maintenance
3
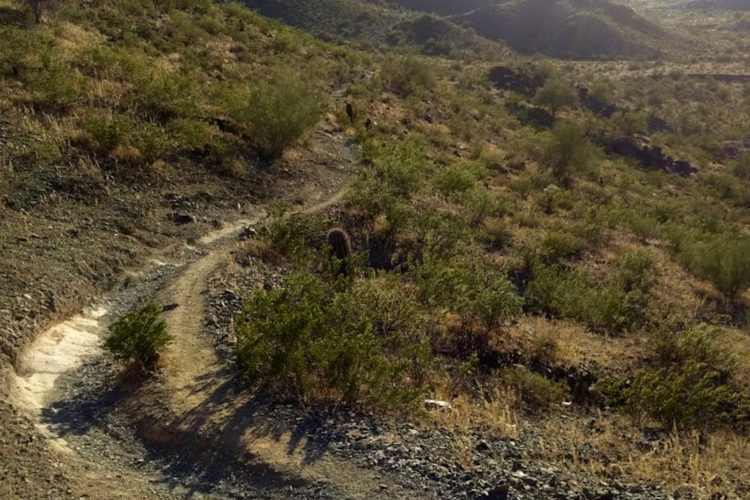
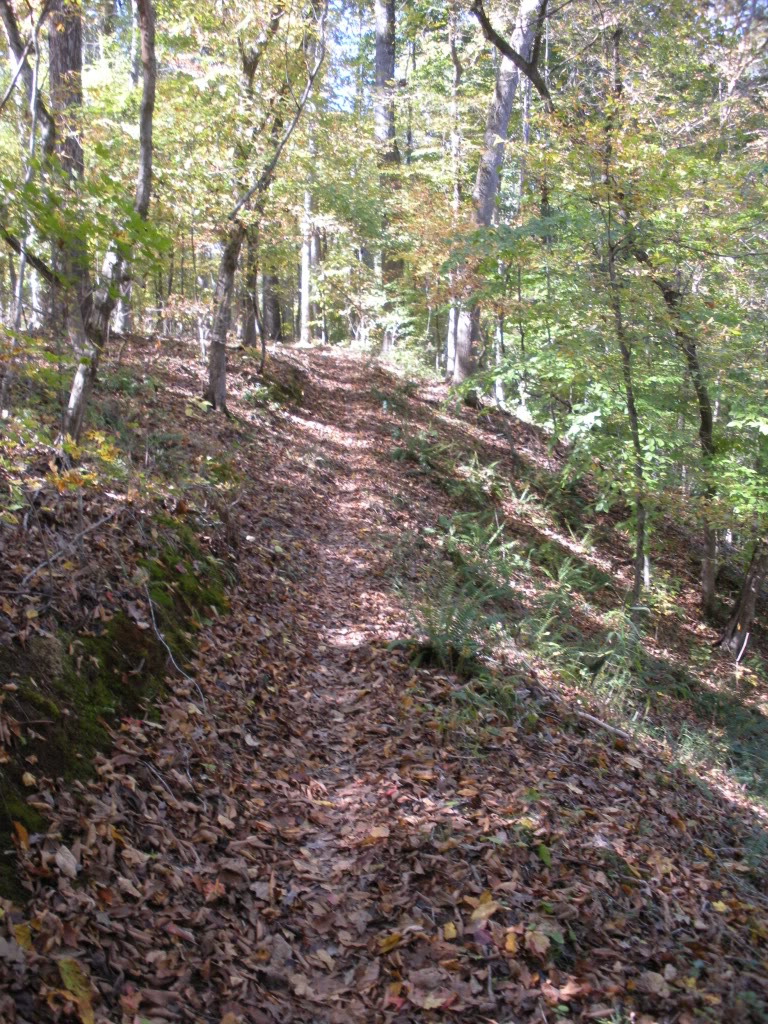
Mountain Bike Trails
Mountain Bike Trail Maintenance 101
5
Mountain Bikes and Gear
Dialing Your Mountain Bike in for Fall and Winter Riding
9
Mountain Bikes and Gear
Book Review: Bicycle Maintenance & Repair (6th Edition)
7
Mountain Bikes and Gear
Motorex Lubricants For Your Mountain Bike
Mountain Bikes and Gear
Mountain Bike Fork Servicing (Manitou)
12
Tools
The Essential Tools for DIY Mountain Bike Mechanics
4
Mountain Bikes and Gear
SRAM MTB Tech Channel on YouTube
Mountain Bikes and Gear
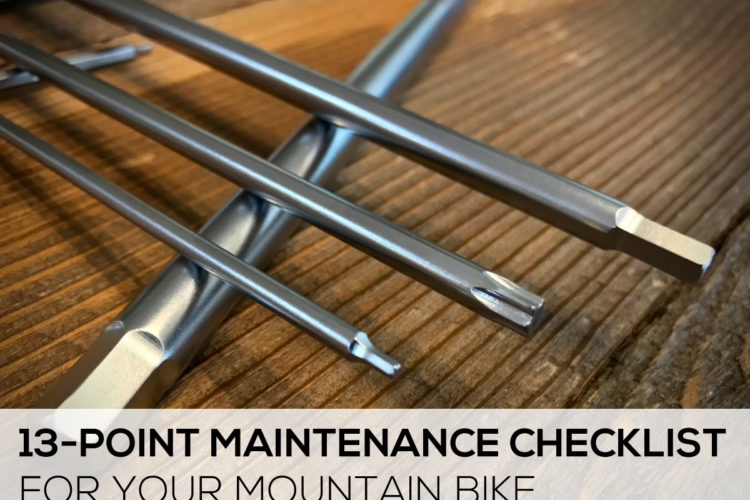
13-Point Mountain Bike Maintenance Checklist
10

 12
12