Trails
Reviews
Tips
Community
Deals
Latest
Support
Trails
Find trails
Best bike trails
Destinations
Add a new trail
Reviews
Mountain bike reviews
Components
Tires
Clothing & shoes
Helmets
Accessories
Product news
Community
MTB Clubs
Races & Events
Bike Shops
Tips
Skills
Fitness & Training
Health & Nutrition
Beginners
Repair
Latest Articles
Podcast
Deals
Support Singletracks
Sign in
Create an account
About us
Newsletter signup
Forks
Forks
Fox Gives the 34 Fork a Grip2 Damper, Updates the DPX2 Rear Shock, and the Transfer Dropper Post
Forks
Cane Creek Helm Works Series 130 Mountain Bike Fork [Review]
1
Mountain Bikes and Gear
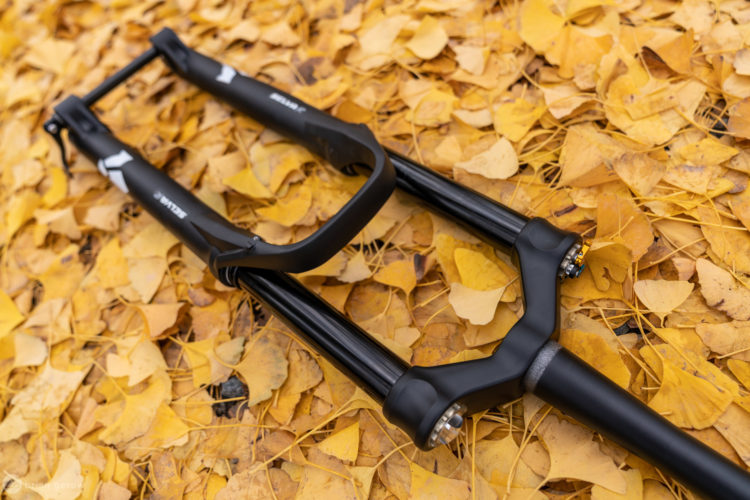
The Diamond D1 Fork From DVO Promises Generous Suspension and Customer Support [In for Test]
2
Forks
The Sleek Cane Creek Helm Air Fork is a Legit Workhorse on the Trail [Review]
1
Mountain Bikes and Gear
In for Test: Formula Selva R Mountain Bike Fork and Cura 4 Brakes
3
Culture
Giant Announces First Mountain Bike Suspension Fork, the Crest 34
1
Mountain Bikes and Gear
Trust Adds the Shout, a Long Travel Linkage Fork for Mountain Bikes
1
Forks
First Ride: The Unusual-Looking SCW1 Front End Linkage Mountain Bike
16
Mountain Bikes and Gear
The ShockPro App Tells You When It's Time For MTB Suspension Service
Forks
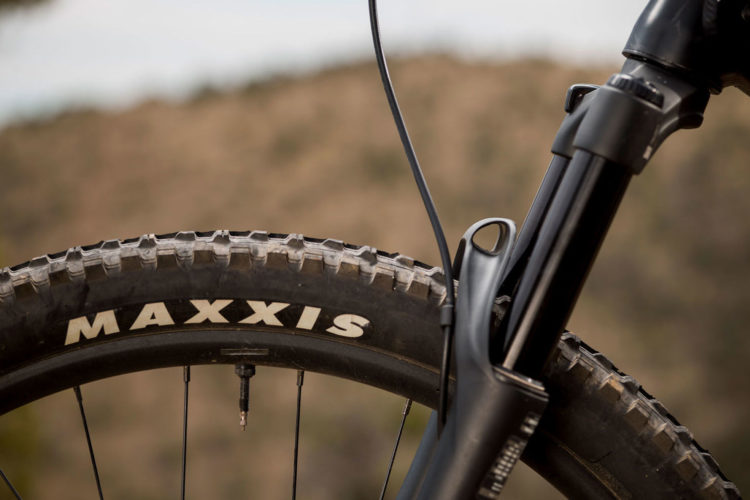
How A Volume Spacer Changes Your Mountain Bike Suspension
Mountain Bikes and Gear
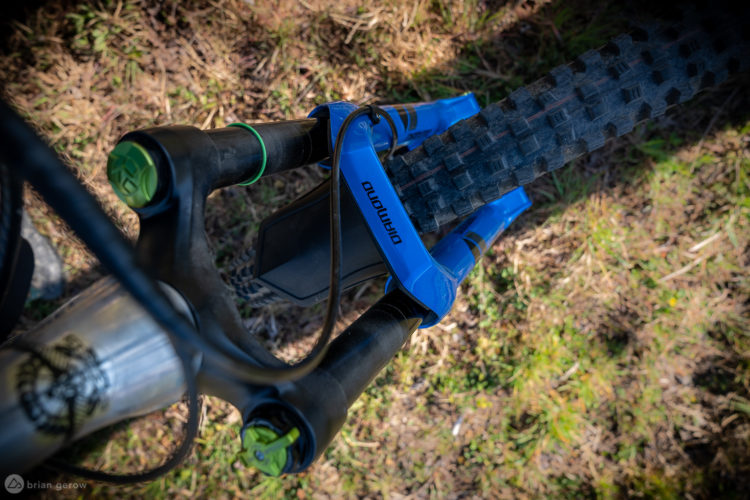
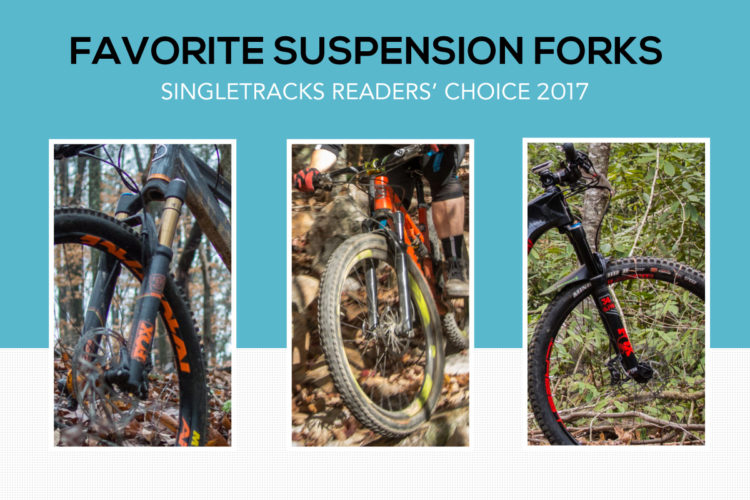
Survey Results: Your Favorite Suspension Forks of 2017
Culture
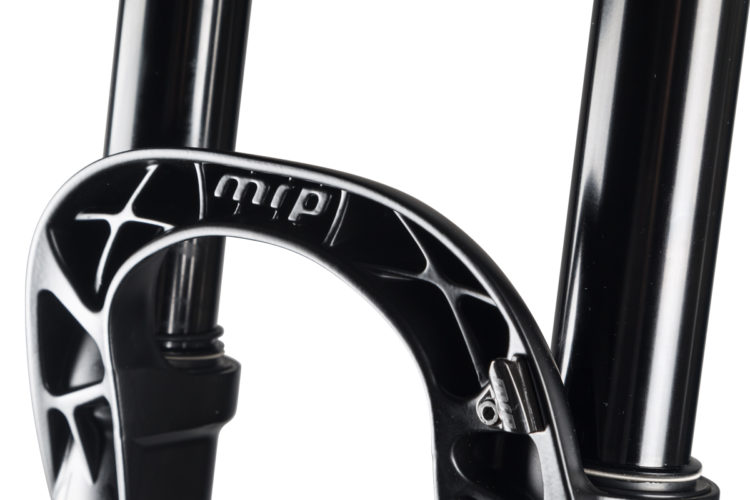
MRP's New Ribbon Coil Fork Weighs Just 203g More than Air Fork
Culture
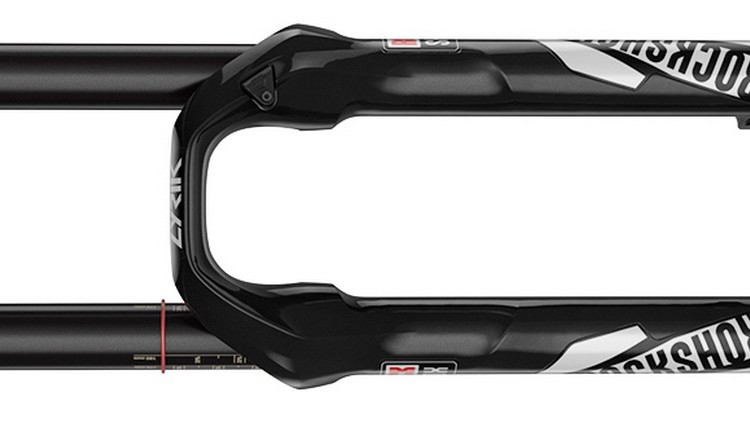
RockShox Releases New Pike Fork
Mountain Bikes and Gear
The 10 Most Popular MTB Forks for 2016 (Plus 3 that Aren't Fox or RockShox)
1
Mountain Bikes and Gear
News: RockShox Announces New Lyrik and Yari Forks
Mountain Bikes and Gear
SR Suntour Is Making an Awesome $850 Fork... For 20" Kids' Bikes
Mountain Bikes and Gear
Review: Fox 32 Float 29 CTD Mountain Bike Fork
Culture
News: SRAM Introduces New Boost 148 Components, Boost-Optimized RockShox Forks (27.5+), and New Axle/Hub Sizes both Front and Back
5
Mountain Bikes and Gear
11 Forks That Are Smoothing the Trail Better Than Ever Before
Mountain Bikes and Gear
A Taste of Italy: Marzocchi Suspension, Alpinestars Sprint + Faster Packs, and Dainese Propack
Mountain Bikes and Gear
Interbike MTB Suspension Report: Fox, Rockshox, Marzocchi, and More
2
Community
Sea Otter 2011: Mega Recap Post
7
Mountain Bikes and Gear
Manitou Ships 2011 Circus DJ Forks
Mountain Bikes and Gear
Fox Racing Shox 2011: Forks & Telescoping Seatpost Prototype
2
Mountain Bikes and Gear
Hayes Group at Interbike: Manitou Forks & Shocks, Hayes Brakes, Answer Components, and Sun Ringle Wheels
1
Mountain Bikes and Gear
Ritchey / Syncros: 1000mm Bars (!), FRIC Stem, and Carbon 29er Fork
1
Mountain Bikes and Gear
2010 Fox 32 Float 150 FIT RLC Review
2
Mountain Bikes and Gear
Manitou Absolute+ MTB Fork Upgrade
2
Community
Fox TALAS 36 RC2 Review
4
Mountain Bikes and Gear
How to Install a Front Fork
10
Mountain Bikes and Gear
Manitou Minute Elite TPC 140mm, 20mm axle
5


 1
1