Trails
Reviews
Tips
Community
Deals
Latest
Support
Trails
Find trails
Best bike trails
Destinations
Add a new trail
Reviews
Mountain bike reviews
Components
Tires
Clothing & shoes
Helmets
Accessories
Product news
Community
MTB Clubs
Races & Events
Bike Shops
Tips
Skills
Fitness & Training
Health & Nutrition
Beginners
Repair
Latest Articles
Podcast
Deals
Support Singletracks
Sign in
Create an account
About us
Newsletter signup
DH
Community
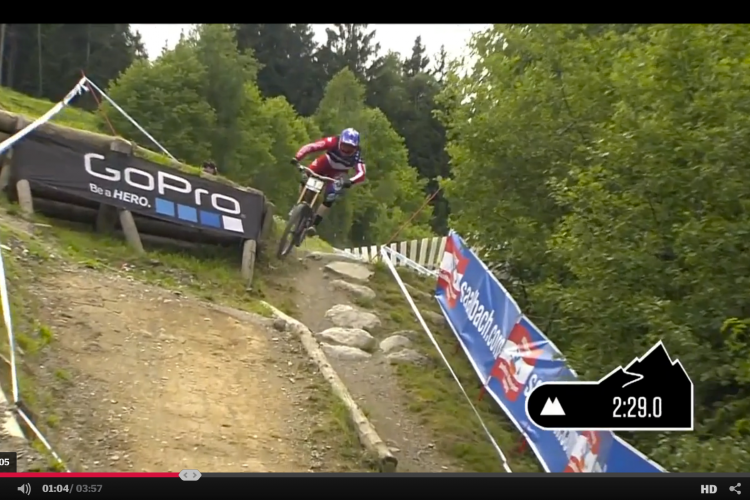
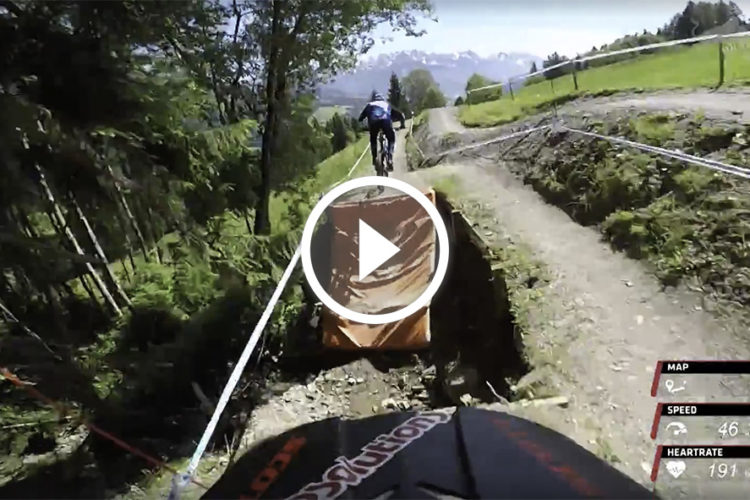
Watch: Claudio Caluori Leogang Course Preview
1
Culture
Santa Cruz Drops All-New 4th Generation Nomad and Juliana Strega, Leaks SRAM GX Eagle 1x12 Photos
Mountain Bikes and Gear
Review: Leatt DBX 4.0 Mountain Bike Shorts Offer Mad Protection
Community
29" Wheels for Downhill Racing?! Santa Cruz Announces 29er V10c
France
UCI World Cup Downhill Racing Kicks Off this Weekend
Community
Watch: Danny Hart Previews a Sketchy DH Track in the UK
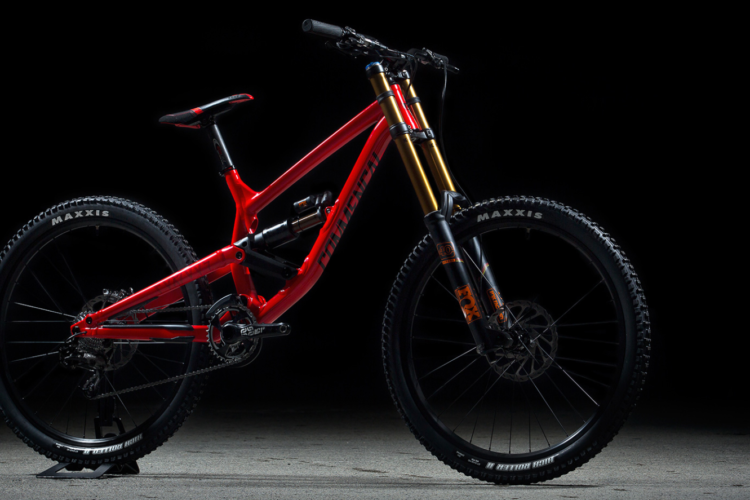
Culture
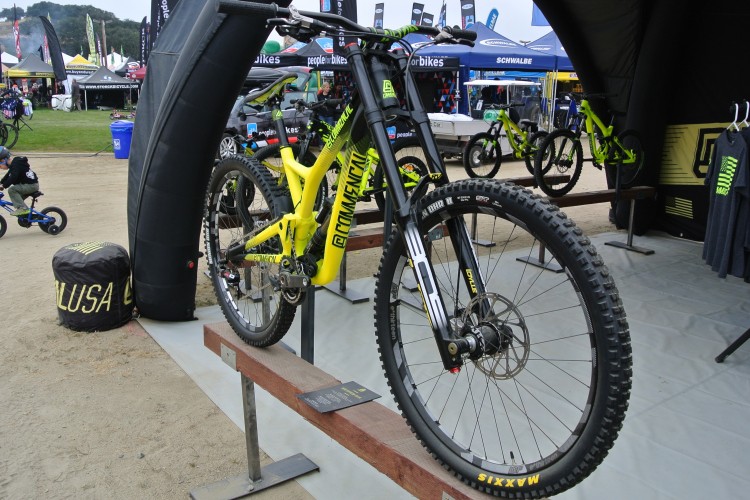
Commencal Debuts New Furious DH Bike for Racing or Just Getting Rad
1
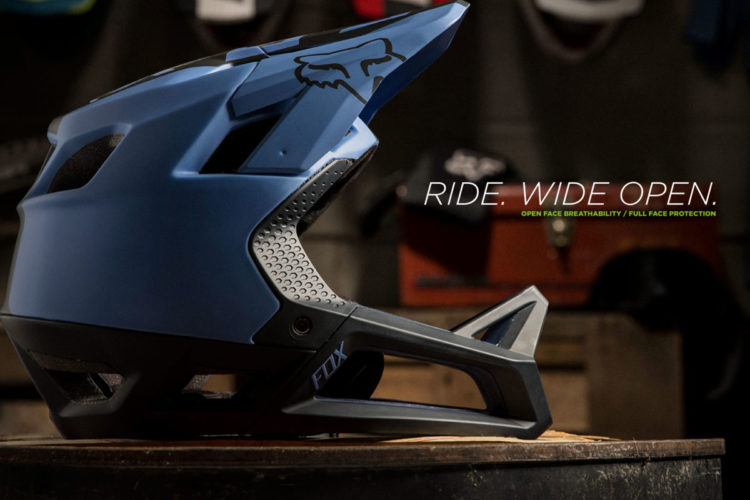
Full Face Helmets
New Fox Proframe Full Face Helmet Has 24 Vents
5
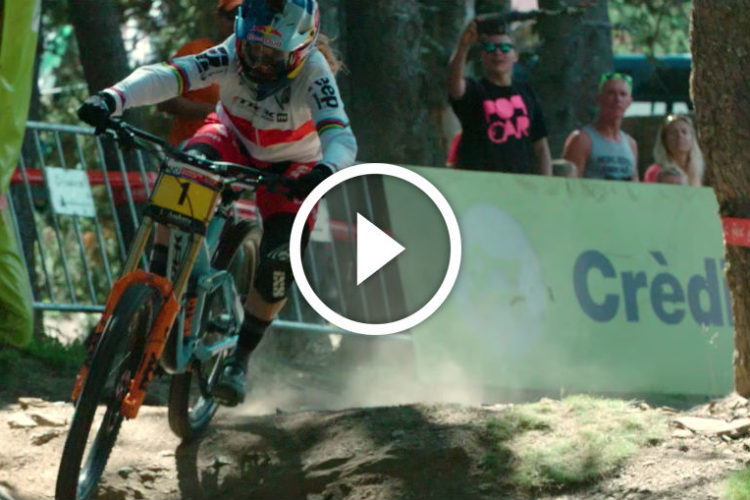
Community
Watch: The Perfect Season - Rachel Atherton
1
Downhill Bikes
The 10 Fastest Downhill Bikes in the World, According to Race Results
3
Community
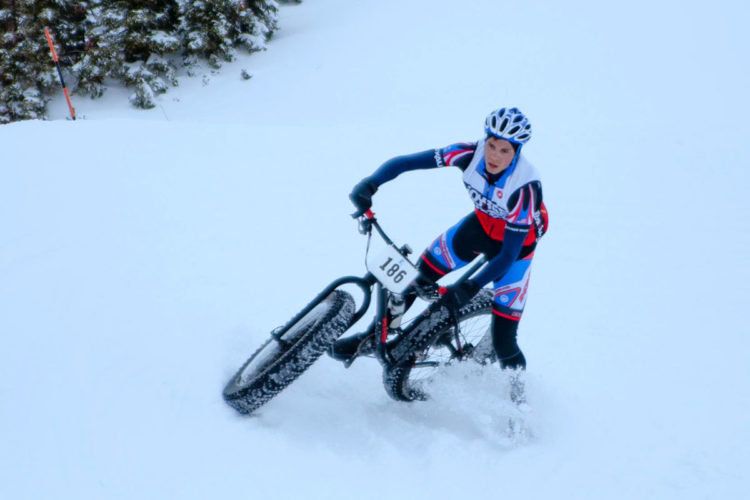
Frosty's Race Series Kicks Off with Two Downhill Fat Bike Races
1
Culture
Luca Shaw and Loris Vergier Join Greg Minnaar on the Santa Cruz Syndicate Team
Culture
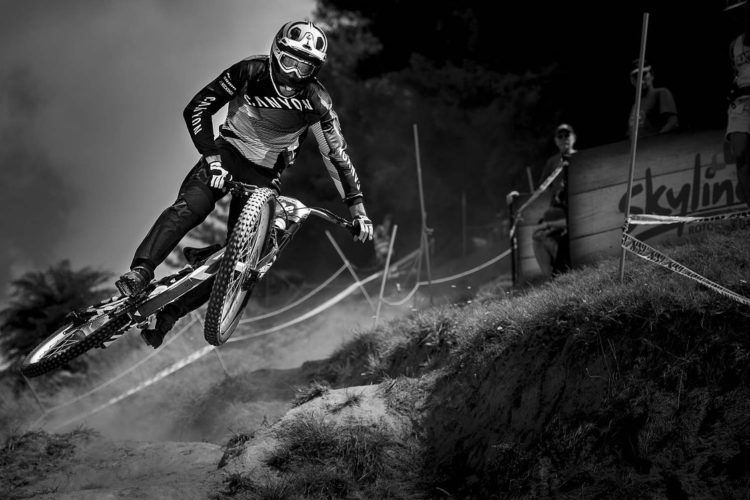
Troy Brosnan Leaves Specialized, Joins New Canyon Factory Downhill Team
Community
Neko Mulally Leaves Scott, Joins Aaron Gwin on the YT Mob
1
Mountain Bikes and Gear
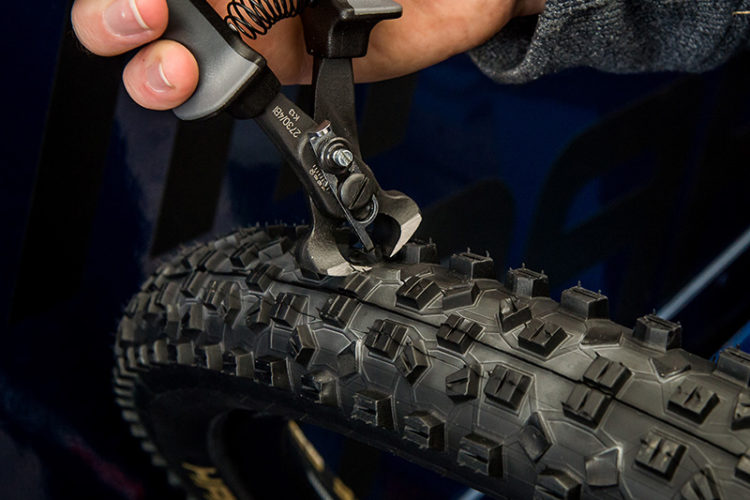
Schwalbe Introduces World's First Mountain Bike Tire Cutting Tool
Mountain Bike Trails
East Coast Isolation: Mountain Biking in West Virginia
MTB Tips
5 Ways that Lift-Served Downhill Mountain Biking Can Make YOU a Better Rider
3
Community
Controversial New Rules Handed Down by the UCI for 2017 DH Racing
5
Mountain Bikes and Gear
Commencal Supreme DH V4 Race Long Term Review
Mountain Bikes and Gear
SRAM Announces Affordable Downhill Group: GX DH
Mountain Bike Podcast
Interview With Ethan Quehl: Pro Downhill Racer, Trailbuilder [Podcast #52]
Culture
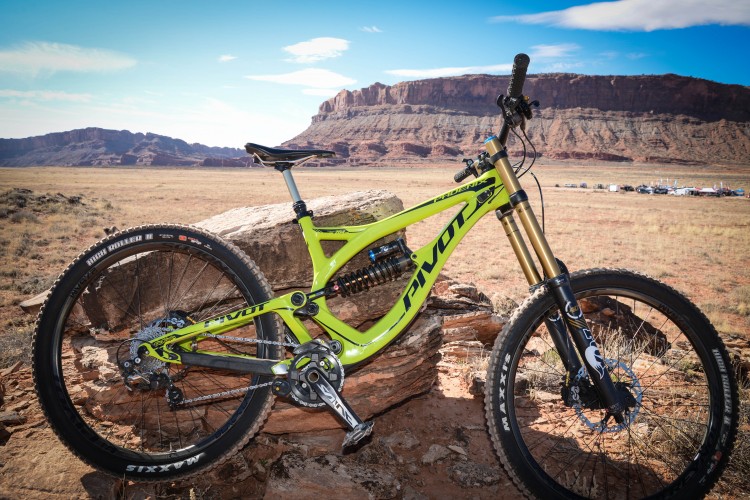
News: Pivot Updates Phoenix DH Bike
Community
Video: Evolution Bike Park in Crested Butte, CO Is Open for the Season!
Community
Must Watch: Aaron Gwin Wins with NO CHAIN at Leogang World Cup
Mountain Bikes and Gear
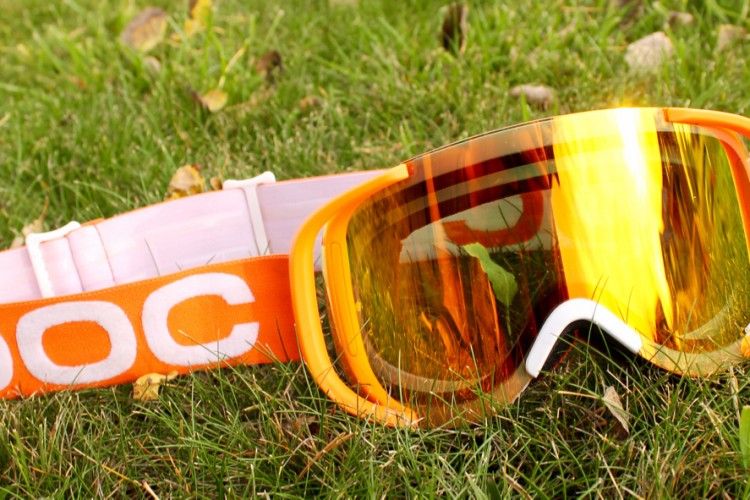
Review: POC Cornea Flow Goggles
Community
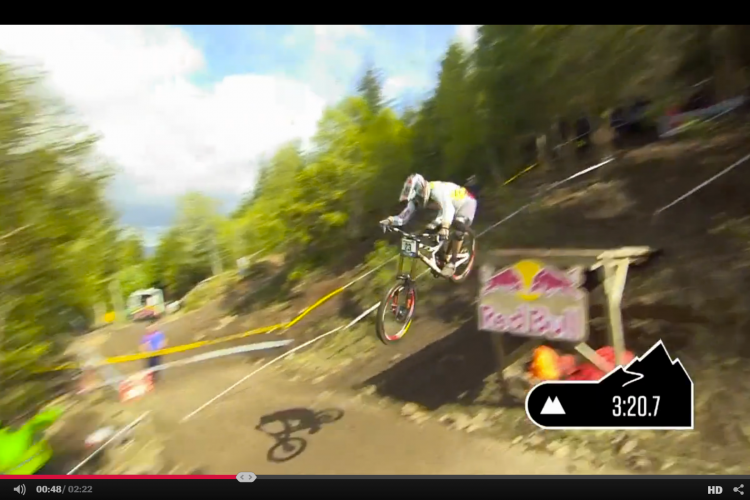
Video: Greg Minnaar's Winning Run at the 2015 Fort Williams DH World Cup Race
Community
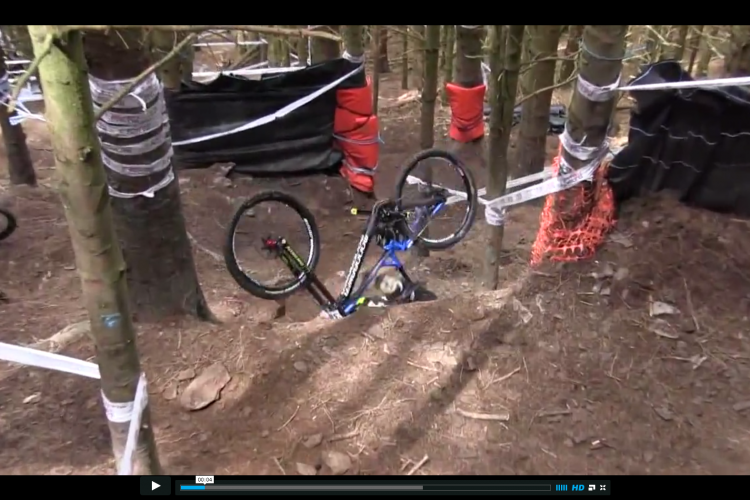
Video: Endless Crashes from the Langollen Steeps
Community
4 Things to Check Before You Hit the Bike Park this Season
Community
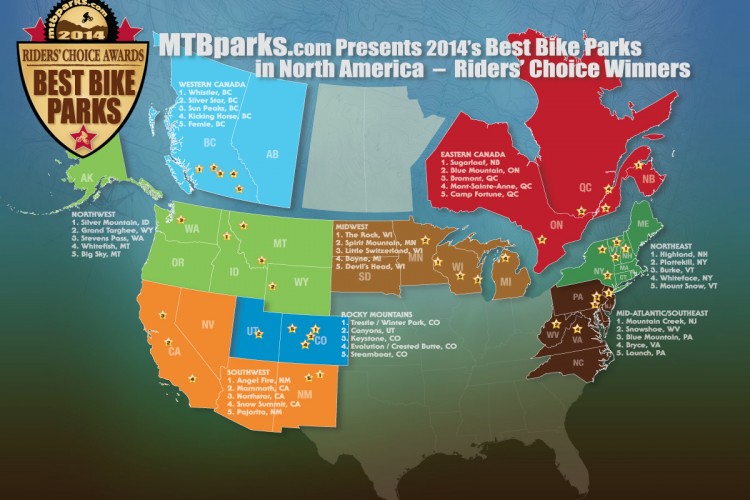
Infographic: The 8 Best Bike Parks in North America
3
Community
News: Commencal Lands in the US and Launches New Downhill Bike
Mountain Bike Trails
First Year-Round, Dedicated DH Bike Park in North America Slated to Open in Western North Carolina
3
Mountain Bikes and Gear
News: Kali Announces the Shiva Ultra Light Full Face Helmet
Mountain Bikes and Gear
Outerbike Test Ride Review: Pivot Phoenix DH Carbon
6
Community
News: Santa Cruz Releases All-New V10 Carbon Downhill Bike
2
Community
Review: POC Joint VPD 2.0 DH Long Knee Pads
3
Mountain Bikes and Gear
Review: Triple Eight Invader Full Face Mountain Bike Helmet
Community
Review: Fox 40 Float RC2 Downhill Fork
Mountain Bikes and Gear
Review: Bell Transfer-9 Full Face Mountain Bike Helmet
Mountain Bikes and Gear
Review: Marzocchi 380 C2R2 Ti Fork
Community
Race Report: Rocks, Roots, and Full Face Helmets During Big Mountain Enduro: Keystone, 2014
2
Community
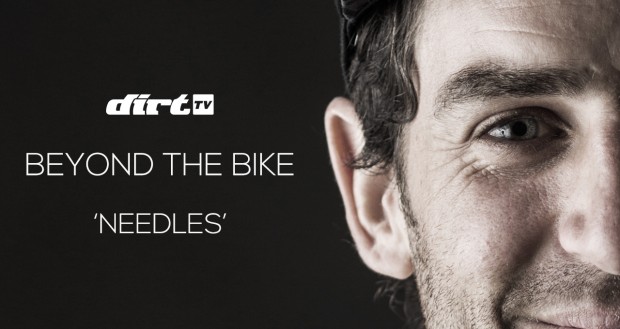
Video: DirtTV: Beyond the Bike: Andrew Neethling
Mountain Bikes and Gear
Final Review: Niner WFO 9
6
Community
Video: "GoPro: Combing Valparaiso's Hills"
2
Mountain Bikes and Gear
Review: Giro Chamber Shoe
1
Community
Video: Urban DH Race in Barcelona
Mountain Bikes and Gear
Review: ION Scrub Gear: Helium Jersey and Avid Shorts
2
Mountain Bikes and Gear
Final Review: Norco Aurum 1 Dorado
3
Community
Videos: Crankworx Whistler Coverage
2
«
1
2
3
4
»
 1
1