The Gloworm CX Core is the brand's first one-piece mountain bike light, featuring 1750 lumens, swappable optics, and a 6000mAh battery for extended night rides.
The Lezyne Super Drive 1800+ is a great bike light for night riding thanks to its generous battery capacity, solid mount, bright LEDs, and smart features.
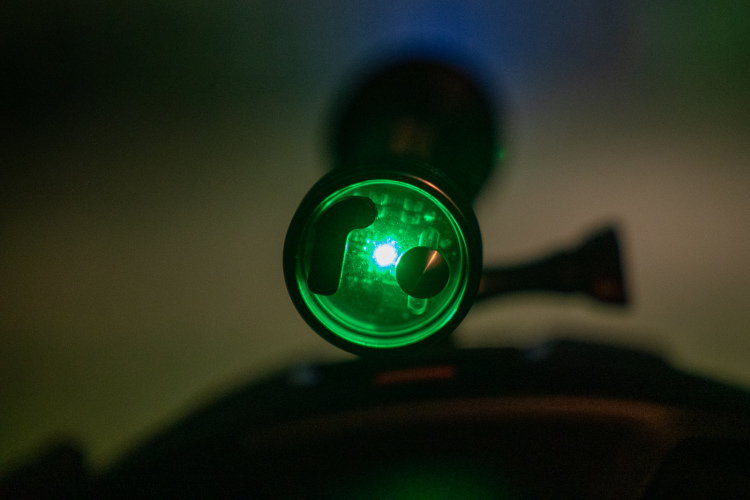
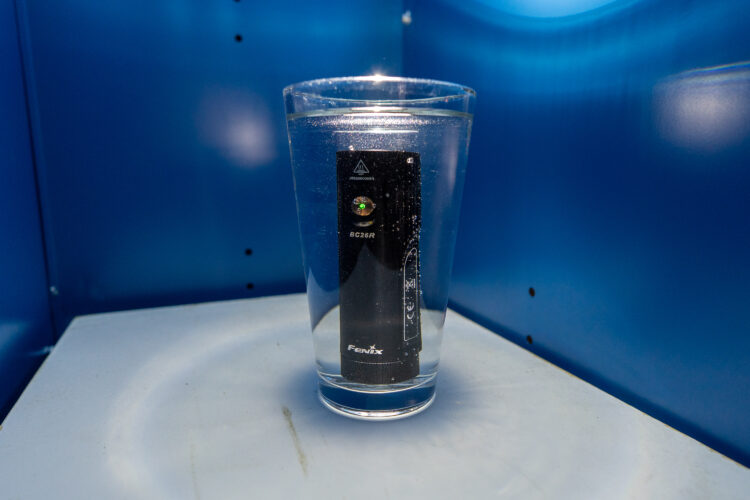
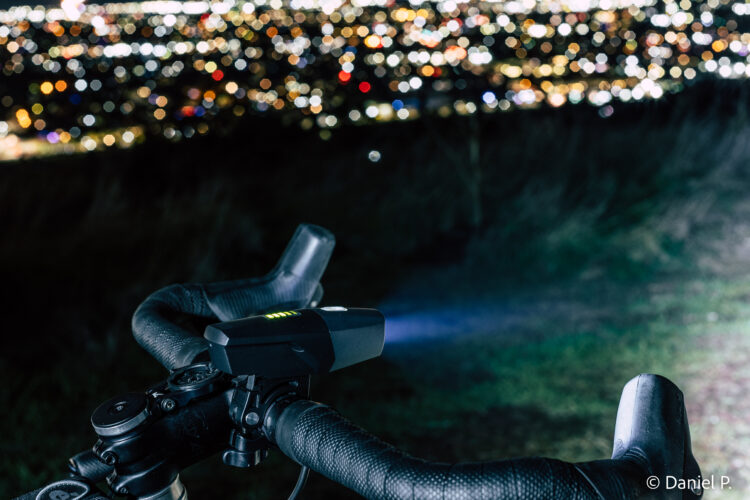
The Fenix BC26R is a compact and bright bike light featuring quality construction and the ability to go all night long thanks to pass-through charging and a quick-swap battery.
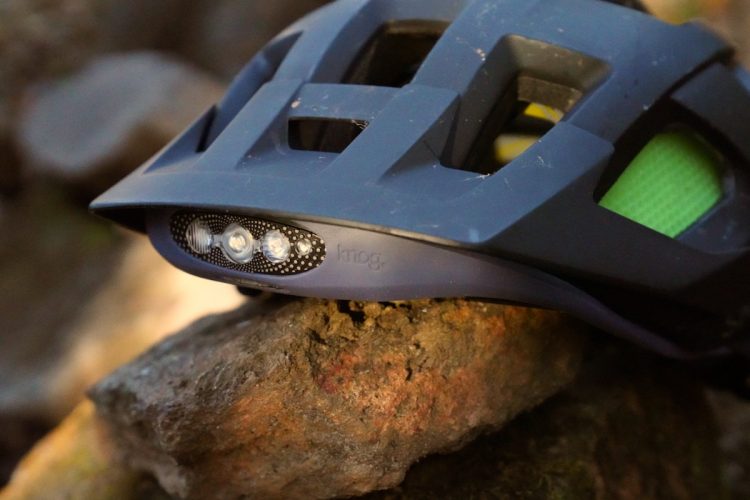
The Knog Blinder 900 offers the same size and weight advantages of many all-in-one bike headlights but with better than average battery life and a wider beam pattern for extra peripheral vision on the trail.


 4
4