

There’s nothing like a good hack. What a funny word that is, also. One of my favorite all time hacks is to put a glass of water in the microwave when I heat up leftover pizza. I think the difference is noticeable in the texture of the bread, and it does feel less chewy and rubbery and almost fresh again.
Upgrading components to make a mountain bike more aggressive is also one of my favorite hacks. Over the summer, my trail/enduro bike saw quite a few review parts and a lot of them were freeride, downhill, and enduro-oriented components. My bike went from feeling like a spry, but aggressive trail bike, to a serious enduro and park-ready machine.
The bike gained some weight in the process, but with 820mm-wide handlebars, downhill tires, and other heavy-duty parts, it never felt more comfortable descending. Here are a few tips and tricks to level up your bike.
Cockpit

Take a mountain bike’s lack of aggressiveness by the horns, or handlebars. It’s an easy place to start and doesn’t require a lot of money to make a change.
A wider set of handlebars can add some stability to a bike’s descending capabilities, although it’s easy to go too wide these days. Adding a wider set of bars can complement the geometry of a mountain bike by putting the rider and their weight lower into the bike for a more centered stance.

Another way to set up a more aggressive cockpit is to go with a set of riser bars, or handlebars with a higher amount of rise. Trail bikes typically come with handlebars that have about 10-30mm of rise. Adding a set of bars with 40, 50, or 60mm of rise will put your body position further back to make descending on steep trails more comfortable.
Pair a more aggressive set of bars with a shorter stem, somewhere around 40-60mm for a modern cockpit look and a more responsive ride.
Geometry
One way to tweak a mountain bike’s handling in aggressive terrain is by using an angled headset. Angled headsets can change the geometry of the bike by a half or full-degree.

The head angle gets a little slacker for more stability and the seat angle will also get steeper. That’s generally a win on both accounts, although it has the potential to drop the bottom bracket height as well. Do a bit of research and see if an angle set may be a good fit for your mountain bike.
Tires

The answer to a more aggressive mountain bike isn’t necessarily to make everything wider all around, but handlebars, tires, and wheels are a good place to start.
Wider tires are an easy change to make since they have to be replaced when they wear anyway. Going with a 2.3- or 2.4-inch tire in the rear and a 2.5- or 2.6-inch tire in the front provides more traction than a narrow tire, obviously, and more confidence over technical terrain and through corners.
On a cross-country bike, it might make sense to upgrade to a 2.3- and 2.4-inch set of tires for rear and front for a more aggressive setup without adding too much weight.
For a trail bike, why not go “full enduro” and put a 2.4-inch on the rear and a 2.6-inch up front? It’ll add some weight most likely, but there’s a good chance it will reduce punctures if set up correctly with the right size wheels.
Wheels

Now, don’t go throwing 2.8-inch tires on a set of 22mm internal width rims. See our guide on tire and rim widths here to find out why.
Using the guide linked above, it’s easy to take a look at your current setup and see how it can be modified to the next, wider category.
Another upgrade that is a little more painful to make than a set of new tires is a set of wider rims. The combination of wider rims and tires helps the tire expand and open up the tread pattern for more traction.
Fortunately a good set of alloy rims doesn’t have to be a bank-breaker. Consider the Stan’s Flow MkIII alloy rims, an enduro-ready hoop, that retails for $100 per rim. It’s good and wide with a 31mm internal width and ready to accept wide tires.
Just be sure your frame and fork are ready to accept the wider tire and rim combo with the proper clearances.
Tire inserts

Ready to smash on a more aggressive tire and wheel set? Tire inserts help make this a possibility. By stuffing an insert in a wheel set, or even the rear wheel alone, it can reduce the chance of punctures or snake bites in a tire, and allow the rider to run lower pressure.
Tire inserts are also fairly inexpensive, at least relative to other mountain bike products.
Jeff Barber tested a set of Vittoria AirLiners earlier this year and found that they added to his confidence on the trail.

“I pushed myself faster and harder through chunky, jagged stretches of trail,” he said in the review.
The AirLiners cost between $75 and $85 per tire, but there are some variations in price between those and other liners like Huck Norris and Cush Core.
The liners of course add weight, but may be worth it for the added confidence and reduced flats.
Suspension
This can be a tricky one. Most bikes have a set amount of travel that can’t be changed without affecting the geometry, but there are a few tweaks that riders can make for a more aggressive suspension setup.
Now, it is possible to change the travel on the front end of a mountain bike without a significant effect on geometry and handling. Most bike brands say that it’s safe to add a fork with +/- 10mm of travel without a big change.
Adding a fork with 10mm of additional travel will slacken out the head and seat angle just a touch and also raises the bottom bracket a little bit, but it’s still possible to get away with the change.
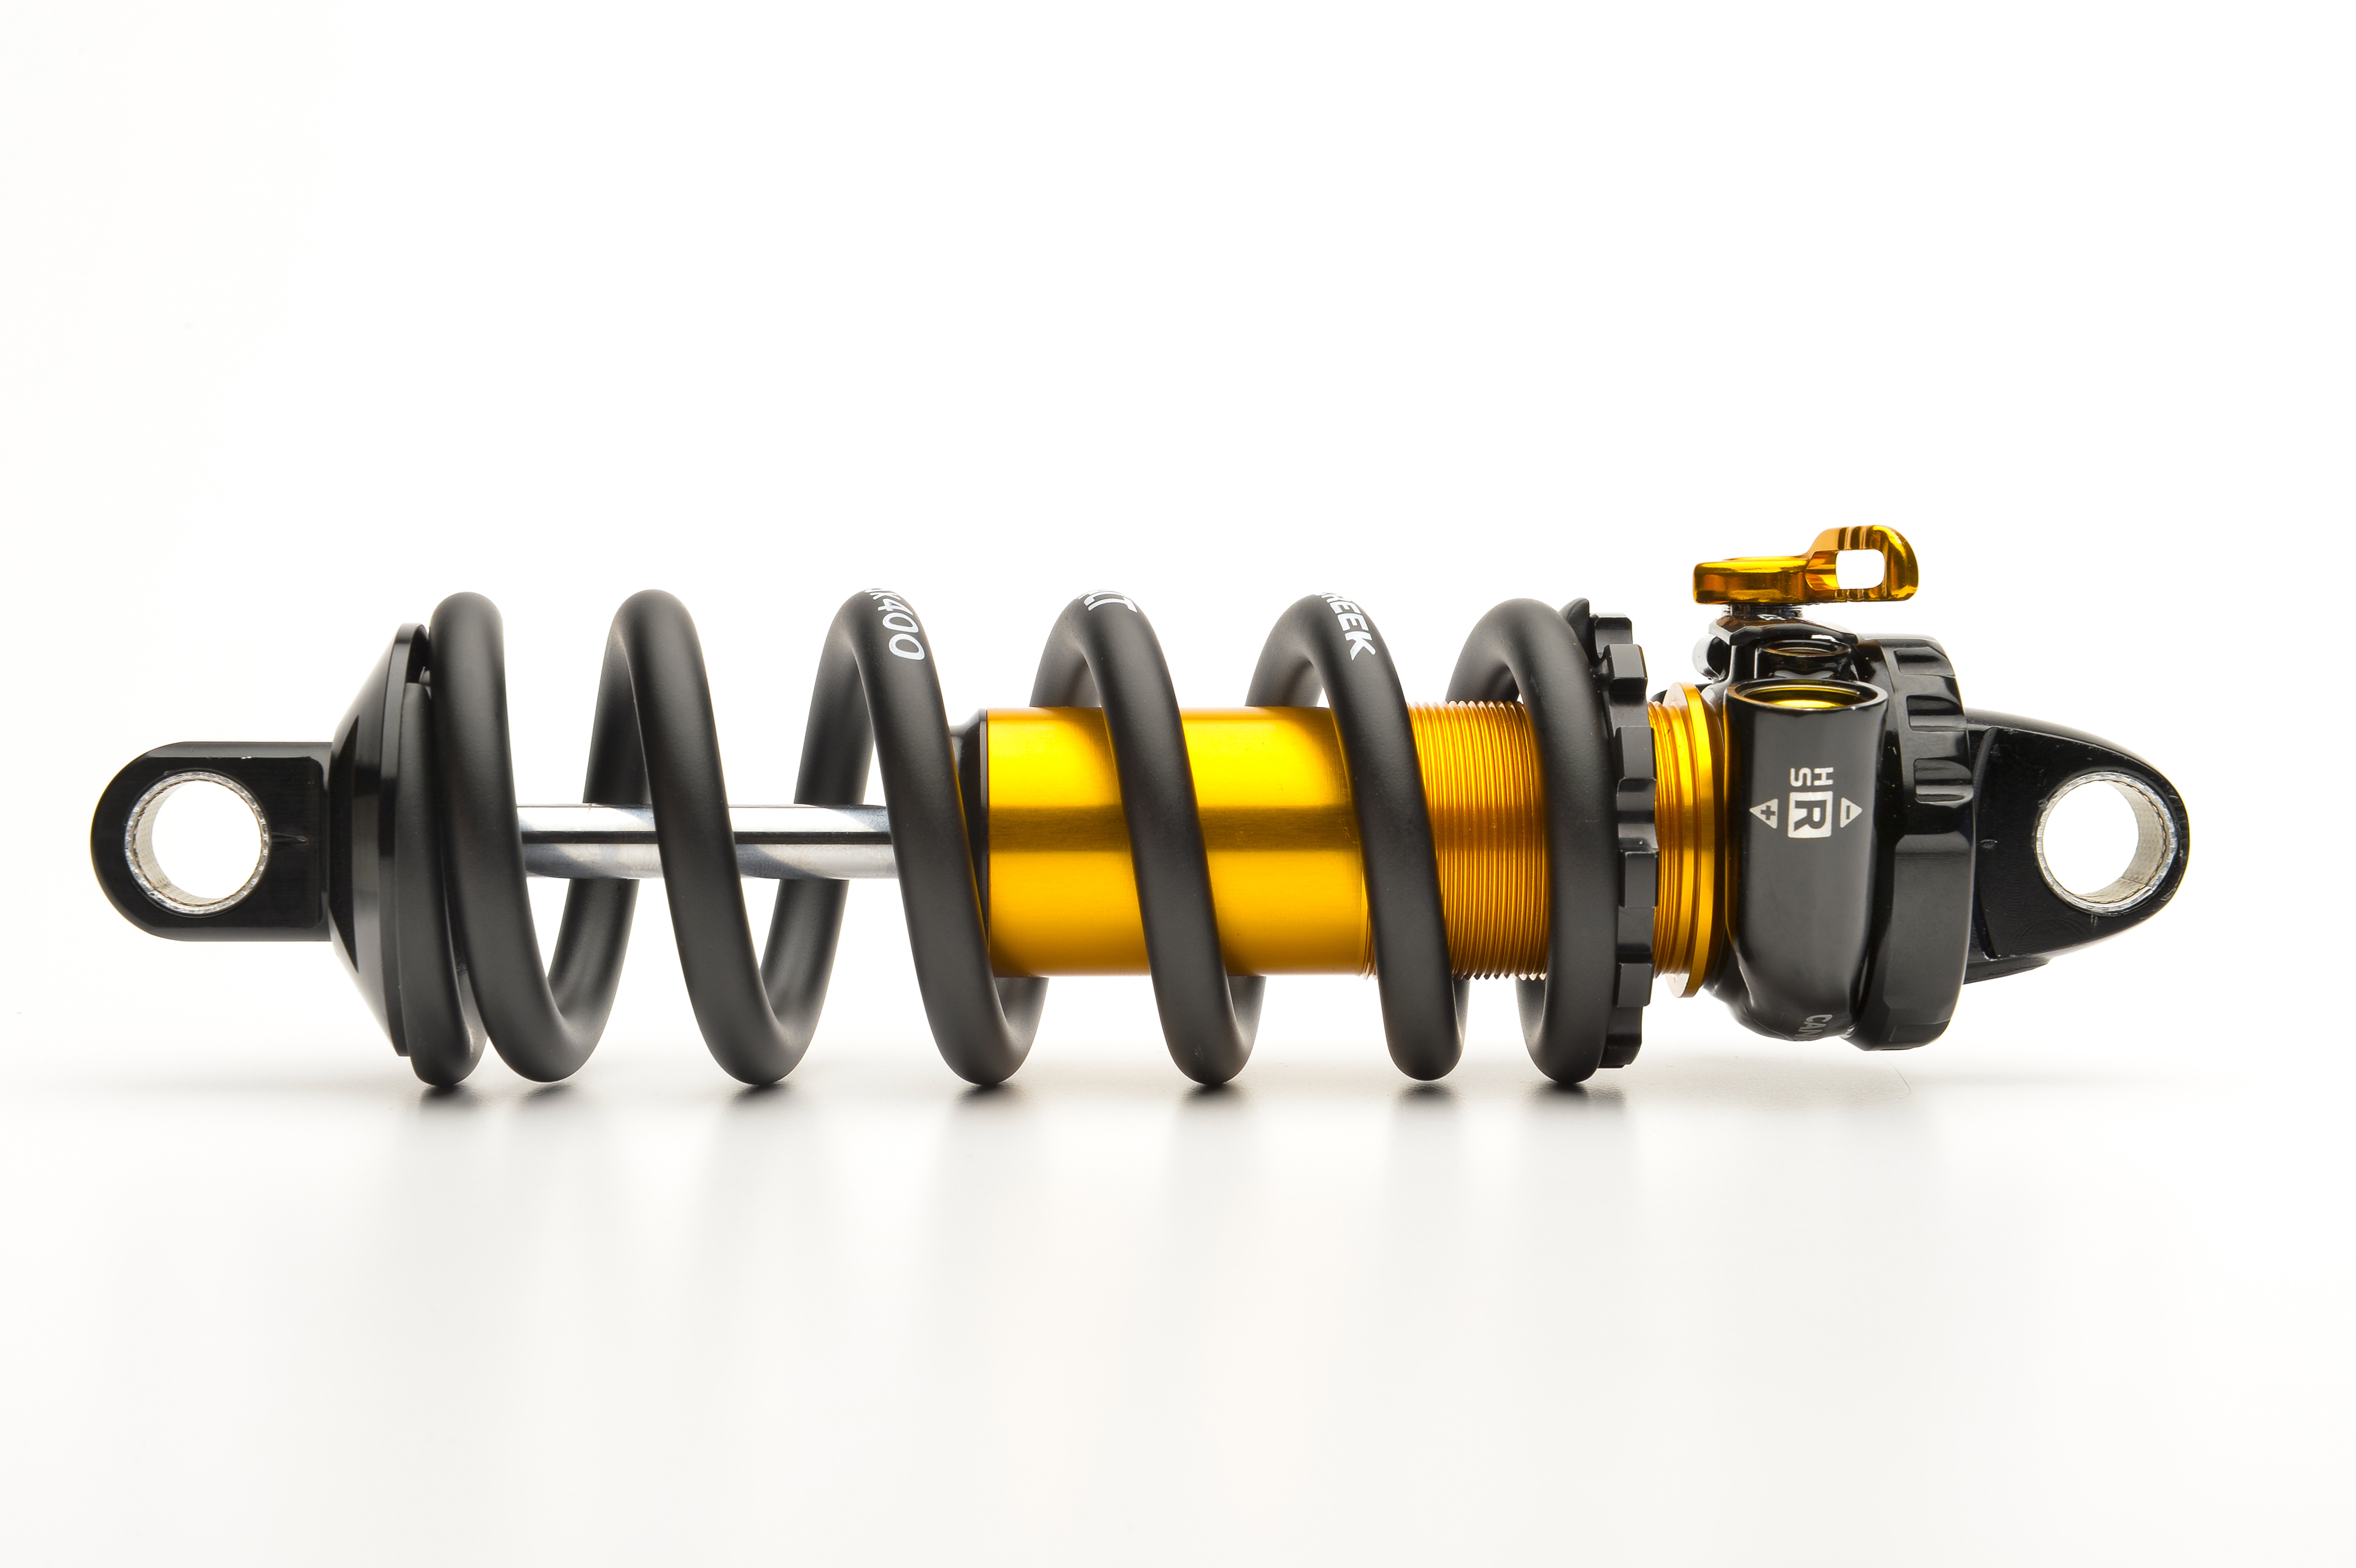
There are also coil spring conversions out there for air-sprung forks. Converting to coil will add a little bit of weight, but increases small bump compliance significantly.
The same can be said for rear shocks. Coil-sprung suspension has risen again in popularity in the last year or two, and there are more options to add coiled suspension to a trail bike.
By using a coil-sprung rear shock, it might take a little bit away from the bike’s climbing ability since air shocks are more progressive and stay in the top of their travel better, but the descending benefits will be appreciated once the correct tune is found on a coil shock.
Dropper post

By now, most everyone has made the switch to a dropper post, but if not, get on it! It is a revolutionary upgrade and will change the overall quality of a mountain bike ride.
It’s also a great time for affordable dropper posts. Jeff Barber also tested a coil-sprung PNW Components dropper post that seems to be a reliable and affordable option at $200. And even the small bump compliance was noticeably better compared to an air-sprung dropper post. (Kidding).
Kind Shock also makes a few affordable dropper posts and its entry-level ETen retails for around $100, so there is no shortage of affordable options.
What else?
We know there are more choices to make a mountain bike more capable, but we wanted to leave readers some room to comment also.
What are your hacks, or ways that you’ve found work to make a mountain bike more aggressive? Let us know in the comments.


15 Comments
Jan 2, 2019
Jan 2, 2019
Jan 2, 2019
Jan 2, 2019
Jan 9, 2019
Jan 2, 2019
Jan 2, 2019
Jan 2, 2019
Jan 2, 2019
Jan 15, 2019
Jan 2, 2019
Jan 3, 2019
Jan 3, 2019
The stock seat on Marlin 7 is nothing short of a torture device (and I'm broken in already from my Hybrid road bike I got before the Trek). Suffice it to say, that stock Bontrager seat should never get into the hands of our country's enemies...
Jan 2, 2019
Jan 2, 2019