
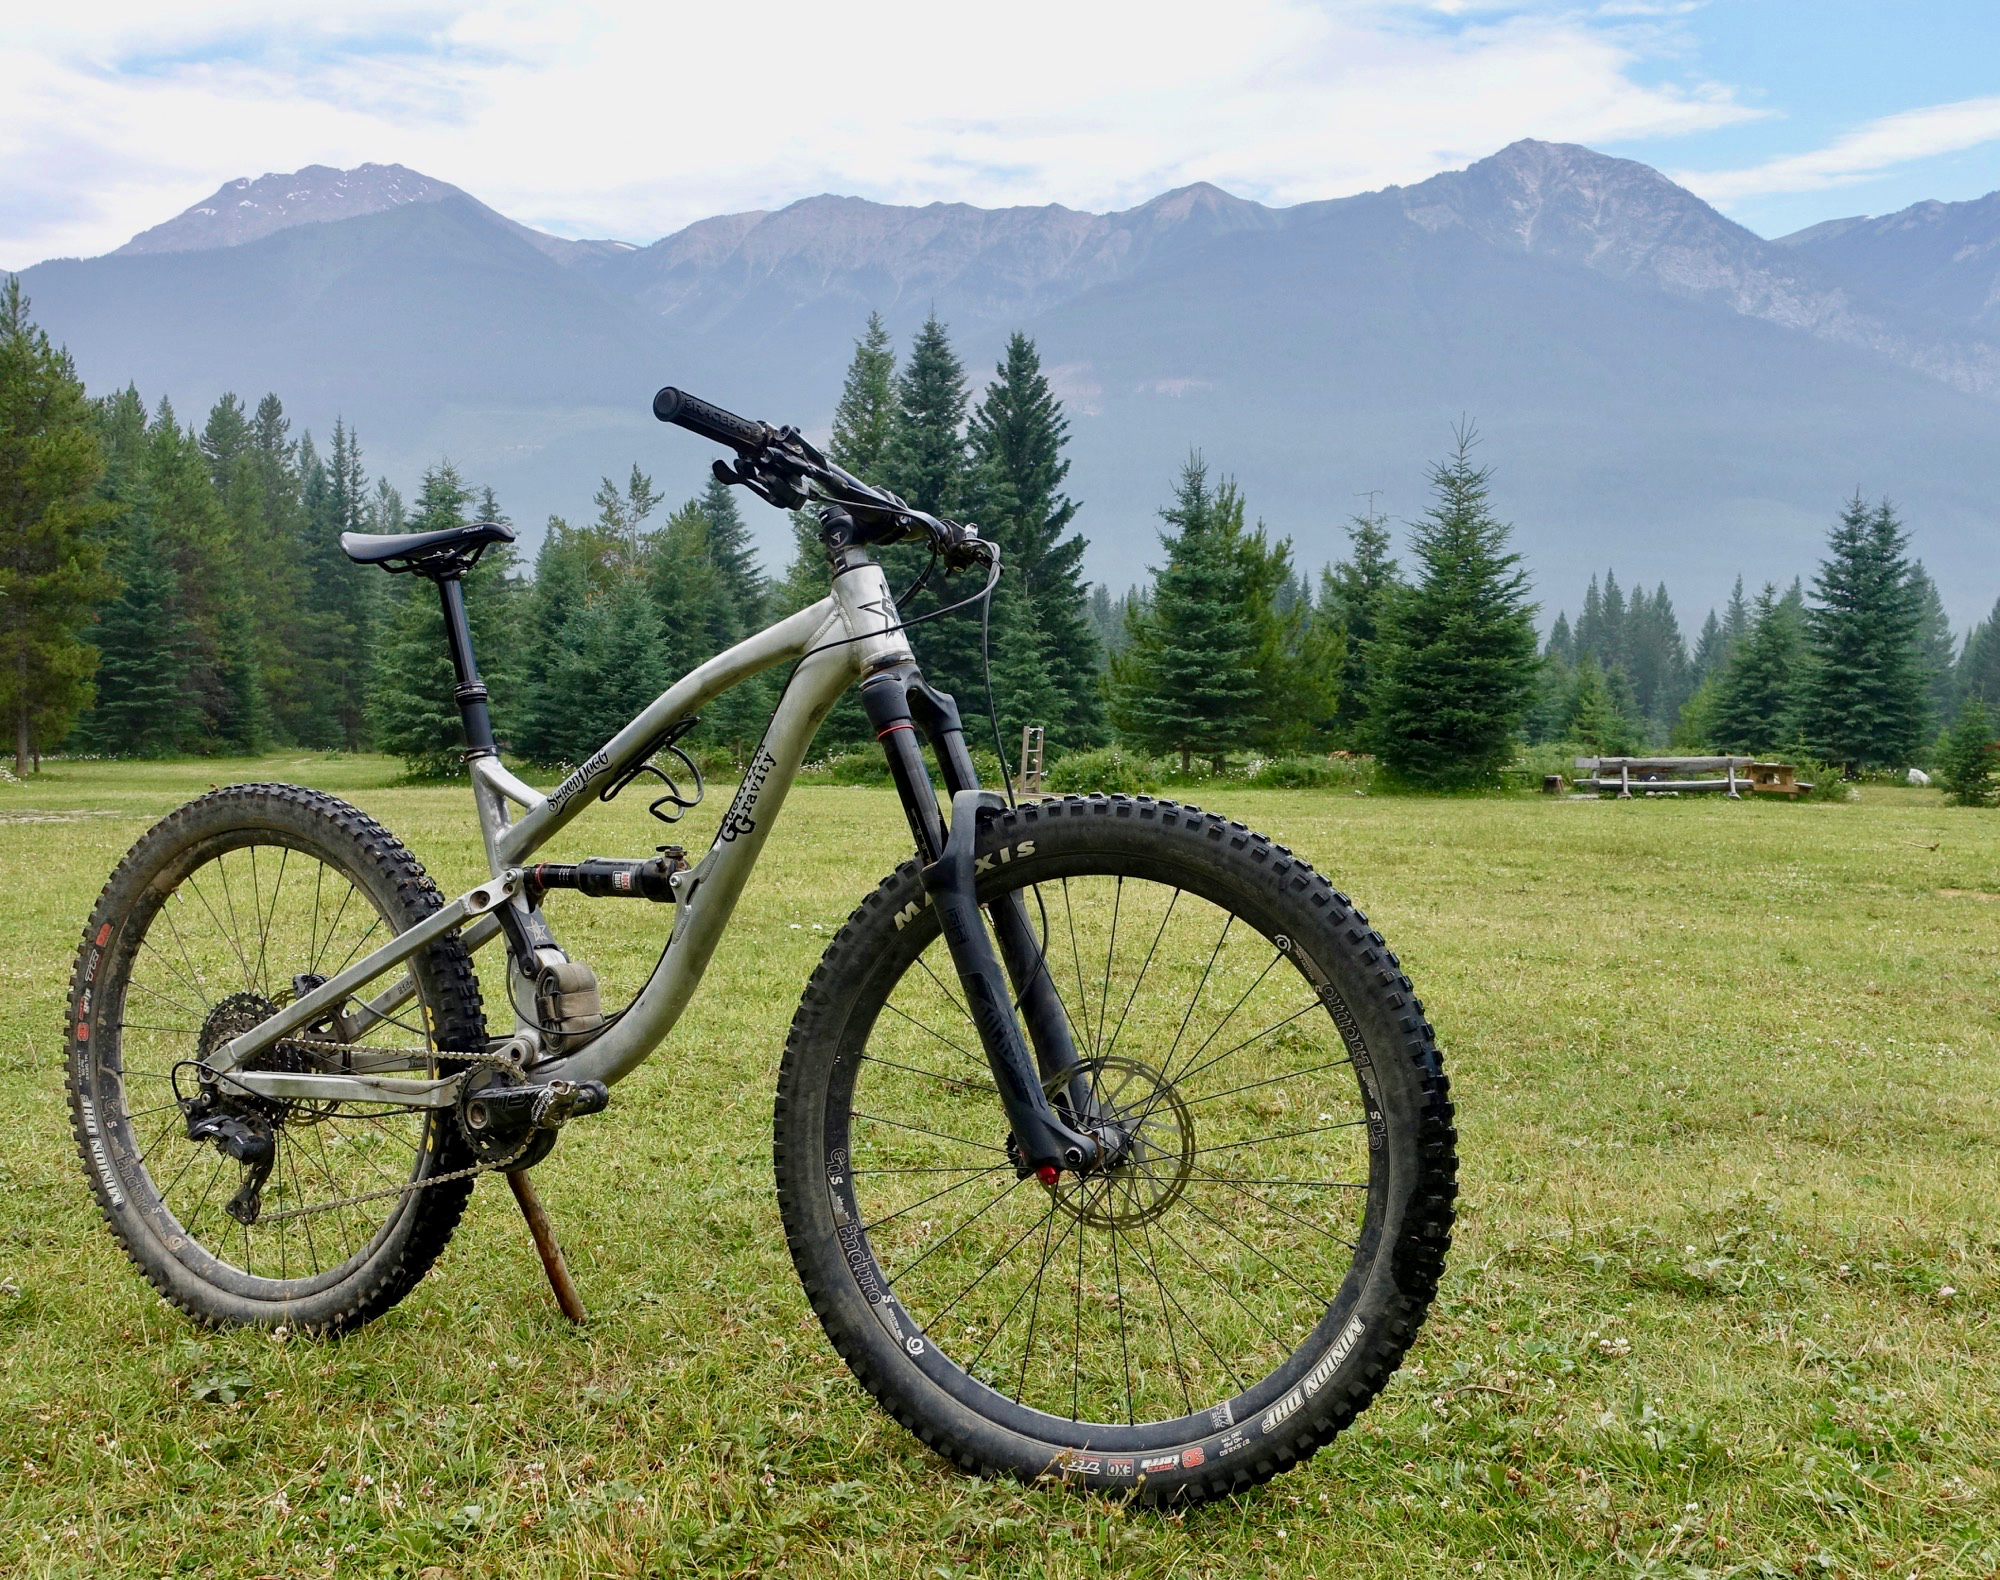
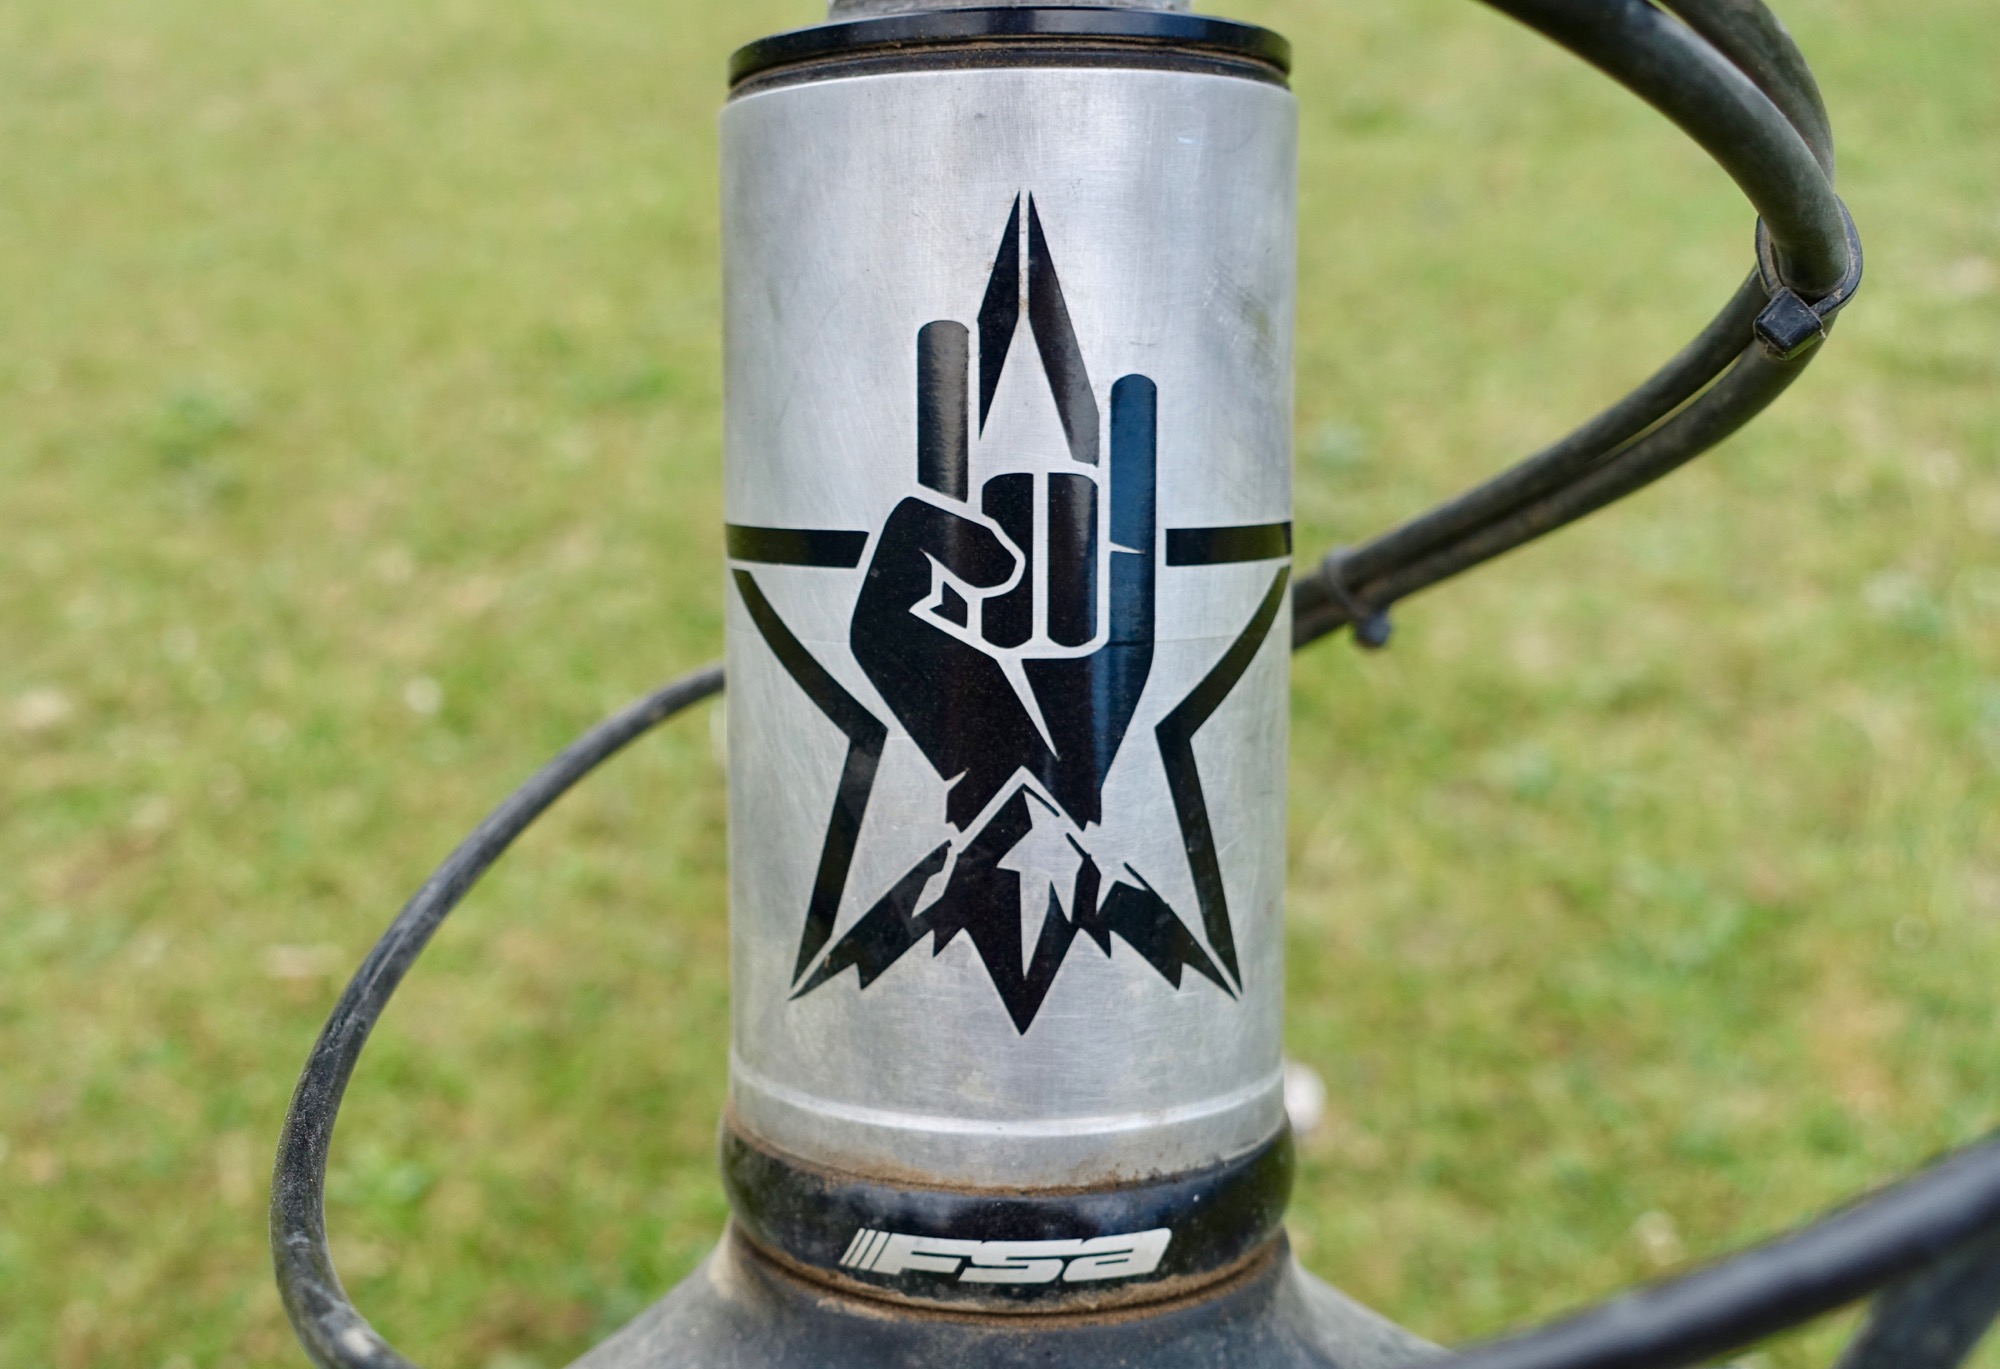
Guerrilla Gravity is the marriage between a made-in-the-USA ethos and a focus on getting sendy and shredding gnarly trails. Their head badge logo? The sign of the horns.
Most brands making bikes in the US today seem hell-bent on endurance riding, drop bars, and going long and fast… which is all well and good, until it’s time to pin it down a trail so rocky, so sketchy, that the word “trail” doesn’t even seem an appropriate label. That’s where Guerrilla Gravity (GG) takes over.
Shred Dogg Frame Specs

The Shred Dogg is one of Guerrilla Gravity’s newer bikes, launched in early 2017. Originally named the “Megatrail SS,” with the SS standing for “short stroke,” this bike features the exact same aluminum, made-in-Denver frame as the standard Megatrail, just with a shorter stroke shock, shorter travel fork, and slightly different parts kit. GG claims that these component changes have created a mountain bike with radically different ride characteristics.
The name change came halfway through my test due to consumer confusion over the Megatrail SS name, specifically how this bike model is different from the standard Megatrail. Here’s the difference: the standard Megatrail features 165mm of rear suspension, but the Shred Dogg, with the shorter stroke shock, offers either 135mm or 145mm of rear Horst Link suspension travel, depending on whether you have the rear suspension set to Trail Mode or Gravity Mode. As an added bonus, you could convert a Megatrail into a Shred Dogg, or vice versa, by purchasing the respective suspension components for each bike model.
So what are Trail and Gravity modes? Essentially, they are two different shock mounting points on the rear swing arm that create two different travel amounts and also adjust the geometry of the mountain bike. While this is by no means the first mountain bike to have adjustable geometry, with just one bolt to remove and re-insert to switch the geo mode, it’s one of the easiest and quickest to convert. More on that below.

In Trail Mode, the Shred Dogg frame sports a 13.4″ BB height, 67° head tube angle, and a 77.7° effective seat tube angle (74.3° actual for the size small I tested). In Gravity Mode it offers a 13″ BB height, 66.4° head tube angle, and a 77° effective seat tube angle (73.6° actual, again for size small). These angles and measurements are based on a 150mm-travel fork (tested), but the frame can accept up to a 180mm fork. According to GG, “changing the travel +/- 10 mm creates a head angle (HA) change of +/- .4 degrees and BB height change of .1″ (3 mm).”
Regardless of travel mode, according to GG’s geometry chart, the top tube length in a size-small is 23″ with a claimed reach of 17.3″. The stack height is 24.3″; wheelbase is 46.1″; standover is 27″; seat tube height is 16.5″; and chainstay length is 16.8″.

The Shred Dogg features Guerrilla Gravity’s signature Necessities Under the Seat (NUTS) mounting bracket near the bottom bracket to hold a spare tube, CO2 canister, CO2 cracker, and tire lever. All frame sizes also offer a water bottle mount inside the main triangle–hanging from the top tube in the case of my size-small. Other features include metric shock sizing, ISCG05 chain guide mount, threaded BB, Boost 148 rear hub spacing, and a max tire size of 27.5×2.8″.

A size-medium frame with hardware, no shock, weighs a claimed 6.6 lbs.
Shred Dogg Race Build Kit

The build I tested was similar to the Race build kit, but not identical. The Race build features a RockShox Pike RC 150mm fork, RockShox Deluxe RCT rear shock, SRAM X01 rear derailleur, e13 TRS Race 9-46t 11-speed cassette, Race Face Next R carbon cranks, SRAM Guide RSC brakes, RaceFace Next R 780mm carbon bars, a KS Lev Integra dropper post, Industry Nine Enduro S i30 wheels, and Maxxis 2.6 DHF/Rekon 3C/EXO/TR tires.
Claimed weight for the Race build is ~28.6lbs, with my size-small test bike weighing just a touch over 29lbs.
MSRP for the Race build: $5,195.
The bike I tested came with Shimano XT brakes and a Shimano XT rear derailleur, by request. You can build your GG bike anyway you like using the custom bike builder feature on their website, with the frameset alone starting at $2,095. According to GG, the bike I tested would cost about $4,885 with its build kit.
Other stock builds ring up at $4,195 and $3,195.
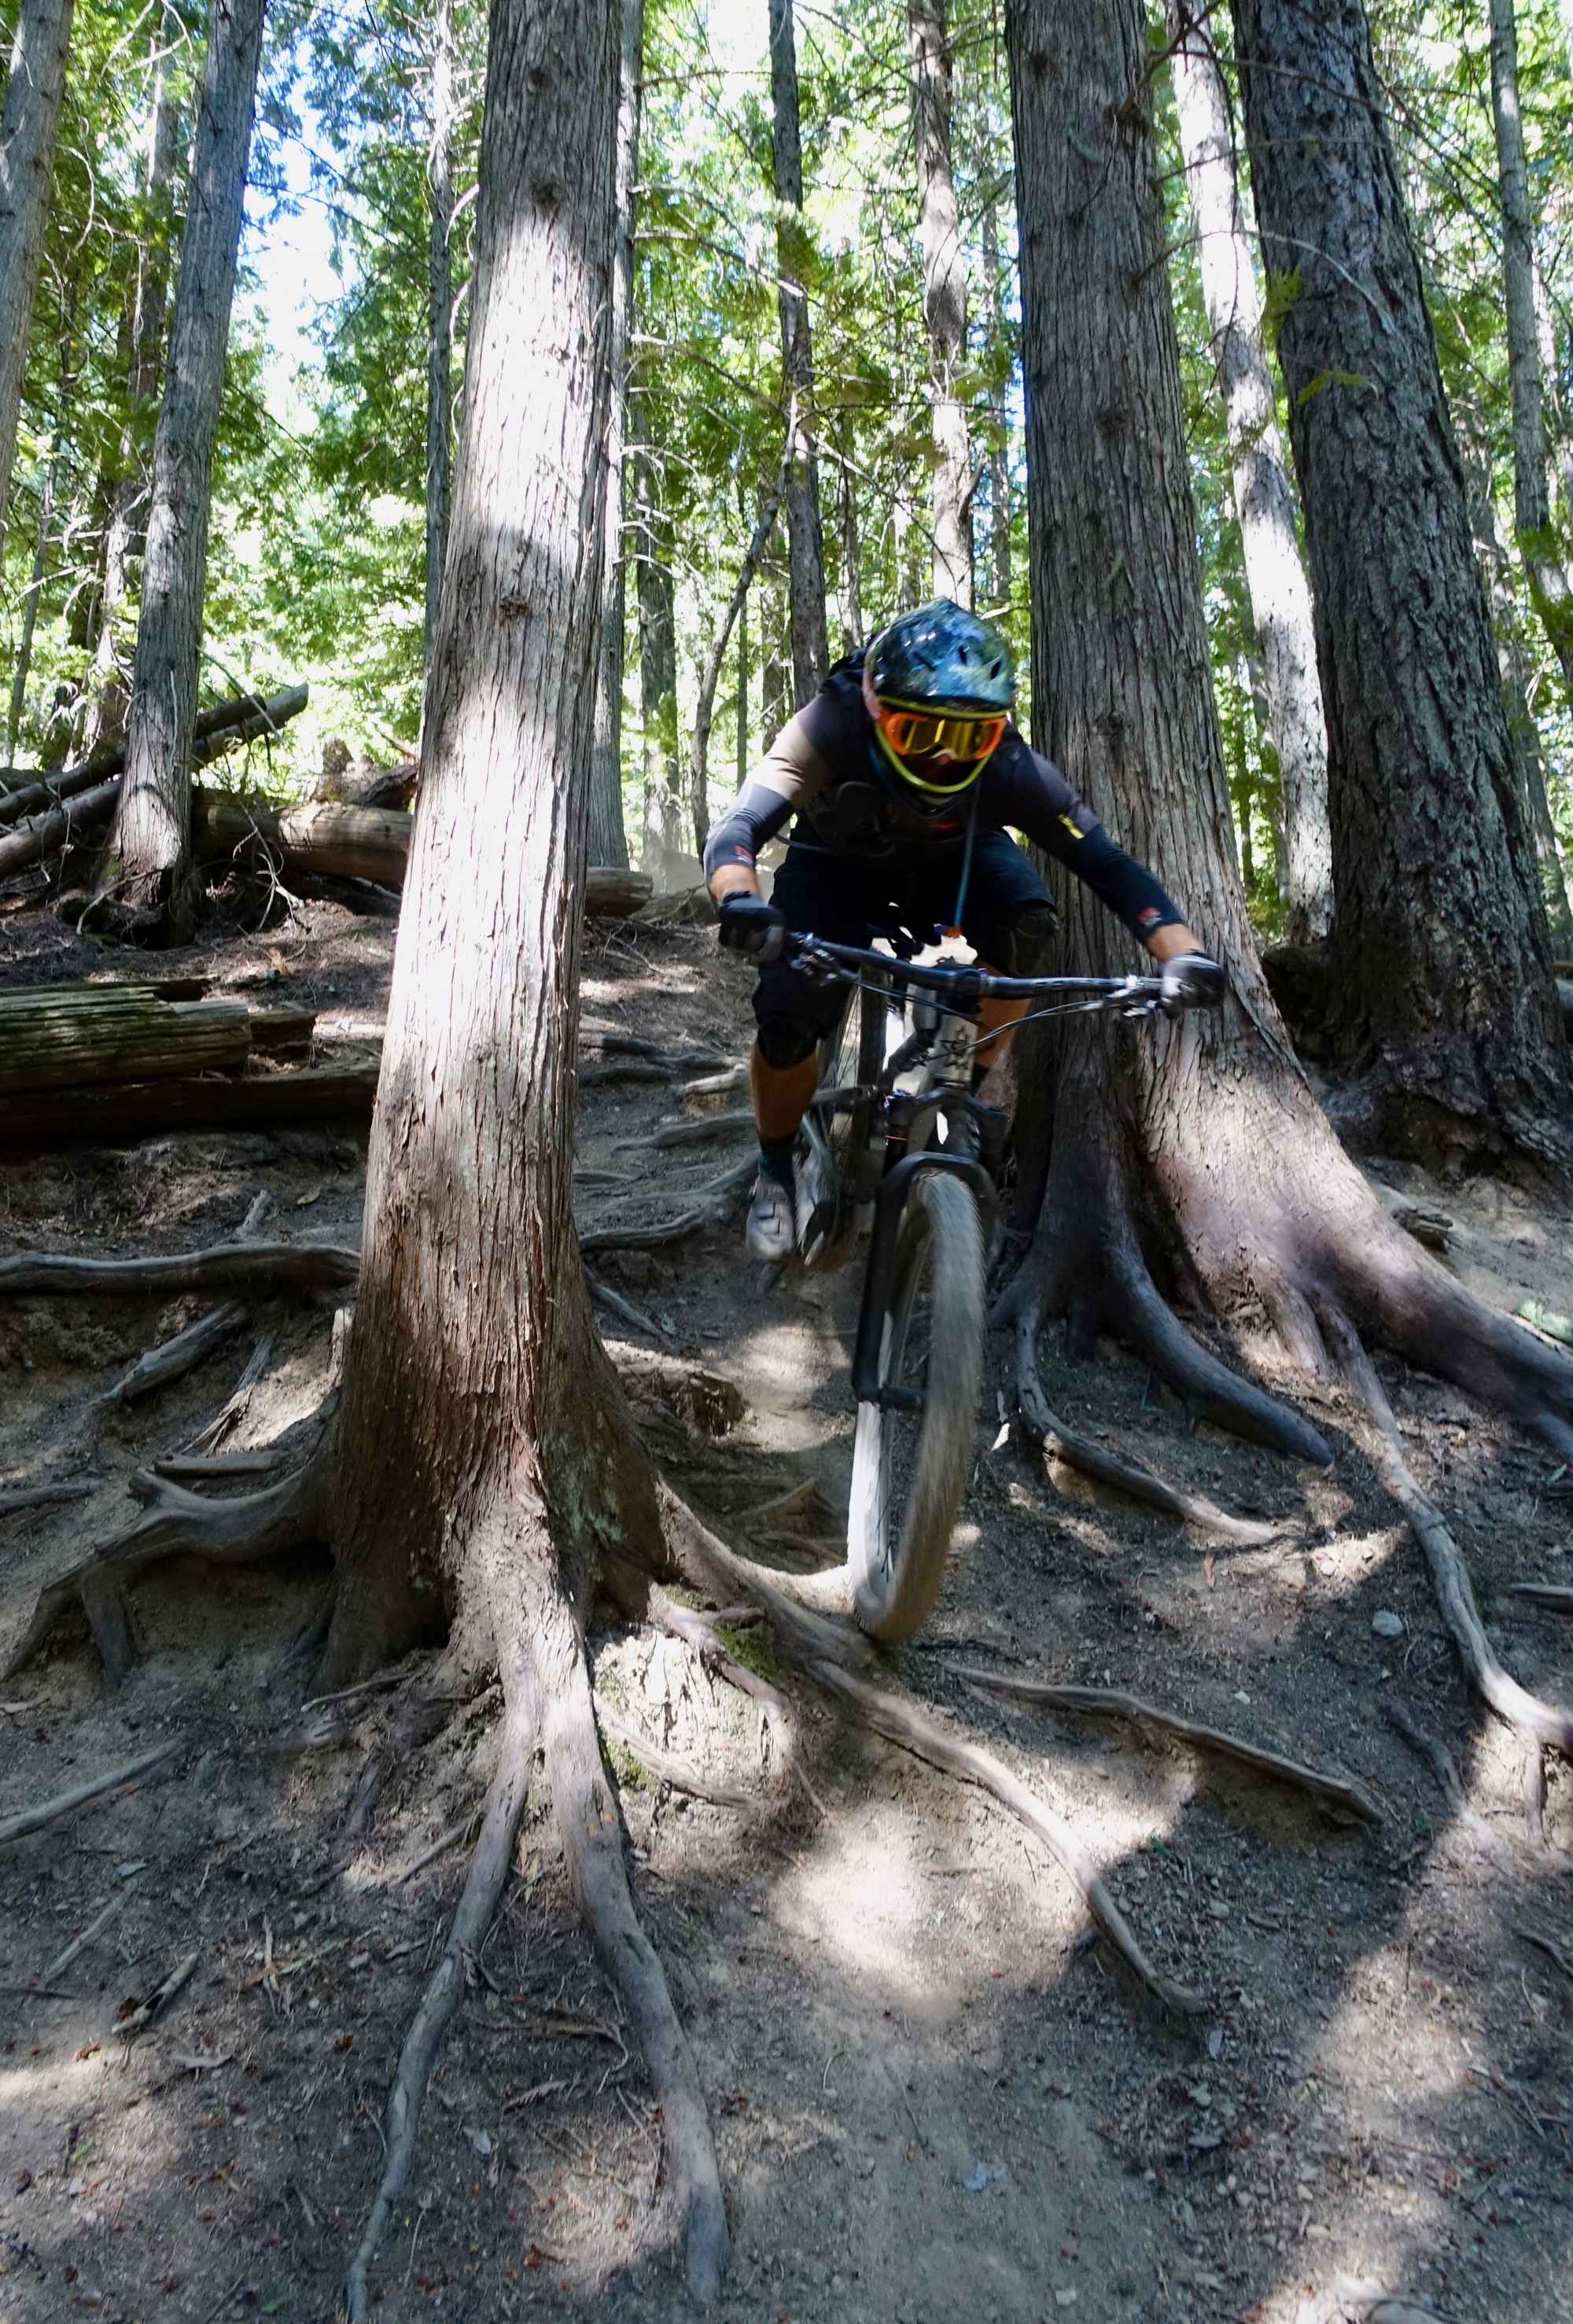
Out on the Trail

One personal epiphany that I’ve had recently is that I truly don’t need all that much suspension travel on my bikes. Granted, I prefer dual squish, but having spent a significant amount of time riding 170mm-travel bikes lately, and my own personal bike sporting 150mm of rear travel and a 160mm fork, I’ve decided that unless I’m going to start hucking my meat off of big drops, I can navigate even the chunkiest of backcountry Colorado trails on very little suspension travel. Pinning down highly-technical trails on a shorter-travel bike can require much more finesse, but reducing the travel on my bike helps me get up the mountain more quickly and also offers a more playful ride on the descents.
This is why the Shred Dogg immediately caught my attention: despite sporting the exact same frame as the 165mm-travel Megatrail, with the short stroke shock it only runs 135 or 145mm of rear travel with a 150mm fork–and I don’t need any more than that. My test only proved that hypothesis true.
Climbing
Guerrilla Gravity’s bikes are renowned for their steep seat tubes, especially compared to other modern mountain bikes. While at first I was a bit leery about the fit of the bike and I did experience some sizing issues (detailed discussion below), the steep seat tube undoubtedly set me up for a powerful pedaling position on the climbs. The Shred Dogg surged up the mountainside, running hot on the acceleration from the pedals.
Adding to the steep seat tube angle’s climbing pop was a rear shock that well and truly locked out. Even in 2017, plenty of shocks with a claimed “lock” mode don’t lock worth a damn, but I was extremely impressed with the Deluxe RT shock from RockShox–the lockout was entirely rigid! While the Pike doesn’t have a lock out lever, twisting the compression all the way to the right gets the fork very close to fully locked. However, I rarely locked the fork, but I did firm up the compression about halfway at times for a bit better platform.
I also found the DHF/Rekon tire combination offers a great compromise of fast rolling speed, climbing traction, and great grip for descending prowess. While I did manage to pinch flat the high volume, 2.6″ Rekon while dropping into Fooses Creek, up until that point I really appreciated the fast-rolling nature of the tire. It’s likely that if I had aired up a few more PSI that I wouldn’t have flatted out, but it’s difficult to say. After flatting, I replaced the Rekon with a 2.5″ WT (Wide Trail) Maxxis Minion DHF with a 3C Maxx Grip rubber compound, and a Double Down casing, which felt like a boat anchor in comparison. At 1,170g for the DHF with Double Down vs 730g for the Rekon, the tire swap added about a pound–but I didn’t flat again. Trade offs, all around.

Despite not riding a carbon bike and pedaling a size smaller than is ideal, I still found myself setting PRs on almost every Strava segment I encountered. Was it the bike, or was it because I’m currently in my best shape in over 3 years? Probably a little of both.
Descending
For the first month or so, I didn’t even touch the two different geometry settings, leaving the suspension in the Trail setting… and despite being in the shorter travel and steeper setting, I still found myself setting PRs and scoring a few Strava trophies down descents all around the Arkansas Valley! But in the Trail mode, I found the Shred Dogg to be a bit jittery at speed, so eventually I started playing with the geometry adjustment.
Adjustable Geometry: Trail and Gravity Mode

At first, I was hesitant to switch the shock setting, thinking that it would be difficult and take a lot of time. Oh how wrong I was! Especially after doing it once or twice, it literally takes 20-30 seconds to unscrew the bolt, clunk the shock mount into the other position, and screw the bolt back in. The way the metal has been machined around the mounting points aids in this transition by holding the shock in place.
If in the Trail mode, unscrew the bolt, lift the shock slightly to bring it off the detent, and then slide it down into the lower setting, and screw the bolt back in. When going from Gravity to Trail, lift the shock straight up, maneuvering around the detent, sliding it into position. After you’ve done it once, it literally takes longer for me to explain it than it does to make the switch.
In fact, this is the easiest-to-adjust adjustable geometry suspension that I’ve ever used. While perhaps Rocky Mountain’s Ride 9 chip is more sophisticated, I wouldn’t want to attempt that switch on the trail, even on the Slayer, which only has two positions. Not only do you have to take the bolt out, you have to flip two chips (one on either side) then reinsert the bolt, and there’s no detent to hold the shock in place while you make the change.
During my recent trip to BC, a fellow rider noted that his Evil the Following has adjustable geometry as well. But we counted it up: to adjust the geometry on that bike, you have to remove 10 (ten!) bolts, remove the linkage, flip the link over, and then reinsert the 10 bolts back into place. In this instance, the simplicity of GG’s design is an incredible boon to the rider!
Gravity Takes Over
Once I got into the habit of switching the link, the Shred Dogg’s confidence on the descents grew. Dropping the BB and slackening out the head tube increased stability at speed dramatically, and the slacker seat tube had an added benefit of bringing my knee over spindle closer to perfect (more on that below). Now ripping in Gravity mode, I pinned this bike through chunder and off of jumps and obstacles that would make me hesitate aboard any bike–especially most 145mm bikes. Yet the Shred Dogg persevered through the burliest terrain–even during a day of downhilling at Fernie Alpine Resort in BC.
I found that I was much faster aboard this bike with the short stroke shock and the shorter travel fork across the board. My theory is that I spent much less time wallowing lower in the suspension travel, which would generally soak up my energy inputs. While I gained speed from the equation, the ride quality on extremely technical trails was not forgiving. Though the suspension took the edge off, pinning through boulder fields was a challenge. The Shred Dogg stayed on line and came out the other side just fine–but with a good deal more bucking than a longer travel bike. In extended descents with unrelenting chunder, the constant beating from the bucking caused fatigue to set in much sooner than on a plusher bike–but of course, physical conditioning could counteract that fatigue.
I found the Shred Dogg to demand precision on jumps, and the longer and faster the jumps got, the more on point I had to be. Since the wheelbase felt significantly shorter than I was used to, I found that I didn’t have as much forgiveness to have my weight a bit off center when returning to the ground–I had to stay precise, centered, and on target. If I did, the Shred Dogg rewarded me but if I got lazy, that would come back to bite me–with a sprained ankle.
The short wheelbase did make for great handling in slower speed obstacles and tight sections, naturally–but what about general cornering?

I found the low bottom bracket to provide exceptional hookup in the corners. Loose dirt, loamy dirt, rocks, chunk, variable conditions… you name it, the Shred Dogg shredded the turns. Feet on the pedals, foot out flat out, sliding the rear to square off a corner, or fast and sweeping, everything felt confident and natural aboard the Shred Dogg. My cornering prowess did improve substantially after swapping the Rekon for the DHF in the rear, but that is to be expected. The Rekon would break traction in loose conditions quite frequently, but I found it to drift predictably and to reengage quickly, which is most important.
While maybe the low BB created a few extra pedal strikes, I didn’t have any undue issues with strikes. I even pedaled a few rides completely in gravity mode, both up and down the mountain. If you’re worried about strikes, stick to Trail mode while climbing for a bit more ground clearance.
2.6″ Tires — What’s the Deal?

The Shred Dogg marked my first long term test aboard 2.6″ tires, and I wanted to arrive at a personal verdict about the new tire width. My main takeaway? They don’t suck.
That’s in contrast to plus-size tires, which I’ve recently passed judgement on: plus tires are not awesome, and the claimed benefits are drastically overstated. At this point, I’d be fine with never riding a plus tire ever again. But 2.6″ tires? So far, I’m ok with this width.
I think that’s because the differences between a 2.6″ tire and, say, Maxxis’s 2.5″ tires with a Wide Trail casing, are minimal. The 2.6″ visibly has more volume, but I can’t say that the traction is actually any better or worse. My current conclusion is that 2.4″-2.6″ tires will be my sweet spot from here on out, with enough latitude even within that range to micro adjust for varying applications. But for riding dry dirt, I have no desire to move beyond 2.6 inches in width whatsoever.
Sizing Issues

The Guerrilla Gravity website recommends that riders measuring 5’3″ – 5’8″ tall ride a size small frame. I’m 5’7″ tall and generally ride a size medium frame in most brands, but GG claims that their frames “run about a half size to full size bigger than some other brands.” At the bottom of the geometry chart for the Shred Dogg, GG notes that “with a steeper seat tube angle reach numbers may seem longer compared to the “average” reach numbers of other bikes. For further sizing advice, please email us.” So, I reached out via email to double check on the sizing of my test bike. After sending over my detailed fit numbers and notes from my professional bike fitter at Absolute Bikes, and going back and forth over the course of numerous emails, GG recommended that I ride a size small instead of my normal size medium. So I acquiesced.
Upon receiving the bike, I realized that the reach was radically shorter on the size small than on the size medium bikes I’m used to riding. Also, due to the steepness of the seat tube, I was forced to slam my seat as far back as it could go on the rails to get anywhere close to a proper knee over spindle alignment. Despite slamming the seat all the way back, I believe that my knee was still a touch too far forward in Trail Mode, but was close to perfect in Gravity Mode.
On the surface, the Shred Dogg’s claimed reach numbers appear much longer than those listed for other mountain bikes–but based on their note about the steep seat tube angle, those reach numbers aren’t comparable to numbers from other brands. For instance, the size-medium Niner RIP 9 that I just finished testing has a claimed 16.9″ reach–supposedly 0.4″ less than a size-small Shred Dogg. But the reach of the Shred Dogg felt significantly shorter than that of the RIP 9, despite GG claiming to have a longer reach number. The short cockpit feeling was further confirmed by switching back and forth between my personal fleet of professionally-fitted size-medium bikes and the Shred Dogg.
Based on my experience testing dozens of bikes from all different brands, I would disagree with GG’s assertion that their bikes are a half to a full size larger than other brands. Instead, I think that their sizing is pretty true to size. Perhaps five years ago their sizes would have trended larger than other brands, but not now… not in 2017.
In the end, I think a size medium frame would have been more comfortable for me, although I was able to make a size small work for the duration of my testing. While I don’t think it had a negative impact on the performance of the bike during my test, I’m more concerned for the average consumer who might be buying this bike directly off the Guerrilla Gravity website. So, I got in touch with Will Montague of Guerrilla Gravity to get his take on this sizing issue:
In short, our sizing recommendations are based off of observed preferences of riders, as well as measured “butt-to-hand” distances commonly run by riders of a certain height, taking several brands into account. The listed height recommendations are just that: recommendations. No doubt, we’re aware that some riders have found the cockpit lengths to feel short, but those folks are outliers and that’s why we keep the recommendations listed as-is. For every two people we’ve had size up, we’ve had someone size down.
Sizing is a personal thing that can vary based on the rider’s unique dimensions, local terrain, riding style, and fit preferences. In general, for riders on the cusp of a size, we’ve found those that have a positive ape index, “wide open” terrain, and/or advanced bike handling skills prefer to size up. While those with a negative ape index, tighter local terrain, and/or prefer a more nimble setup prefer to size down.
To help make the buying decision less stressful, we have our 30 day satisfaction guarantee in place for this reason. If a rider were to receive the bike and find that they would have preferred the larger size, they can return it for that size–to date we have been able to get the correct size sorted for riders all but one time, when we exchanged the frame for a larger size. If a rider is unsure which size to get, we encourage them to reach out and we’ll help them work through the decision process.
My Advice to the Consumer:
- Default to your normal bike size–don’t size down unless you have a really good reason to.
- Try before you buy–don’t buy without confirming that you like the way the size you’ve chosen fits you.
- If you do choose to buy sight unseen, work with a professional bike fitter that you trust immediately after receiving the bike to ensure that you can achieve your ideal bike fit.
- If the bike you ordered won’t work for you, take advantage of Guerrilla Gravity’s 30-day satisfaction guarantee to exchange it for the proper size.
Finish Line

I undoubtedly had a fun time pedaling the Shred Dogg all around Colorado, British Columbia, and Alberta, and there’s no denying that the shorter travel package offers up a precise, more playful ride than a bigger bike. Despite that reduced travel, it’s still stupid-fast both up and down the mountain. Features like the incredibly easy-to-adjust Trail and Gravity Mode allow the rider to quickly fine tune the geometry for the trail features and terrain that they’re about to encounter.
Despite all these plusses, the sizing issues are a bit of a downer. But the takeaway is the same as with every other mountain bike purchase: try before you buy. You just need to ensure you have the correct size frame for your needs, regardless of what anyone else may tell you you need.
Finally, there’s no getting around the price tag: $4,885 for an aluminum bike is pretty steep (although more affordable builds do begin at $3,195, as mentioned above). But if you want to buy a frame that’s handmade in the USA–and in your home state, for millions of Coloradans–you’ll have to accept a higher price tag. It’s a fact of life. But for many riders, it’s a price that they’re more than willing to pay.
Thanks to Guerrilla Gravity for lending us the Shred Dogg for this review.
Last updated by Greg Heil at 11:05am MDT, August 10, 2017.


1 Comments
Aug 15, 2017
I'm a bit curious why you didn't switch out to a size medium bike for your test since Guerrilla Gravity is so close to you?