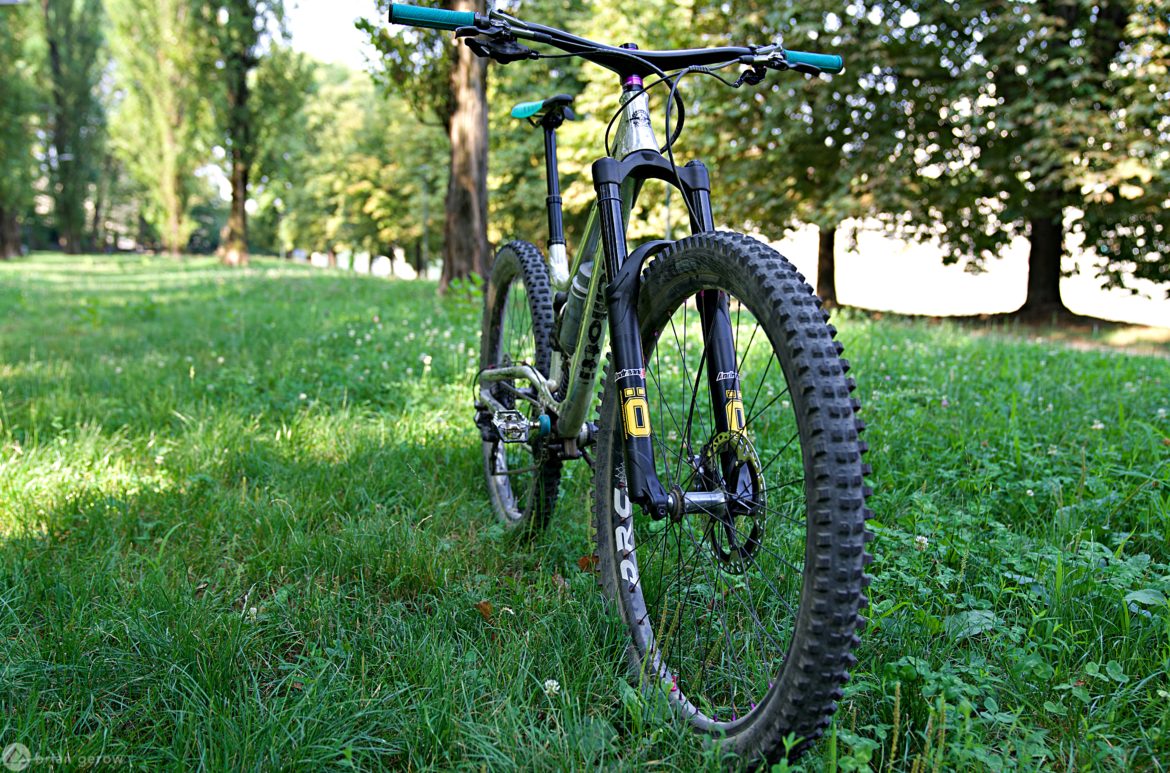
In late 2018, the Swedish suspension experts at Öhlins released a series of updates to their popular RXF36 Forks. The revamped “Evo” version includes new SKF Seals, a reworked piston design, a larger negative air chamber, and adjusted bushing play. All of these changes are intended to give the fork a more sensitive overall feel while maintaining its race-ready supportive characteristics throughout the stroke. The best part: folks who already own an RXF36 can upgrade with the EVO-kit, and reap all of the squishy benefits.
I recently received a 160mm RXF36 Evo 29″ test model from Andreani Group here in Italy and wanted to share some notes on the setup process. Suspension settings are specific to each rider, trail type, riding style, tire pressure, and overall bike setup. My personal settings and methodology are not generalizable, but the broader steps for proper suspension tuning can be used to dial in most forks. While I am not a true squish whisperer by any means, I have learned a lot from friends and industry professionals over the years, and want to collect some of that info here.

I weigh 70kg, and I like my front suspension to stay high in its travel, hold strong through the mid-stroke, and generally feel poppy and playful. Often these requirements mean that I have to run higher air pressure than the manufacturer recommends, to the detriment of the fork’s small bump compliance and earth-gripping traction characteristics.
The first step in setting up the RXF36 EVO is to inflate the lower ramp-up chamber. This chamber allows you to infinitely adjust how much the fork ramps up toward the end of the stroke. Put simply, adding air in this negative chamber increases the amount of force required to push through the last third of the travel, similar to adding tokens or volume spacers in other forks. If you like a super supple fork, add air to the lower chamber to prevent bottom outs, then tune the upper main-chamber to ride like a ripe peach. I pumped this chamber up to 190psi, based on my weight and riding style.
Next, I inflated the main chamber toward the high end of Öhlins’ recommended numbers and hopped on the bike to measure the sag as usual. After inflating the main chamber to 107psi, the sag sits at roughly 25%. Perfect. This will do the trick for a shakedown ride.

Note that the “fun meter” in the photo above indicates about 2cm of travel remaining before full bottom-out. This is after one run down a local track. With a reasonable buffer for the trails I like to ride, I would say the negative chamber is set. For now.

With the air chambers sorted I moved over to the oil stanchion to fiddle with the fork’s rebound and compression settings. The rebound speed knob dictates how quickly your fork will return to full travel after absorbing an impact. For the first ride, I always set it as close to the middle as possible, and adjust from there. I hit a few jumps on my first run with the RXF36 Evo, and felt like I was being pitched forward in the air just slightly. I turned the rebound dial one click faster, and my bike felt more or less rebalanced.
If your rebound is too fast, your front tire will dance around between impacts, giving you poor traction and possibly hand pain. A fork that rebounds too slowly will “pack up,” remaining low in its travel and not fully returning between impacts. When a fork stays too low in its travel it can feel harsh, and the consistently lower front end of the bike will negatively affect its overall handling.
Rebound speed is a setting I might mess with occasionally, depending on how rough a trail is, and how much traction I need. For super steep tracks, I will speed it up a click to help keep the front end up higher as I descend. On muddy rides, I prefer to slow the rebound down a click to keep the front tire planted solidly on the slippery earth.

Lastly, I set the high and low-speed compression. Put simply, the low-speed compression (LSC) affects how supple or stiff your fork is when dealing with smaller impacts, like bumps, trail vibration, small stones, and the forces put on your fork as your weight shifts when you hit the brakes or move around on the bike. Too much LSC can cause your front tire to lose traction in bumpy turns, because the fork is not swallowing the smaller impacts, and your tire has to do all of the work. Not enough LSC leaves the fork feeling spongy and unresponsive through the beginning of the travel, and allows your front end to dive under hard braking. I set the LSC by rolling on pavement, hitting my brakes and watching how much travel is used to absorb the braking force. I dial in one click of LSC at a time until the fork only dives a couple of centimeters under heavy braking. For the initial setup, I have 3 clicks of LSC on the Öhlins RXF36 Evo. I typically don’t touch this setting after the initial tune.
High-speed compression (HSC) holds hands with air pressure and friction to regulate how much force is required to push the fork through its travel when you hit rocks, roots, hard compressions, or other abrupt impacts from below. It is also the adjustment that is sometimes associated with a lockout on forks, where you can turn the HSC dial to its firmest setting, closing its oil flow circuit and making the fork essentially rigid. Too much HSC will make the fork feel harsh, like it’s skipping around on rough sections of trail. Depending on how you ride, you may be able to run the HSC in the fully-open or soft setting for a majority of singletracks.
With proper sag settings, most riders don’t need many clicks in the firm direction on their HSC dial, instead using the switch to firm up the fork while climbing. I personally like a fairly firm fork, and have added two clicks of HSC to the RXF36 Evo during the initial setup. I regularly adjust my HSC settings depending on how smooth or rough the track is, and even how much energy I have on a particular day.
With the Öhlins stanchions all set up, these adjustments will continue as the test does. I will bring a shock pump along for the first ten or more rides to try different combinations in the two chambers, and all of the dials will be thoroughly clicked. Look for a full review of the RXF36 Evo fork this fall.
Do you have helpful fork tuning tips that you would like to share? Please add them in the comments below.
Thank you to Öhlins and Andreani Group for providing these products.


