


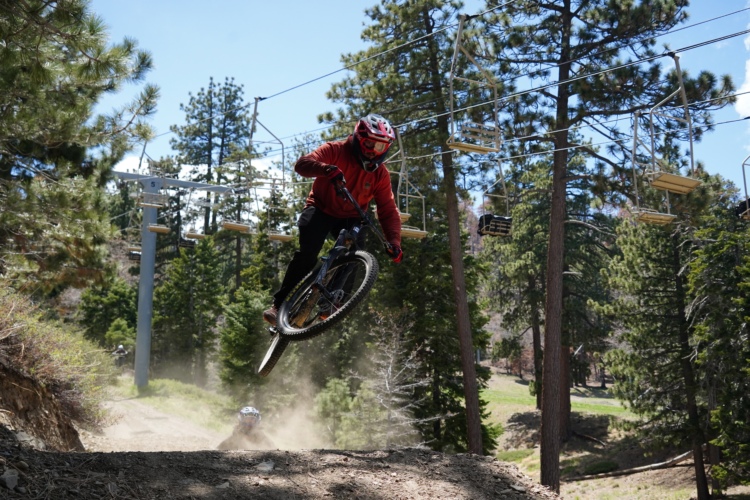
The hardest thing about switching from flat pedals to clipless for most folks is probably the associated anxiety. What if I can’t get out in time? What if I can’t get in? What if I crash, or can’t unclip and get lobotomized by my rear wheel? All of which are valid concerns.
There are ways to mitigate these thoughts, though, for an easier transition to clipless pedals. If you are considering making the move from freestyle feet to locked and loaded, read on. We have a few tips for you.
The hardware
One of the first intimidating aspects of switching to clipless is finding the right shoes, cleats, and pedals. With flat pedals, it’s possible to turn the cranks wearing high heels, Giro flat pedal shoes, or Crocs, but not so with clipless pedals. There are different types of clipless pedal systems, not all of which are compatible.

Pedals
Fortunately, it’s not all that confusing. When you purchase a set of clipless pedals, compatible cleats (the small metal pieces you attach to your shoe) are included in the box.
Many pedals are SPD-compatible, which stands for Shimano Pedaling Designs. These will work with all Shimano pedals, as well as pedals from other brands like Wellgo and Look.
Pedals from Crankbrothers use a unique cleat system, so it’s not possible to use these cleats with pedals from Shimano or any other brands. Time is another brand that uses a proprietary cleat system.
If you have multiple bikes, it’s generally a good idea to run compatible pedals so you’re not constantly swapping cleats on your shoes. And before you hop onto someone else’s bike, make sure your cleats are compatible with the pedals to avoid injury or damage to the cleat retention mechanism.

Most Shimano, SPD-compatible, and Time pedals feature adjustable tension settings. With a small hex key, the user can add or lessen the tension required to clip in or out of the pedal. By adding tension, it becomes more difficult to engage the shoe with the pedal, but is also tougher to get the shoe to disengage, which helps keep feet firmly attached to the pedals through rough terrain.
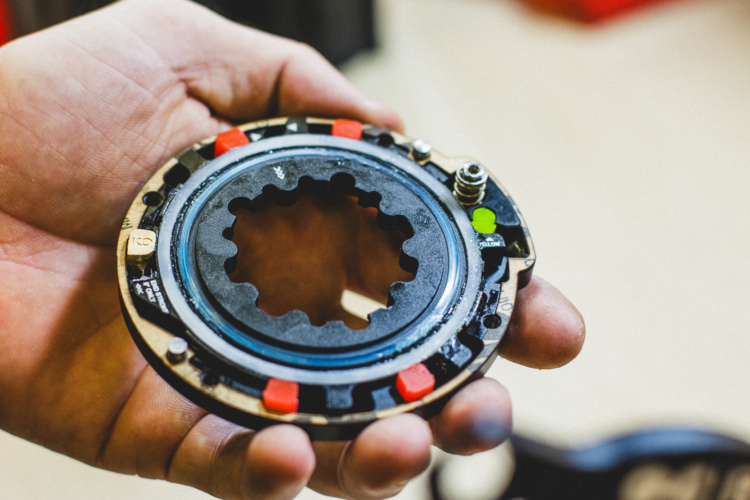
CrankBrothers pedals and cleats are easy to recognize due to their design. The retention wings on CrankBrothers are four-sided for easy entry, unlike Shimano pedals, which offer two-sided engagement. CrankBrothers pedals do not offer tension adjustment.
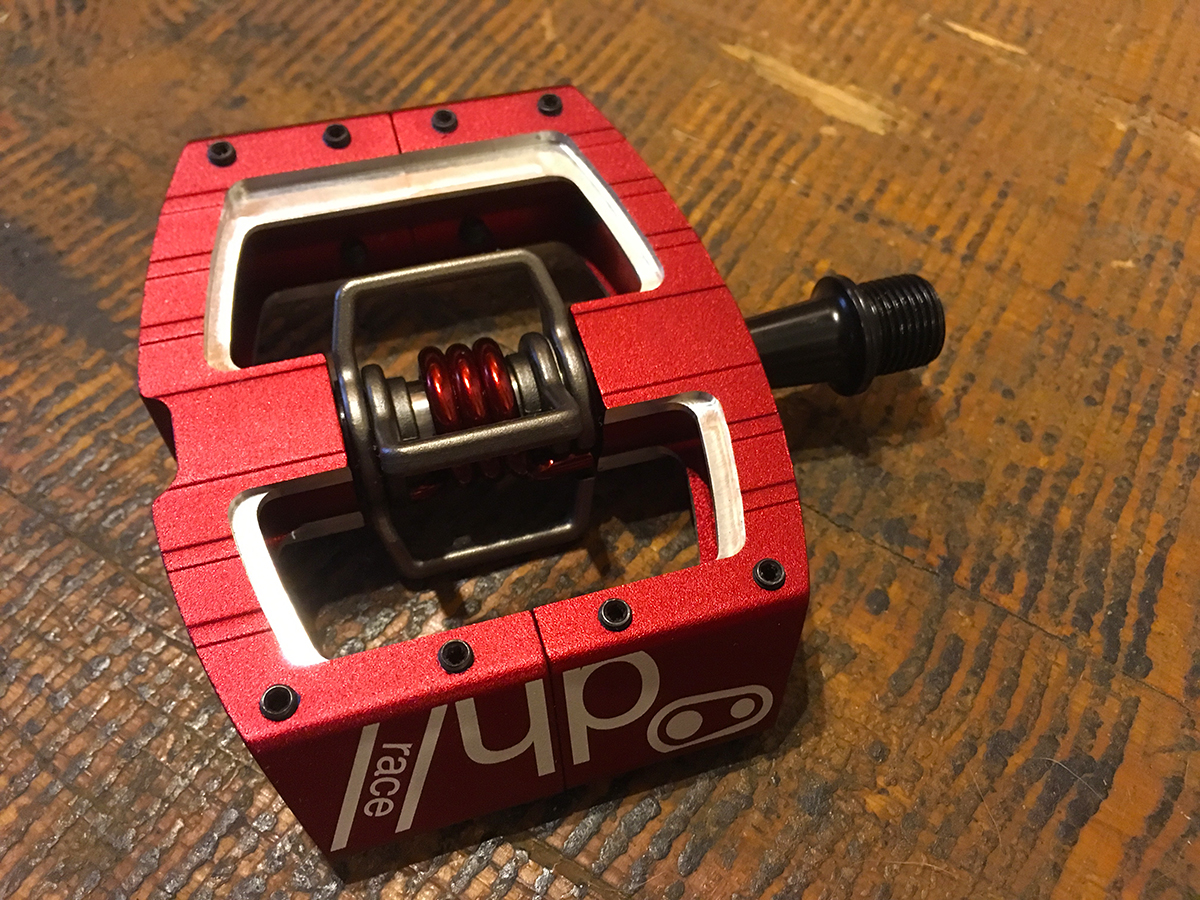
It’s easy to find pedals for any style of riding. Shimano, CrankBrothers, and others make pedals for enduro and gravity with big platforms, like the Mallet pictured above.
[see_also id=’6882′]
Likewise, light-duty pedals like the CrankBrothers Eggbeaters or Shimano XTR PD-M9000 are suitable for cross-country, and there are plenty of options in between. The Shimano XTR M9120s pictured above are a great pedal for trail and aggressive trail riding.
Cleats
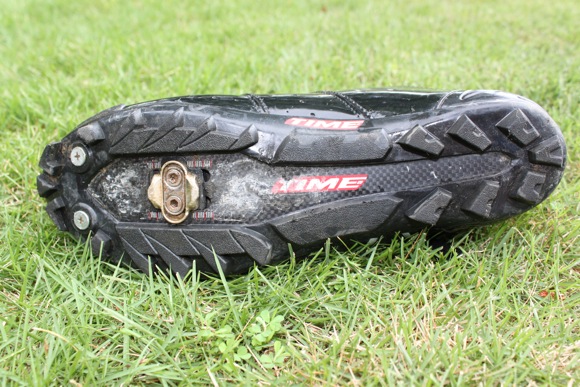
There is no tension device on CrankBrothers, but the brand does sell cleats that will release earlier than others with the intent of making clipless conversion easier. These cleats have very little room for the shoe to rotate on the pedal before they disengage. This is known as the float. CrankBrothers also markets 0-degree cleats as better for XC riders who want tighter engagement and improved efficiency, and cleats with more float for gravity riders who want more body input in corners or for riders with knee problems who need their knees to turn with their ankle while cornering.
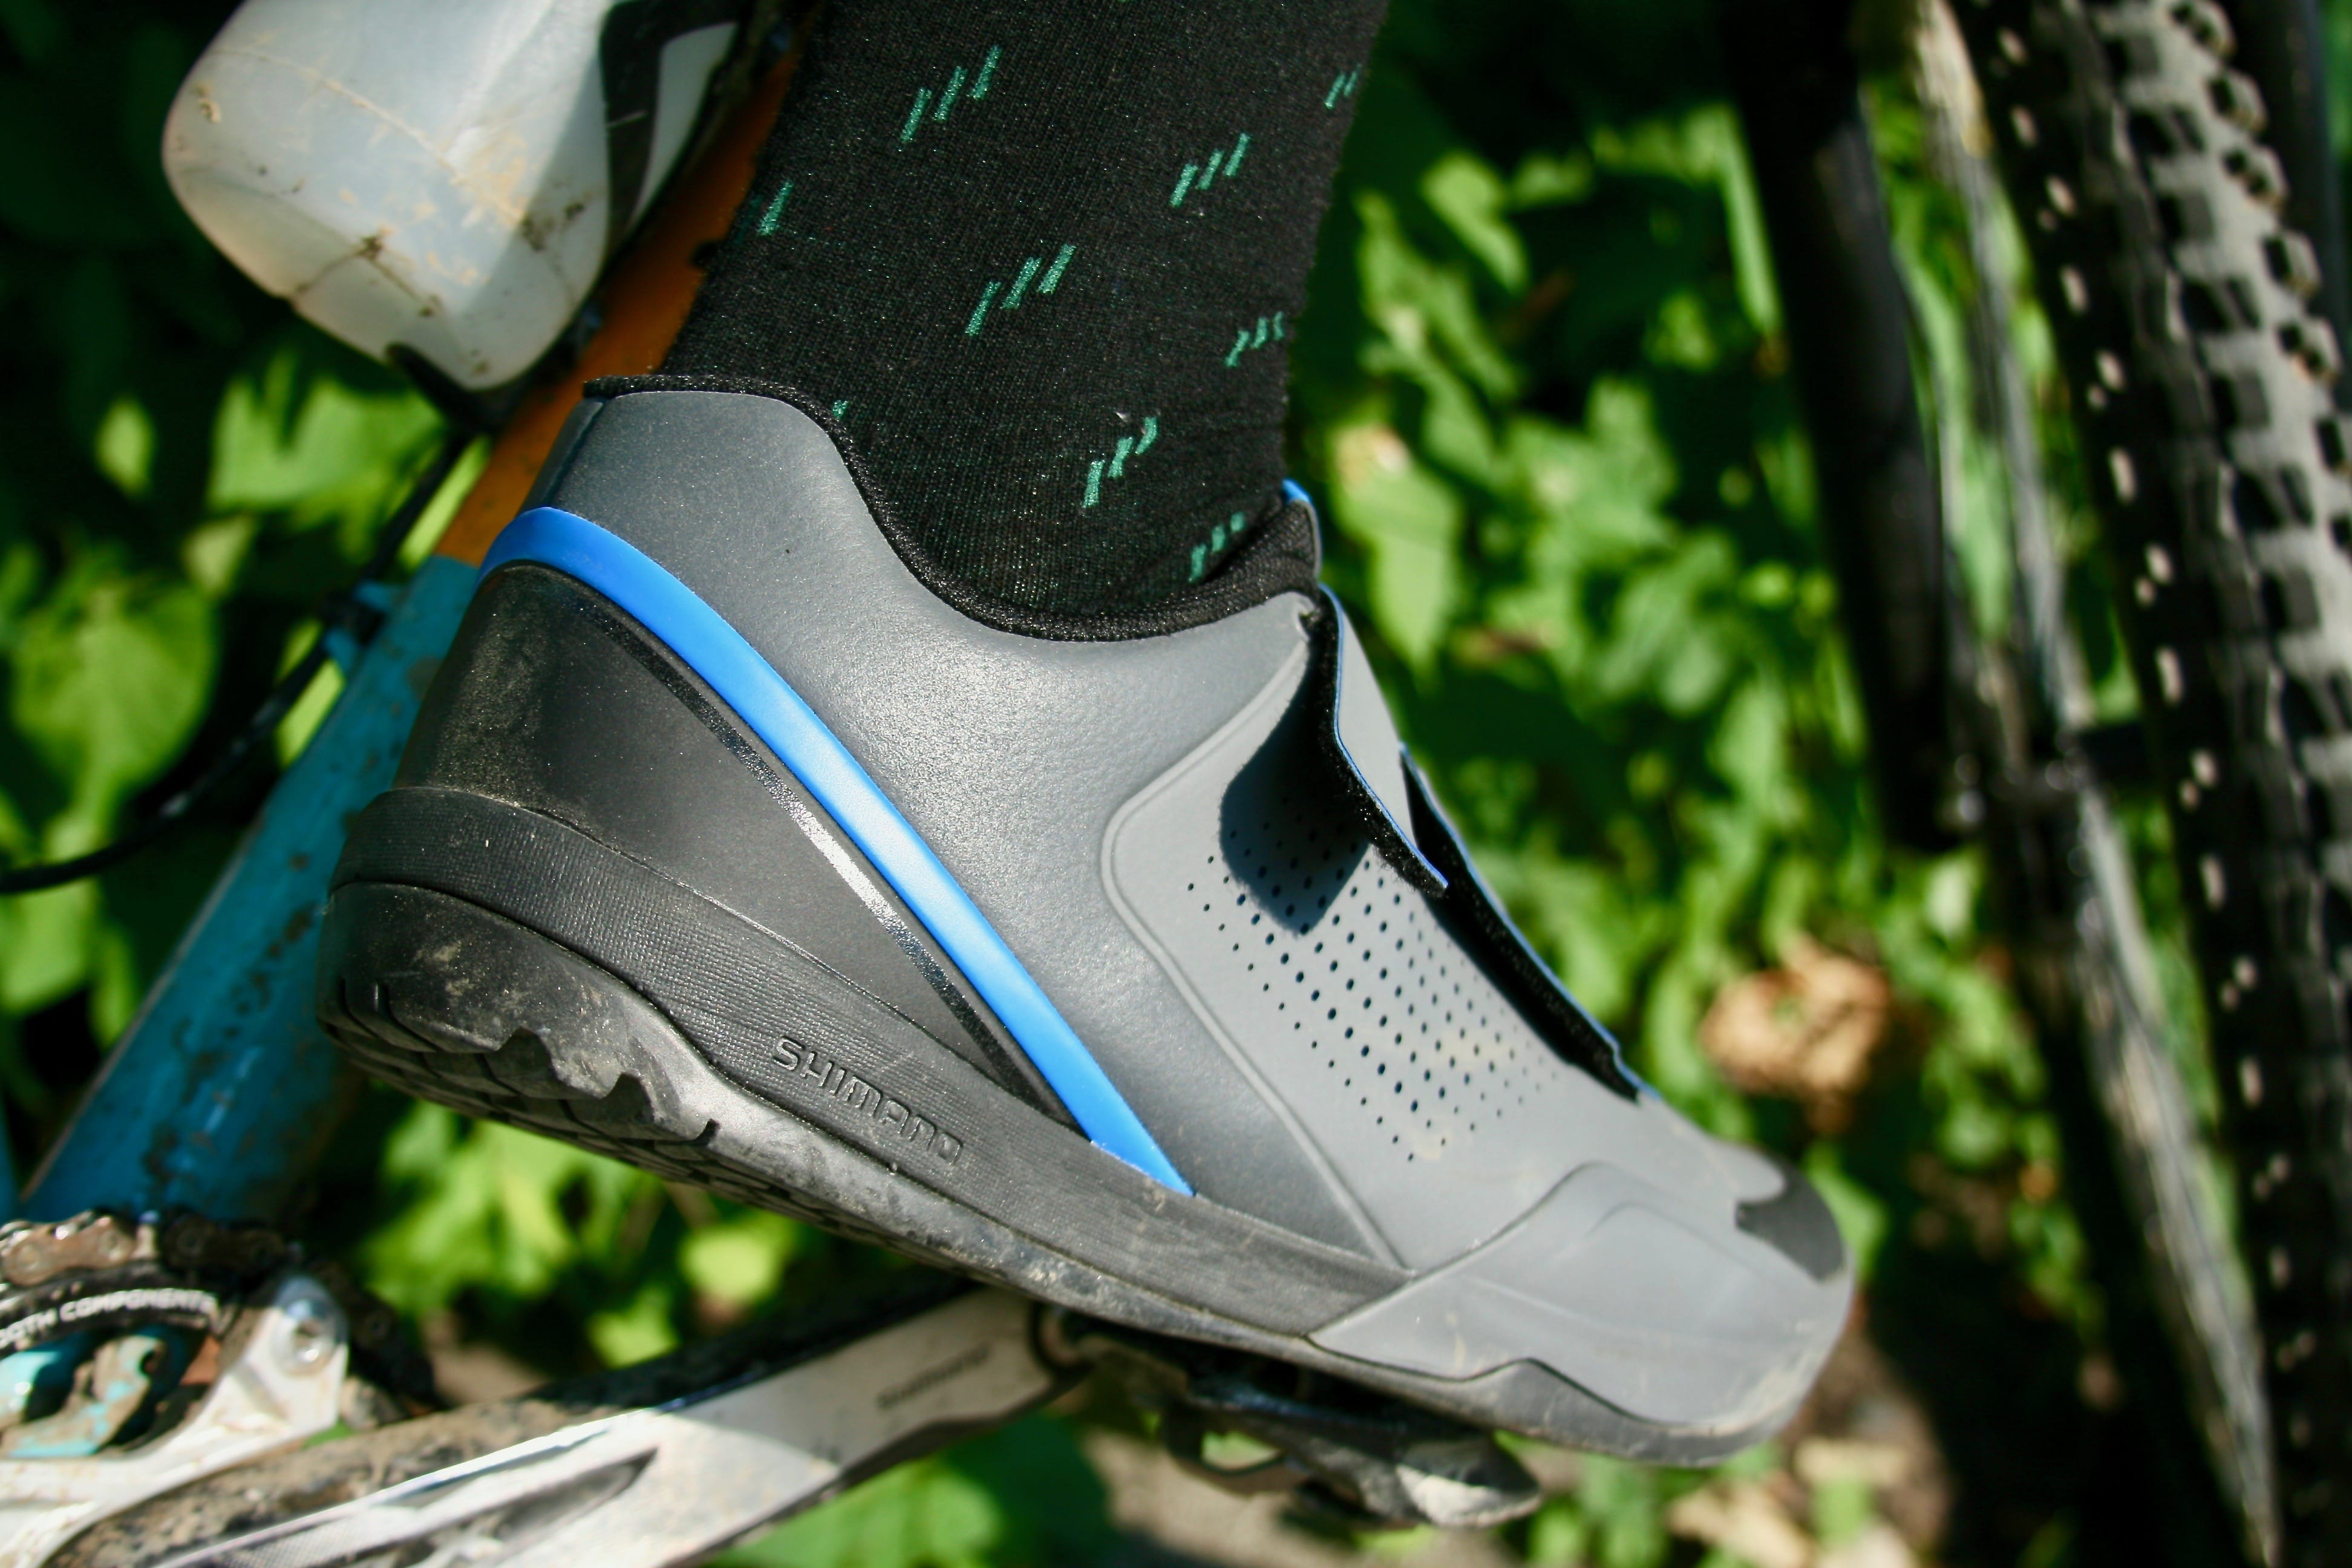
Shimano and Shimano-compatible cleats, like the cleats pictured above on the Ion shoe look kind of like a spade. They are also offered in various float options.
[see_also id=’252922′]
Cleats are designed with a softer metal than the cleat retention device in the pedal, since one or the other will wear out eventually. Depending on how much someone rides, it could be necessary to swap out cleats once a year, or a handful of times.
It should also be said that picking between Shimano or CrankBrothers is largely a matter of preference. Some may like the wider adjustability of Shimano, and might find unclipping easier. CrankBrothers offer a simple, durable design that can be easier to engage. Both have their pros and cons, so try not to worry about them too much.
Shoes
Clipless mountain bike shoes have come a long way. For a long time, the only clipless shoes out there looked like they were made for Lycra-laden, XC riders. There are loads of clipless shoe options now for anyone, whether they ride short-track XC or World Cup downhill. Clipless shoes also come down to a matter of preference, and really you just need to make sure that they will fit, look good to you, work for your style of riding, and have the two-bolt design that allows Shimano or CrankBrothers cleats.
The hard part
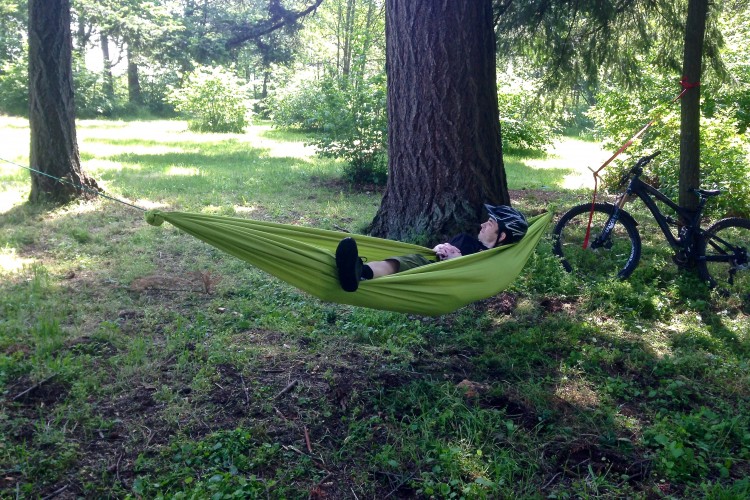
Now, for the hard part (don’t worry, it’s not that hard). When I started mountain biking, I rode flat pedals. It seemed simpler, and I felt that I could continue improving skills that I learned from riding flat pedals on BMX as a kid.
As time went on, I grew more curious about the benefits of riding clipless, and when I was buying a new bike one summer, I went all in on switching to clipless and bought new shoes and pedals too. New bike, new me. I started asking friends what I could do to make the transition easier. “Practice, practice, practice,” they said.

So, practice I did, but I started off small. After installing the pedals, and bolting the cleats down on the shoes, I leaned my bike up against a wall and hopped on the saddle. I wanted to get a feel for how the shoes engage and disengage with the pedals. I dipped my toes down, slid them forward on the pedal, and pushed down with the ball of my foot. Click. To get out, I practiced sliding my heel away from the bike. Then I repeated both of those movements a bunch of times.
Once I felt confident getting in and out, it was time to try it out while pedaling. I took the bike out to my apartment parking lot and rode it around, coming to a stop, knowing to twist my heel out as I pulled the brake levers. I have heard of other riders practicing this in a lawn or yard to soften any falls.

It only takes so long before this process gets boring, and you’ll need to go practice on the trails. Personally, I found it easier to start on less technical trails where bailing on features wouldn’t be an issue. Mild and buff singletrack that you’re comfortable with is the best place to start.
Muscle memory happens quickly, and clipping in and out becomes second nature. The next step in the process is to ride. I’ve never had any real bad experiences crashing when riding clipless. Usually, my feet come out of the pedals without thinking, and getting out in time to put a foot down has become second nature.
Like I mentioned above, moving to clipless can be a commitment to learn at first. Devote some time to it, practice on a wall, practice on the grass, and practice on the trails. You’ll have it down in no time.


16 Comments
Mar 5, 2019
Mar 5, 2019
Mar 6, 2019
In my last high speed crash (lost the front wheel in a loose, off-camber turn) my elbow and hip took most of the impact. My foot un-clipped during the crash, but had no bearing on the crash; I was on the ground so fast I didn’t even have time to get my hand off the bar (it only came off to push off the ground, my glove was completely in-scathed).
Finally if you can, get a proper bike fitting with your clipless pedals and shoes. You can royally jack-up your knees if you get the cleat angle and position wrong...
Mar 6, 2019
Jun 22, 2019
Jun 23, 2019
Mar 5, 2019
Mar 5, 2019
Mar 7, 2019
Mar 6, 2019
Mar 8, 2019
Mar 8, 2019
Aug 17, 2019
Step 2 take off clipless pedals.
Step 3... ...????
But seriously, i tried. I really did. Mallet DH and 510 hellcats. Love them both. But the point is to have best of both worlds. Not so much. I has to drop the spikes all the way and shim the cleat so much to be able to twist out (never could heel out, could only toe out to disengage. And that interferes with the crank.). That there was no suppoelrtive contact. And if i did manage to get out to anticipate a need to unclip, getting in was difficult and with no spikes to grip, it was scary slippery. Loved the security on fast rough DH trails though. Hate the inability to effortlessly dab a foot on techcnical rocky climbs. I fell over hard too many times in the rocks at zero mph to count.
I think nerve damage in my legs from all the racing injuries just prevents the type of twist out strength needed. Im bummed about that. I really wanted those to work once i discovered the control they provide.
Mar 6, 2019
Mar 7, 2019
Mar 7, 2019