Trails
Reviews
Tips
Community
Deals
Latest
Support
Trails
Find trails
Best bike trails
Destinations
Add a new trail
Reviews
Mountain bike reviews
Components
Tires
Clothing & shoes
Helmets
Accessories
Product news
Community
MTB Clubs
Races & Events
Bike Shops
Tips
Skills
Fitness & Training
Health & Nutrition
Beginners
Repair
Latest Articles
Podcast
Deals
Support Singletracks
Sign in
Create an account
About us
Newsletter signup
Trails
MTB Tips
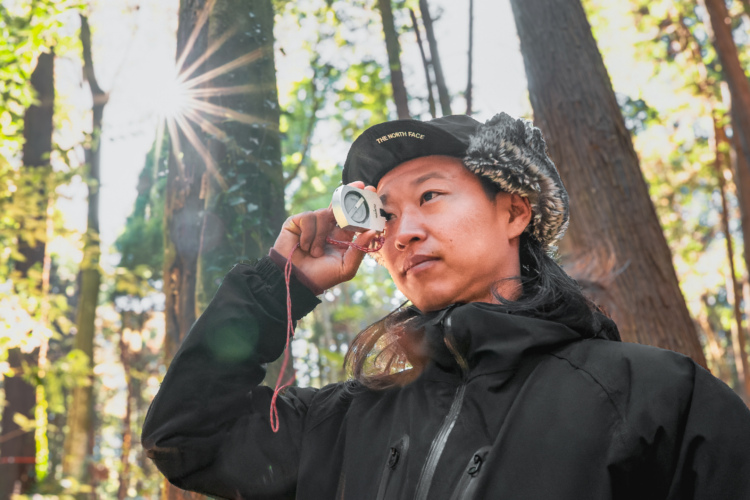
What is a clinometer, and how do you use it for trail building?
1
Colorado
The first trail designed for e-bikes in Colorado's San Juan National Forest is now complete
2
California
California riders rally to save a popular beginner-friendly flow trail
4
North Carolina
3 New MTB Trails in the Pisgah, and the Wheel Mill Is Officially Closed [Trail Flow]
Scotland
Danny MacAskill in The Slabs, Scotland [Video]
Mountain Bike Podcast
Fabio Wibmer Talks Confidence, Perfection, and Inspiration [Podcast #272]
Community
The Best Singletracks Mountain Bike Reads of 2020
2
Mountain Bike Trails
IMBA Asks Mountain Bikers to Act Now In Support of US Trail Funding
Denmark
IMBA EU Has a New Survey out Asking Riders What Kind of Trails They Want to See
1
Arizona
Mountain Biking: Chicken Soup for the Soul
5
Mountain Bike Trails
European vs. North American Singletrack: Thankfully, There are Differences to Enjoy
2
Mountain Bike Trails
Ljubljana, Slovenia and Surrounding Mountains are Ribboned With Outstanding Singletrack
1
Mountain Bike Trails
Singletracks and Moose Tracks in Moscow, Idaho
Mountain Bike Trails
Specialized and Soil Searching Aim to Recognize Trail Builders, Raise Cash for Singletrack, and Promote Fun Dig Days
1
Mountain Bike Trails
Israel's Mountain Bike Master Plan Includes Accessibility Options for Everyone
1
Culture
What is Your Favorite Type of Mountain Bike Trail?
3
Mountain Bike Trails
Most Popular Mountain Bike Trails in the US and Canada, State-by-State (2019)
18
Mountain Bike Trails
Worldwide Shredlist: Mountain Biking Pietra Ligure, Italy
Mountain Bike Trails
4 Reasons Why You Should Be A Fan Of Flow Trails for Mountain Biking
29
Arizona
12 of the Best MTB Destinations to Visit in 2019
7
Mountain Bike Trails
A Short History of MTB Advocacy, and Why It's As Important As Ever
1
Mountain Bike Trails
Jefferson County, Colorado To Implement Pilot Program For Bike-Only Trails
Mountain Bike Trails
Interior Secretary Zinke Adds 19 New National Recreation Trails Across US
1
Mountain bikes
Idaho BLM Office Will Test New Travel Management Plan With E-Bike Demo
7
Mountain Bike Trails
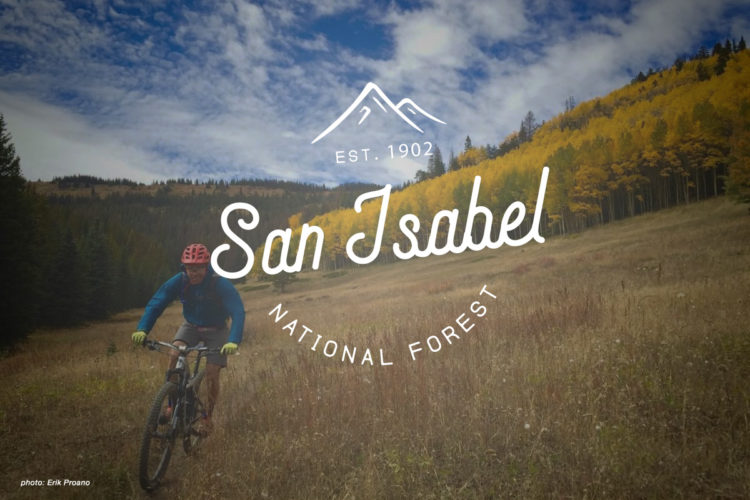
10 Best Mountain Bike Trails in the San Isabel National Forest
1
Mountain Bike Trails
Experience Bears Ears with Western Spirit Cycling, Before It's Filled with Oil Wells
14
Community
The Biggest Bike Sale in New Zealand, Coming to Taupo in April
Mountain Bike Trails
Your Backyard Trails Are Somebody Else's Destination
7
Culture
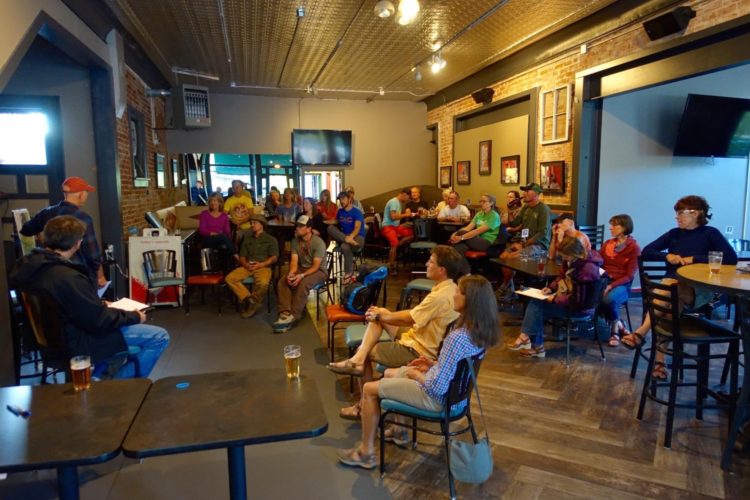
Over a Beer: Attend Meetings, Get Trails Built
3
Mountain Bike Trails
Mountain Bikers Receive Rare Approval to Ride in a National Park
3
Mountain Bike Trails
All Aboard the Hardtail Time Machine: Exploring The Past by Bike
6
Mountain Bike Trails
10 of the Best Mountain Bike Trails in the Chattahoochee National Forest
2
Culture
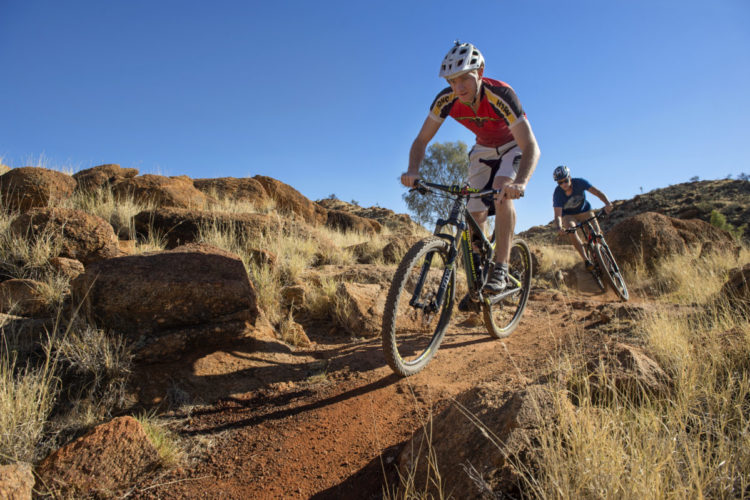
Government to Invest $12 Million to Build Mountain Bike Trails in Central Australia
Arizona
Sedona Is Breaking Ground on a New 27-Mile Trail System
4
Mountain Bike Trails
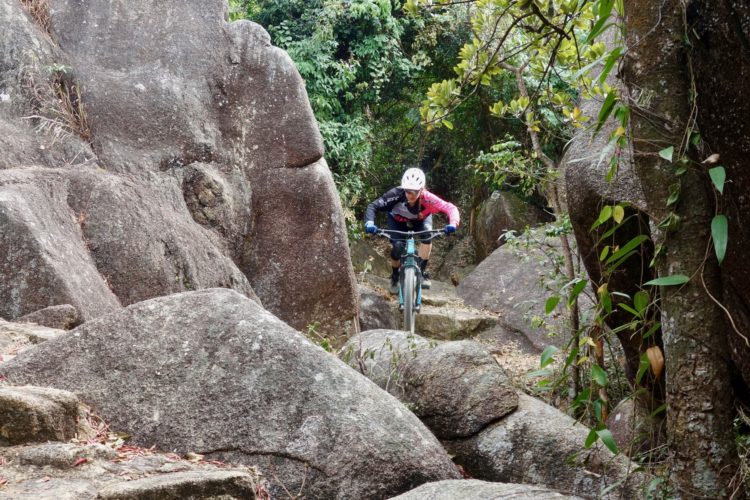
The Secret's Out: Go Mountain Bike Hong Kong
5
Mountain Bike Trails
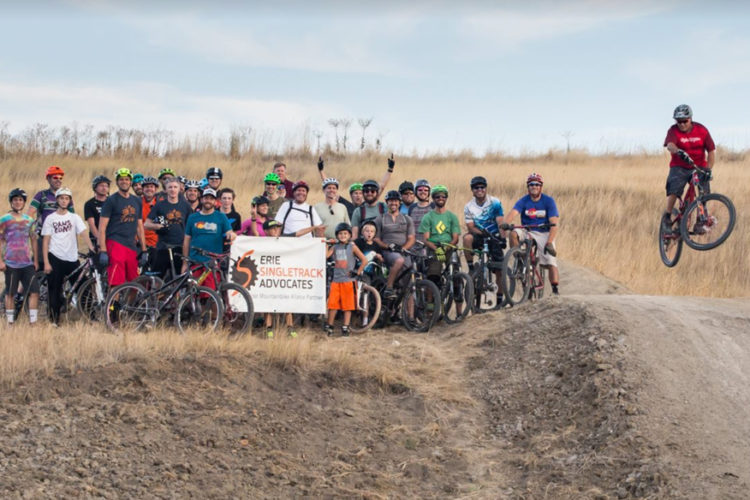
From Rogue Pipe Dream to Community Playground: The Birth of Erie Singletrack
2
Mountain Bike Trails
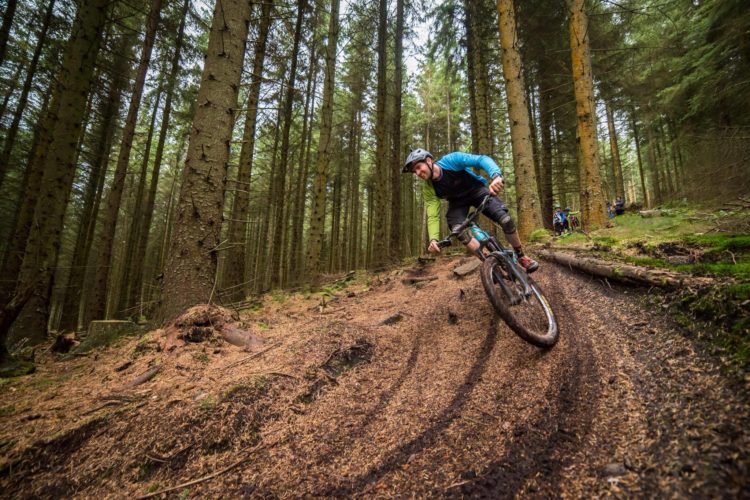
Challenges that Trail Builders in the UK Must Overcome
Mountain Bike Trails
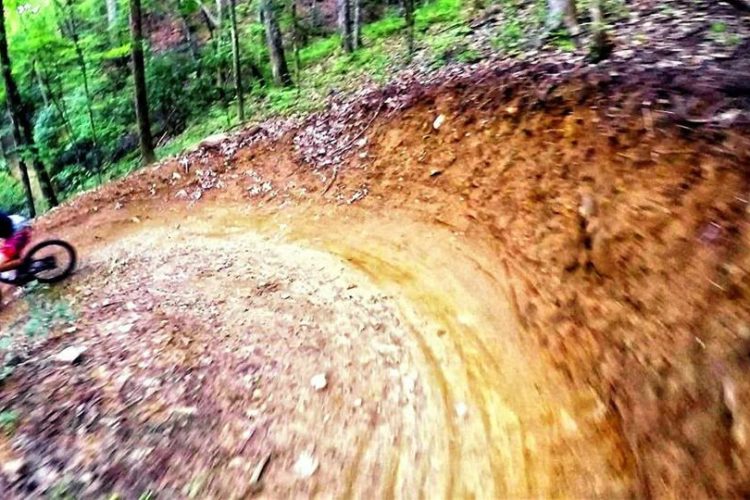
Fast, Fun Flow on the New Fire Mountain Trails in Cherokee, NC
3
Mountain Bike Trails
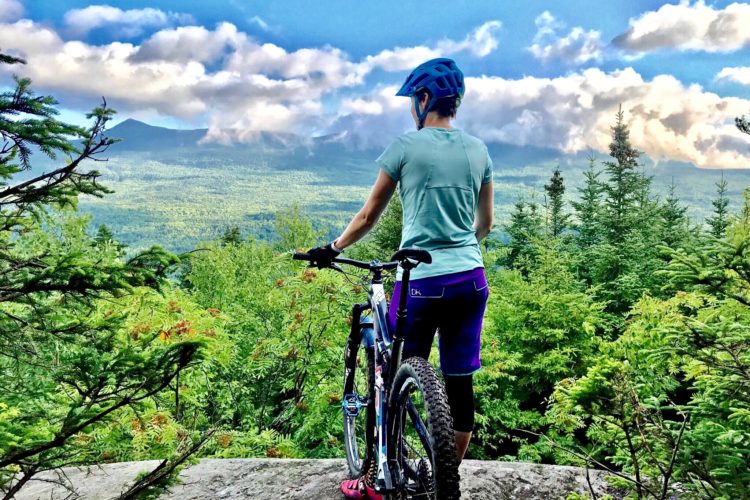
7 Must-Ride Mountain Bike Trails in Maine
Mountain Bike Trails
Five2Ride: The Best Bike Trails near Tucson, AZ
Mountain Bike Trails
Five2Ride: The Best Bike Trails near Las Vegas, NV
Mountain Bike Trails
10 Best Mountain Bike Trails in Cibola National Forest
1
Mountain Bike Trails
Five2Ride: The Best Bike Trails near Kansas City
1
Mountain Bike Trails
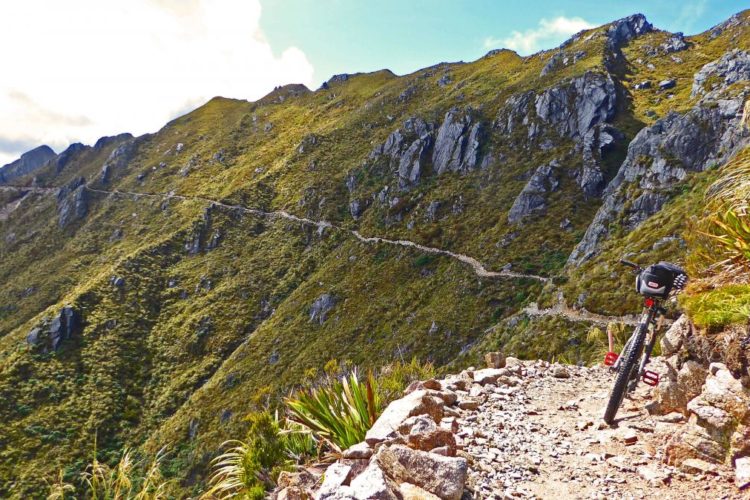
The 2017 IMBA Epic Trail List Includes Routes in New Zealand, Finland, Alaska
2
Mountain Bikes and Gear
Watch: Is the GoPro Mouth Mount a Cheap Gimbal Alternative?
4
Mountain Bike Trails
The 10 Best Mountain Bike Trails in the Angeles National Forest
1
Mountain Bike Trails
The 10 Best Mountain Bike Trails in Willamette National Forest
Mountain Bike Trails
Five2Ride: The Best Mountain Bike Trails near Phoenix, AZ
2
1
2
3
…
9
»
 1
1