Trails
Reviews
Tips
Community
Deals
Latest
Support
Trails
Find trails
Best bike trails
Destinations
Add a new trail
Reviews
Mountain bike reviews
Components
Tires
Clothing & shoes
Helmets
Accessories
Product news
Community
MTB Clubs
Races & Events
Bike Shops
Tips
Skills
Fitness & Training
Health & Nutrition
Beginners
Repair
Latest Articles
Podcast
Deals
Support Singletracks
Sign in
Create an account
About us
Newsletter signup
Mavic
Tops & Jerseys
11 Short and Long Sleeve Mountain Bike Jerseys to Consider
Mountain Bikes and Gear
Mavic Crossride Belt: A Simple and Comfortable Hip Pack [Review]
2
Clipless Pedal Shoes
Clip in Comfortably With Mavic's XA Pro Shoes [Review]
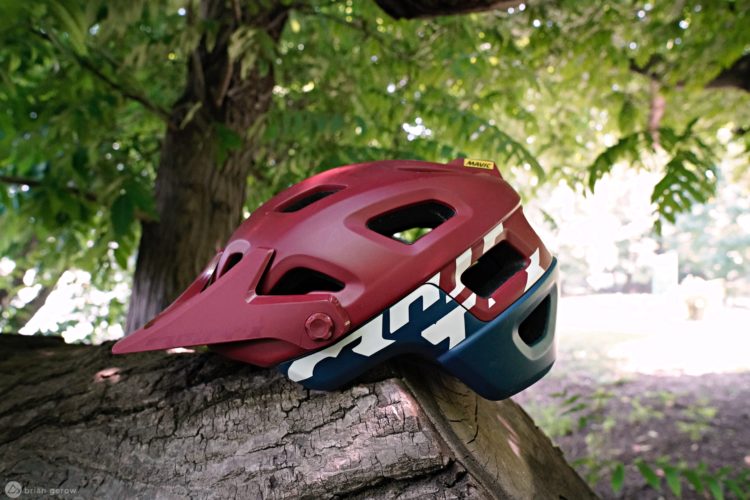
Half Shell Helmets
Mavic's Crossmax Pro Half Shell Mountain Bike Helmet Reviewed
1
Half Shell Helmets
POC Tectal Race Helmet Review
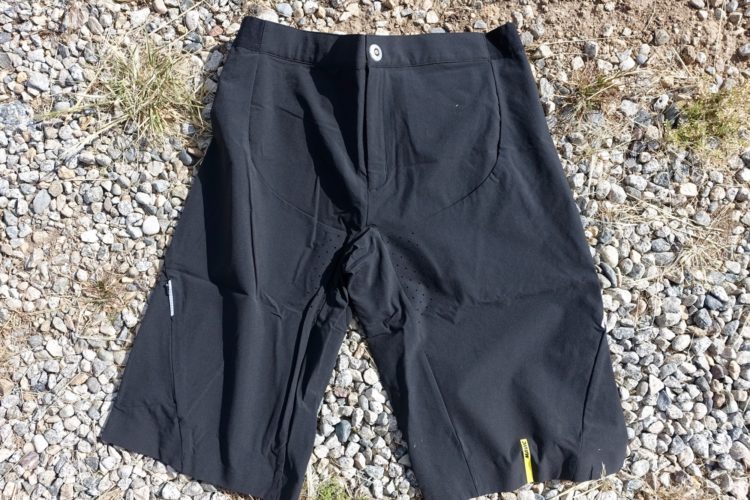
Mountain Bikes and Gear
Mavic's XA Pro Shorts Provide Superb Comfort in a Lightweight Package - A Review
3
Mountain Bikes and Gear
Mavic's XA Pro Under Bib Short Provides Superb Ventilation - A Review
Mountain Bikes and Gear
Watch: The Best Drone for Mountain Biking - DJI Mavic Pro Drone Review
1
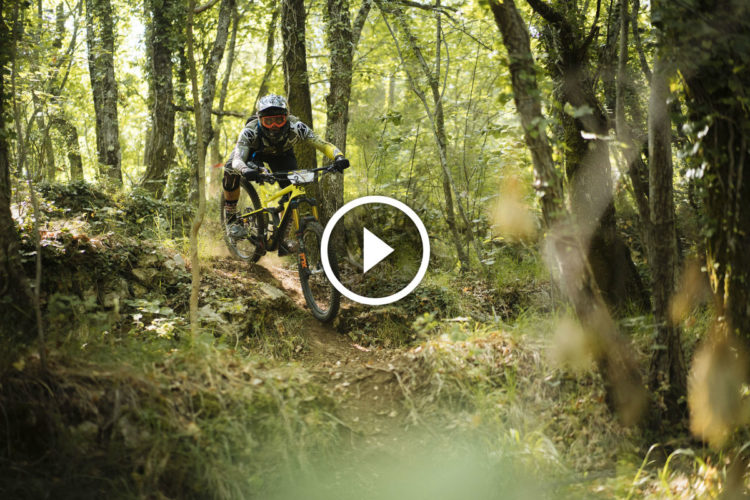
Community
Watch: Recap from Day 6 of the Trans-Provence Enduro Race in France
Mountain Bikes and Gear
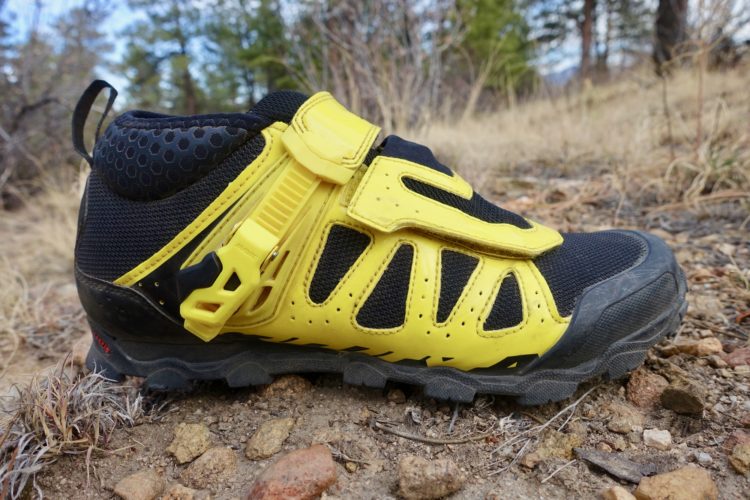
Mavic Crossmax XL Pro Shoes Review
1
Mountain Bikes and Gear
Mavic Crossride Elite MTB Shoes (2016) - A Long Term Review Turned Short
10
Culture
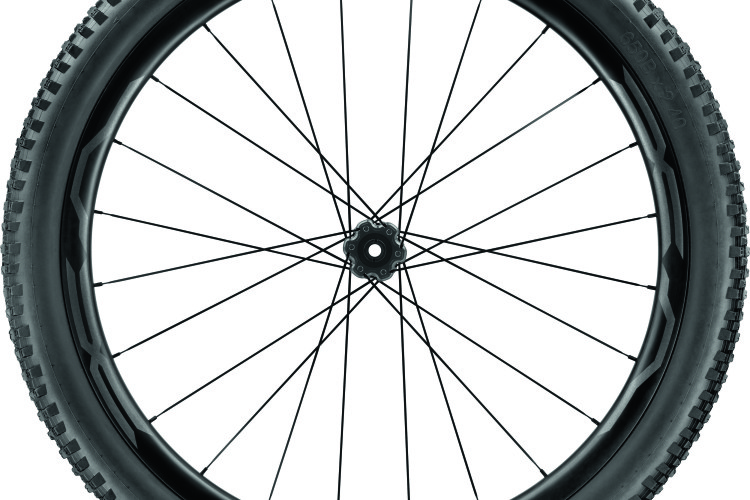
Mavic Unveils Their First Carbon MTB 27.5 and 29er Wheelset: The XA Pro Carbon
2
Culture
News: Mavic Crossmax Pro and Crossmax Elite Wheels Go Wide, Add Boost
Mountain Bikes and Gear
Review: Mavic Crossmax XL WTS 27.5 Wheels and Crossmax Quest 27.5 Tires
4
Mountain Bikes and Gear
Review: Mavic Crossmax Enduro Kit
Mountain Bikes and Gear
Interbike 2014: Mavic, Norco, Easton, Race Face, and Park Tool
Mountain Bikes and Gear
Review: Mavic Crossmax Hydropack 15
1
Mountain Bikes and Gear
The Best Mountain Bike Brands and Products of 2014
5
Mountain Bikes and Gear
Review: Mavic Crossmax Enduro Mountain Bike Shoes
Culture
News: Mavic Releases New Crossmax SL Wheel System
1
Clipless Pedals
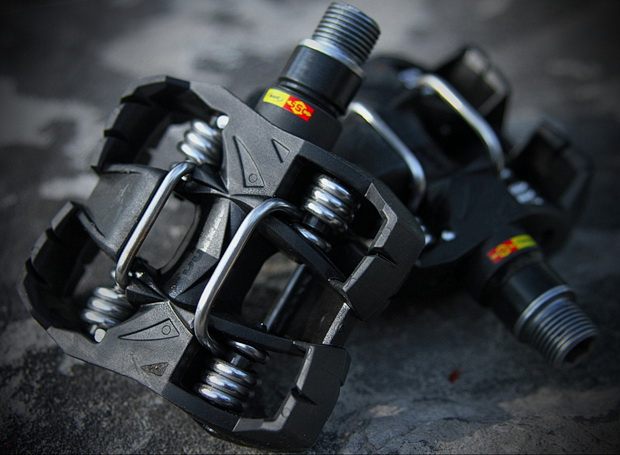
Review: Mavic Crossmax XL Pedals
2
Mountain Bikes and Gear
Review: Mavic Scree All Weather Mountain Bike Shoes
3
Mountain Bikes and Gear
Review: Mavic Notch Jersey and Shorts
Mountain Bikes and Gear
Review: Mavic Notch Mountain Bike Helmet
Mountain Bikes and Gear
Review: Mavic Crossmax ST Wheelset
Mountain Bikes and Gear
Interbike 2013: New Products from Mavic
7
Mountain Bikes and Gear
Mavic Crossmax SLR 29 MTB Wheel Set Review
11
Downhill Bikes
Santa Cruz V10 Carbon Downhill MTB: Reviewed
12
Mountain Bikes and Gear
Mavic Crossmax SX Wheel Review
8
Mountain Bikes and Gear
Mavic Alpine XL Mountain Bike Shoe Review
Community
Mavic DeeMax Ultimate DH Wheelset Review
10
Community
The DH Machine - It's Alive!
7
Mountain Bikes and Gear
2011 Mavic Razor MTB Shoe Review
Mountain Bikes and Gear
Mavic Hoops, Computes, and Boots at Interbike
Mountain Bikes and Gear
Interbike Eye Candy That I Almost Forgot
1
Wheels
2009 Mavic Crossmax SX Review
Community
New Mavic Crossline wheels
1

 2
2