Trails
Reviews
Tips
Community
Deals
Latest
Support
Trails
Find trails
Best bike trails
Destinations
Add a new trail
Reviews
Mountain bike reviews
Components
Tires
Clothing & shoes
Helmets
Accessories
Product news
Community
MTB Clubs
Races & Events
Bike Shops
Tips
Skills
Fitness & Training
Health & Nutrition
Beginners
Repair
Latest Articles
Podcast
Deals
Support Singletracks
Sign in
Create an account
About us
Newsletter signup
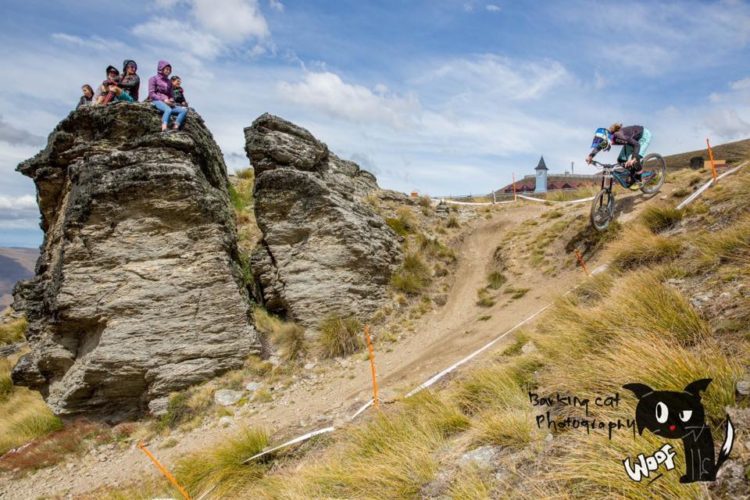
DH
Community
Cécile Ravanel in New Beginning [Video]
Portugal
Commencal Welcomes Angel Suarez in This Dreamy Edit [Video]
Andorra
For Alex Rudeau, One Bike Fits All [Video]
South Africa
Mountain Bike Pizza Delivery, with Theo Erlangsen [Video]
1
Utah
Kyle Strait in I Think I'll Have Another [Video]
Community
Must Watch: Outdoor Synchrony with Kilian Bron [Video]
Community
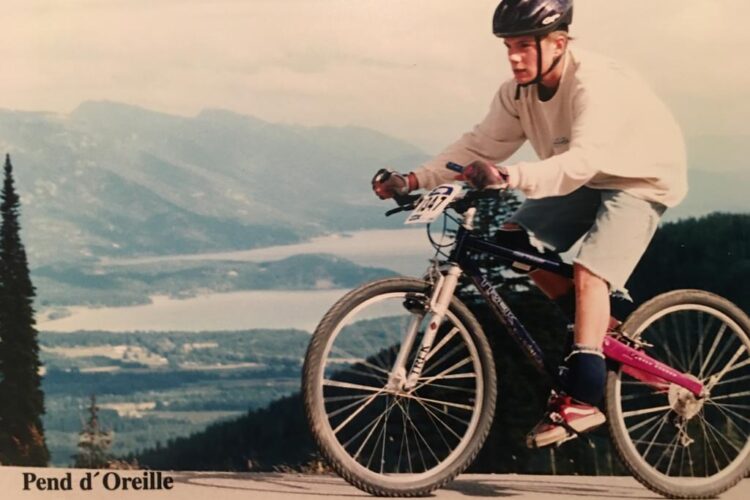
Family Mountain Bike Bonding: Downhill Racing on Cross-Country Elastomers, Circa 1995
6
Culture
Would you Rather Ride a Sketchy Downhill Trail... [Survey]
12
Community
Wheelie Master Wyn Masters Started Racing DH at Age 11 [Interview]
Forks
Fox Drops the All-new 38 Fork with a Grip2, Updates X2 and DHX2 Shocks
Culture
The New Canfield DH Bike ONE.2 can Climb, if Necessary
Community
The Mind Behind the Lens: An Interview With Legendary MTB Photographer Sven Martin
Community
Inside the YT Mob With Team Manager Martin Whiteley
Community
German National Downhill Champ and EWS Racer Raphaela Richter is Also a Full-Time Optician
1
Community
Miranda Miller Has Carried Her DH Mountain Bike Racing Power to the Enduro World Series
MTB Tips
Watching Pro Mountain Bike Races Can Improve Your Own Trail Experience
5
Body Armor
Leatt's Chest Protector 3.5 Keeps Your Core Safer [Review]
Community
The Knife's Edge: Red Bull Rampage 2019 in Photos
1
Derailleur
Tektro Racing Products Sprints into the MTB Drivetrain Market With a New 7-Speed, DH Derailleur and Shifter
MTB Tips
Mountain Bike Skills for Descending [Podcast #209]
Community
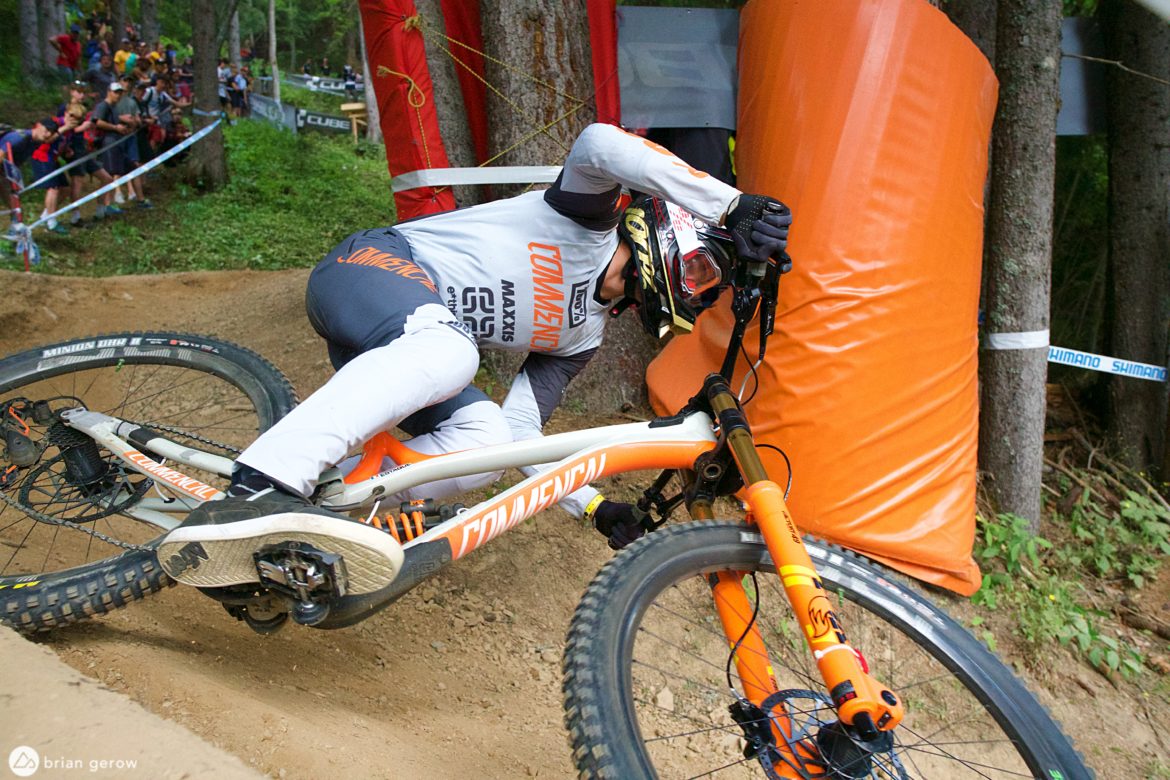
UCI Downhill World Cup in Les Gets: Fast Grass and Road Gaps [Photo Essay]
Downhill Bikes
The Scott Gambler DH Mountain Bike Has Been Redesigned With Adjustability and Integration in Mind
Body Armor
SHRED. Flexi Back Protector Covers Your Spine and Has Space for Gear
1
Community
A Story of Adaptability: How Katy Curd Went From 4X World Champ to UK National DH Champion
Community
Hopetech Women's Enduro, and Other Dirt-Tales With Rachael Walker
Mountain Bikes and Gear
Legit Carbon Full Face MIPS Helmet From Bluegrass Eagle Is Feature-Packed and Ready for Impact
Mountain Bike Trails
Watch: Urban Downhill Mountain Biking Around Barcelona
Community
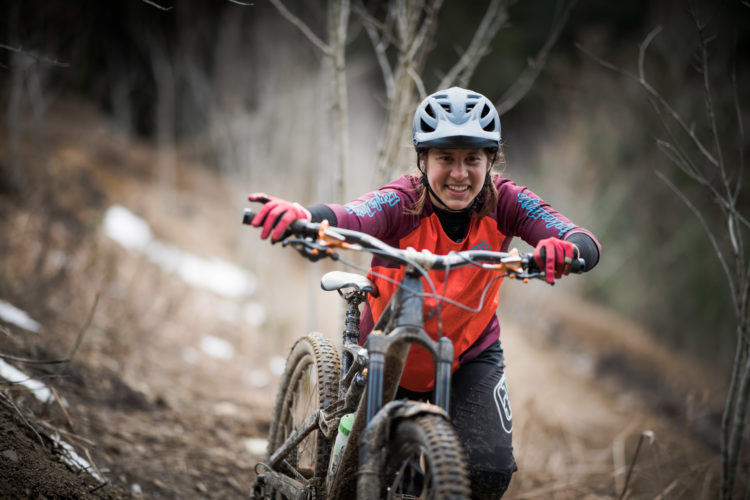
One Fast Kiwi Couple Globetrotting Through a Summer of Enduro Racing
Mountain Bike Trails
Worldwide Shredlist: Les Orres Bike Park in The Alps of Southeastern France
Mountain Bike Trails
The Next Big Bike Park: Silver Mountain, Idaho
1
Downhill Bikes
The Devinci Wilson Downhill Bike Gets 29-Inch Wheels
Community
Bringing Mountain Biking to Turkey: Gravity Rider, Trail Builder, and Race Promoter, Emrah
Mountain Bike Podcast
Pro Rider Eric Porter Talks MTB Competition and Being a Rad Dad [Podcast #165]
Community
Transgender DH Mountain Biker Wins National Title, Talks About the Struggle
10
Mountain Bike Trails
Peru Mountain Biking Part 3: The South Side of the Sacred Valley
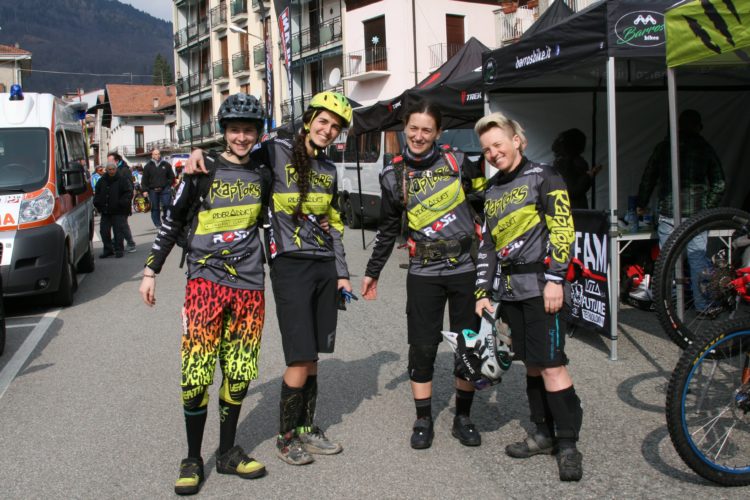
Italy
The Raptors: Meet the Women Shredding DH and Enduro in Northern Italy
Community
Sick Bicycles: The Birth of an Unusual Bike Company
1
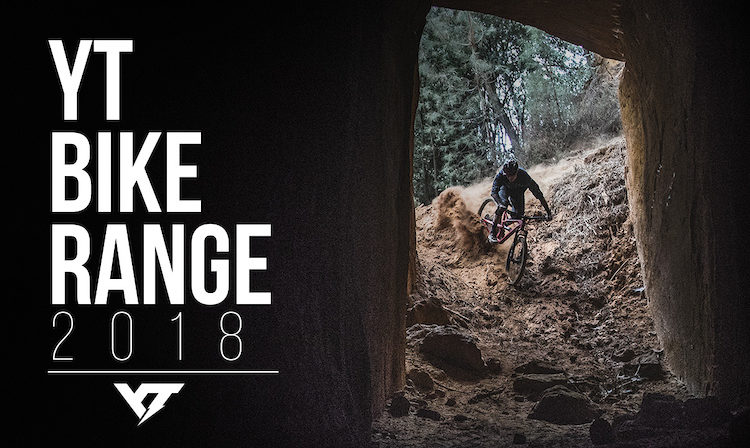
Downhill Bikes
YT Industries Launches New 2018 Bike Range, Drops Prices
5
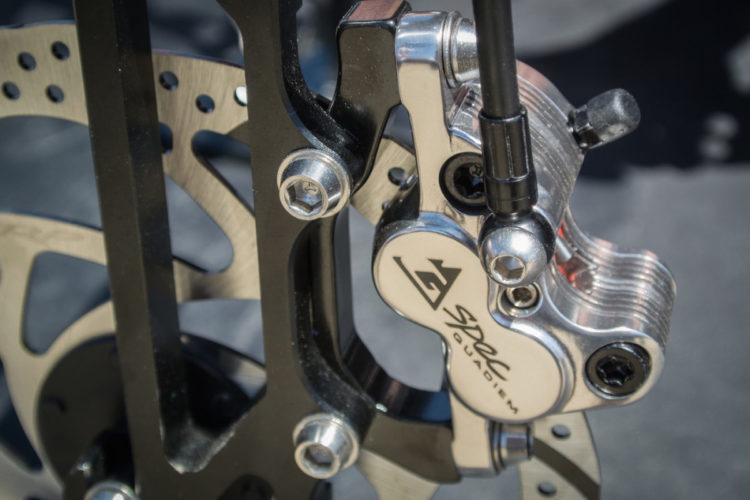
Brakes
Brakes for the Fastest Man in the World: TRP G-Spec Quadiem Review
Community
Racing Enduro Is Inherently More Dangerous than Racing DH [Opinion]
1
Community
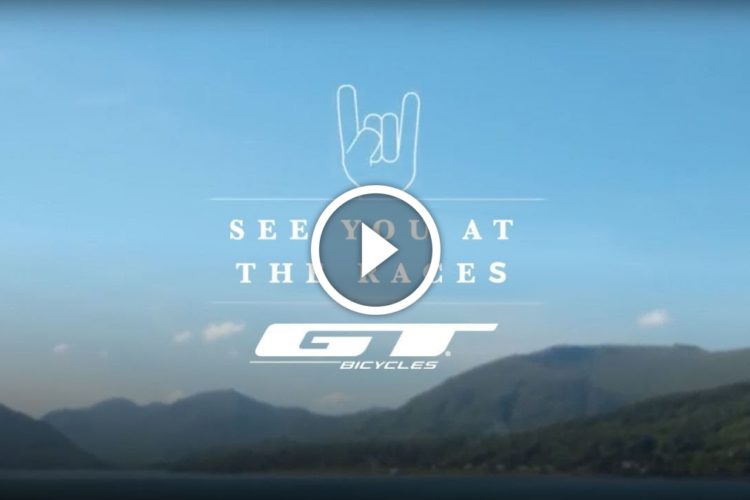
Watch: GT Factory Racing Says Goodbye to a Few Friends
Mountain Bike Podcast
These Are the Mountain Bikes You Should Buy [Podcast #133]
8
Mountain Bike Trails
Powderhorn: The Cool Way to Get Dirty in Western Colorado
Community
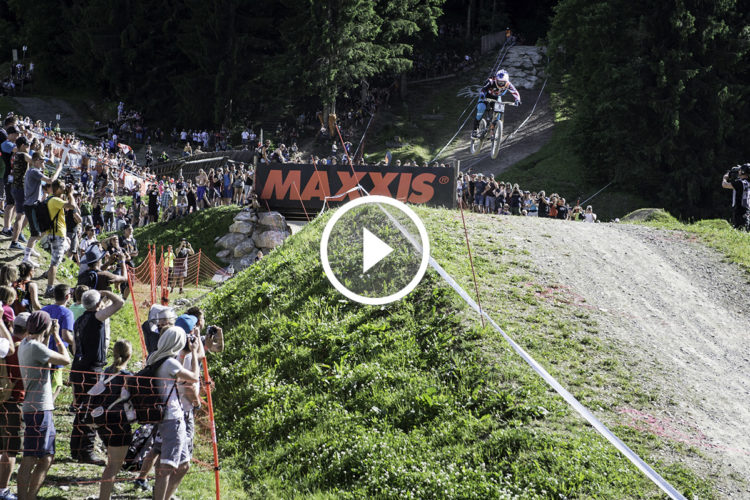
Watch: Claudio's Mont-Sainte-Anne Track Preview
MTB Tips
Hacks to Help You Descend Faster on Your Mountain Bike [Podcast #112]
Community
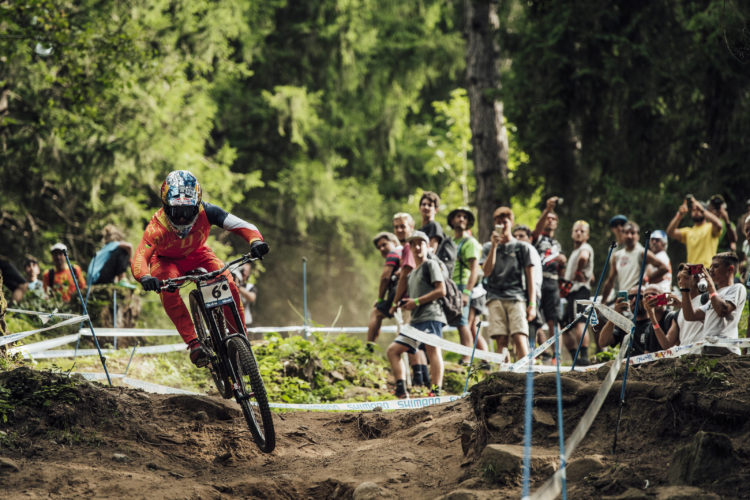
Watch: Challenging Race Weekend for Aaron Gwin and YT Mob in Lenzerheide
Community
The $2,500 Mongoose Boot'r Brings Downhill to the Masses
Community
Watch: Aaron Gwin and Tahnee Seagrave Win in Leogang
1
2
3
4
»


 1
1