Trails
Reviews
Tips
Community
Deals
Latest
Support
Trails
Find trails
Best bike trails
Destinations
Add a new trail
Reviews
Mountain bike reviews
Components
Tires
Clothing & shoes
Helmets
Accessories
Product news
Community
MTB Clubs
Races & Events
Bike Shops
Tips
Skills
Fitness & Training
Health & Nutrition
Beginners
Repair
Latest Articles
Podcast
Deals
Support Singletracks
Sign in
Create an account
About us
Newsletter signup
Culture
Beyond category.
Colorado
MTB World Champs are returning to Durango, CO, for 40-year anniversary
Culture
Saddle Up for Success: Trading Self-Help for Mountain Biking Adventures
1
Arizona
It Has Become Beauty Again [Video]
United States
Toyota isn't Doing Itself any Favors with Mountain Bikers Right Now
22
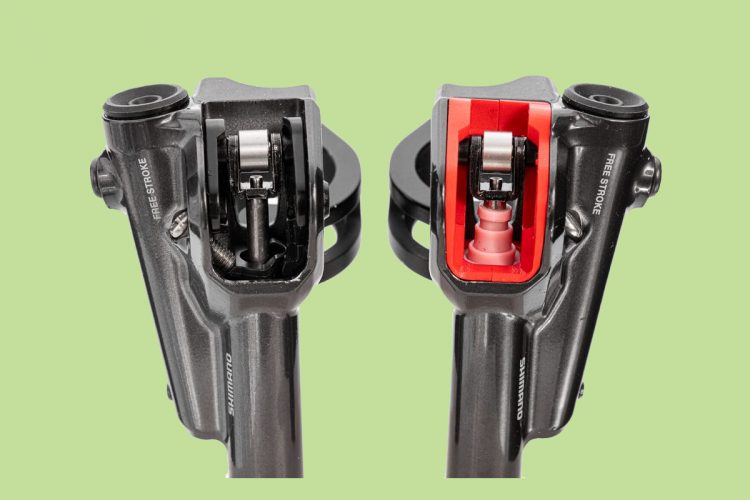
Brakes
Red Panda Components Says The Lobster Makes New Shimano Brakes Better
California
After a Rescission, E-Bikes are Once Again Allowed on 35 Miles of Tahoe Nat'l Forest Trails
1
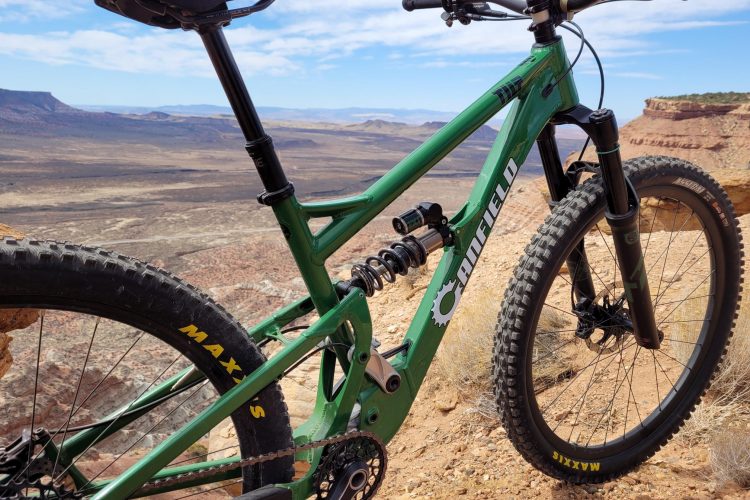
United States
Prototype Canfield Stolen in Salt Lake City
3
Culture
What is the Best Season for Riding Your Local Trails?
3
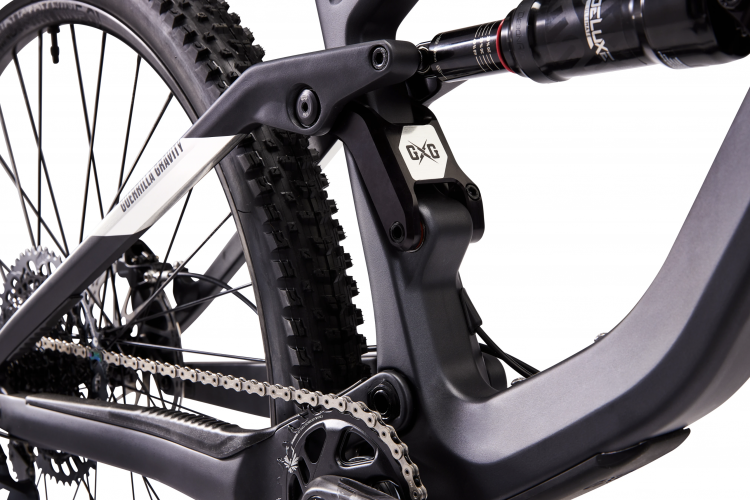
Mountain bikes
Updated Trail Pistol From Guerrilla Gravity Now Has a Carbon Rear Triangle
Mountain bikes
YT Industries Brings Back Affordable Aluminum Capra Models
Mountain bikes
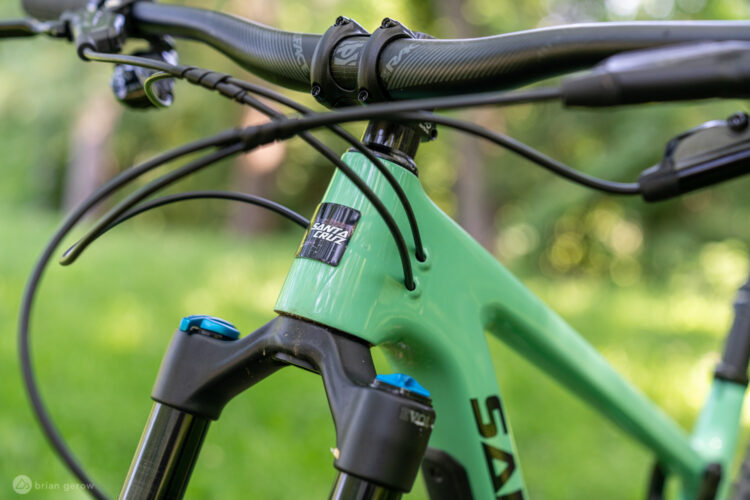
Citing Pandemic Issues, Santa Cruz Bicycles Increases Retail Prices
13
Colorado
Ampt Biking Expands Adaptive Riding Events in 2021 with 3 US Events
Mountain Bike Shoes
Ride Concepts Vice Mid MTB Shoes Grow Upward for Ankle Protection
1
Mountain bikes
Alchemy Bikes Updates the Arktos Frame With Various Travel Options and a Mixed-Wheel Build
1
Colorado
Colorado HS Cycling League Partners with USA Cycling Following the League's NICA Departure
Culture
Cascade Components Drops Links for the Santa Cruz Heckler and Transition Sentinel V2
All-Mountain bikes
Mullet Cycles Peacemaker Gives The Brand's First Full Suspension Frame 6 Inches of Squish
1
Mountain bikes
The 2021 Pivot Trail 429 Takes Cues from the Brand's Longer-Travel Bikes
Wheels
New Lifetime Warranty on 2021 Mavic Carbon Wheels
1
Tires
Michelin's Force AM2 and Wild AM2 Tires get a Redesign for Harder Riding
Oregon
How Beyoncé Saved Me During a Wild Cat Encounter
5
Colorado
Essential Workers: Search and Rescue Teams Are Ready to Serve, 24/7
Mountain bikes
New Legislation Would Offer Tax Incentives for Buying an E-Bike
8
Culture
The Only Thing Better Than Watching the Big Match is Going for a Big Ride
5
Mountain bikes
Another Limited Edition Build Option for YT Izzo, Jeffsy, and Capra Bikes
Colorado
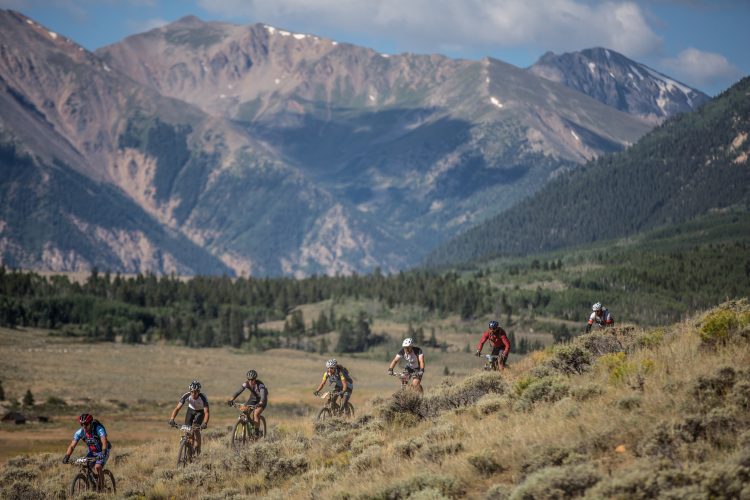
Leadville Lottery Registration Opens for 2021
Repair
Lezyne Launches Redesigned Multi-Tool Lineup
Mountain bikes
Canyon adds 175mm Torque:ON Ebike for Electrified Park Laps
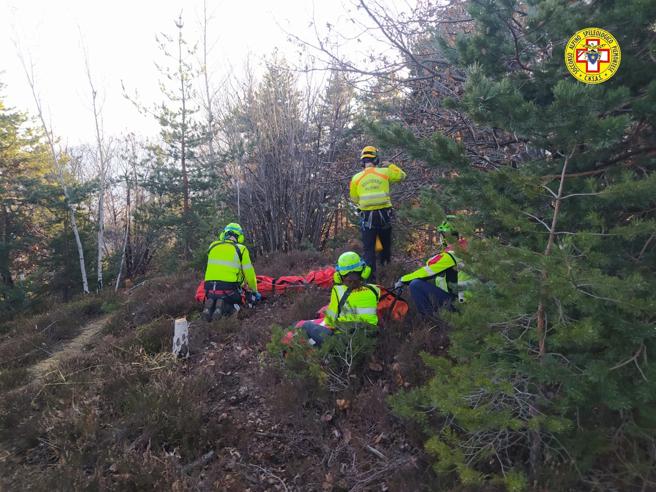
Italy
Mountain Bike Tragedy on a North Italian Trail
3
Culture
New Enve Gravel Rims are Up to 28mm Wide Internally, Use External Nipple Construction
Culture
Ladies All Ride Registration is Open for 2021
Israel
Israel to Debut New Gravity Trails with 2021 EWS Qualifier Race
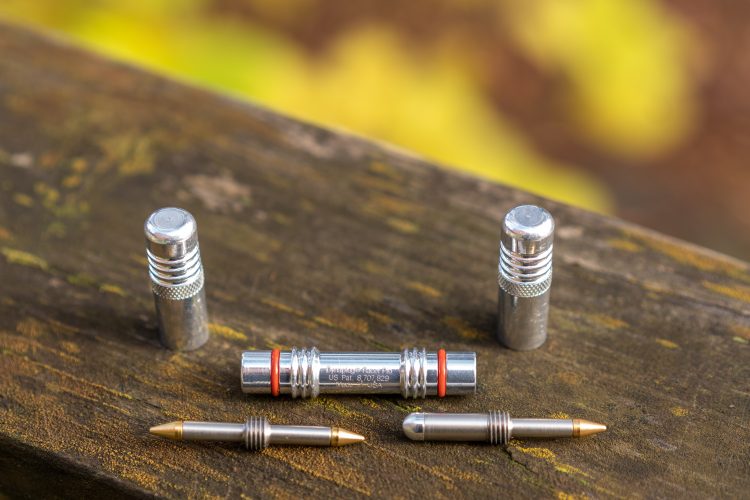
Culture
Dynaplug Racer Pro has One Side for Big Punctures, Another that is 'Wheel Friendly'
Arkansas
Arkansas to Host US Cup MTB Races, Offering UCI Points Toward Olympic Qualification
Mountain bikes
Welcome Back Freeride with the New Nukeproof Giga, in 27.5 or 29er
Arizona
2 More MTB Festival Postponements, Hopefully for the Last Time
Tanzania
A Mountain Bike Raffle That Benefits More Than Just Bikers
Italy
The Venerated Italian Superenduro Series is Paused for Another Season
1
Culture
Outride Grants now Open for 2021
Mountain bikes
The New Ripley AF Trail Bike From Ibis Cycles Looks Fun AF, Prices Start at $2,999
Culture
Cannondale Gets Back into EWS, Brands Prep for Olympics [MTB Team Change Roundup]
Culture
How Can Riders Earn Enough Points for 2021 EWS Races Given the Limited Number of Qualifying Events?
Culture
Supply Chains are Kinked, Making it More Difficult to get a New Mountain Bike — Again
7
Seatposts
PNW Components Now Offers a Lifetime Warranty Against Manufacturing Defects
Helmets
NY Man Sues Trek for $5M Over WaveCel Helmet Claims
New Mexico
Silver Stallion Offers Free Mobile Bike Repair to Navajo Nation
Culture
MTB World Cup 2020: How did it Go and What's the Plan for 2021?
Culture
The Starting 5: Getting Back to Mountain Biking, Together
1
1
2
3
…
33
»


 1
1