

Internal cable routing is possibly one of the most daunting maintenance tasks of the modern bicycle, and with good reason. Many bikes may look clean and simple these days with their tidy lines and hidden cables, but the job of replacing those cables can be a nightmare if you’re not familiar with some of the tricks used by the pros. Give this guide a read to boost your bike maintenance skills, and let poor shifting and sticky dropper posts be a thing of the past!
There are a ton of different ways to tackle this particular beast, and every bike is unique with different cable ports, port sizes, and routing options, so you’ll want to stop and take a good look at your bike before you start doing anything. There are about a million different tips and tricks; this article is by no means exhaustive but covers some of my favorites. Everyone has their own preferred methods so try a few and see what works for you. You might even figure out a better way that I haven’t mentioned on here!

Stand back and look
As I already said, stand back and take a look at your bike and try to work out where the cables and/or hoses go. One of the most important things to know is whether or not the bike uses a full-length housing (one unbroken length of cable housing from shifter to derailleur) or not. Most modern bikes use full length housings, but some might not (for example any Trek Fuel 2016-2019 with a front derailleur). In this case, the cable ports are actually cable stoppers with bare cable running through the frame. This guide will just cover the more common method of running full-length housing.

Take a look at where your cables go through the frame. Where is it going to be tricky to push through and in which direction? Some are best routed front to back, and others back to front. A common routing method for dropper cables is for it to pass over the bottom bracket shell through the frame. This can make for a particularly tight fit and it often means removing the BB to route a new cable if the old one is fully pulled out. This is a pain on bikes with press-fit BBs, like the Giant Trance and some Trek bikes.
Preparation
There are two or three types of line you’ll be needing to route: mechanical shift cable, hydraulic hose (for brakes and/or Rockshox Reverb dropper posts), and less common now, mechanical brake cable.
If you’re working with mechanical cables, loosen your cable clamps and trim the crimped ends off the cables so you have clean lengths of cable to work with. You can then slide the cable and/or housing to see how it enters the frame and where. Just be careful not to lose it inside the frame.
If you’re working with hydraulic hose, you will need to remove one end and potentially trim the barb/olive off it since most cable ports aren’t wide enough to let them through. Trim it as close to the barb and olive as you can so that there’s enough length to re-use the hose. Pay close attention to the hose — many of them have a banjo connector crimped to one end. This is not re-useable, and if you trim this end off, you will need to buy a new hose specific to your brake. Work out which end this is (if at all) and plan how you’re going to pull it out accordingly. Remove your brake pads if need be to avoid contamination.
If you can remove any cable ports/covers without removing the cables, do this first so that you can see what you’re working with and to make life easier for yourself.

Don’t pull it out!
If you have a full length housing, the best and easiest method to replace the cable is to NOT pull the old housing out. Pull the inner cable out and then use either a RockShox Stealth Barb Connector or (my favorite tool kit) the Park Tool Internal Cable Routing Kit IR-1.2. You should be able to get the RockShox barb from just about any bike shop as they will usually have a few lying around. This is a super handy and simple tool — it simply connects two pieces of hose/housing together.

Cut approximately the right length of housing, and thread the barb into one end of the old housing (trim a little off the end to get a nice clean section), then thread the new housing onto the other end, and gently pull it through the bike. The middle of the housing will pull out if you pull too hard, resulting in you losing it in the frame, so be gentle.

Otherwise, thread the Park tool onto the old housing, pull through so that the blue cable is inside the frame. Use the old housing to cut a new section to length, attach to the threaded tool and then pull back through the opposite way. Again, pull carefully as it could pull out of the housing. These tools work best with hydraulic hose and you can pull on them with a bit of force, but gear cable housing is a little bit harder to work with so be careful. I usually make the new piece of housing a little longer to account for the housing getting ruined at the end.

Voila! You should have your new cable and/or hose fitted and ready to go. This is the easiest way to do it by far, but if this didn’t work, check out some other methods.

Lucky poke
So you’ve not been successful and now you have to route a fresh cable with no guide cable in there. Sometimes you can simply get lucky. If the cable ports are placed nicely and/or are large enough, you can use what I like to call the “lucky poke.” This is usually my first port of call, because sometimes you do get lucky.
Push the cable housing/hose through the frame, aiming toward where you want it to exit. Sometimes it can help to put a slight bend in the housing to help guide it out. If you’re lucky it’ll come right out!

Many carbon frames these days have guide tubes inside the frame, so the lucky poke works every time (and it isn’t even that lucky). For example, Santa Cruz carbon front triangles are fully guided, and the lucky poke method works every time for the rear triangle.
Spokes and magnets
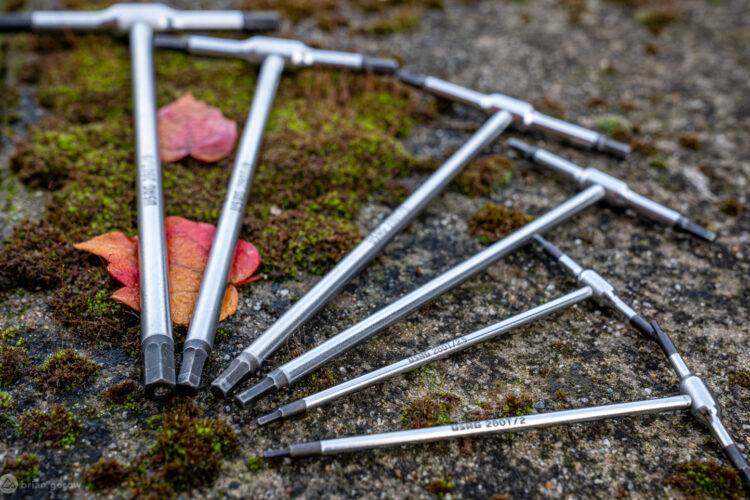
Maybe the lucky poke didn’t work for you, so here is where you’ll need to get a little more creative… Some simple tools can be your best friend here. I always keep a regular J-bend spoke in my tool box for occasions such as these.

If you can get the housing most of the way through the frame and can see it passing the port but can’t get it to come through, you can simply use a spoke to hook the end of it and guide it out.
Sometimes this can be a little tricky, especially on bikes with tight bends and small cable ports. This is the time to abandon the housing for now. I usually have a few old/spare shift cables for cable routing. They’re cheap and very useful. A shift cable is more flexible than the housing, so can be much easier to hook with a spoke. You can also use a strong magnet such as the one in the Park Tool IR-1.2 kit to guide it through the frame and/or out through the port. Once the cable is in place, you can carefully slide the housing over the top and pull it all the way through, making sure that you don’t lose either end. A cable tie or piece of electrical tape around the cable head can ensure it doesn’t fall into the frame.

This method also works for hydraulic hose. A shift cable will fit down the center of the hose, just make sure the cable isn’t frayed so as not to damage the hose. Remember that when you do this, you will displace the fluid, so use a rag to catch it and try not to get it on brake pads etc. Also remember that you will need to perform a full system bleed as you’ll introduce a ton of air.
You will also notice that the Park Tool IR-1.2 has a bunch of cables with small magnets at the end. You can use these for the same purpose as the shift cable. Use the larger magnet to guide the smaller ones through the frame, then use the end of the tool (e.g. the threaded one) to pull a new one through.

Replacing DI2 cables
If you’re running DI2 electronic shifting on your bike, there are a couple of slightly different tricks. The IR-1.2 has a rubber holder specifically for pulling through Shimano DI2 plugs, but I’ve found that a shift cable with a 6mm brake ferrule attached to it works just as well.

You can then use this cable for routing the DI2 wires just the same as a mechanical cable/hydraulic hose.
Other things to try
If for some reason things haven’t worked out and you’re struggling to get your cable through, try tipping the bike in the work stand to get the cable to go where you want it to. I have heard of people using very fine ribbon and/or string inside the frame and using a vacuum cleaner to suck it out of the cable ports. You can then tie it to the end of your cable and pull it through. You could also use compressed air to blow a cable or a fine ribbon/thread through the frame.
As with anything else, preparation and planning is key. Follow the above steps and you should be just fine. Good luck!


1 Comments
Nov 5, 2019