
The riding season has drawn to a close for most of the Northern Hemisphere. With shorter days and colder temperatures, our chances to ride have dwindled with the vanishing daylight. Instead of going on big epic rides, I find fall and winter to be the perfect time to focus on developing and improving new skills on and off the trail. So if you’ve ever thought about trying flat pedals, then maybe this winter season is the time.
It’s been interesting watching the culture around pedal choice shift in the last couple years. When I first started mountain biking, it seemed like it was almost shameful to ride flat pedals. Flats were for beginners only and your goal was to graduate to clipless or be forever looked down upon.
Nowadays, attitudes are a bit different. Fans of both options are almost rabid when it comes to defending their choice. Probably the best outcome of these conversations is that it truly does come down to preference, and while both sides have a long list of pros and cons, the stigma of skill level versus pedal choice seems to have mostly evaporated. Riders like to stick with what they know, and there is nothing wrong with that.
For those of you who are willing to step out of your comfort zone to try something new, or new again, here are a few tips to help you get started on your flat pedal journey.
Finding the right shoes
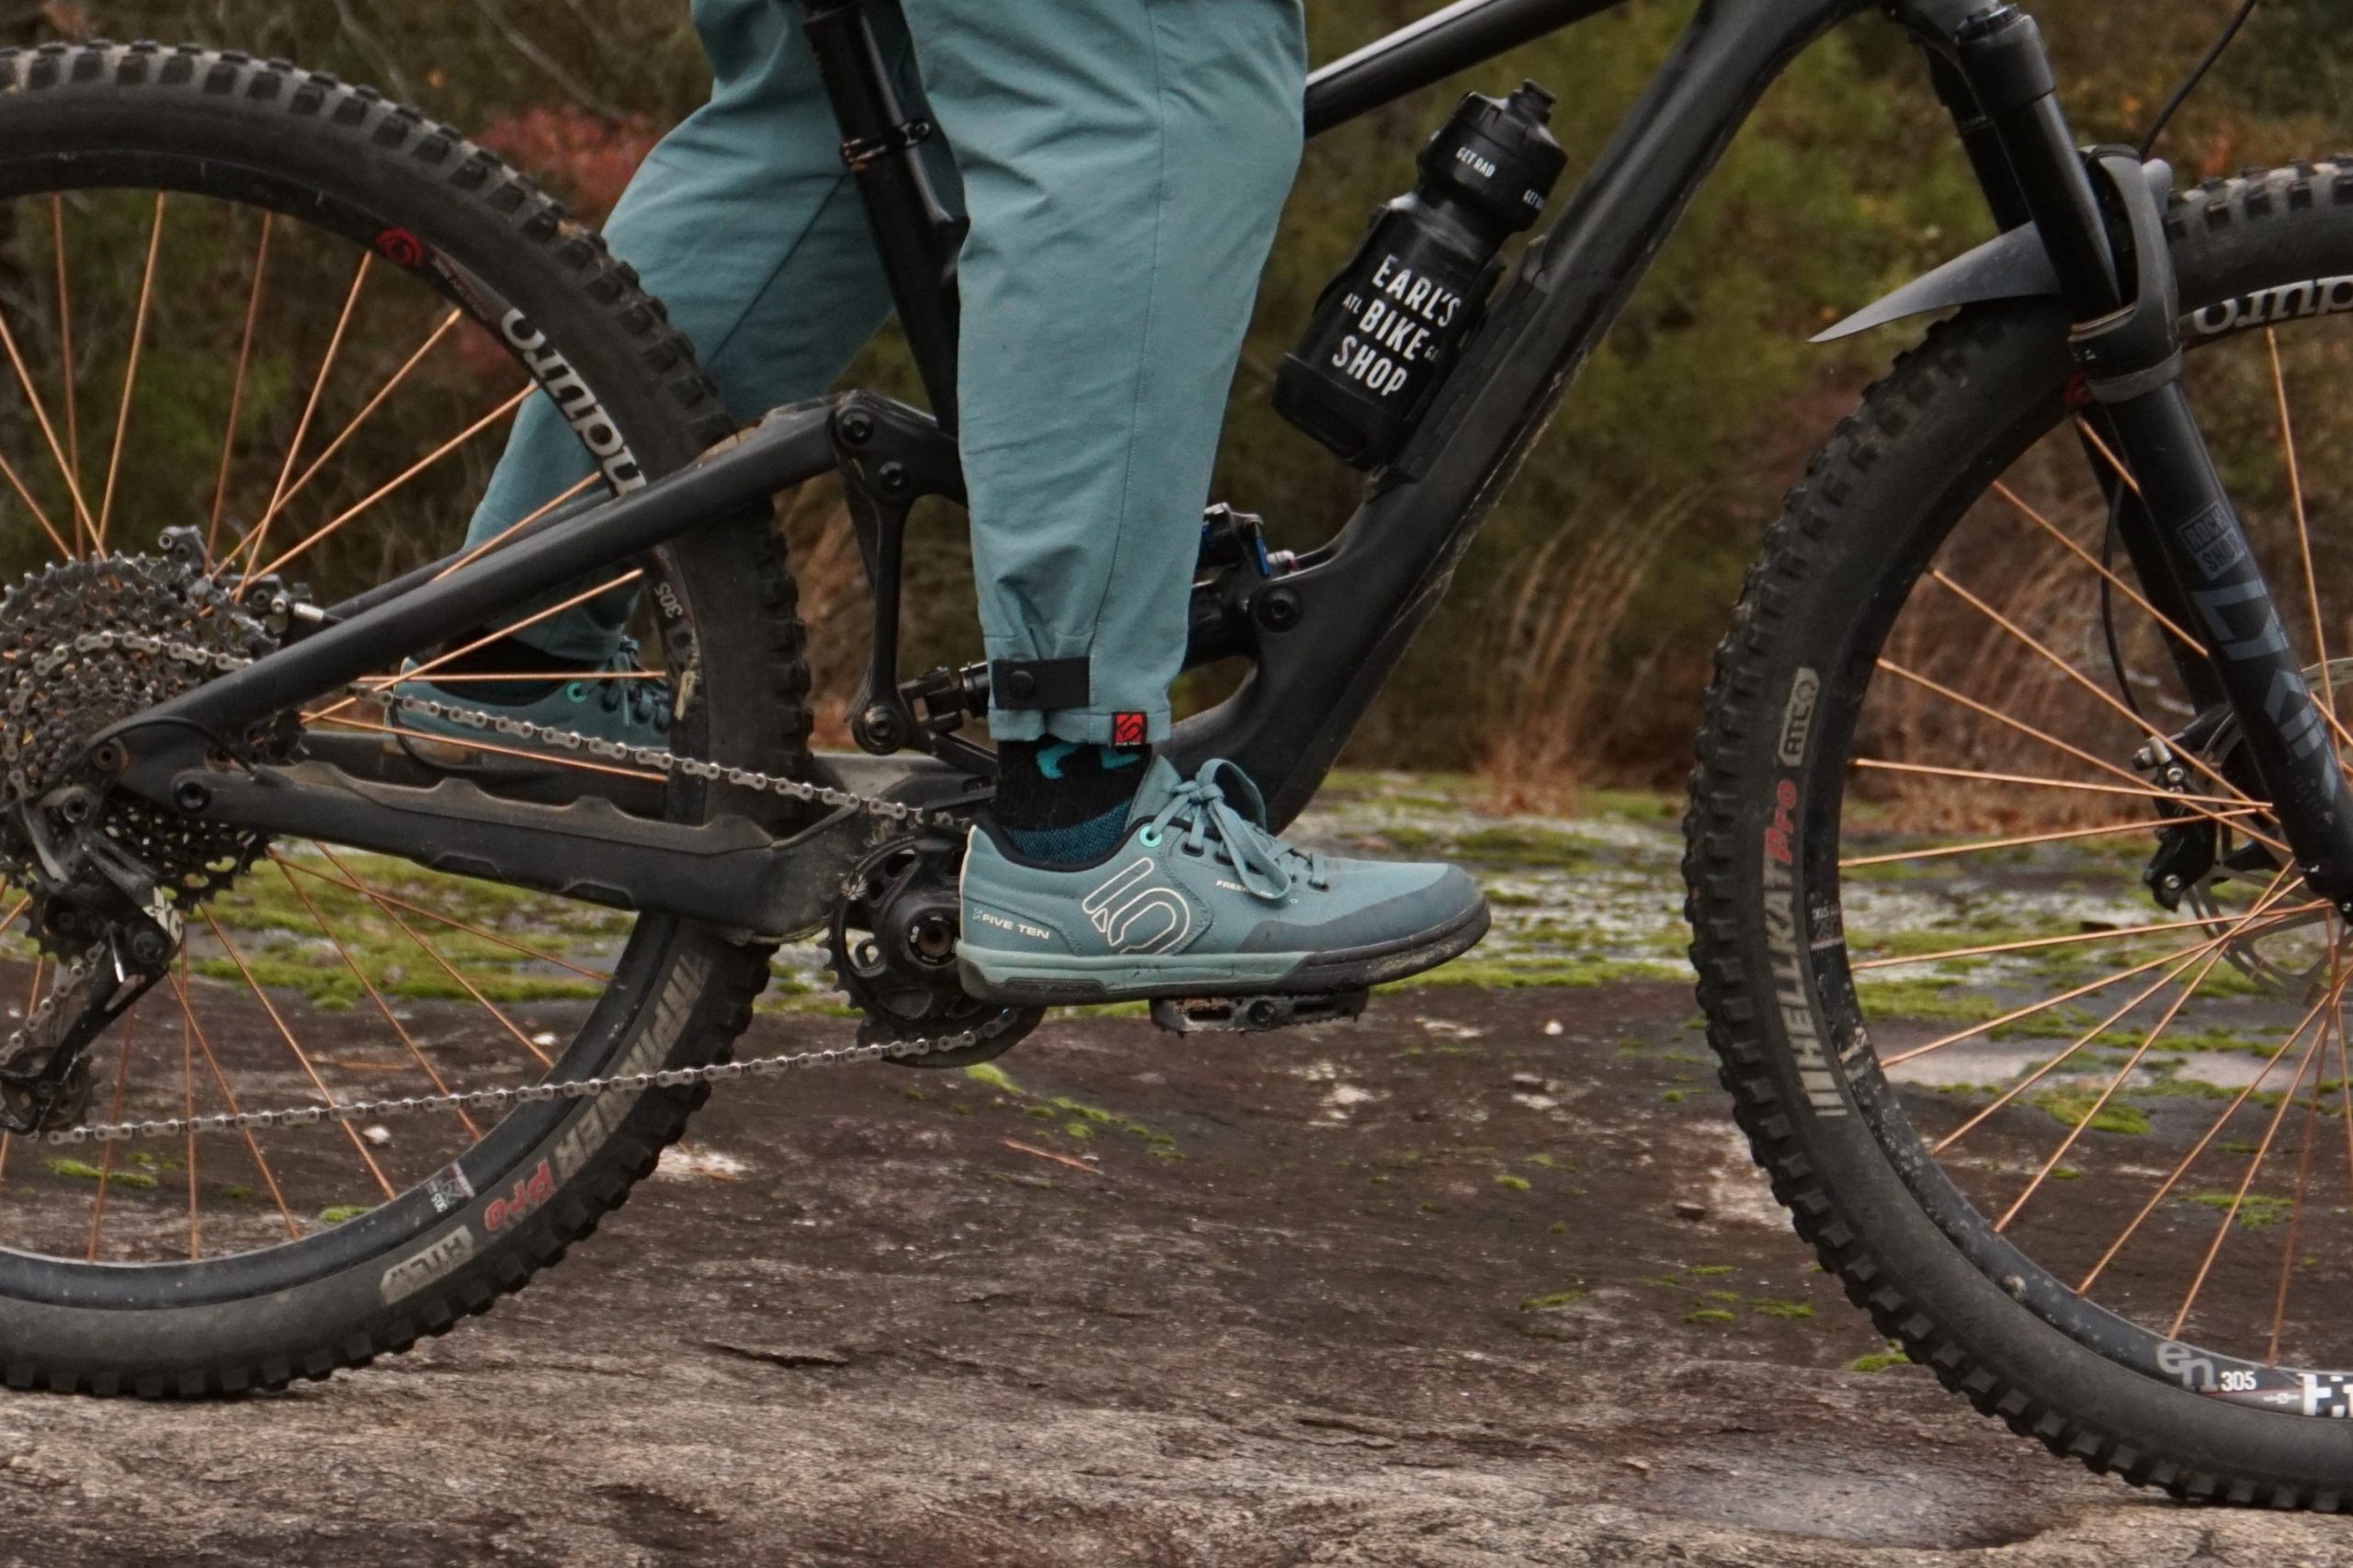
Not all shoes are created equal. The main thing you’re looking for is a flat sole with some recessed texture to it, and something that’s not too flexible. You want to be able to place your weight in your feet without your feet wrapping around the pedals too much. If you can curl your toes around the front edge of your pedal, the shoe is too soft.
When it comes to flat pedal mountain bike shoes, I prefer a stiffer sole with sticky and slightly malleable rubber. My personal favorite is the Ride Concepts Hellion Elite, but the Five Ten Freerider Pros are also a solid choice. If you’re not wanting to drop $100-150 on a pair of mountain bike shoes to try, look into flat-soled skate shoes like Vans or Etnies. I do not recommend hiking shoes because the treads are too uneven for pins to dig into.
Aluminum or composite pedals
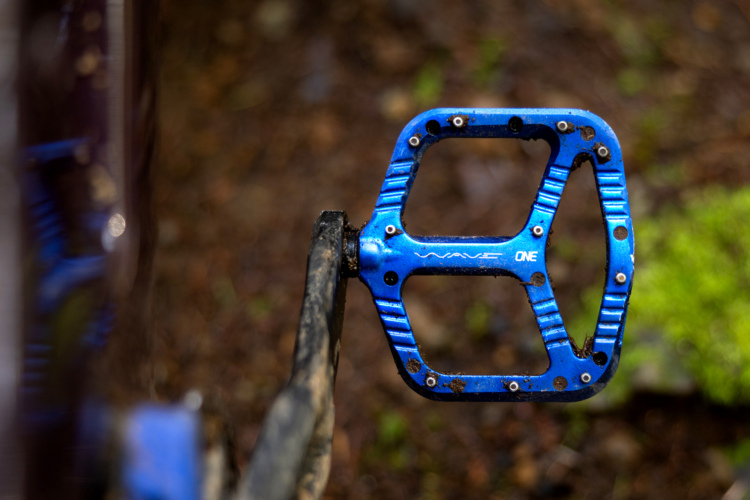
Pedal material isn’t that important. What is more important is pin type and layout. I recommend aiming for a flat pedal with metal pins instead of plastic. Plastic pins don’t do a very good job of digging into the shoe rubber and I found my feet slide off them at the first hint of moisture. Pins are meant to dig into the shoe a bit, so stick with skinnier metal pin options. Be wary of thicker, stubbier pins – they also don’t seem to dig into the shoes as well.

For pedals, the entry-level, gold standard is the OneUp Composite pedal. They have a very simple design, great platform size, and a great pin layout for confidence-inspiring grip and can cost as little as $55-$60. The Race Face Chester is also an excellent option for around the same price. For a look into other pedal options on the market, check out this comprehensive composite versus aluminum flat pedal round up review.
Foot placement
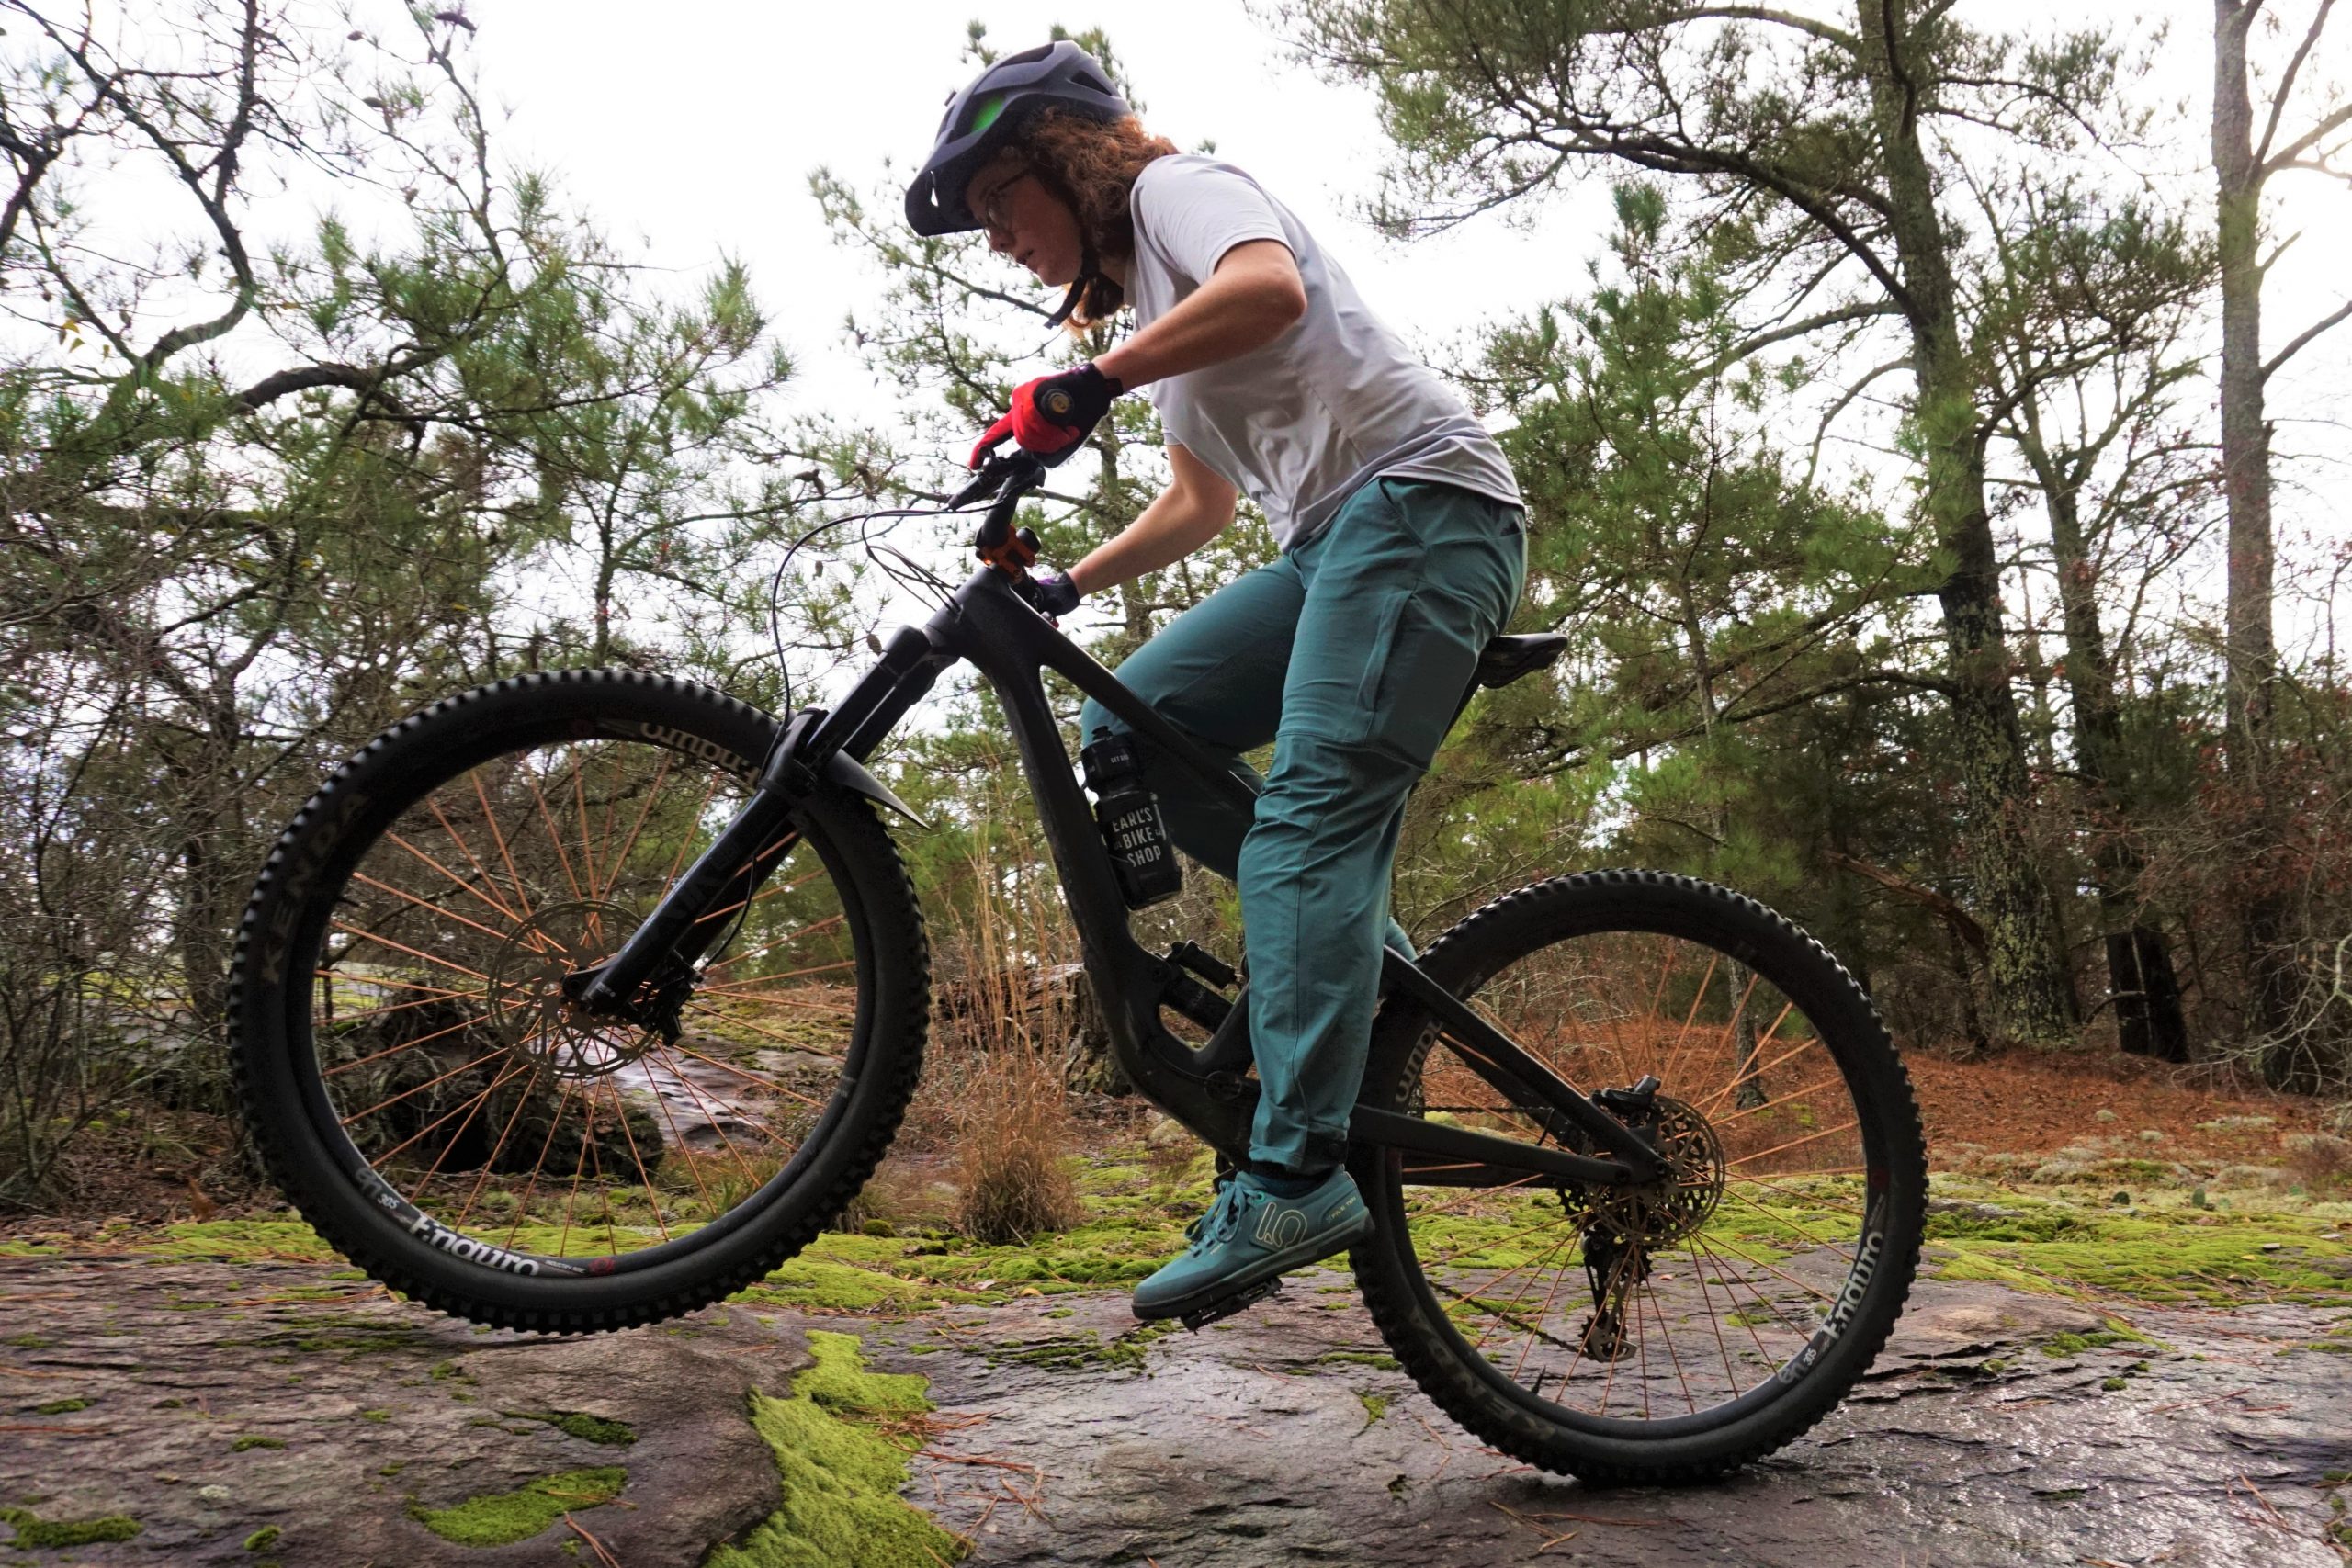
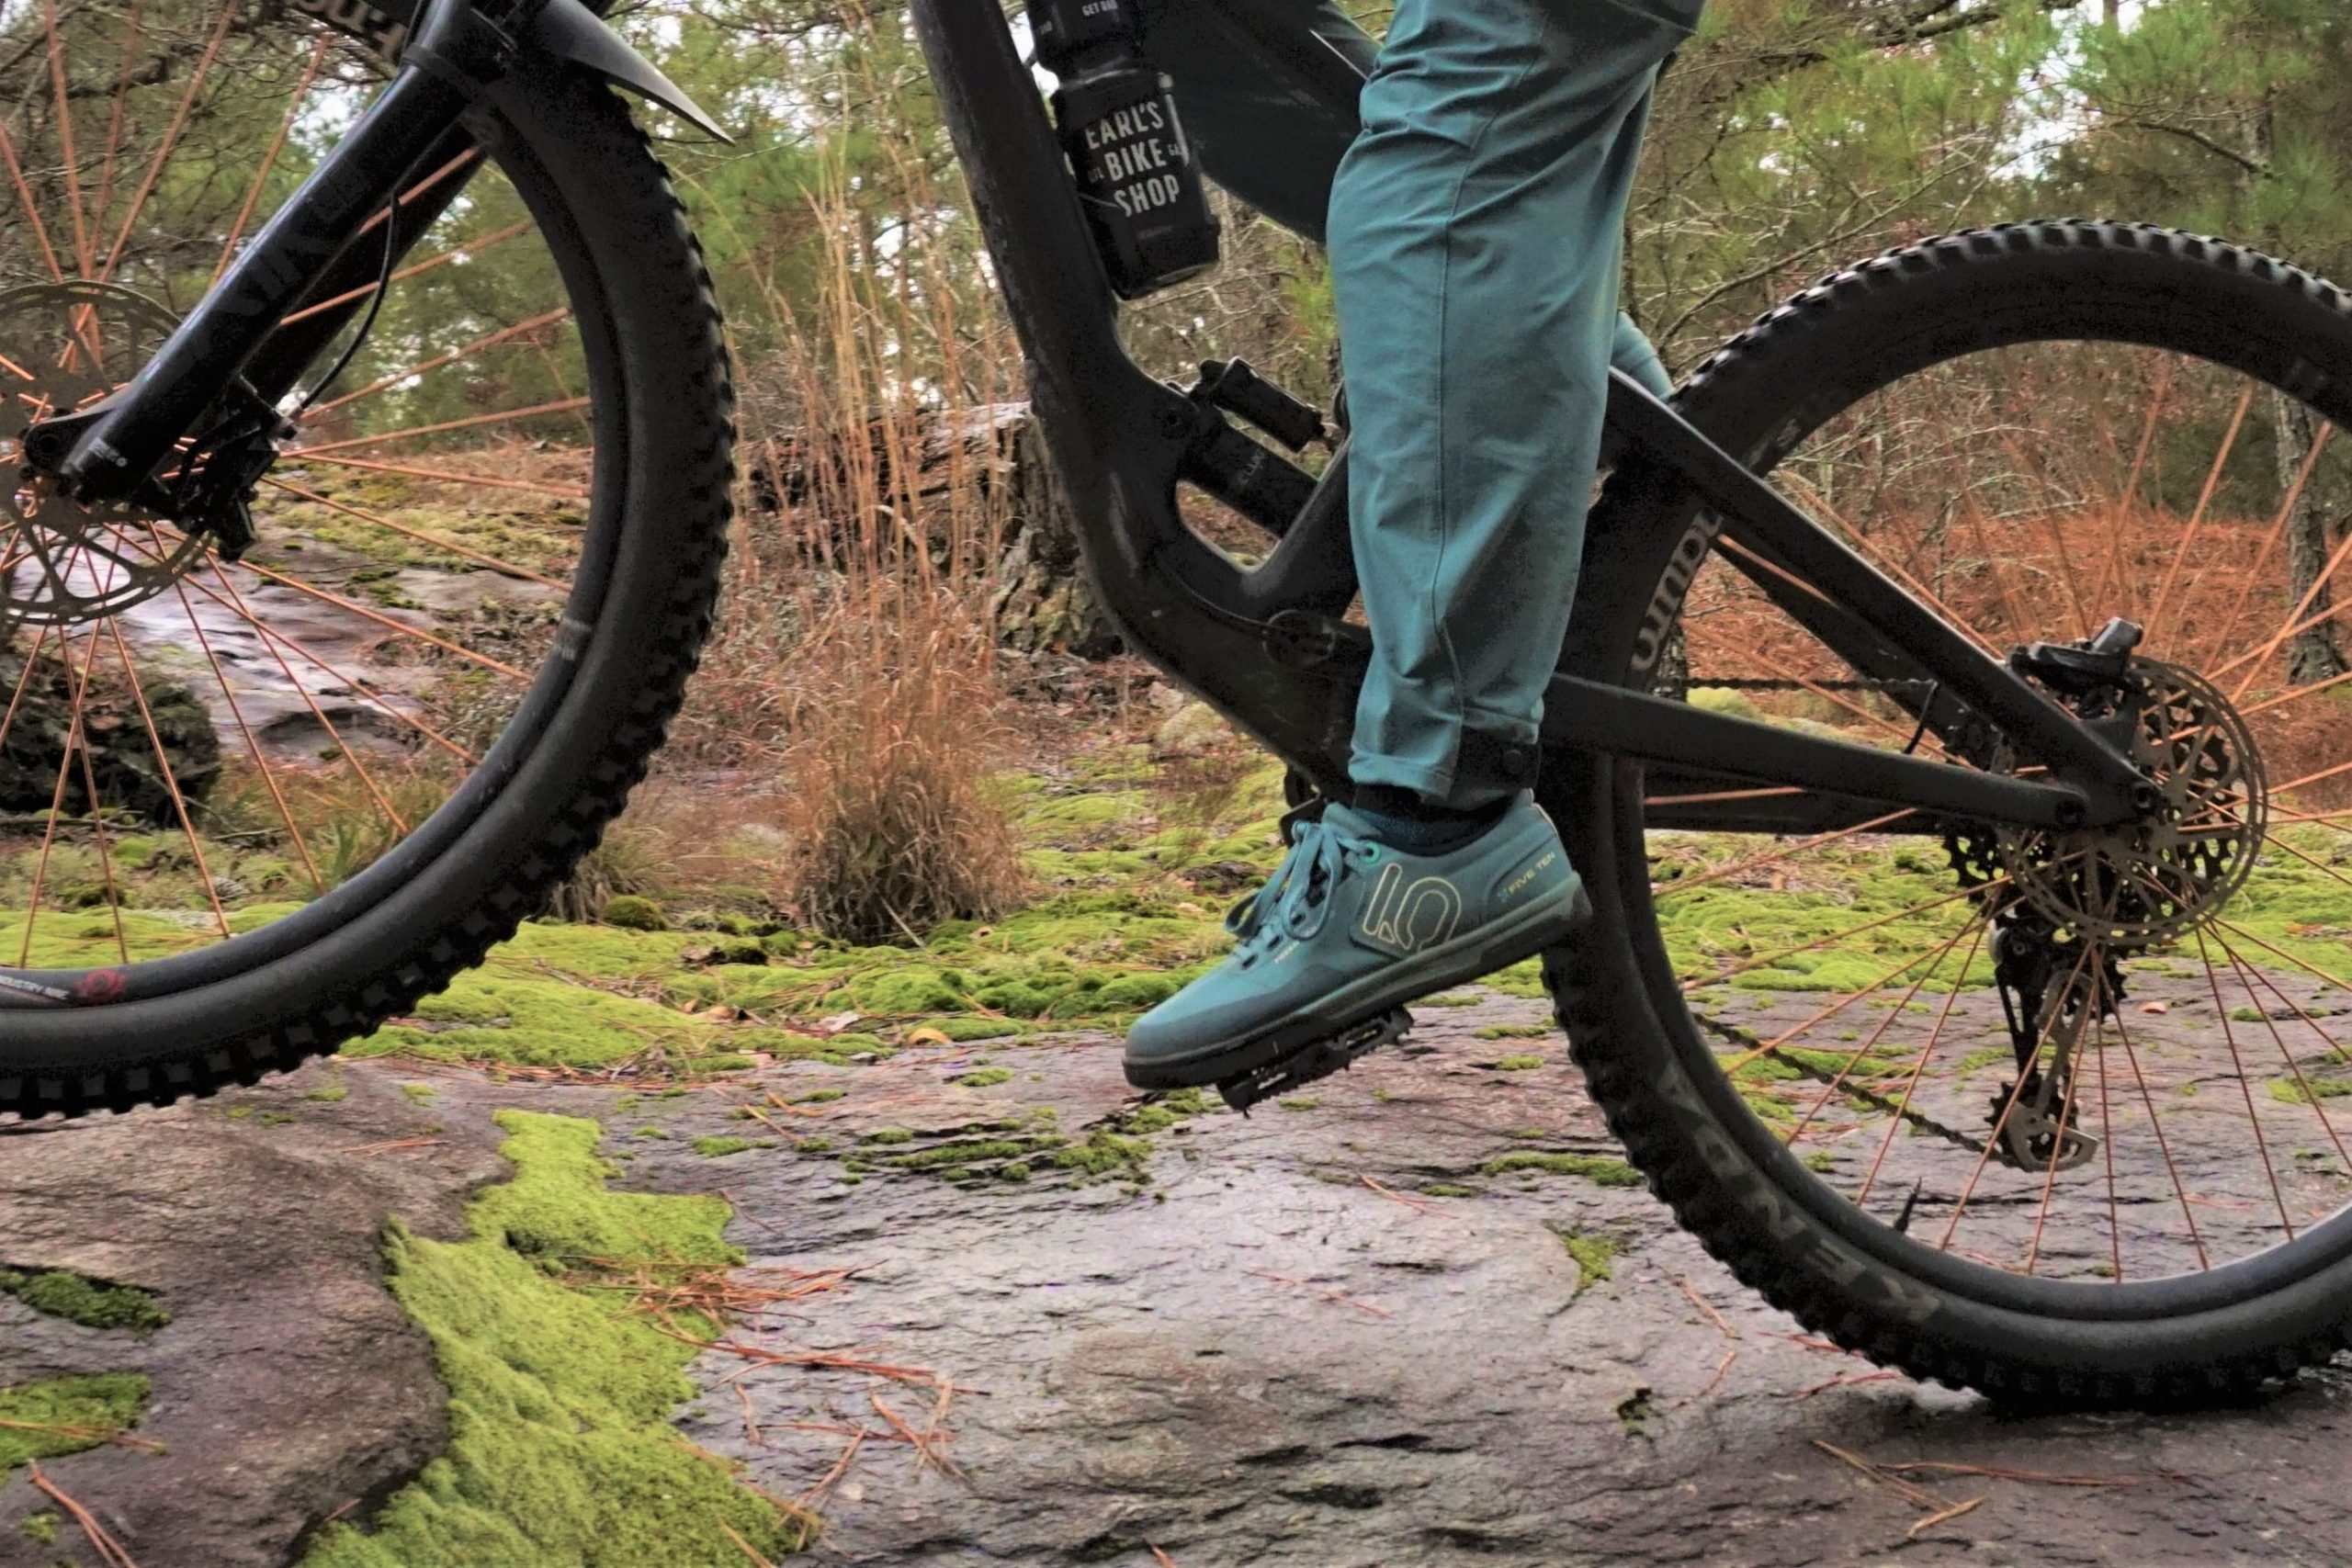
Flat pedals require you to pay a bit more attention to footwork and foot placement. As with everything on the bike, we build balance and stability from the ground up, starting with how your feet sit on the pedals. With clipless pedals, your foot position is static and you have one position to work from, but when riding on flats, you have the benefit of being able to reposition your feet to cater to the situation.


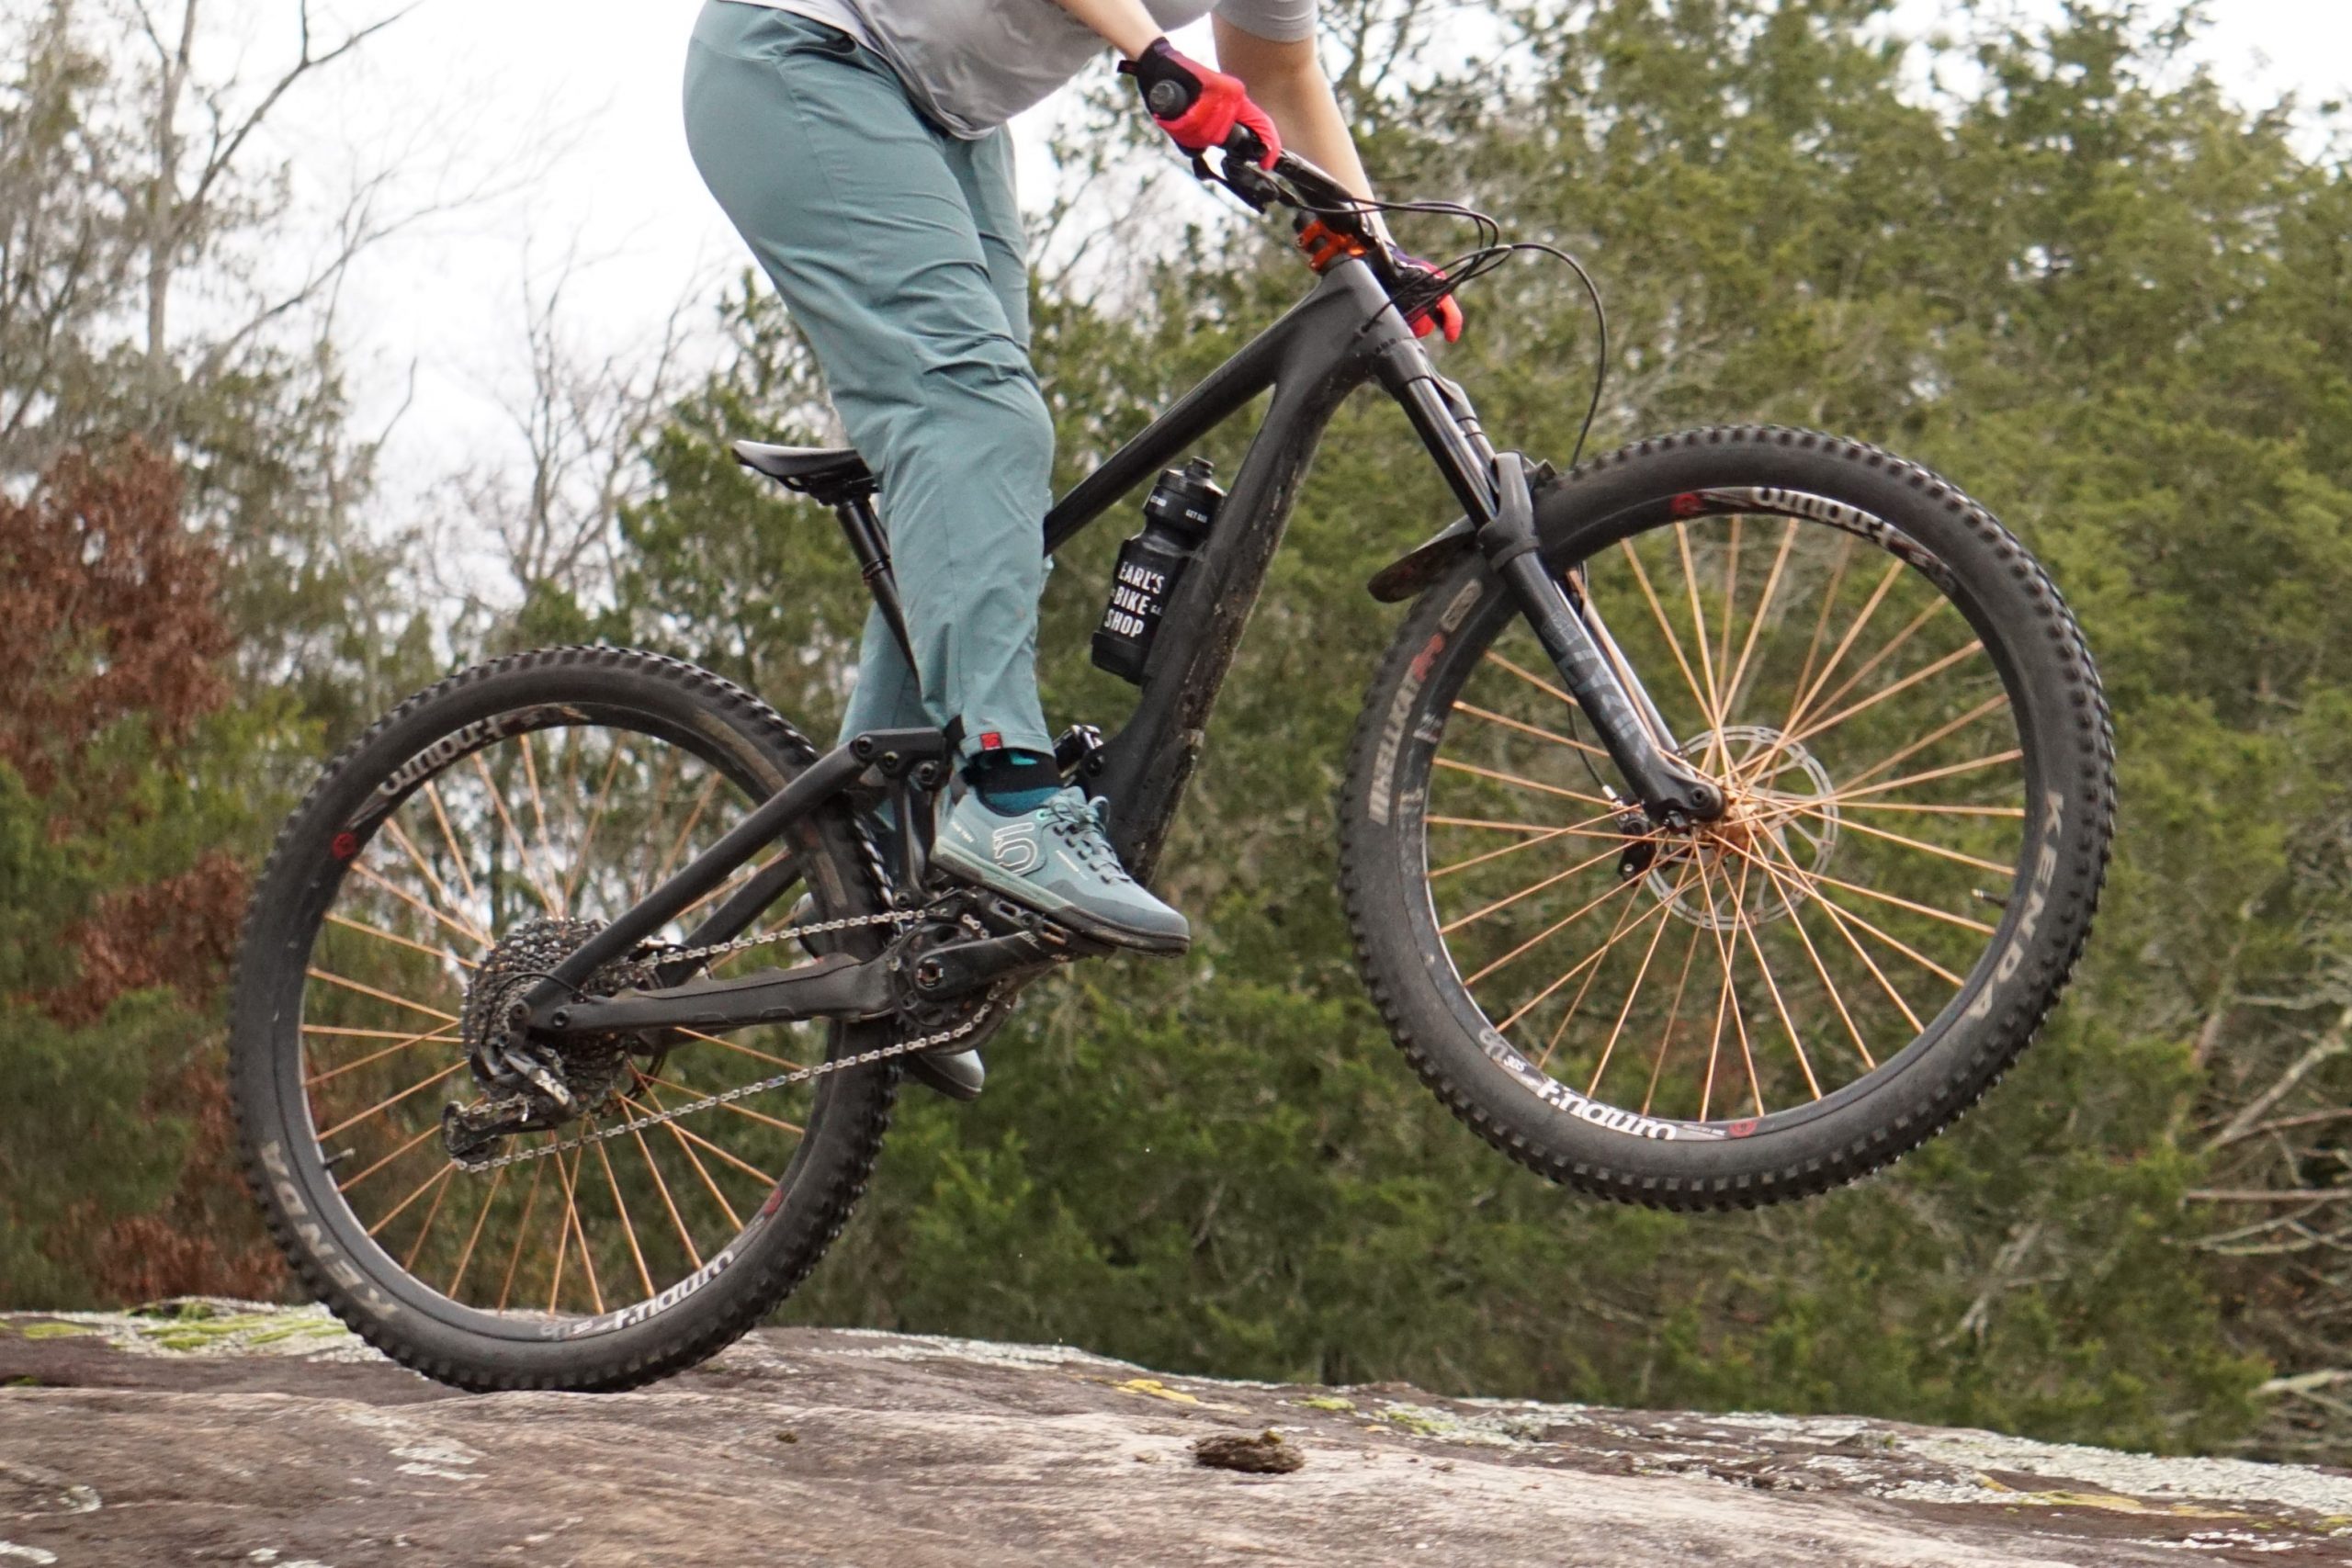
To start out, I always look to make sure my foot is well supported on the pedal. Look to place the ball of your foot slightly ahead of the spindle. What you’re looking for is having the pivot point of the pedal at the front of your arch. Stand on your pedals and feel the weight in your feet and get a feel for which parts of your legs are working.
Too much calf and quad with a heavy heel drop? Then you’re balancing right on the spindle and your foot is too far back on the pedal. Your weight will get shifted backward unless you counteract the heel drop and engage your calves which can tire you quickly. Almost feels like you’re walking on your tippy toes.
Toes way off the front of the pedal and tipping forward, weight in your heel? Then you’re too far forward on the pedal. You run the risk of slipping off the front of the pedal, and you lose the support and leverage from your forefoot and toes.

If standing up and balancing feels effortless and you can keep a neutral ankle without fighting a dropped heel too much, then you’re right on the balance point. Your pedal should be cupping your arch and offers more well rounded support. No weight shift bias from this position.
On downhills, technical sections, or anything requiring more stability and balance I keep the ball of my foot ahead of the spindle. This allows me to stand with less effort and not have my weight shift forward or backward based on my foot placement.
When climbing or sprinting, I’ll slide my feet back a bit and put the ball of my foot right on the spindle. This puts me in a better position to put down more power through my pedals. Think about cleat positioning for road cyclists – they’re all about efficiency and power.
Keeping your feet in place
I won’t lie to you and say you just have to trust your metal pins and shoe rubber to stay on flat pedals. It takes a little extra work and focus to stay glued.
Be active with your ankles and let them flex with the movement of the bike and pedals. If you are too stiff and rigid, you‘ll get bounced off your pedals and might not land back in the right spot. Drop your heels when getting heavy on the bike through dips or compressions, and point your toes down when rising with the bike. Putting a little bit of pressure into your pedals will help you stay engaged.

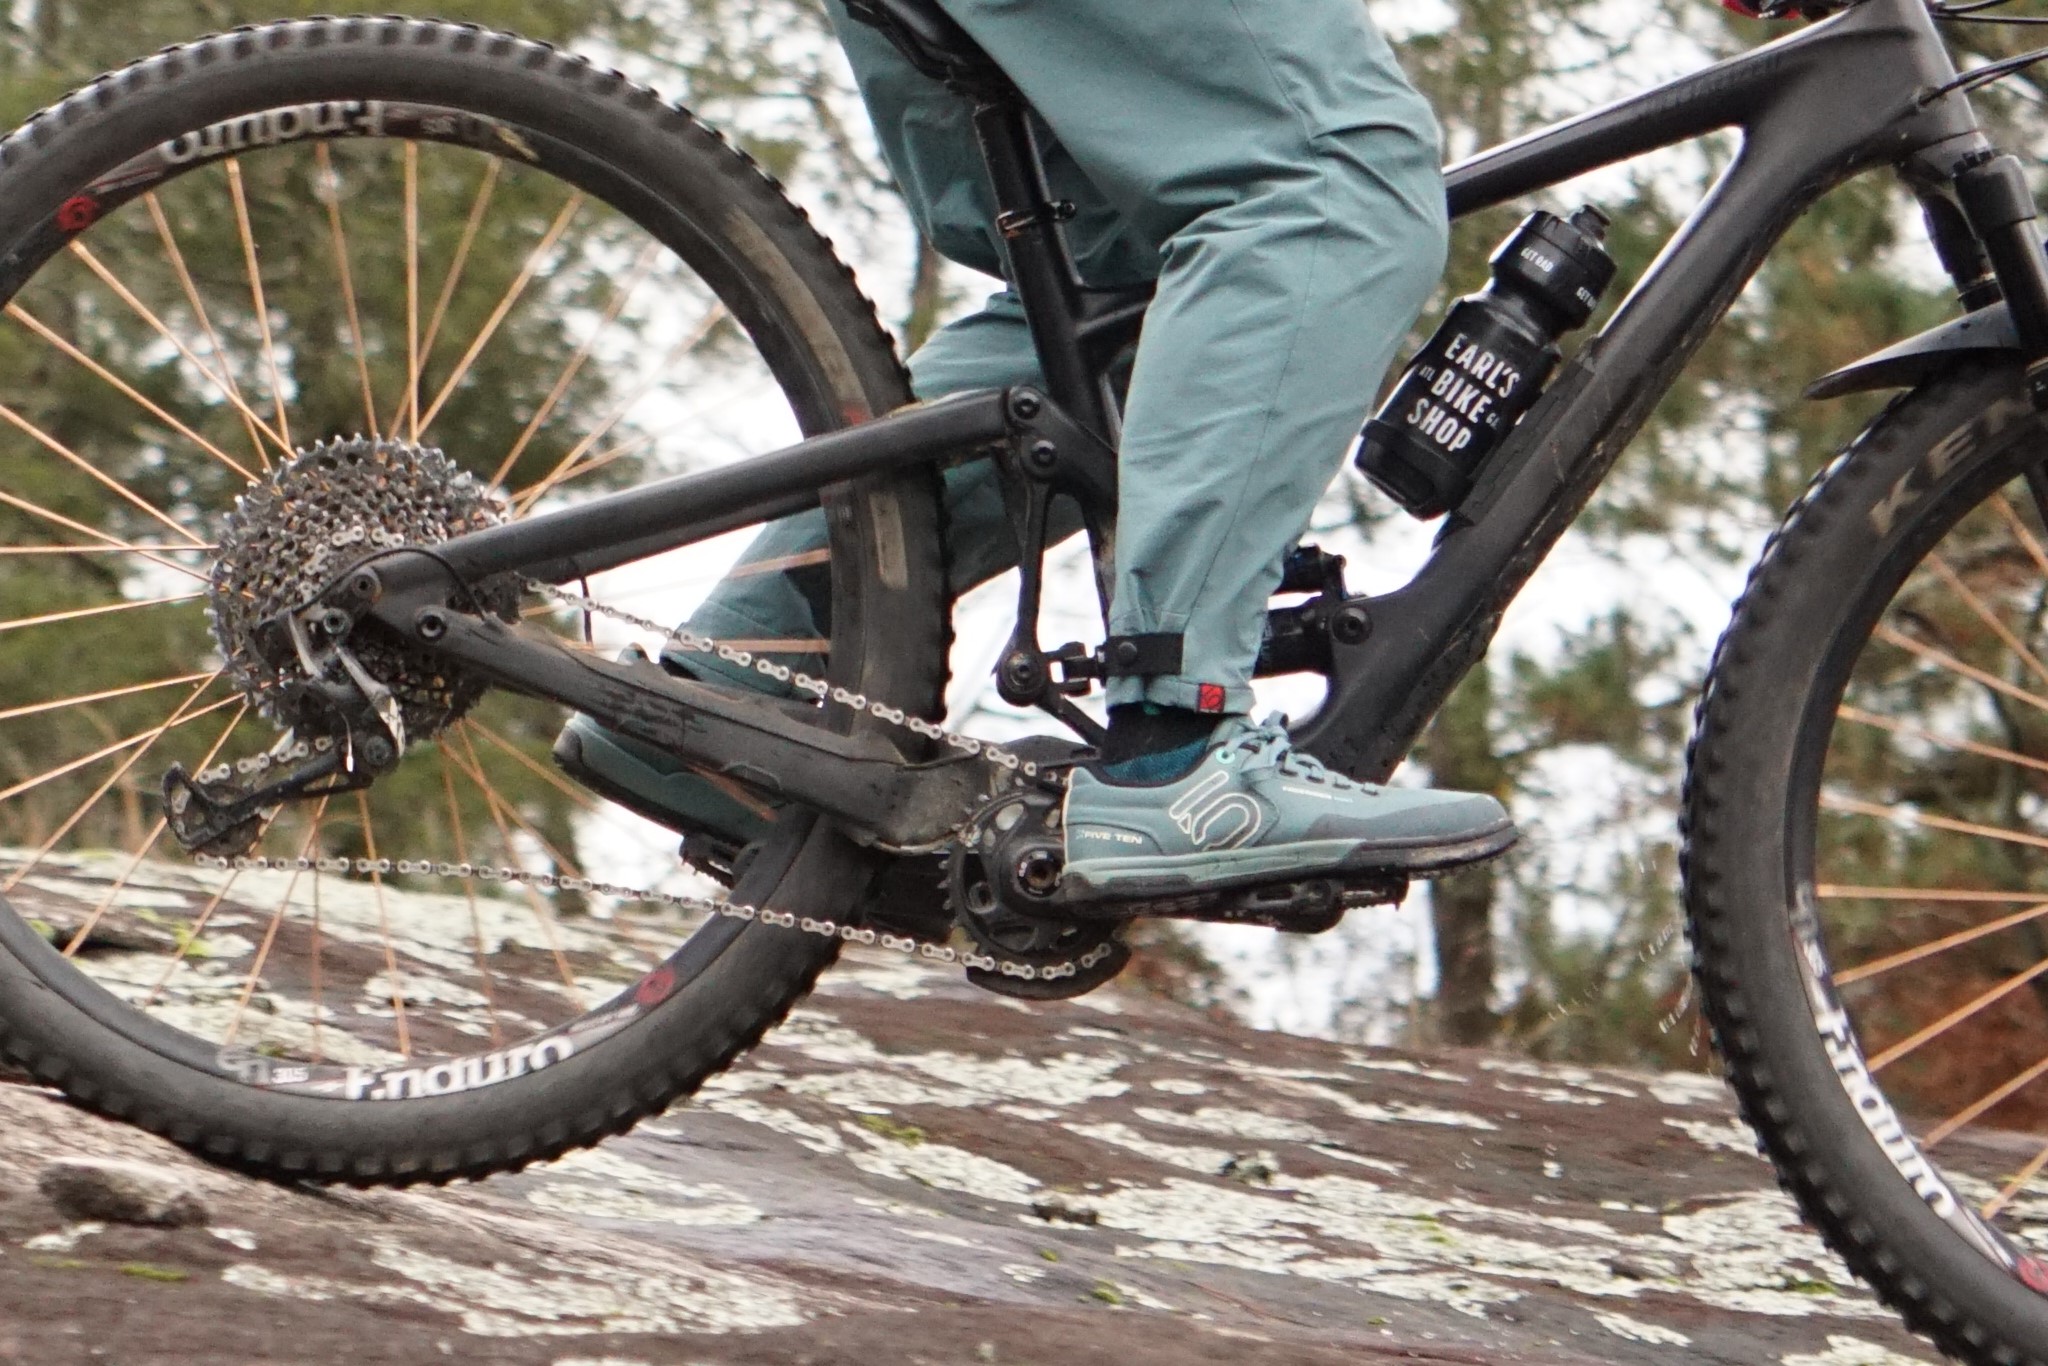
When cruising at speed, you can drop your front heel a bit and apply opposing pressure between your pedals. This helps wedge your feet into the pins and also does a good job of helping you stay centered over your bottom bracket.
Flat pedals require a lot more attention to detail in order to ride more effectively. Over time I’ve found that riding in flats has helped me find a new rhythm in my riding because I had to become more active to stay on my bike. I’m sure the same could be achieved with clipless pedals, but how motivated would I be to focus on my foot work if I don’t have to put any extra effort into staying attached to my bike?
Pedaling efficiency
One of the biggest misconceptions about riding flats is that they’re not efficient to pedal because you can’t pull up on the back stroke for a little extra oomph. Being clipped in gives you the security of knowing your foot is retained by the pedal no matter what you do, so it’s easier to get away with being sloppy. For flat-soled shoes, there’s a little bit more action required.
Think about the ankle mobility we discussed above. Break your pedal stroke into quadrants and think about how you can influence the pressure through your feet in each segment.
Starting at 12 o’clock with a neutral foot, push your pedal forward and down and start to let your heel drop as you go down past 9 o’clock. As you approach 6 o’clock, start pointing your toes down and pull back and up towards 3 o’clock, and bring your foot back to neutral as you arrive back at 12 o’clock at the top of the pedal stroke.


One way to test the effectiveness of each step is to pick one quadrant to focus on. Try only clawing and pulling on the up stroke without mashing on the downstroke, and then try the inverse. Combine the two concepts for a well rounded pedal stroke. Once you start identifying the individual pieces, focus on each foot doing its part during each segment of the stroke. While your right foot is pushing forward and down, your left foot should be clawing back and drawing up. Let your feet work together to maximize your pedaling motion.
What happens if my foot comes off the pedal?
Don’t panic! Foot placement is fluid and will never be exact. Learn to ride with your feet slightly out of position. Your goal is to always be in the strongest position for the situation, but sometimes shift happens and you find yourself on the wrong part of the pedal. The important thing is to know how to manage the change and find ways to work your way back to proper positioning.
I practice sliding my feet up and down all the time. I’ll slightly unweight my feet and wiggle my foot until I’m in the right place and then put pressure back on the pedal. If I’m seated I’ll do both feet at the same time, but if I’m standing, then I’ll do subtle weight shifts without completely throwing myself off balance.
Sometimes you’ll get caught with less than optimal foot placement, but the important thing is to remain calm, and go with the flow. Even if you’re slightly out of position, you can still make it through a section of trail.


How long will it take to get comfortable riding flats?
Practice makes progression. Don’t expect everything to click on the first ride. I rode clipless for the first seven years of my mountain biking career, and I’ve been on flats for the last four. What was originally a temporary break has turned into a permanent change, and I have never looked back. Give it a chance, focus on one concept at a time, and be patient with yourself. Winter riding is going to involve slower, shorter rides, so why not take the time to develop a new skillset? Even if you don’t make a permanent change, the lessons learned from riding flat pedals will help make you a stronger rider overall.
What are the pros and cons?
Everyone has an opinion when it comes to shoe and pedal choice. I asked several coaches and riders of various levels for their lists of pros and cons, and here’s what we came up with.
Flat pedal pros
- Flexibility on positioning/change position depending on what you’re doing (climbing vs descending)
- Easy to bail and start/stop on trail
- Develop a new way to be in tune with your bike
- Better for hike a bike and scrambling
- Pedals come in a variety of colors for a little extra pop of color on your bike (because who doesn’t like riding a pretty bike?)
- Not affected by heavy mud, snow, or sand
Flat pedal cons
- More attention to detail on foot placement, carelessness is punished
- Pedals and shins don’t mix well
- Lifespan of shoes is much shorter than clipless shoes
- Damaged pins can affect pedal grip


Clipless pedal pros
- Foot is attached to the pedal so you don’t have to worry about it
- Stiffer shoes in general for better transfer of power
- Less thought on foot placement or adjustment
- Shoes and pedals both last longer
Clipless pedal cons
- Hard to bail and restart depending on tension
- Limited foot position, not optimal for all situations
- Accidental release due to poor technique can be disastrous
- Not releasing in a crash can be even more disastrous
- Less platform to balance on (smaller pedal surface)
- Metal cleats can be sketchy stepping on rocks or hiking with bike
I love mountain biking as I’m sure many of you do as well. To me, dancing my way through the ribbons of singletrack is simply poetry in motion, and there’s an extra layer of satisfaction I have discovered from riding flat pedals. Making the switch was a difficult choice because at first I was worried I would regress my skills and stop having fun while I was trying to learn. And to be honest, it was quite frustrating at first. I nearly quit a dozen times, but the more I focused on better footwork, the more in tune I felt with my bike. There are times when I miss riding clips, but I can always go back if I choose to. So be patient and give flat pedals a try. You can always switch back if you decide you liked the tune of the old song better.


28 Comments
Jan 27, 2022
To anyone who hasn’t ridden flats in forever, I’d say try them. There’s a VERY good chance you’ve developed some bad habits with how you use your feet and correcting them would improve your riding even after going back to clipless.
Jan 24, 2022
Jan 27, 2022
You definitely lose pedaling efficiency, especially on flat sections and sustained climbing. But overall, if you aren't timing laps, I find flats way more comfortable, playful and fun. I find myself hanging on longer on punchy climbs as well, knowing I can get a foot down fast.
It takes a little time to learn the proper foot position so your feet don't float off the pedals. But after a while, it becomes natural and you don't have to think about it. I try swapping back to clipless every once in a while and it's surprising how fast I revert to pulling up the back end leading to bucking.
Give them a try! What else are you doing this winter?
Jan 30, 2022
Correct thrust timing is essential and takes practice to learn where that is and how to use it. Eventually it becomes autonomous but until then, it takes conscious thought and focus.
This is exactly how I can carry a cadence ranging to 175. I carry a cadence on the open flat ground (which is rare as hen's teeth, Rocky Mountains) 125-150 for miles since it is my comfort zone.
Jan 29, 2022
Feb 3, 2022
On my mtbing journey, I have arrived at a pretty usual choice of shoes with my flats. Having started mtbing in the mountains of Mongolia, I commonly faced extended, steep hike-a-bike sections. Half hour to hour hikes with the bikes were not uncommon, even on my local rides and after work rides. There were also many technical hiking sections along the way. This nudged me towards riding in boots. I tried riding/hiking in flat pedal shoes, but they just didn't provide enough support for my feet for extended hiking and security of footing in technical spots. After a lot of trial and error, I landed on the Salomon X Ultra hiking shoes. The outsole rubber is soft so the pins of the pedals dig into them easily, and the tread pattern is pretty tight and works great with most pin patterns of flat pedals. In short they really connect and lock into flats super well. Though I no longer live in Mongolia, I continue to ride in X Ultras. They just work for me, and I still do a lot of backcountry riding in the Rockies that require some hike-a-bike.
Jan 24, 2022
My biggest issue is my feet seem to get bounced off the pedals or come unglued in the air unless I'm really concentrating on keeping them weighted.
Jan 31, 2022
Jan 27, 2022
Jan 27, 2022
Jan 24, 2022
Jan 25, 2022
Jan 25, 2022
If you're relying on the clips to keep you on the bike, just imagine what happens when someday one unclips unexpectedly in a rough spot... versus if you're relying on your feet to keep you on, you're less likely to be surprised, even when still using clips.
Jan 31, 2022
Jan 30, 2022
I find technical climbing much easier if I'm attached. Unclipping is so ingrained I don't think twice.
Not saying others won't benefit.
Jan 24, 2022
Jan 27, 2022
Jan 25, 2022
That said, I've been riding flats-only for over 10 years, after over 15 years of clips-only (because that was what you were "supposed to do", so silly), and I can't say that I've ever consciously moved my foot around specifically for a climb or descent.
Jan 24, 2022
Think about a sprinter on a track putting down power: they run on the ball of their foot. If you’re climbing or pedaling, you want to drive more power through the contact point.
For descents, having the ball of your foot a bit ahead of the spindle lets you stand more flat footed and relax on the pedals more, just like standing on flat ground. Your whole leg plays instead of skewing it so much to your calf muscles and ankles.
Here’s a good way to experiment: put a 2x4 on the ground and stand on it like you would on your pedals. If you’re on the ball of your foot, you’ll feel your calf muscles working to counter that bounce and sinking heel. Now stand with more of the arch of your foot on the platform. Is there a difference in how easy it is to hold the position? Now hop on you bike, stand on your pedals in both positions and get a feel for what muscle groups are fighting for stability. What does that feel like?
Jan 27, 2022
Jan 25, 2022
Feb 7, 2024
Jan 25, 2022
Strong disagree. Just because there is only one available position on clips does not mean you don't have to pay attention. Rather, you have to pay attention more to ensure you make the clip. If you misstep on clips, then you're not clipped in and thus riding an awkward shaped pedal with very little grip.
If you misstep on flats, nothing happens: your foot is just in a slightly different place, but you can just keep riding and tweak your foot placement whenever you feel like it. I've ripped through some New England mega-jank with basically my heel on the pedal because I popped my foot off for a fast-plant or whatever and then stomped it back on the pedal without paying any attention. Sure, it's not the "ideal placement", but it is a placement that still works since I'm on flats.
I love and hate hearing people tappy-tap-tap on their clips as they start riding, especially if it's something like a restart at the top of a sketchy rock roll or such. Tappy-tap-tap, try to clip as you start to go, don't even think about pedaling until you're clipped, and just pray you're fully clipped before the g-out at the bottom; versus Stomp, go, done.
Jan 26, 2022
The flat pedal footwork I’m referencing is what enables you to stay on your pedals. If you’re not actively moving with and pressuring your pedals (the “dancing and swimming”), you might find yourself floating off the pins at inopportune times. With clipless pedals I have to worry less about the swimming and dancing because I have a mechanical device anchoring my foot to the pedal.
Foot placement is just one element of many involved in the whole song and dance. The importance of foot placement on the pedal comes down to optimizing your position for the section of trail you’re riding - if you choose to make the adjustment. Sometimes you do get bounced off and land back on in the wrong place, but as you said, at least you still have contact and can ride it out. Would you ride an entire trail with the heel of your foot right on the spindle just because that’s where you landed? Chances are you would readjust back to whatever is more comfortable for you as soon as it’s safe.
Jan 24, 2022
Jan 27, 2022
clips remind me of hand cuffs but on the ankles.
When you gotta ditch the bike let it go.
Jan 30, 2022
Jan 26, 2022
Used to ride factory flats in Redwoods, in the nineties.
Currently have two MTBs, both have DMR Brendogs. Been wearing same pair of Chrome Industries' Storm sneakers for roughly five years - they have gouges from the pins now but still going strong.
The only time I've ever had a crash because of the pedals is having inside pedal at bottom of stroke while tilting the bike - the wider the pedal, the less ground clearance, in this situation, but very rare to have your inside pedal at bottom stroke while cornering. Also crashed from pedal clipping obstruction - pedal bent the crank arm - just refitted bearing kit to pedal, changed crank arm and good to go - pedal just had couple of scratches.
Have also very rarely pinned my shins - like maybe twice, in the last decade.
Just comes down to practice and experience, maybe.
Mid 40s now - just went up the mountain today, actually, lol.