

According to one survey, nearly 70% of Singletracks readers purchased at least one new mountain bike in the past year, while a separate survey found more than half of readers have purchased a bike direct-to-consumer. Clearly a lot of us are unboxing and setting up our bikes at home!
If you’re planning to buy a bike online and set it up yourself, or just had one dropped off at your door and aren’t sure what to do, here’s what you need to know to get rolling as quickly as possible. In some cases you may be able to hit the trail within an hour or two.
New bike setup checklist
☐ Take photos of the bike
☐ Attach seat post, bars, front wheel
☐ Inflate tires
☐ Install pedals
☐ Set seat height
☐ Set sag
☐ Bed in brakes
☐ Add frame protection
☐ Attach accessories
☐ Trail ride shakedown
Singletracks unboxes and finishes assembly for dozens of mountain bikes every year and we’ve certainly made some mistakes along the way. The upshot is it’s allowed us to develop this unofficial checklist to ensure every new bike day goes smoothly.


Take lots of photos
Every bike comes packaged slightly differently so I always start by taking photos of the bike in the box. This is super helpful when it’s time to send the bike back so I know how everything fits inside securely. Hopefully you won’t need to send your new bike back, but if you do this can be a lifesaver. Even if you don’t return the bike, it’s good documentation in case you discover something was damaged in shipping, or so you use the bike box to travel with your bike in the future.
Once out of the box, take photos to note how packing materials are attached to the bike. I toss every bit of foam, tape, and cardboard back into the box so I don’t lose anything. Again, this is super helpful for future shipping. Even though bike boxes take up a lot of space, I hang onto mine for as long as I can.

Keep the photo shoot going even after all the packing materials have been removed. These photos can be used to make a warranty or insurance claim, though hopefully that won’t be necessary. Take a photo of the bike’s serial number, and also write it down and keep it in a safe place. Register your bike serial number online and complete any warranty paperwork.
Complete the assembly
Technically, most bikes that are shipped to your home are already assembled. Or, at least they are mostly assembled. For the vast majority of the bikes shipped, the only final assembly required is to attach handlebars and the front wheel. Many manufacturers will even include all the tools you need to accomplish this along with easy-to-follow instructions.
If the seat post isn’t attached already, do this first. That way you can hold the bike in a workstand. Attaching a dropper post and cable can be the trickiest part of final assembly, but don’t stress — you can do this!

Add a bit of grease to the threads on your thru axle before attaching the front wheel if it doesn’t already have grease. Most bikes ship with a plastic shim between the brake pads so take this out before you slide the wheel into place.
Remove the stem bolts and face plate, noting that stem bolts may be hex or Torx. I’ve stripped Torx-head stem bolts in the past because I was in a rush and just assumed they were hex. Center the bars and make sure your hoses and cables aren’t twisted. Don’t worry about rotating the bars into the final position yet; just find a neutral position using the alignment marks and you can make adjustments in the final step. Double check that your fork is facing forward.
Next, inspect the tires. Some bikes ship with tubes even though the rims and tires are tubeless-ready. You’ll generally need to let the air out of the tire and pop the bead off the rim to see if there’s a tube inside. Once the wheels are configured the way you want them — tubed or -less — inflate to your preferred tire pressure.
Finally, install your pedals. Some bikes come with cheap plastic ones so you’ll probably want to use your own. Remember that the left pedal is reverse threaded so if a pedal isn’t going on smoothly, don’t force it; otherwise you may damage the cranks.
Congratulations, you have a complete bike! Do a quick check to make sure the cranks spin the wheels and that the brakes and shifters work. Drop the bike on the floor for a one-second bolt check.
Throw your leg over the bike and check the standover height. A correctly sized bike will offer at least an inch of space between your crotch and the top tube. Now hop on the bike and roll around your driveway to confirm everything is in place.
Optional disassembly
Bikes are generally required to ship with reflectors, though most mountain bikers will end up removing them. A flathead screwdriver can be used to remove spoke reflectors without damaging the reflector or the spokes. Just as with the packing material, I toss these in the box just in case.
It’s also common to ditch the “pie plate,” the clear plastic guard that sits between the cassette and rear wheel spokes. It’s best to remove the cassette to get at the plate but if you don’t have the proper tools, use tin snips to cut the plate into a couple pieces and slide them off the spokes.

Adjust the seat height and set sag
A good approximation for seat height places the saddle parallel with the top of your hip. Check out these tips for setting bike seat height to dial it in correctly. Assuming your bike has a dropper post with internal routing (and it should!), you’ll need to push or pull slack in the cable and housing so it’s not overly stretched or conversely, bunched. Otherwise the dropper won’t work properly.
Most seat posts will have maximum and minimum insertion marks. Going beyond the minimum insertion mark could be a sign that you need different size bike. And a frame that’s too big won’t let you get the seat low enough. In either case, it’s a good thing you kept the box and packing materials for an exchange!
Reach is another fit measurement you’ll want to verify at this point. You can slide your saddle closer or farther from the bars to get comfortable, but again, there are limits. If you find you can’t get the saddle far enough forward or back, that’s a sign that the bike is the wrong size.
With the dropper post at full extension, set the sag on the fork and shock. Be sure to read any documentation that comes with your bike regarding the ideal amount of sag, which is generally 20-30% for most shocks. Add air pressure using a shock pump to decrease sag, or bleed pressure to increase sag.
Bed in the brakes
With sag properly set, it’s time to bed in the brakes. At this point I’m antsy to just get out and ride, but this is a really important step so don’t skip it. If you do, you’ll regret it later. A driveway or quiet street is the perfect spot for bedding in brakes. This guide to bedding in mountain bike disc brakes explains how to do it right.

Add frame protection
This is another step that I tend to rush past, but shouldn’t. Plan ahead and order a set of frame protection decals or tape when you purchase your bike so you can install it right away. In the next step you’ll be adding accessories so be sure you have frame protection for the areas where you plan to place a frame bag or tool roll. Also pay attention to any spots where cables or hoses might rub against the frame.
Install accessories
I’m always amazed at all the things I need to attach to a new bike. A mount for my GPS. Bottle cages (most bikes don’t come with them). A bell. A handlebar or frame bag for carrying tools. Again, it’s a pro move to have these items ahead of time so you can get out and ride your new bike ASAP instead of waiting around.

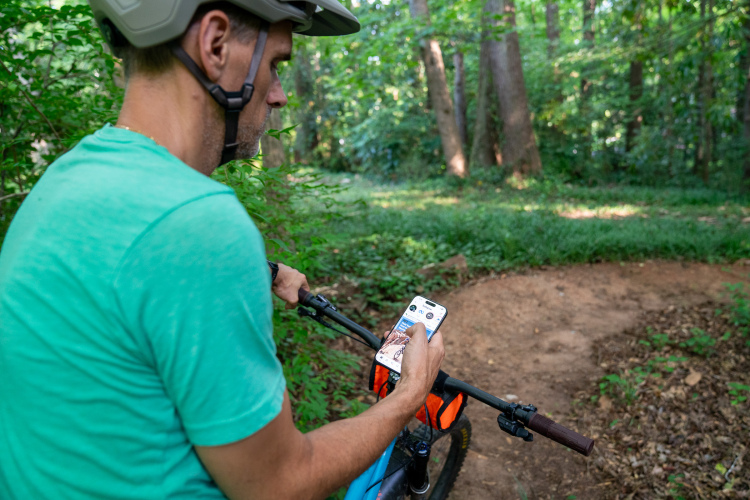
Time to shred!
At this point your bike should be ready to hit the trails. I like to go for a short “shakedown” test ride whenever possible, but more often than not I jump off the deep end and go long. Either way, bring a multi-tool to make inevitable adjustments to the cockpit as you identify any pain points with the fit and controls during the ride.
Unboxing and setting up a mountain bike at home shouldn’t be intimidating. In the end you’ll feel a sense of accomplishment and will have learned some things about your new bike that will serve you — and your bike — for years to come.


2 Comments
Jan 18, 2024
I followed this tutorial and my chain was thrown into the rear wheel.
Jan 18, 2024