
Mountain bikes are just a collection of hundreds, if not thousands, of specially designed parts. Even the parts — like brakes and suspension forks — are made up of hundreds of parts. It’s a lot to keep track of, and 3D printers promise to make things easier, not just for component companies but consumers too. Yes, we’ve been talking about this since at least 2013, but as I found recently, we’re closer than ever before.
Web sites like Thingiverse and Printables offer consumers with access to a 3D printer plans for everything from replacement bike parts to adapters and accessories. And once you realize that pretty much anything made of plastic — either on your bike, or in your home for that matter — is available almost instantly at a cost of just a few pennies, it’s clear 3D printing has the potential to further alter spending on bike parts and repair in the future.
In this article I’ll briefly explain how the 3D printing process works, then dive into examples of the types of the bike-related items that can be printed.

How to print bike parts
Printing bike parts at home requires a computer and a 3D printer. A decent, consumer-level printer costs between $500 and $2,000, and a 1kg spool of filament costs about $20-30.
While it’s possible to design your own parts, there are thousands of 3D bike part models already available online. Model files are usually available to download free of charge and are licensed under a Creative Commons Share Alike license where users are free to use and modify designs, but must agree to share any modifications with the community.
Other software models for parts are available for purchase, usually for a dollar or two. Models have a form of digital rights management (DRM) built in that can prevent buyers from modifying the design or passing it along to others.
Once a file has been downloaded it must be prepared for the printer using 3D software. While some parts models are plug-and-play, most will need to be modified, or at the very least oriented for optimal printing. There are nuances to 3D printing — structural considerations, stability during the print, etc. — and most will encounter a few failed projects along the road to gaining experience. In other words, printing a 3D object is not as easy as printing out your tax returns.
Printers can work with a variety of plastic-like materials with names like PLA, PETG, ASA, ABS, and PC. Each material has a unique set of properties so users must select the proper material for the job. For example, ASA is more water- and UV-resistant than ABS, making it a better choice for items that will be used outdoors. Different materials have different final stiffness and strength values as well.

Because items are printed one layer at a time it’s possible to create internal structures that add stiffness and rigidity without excess weight and materials. Many of the 3D design programs used in conjunction with printers can attempt to optimize the structure automatically. More traditional bike part manufacturing processes like CNC and extrusion are generally unable to create such complex internal forms.
Depending on the size and complexity of a part, prints can take just a few minutes up to several hours. The cost of materials for most prints is measured in pennies, though some items might require using a dollar or two worth of filament.
Most bike parts will involve adding metal hardware like nuts and bolts to complete the piece. More complex items may incorporate multiple prints that are then bolted or glued together.

Replacement parts
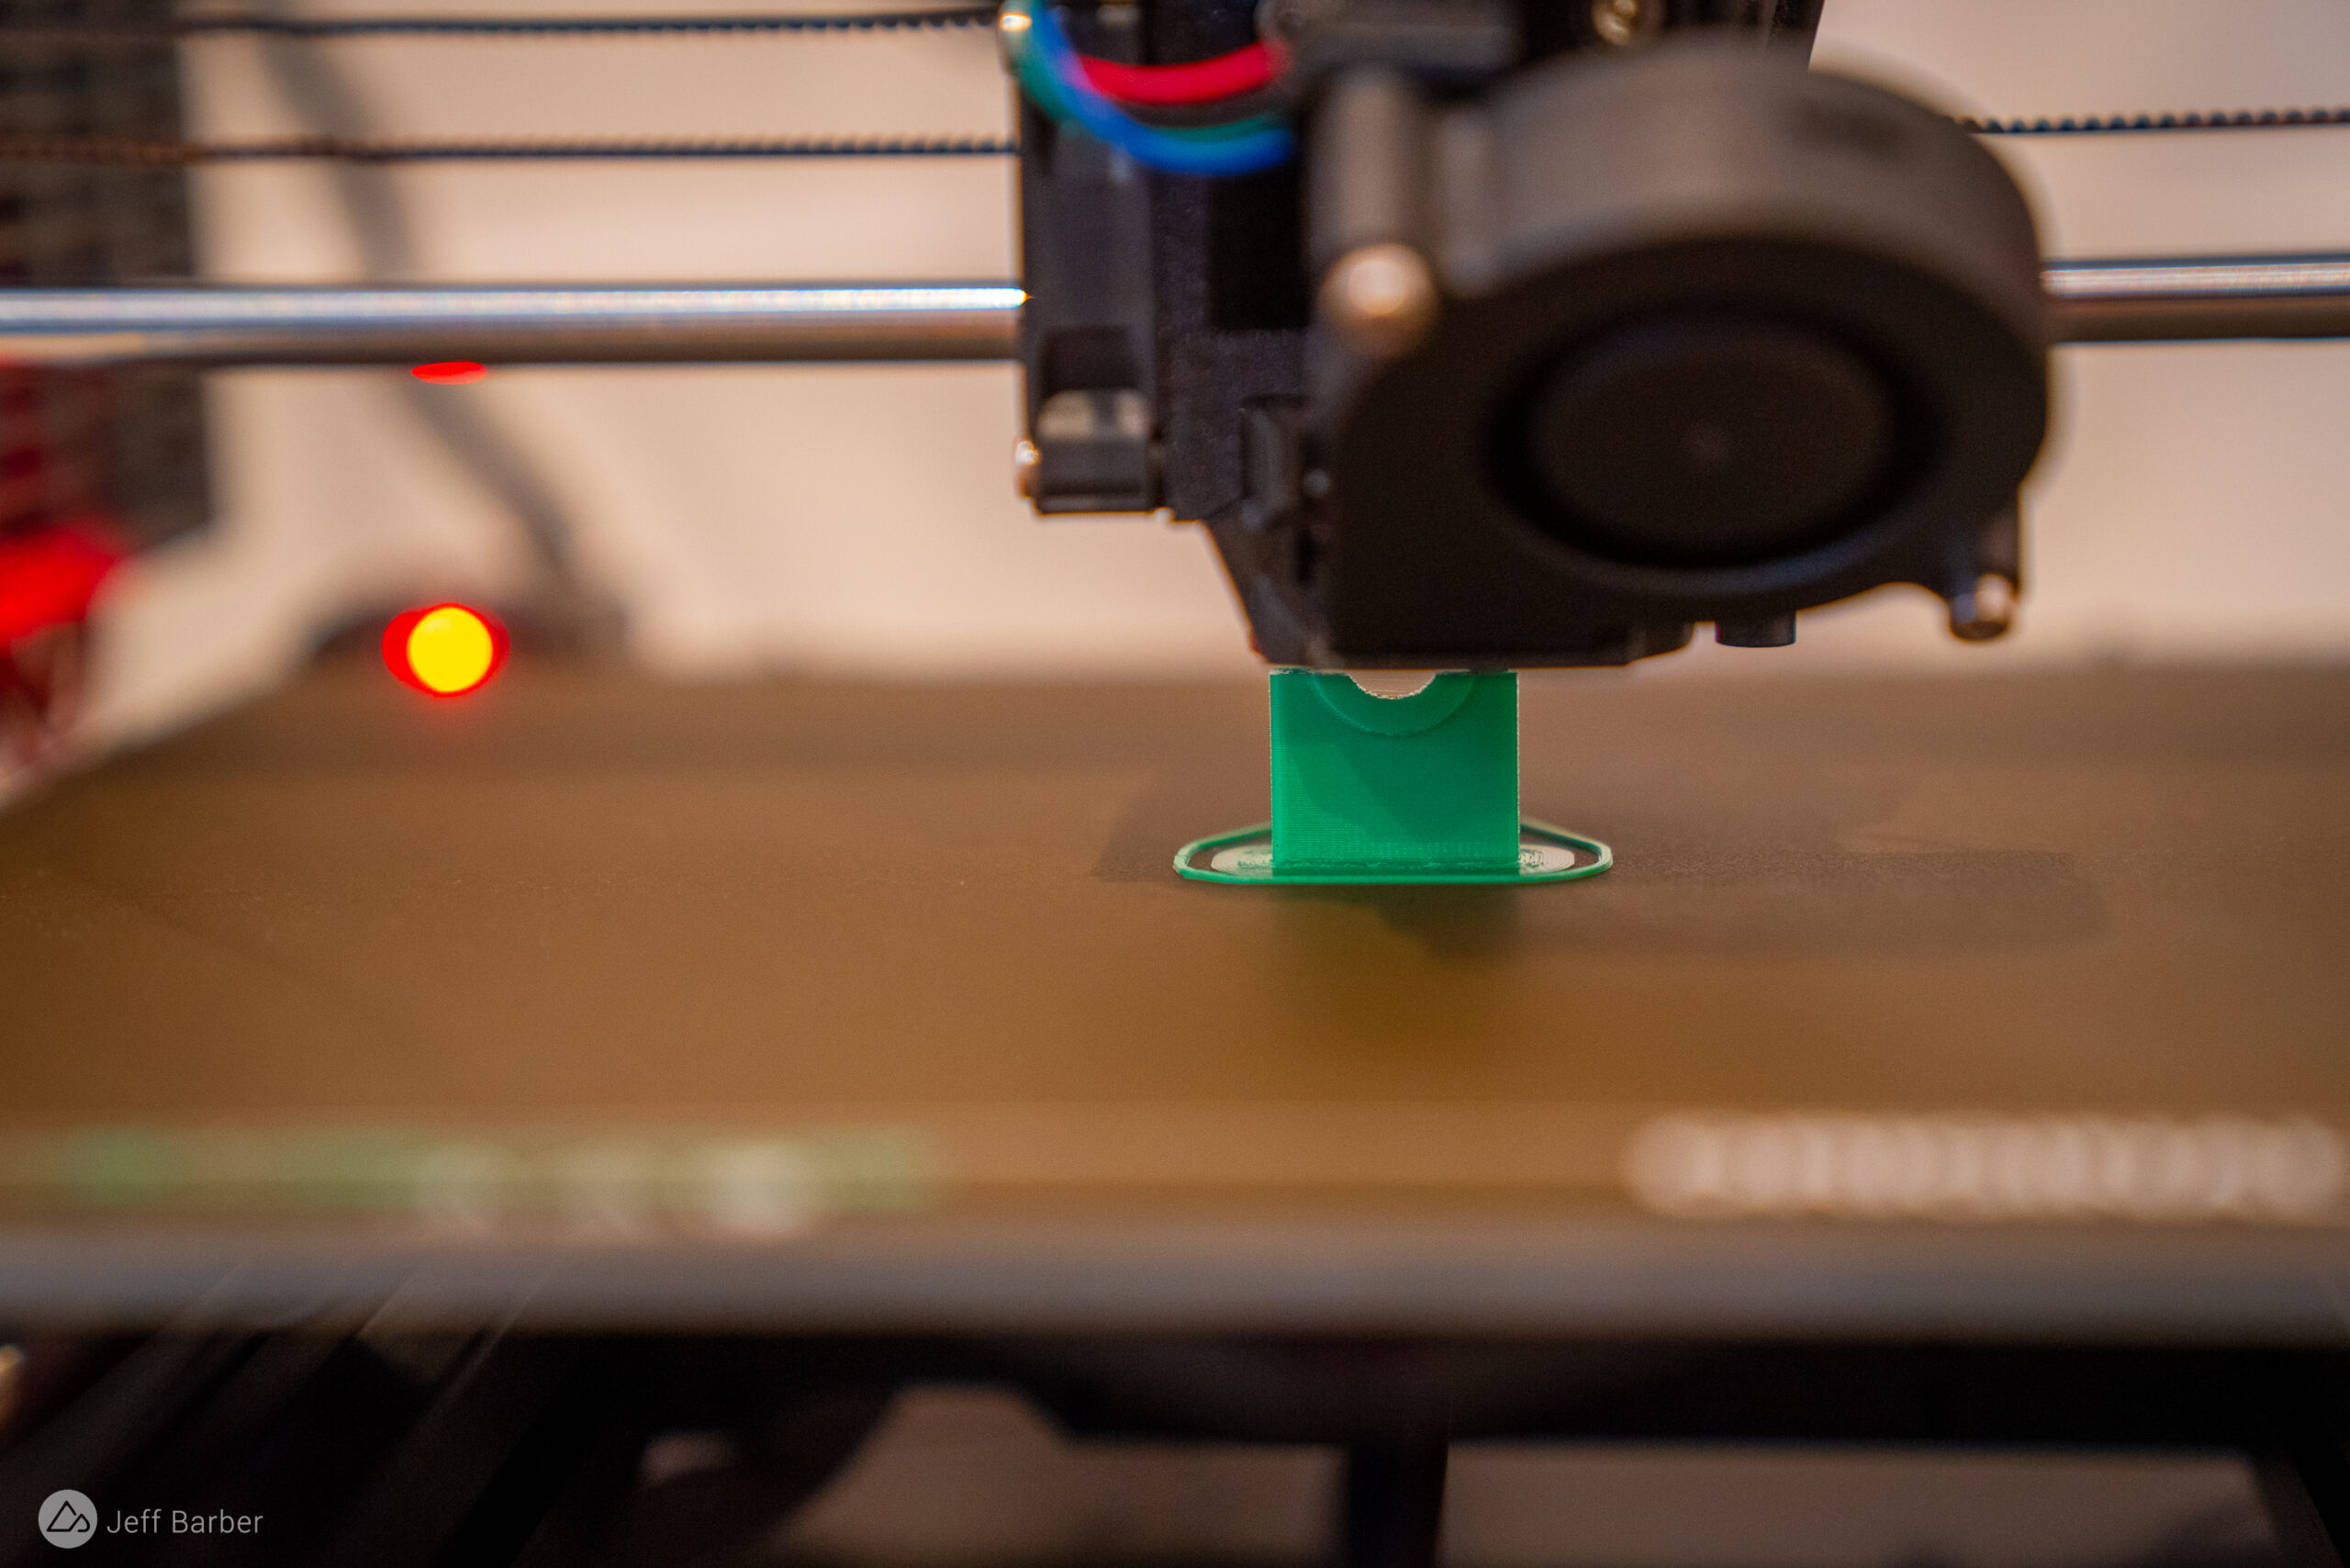
My friend Marc has a Prusa i3 MK3S+ 3D printer. He also has a Knog Oi bike bell. When he lost the tiny plastic hammer off his Oi a few months back, he knew just what to do: Print a replacement part.
Marc found just the part he needed on Thingiverse, a site where users can share 3D parts designs with others. The designer of this particular part says his design isn’t an exact replacement; instead, it’s meant to be an improvement over the original part, which is (clearly) prone to breaking.
Many folks are printing items at home simply because the parts are unavailable for purchase. Knog doesn’t list replacement Oi hammers for sale on their website, likely because stocking and shipping such a small part isn’t worth the effort. Even if a replacement part is available to purchase, printing the part at home is much quicker than waiting for it to ship.
Other plans available on Thingiverse include parts like stem spacers, Shimano-compatible jockey wheels, SRAM-size cassette spacers, and Fox fork tokens. While these types of parts are more readily available for purchase online or even at your local bike shop, neither of these buying options are as quick or as inexpensive as printing at home.

Repairs
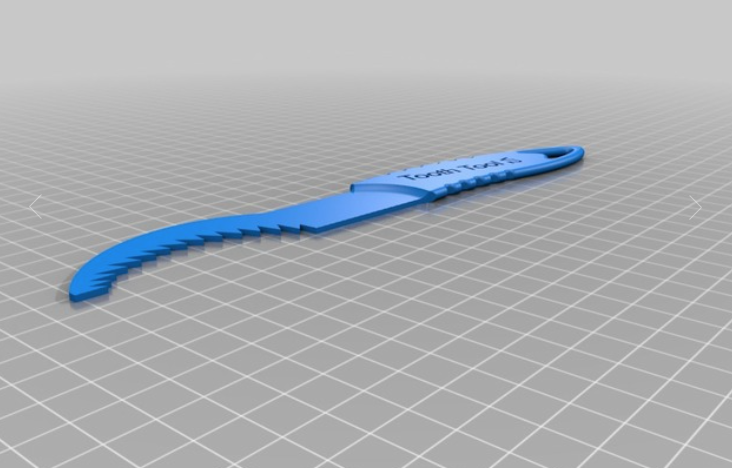
Plastic isn’t the first material that comes to mind when thinking about bike tools, but there are actually a number of tools that can be 3D printed, and some are more viable than others. If you’ve done much wrenching at home, you’ve inevitably gotten to a point where you realize you’re missing a specialized tool for the job, and with a 3D printer, you might be able to avoid a trip to the shop or a friend’s house to borrow one.
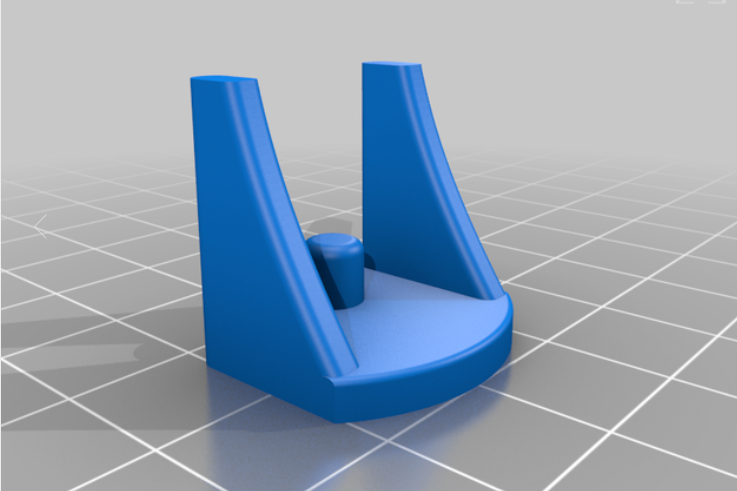
Brake bleed tools and accessories are fairly common, with plans for all kinds of funnels, spacers, cups, and nipples available. Bearing presses are also a good match for 3D polymers; this one is designed for installing a press-fit Shimano bottom bracket, and aside from the printed parts, it requires just a threaded rod and a few washers and nuts.
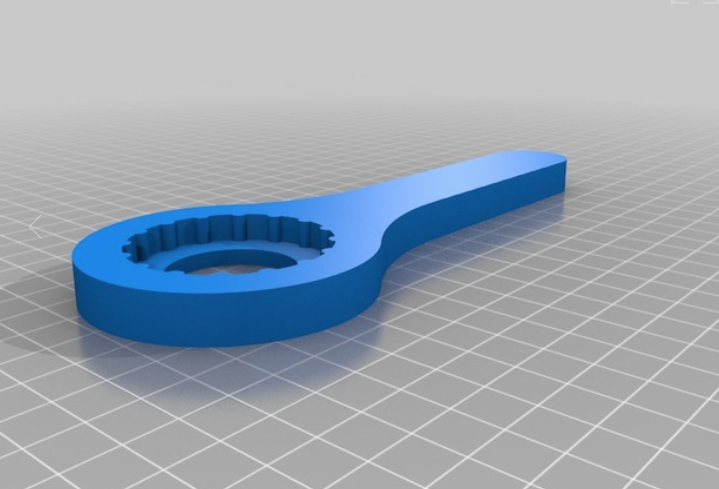
While some polymer print material are stronger than others, and parts can be designed with extra internal bracing or even fully solid construction, there’s still a limit to 3D-printed tool strength. For example, a plastic, 3D printed hex wrench likely won’t work very well.
However, some printed parts are good enough for one time use, or to use in pinch. We found cassette removal tools and crank extractors that could work on parts that haven’t been over-torqued.

Adapters
Sooner or later, we’re all going to need an adapter. Bike brands utilize their own standards for many parts, and those standards don’t always play nicely together, so adapters bridge the gap.
Marc and I found plans for a Light & Motion bike light adapter that’s compatible with GoPro mounts and accessories on printables.com. We downloaded the plans and prepped them in a software program called Autodesk Fusion 360. This particular print took about 30 minutes and used $0.08 worth of material.

As it turns out, Light & Motion sells a very similar adapter online for $10. I reached out to the brand to get their thoughts on the availability of plans like the one Marc and I used, but did not receive a reply. As 3D printing becomes more accessible, brands could see fewer sales on particular items like this one. However, there is the potential to recoup sales lost to DIY designs if brands choose to license their own design files.
After printing our Light & Motion + GoPro adapter we only needed to add a standard-size nut and bolt to make it functional. Upon tightening the bolt it became clear our printed part wasn’t as secure as the factory mount. Not only that, cracks formed above and below the bolt holes.
On the one hand it’s NBD to tweak the design and beef it up (in fact Marc did just that). On the other hand, when — not if — this particular mount fails, it could mean the loss of an expensive light.
I recently needed an adapter to mount a Shimano I-Spec EV shifter directly to my bars so I could run a set of Hayes instead of Shimano brakes. I researched a couple alloy options online, priced at $40-50, which feels like a lot to pay for such a small part to use a shifter that I already own.
Ultimately I ordered a 3D printed bar clamp on eBay from a seller in Estonia for $9, plus shipping. In this case I definitely didn’t save any time — the part took weeks to arrive — but I did save money, and the clamp has been working just fine. (It likely weighs less than those alloy parts too.) Is this design approved by Shimano? Almost certainly not, though the brand did not respond to comment for this story.
As you can see, many 3D printed bike parts rely on various small metal parts like washers, nuts, and bolts to function. Some parts may require multiple 3D printed pieces to be attached together, like the handlebar clamp I ordered. A well-stocked 3D printing setup includes various spools of filament plus all the nuts and bolts needed to complete a project.

Accessories and inventions
Beyond printing replacement parts, tools for repair, and adapters, 3D printers offer endless opportunities to create brand new bike parts that don’t exist. Like this kids’ bike seat shaped like a T-rex. Or this bicycle Christmas ornament. Or these water bottle cages.
With a 3D printer, owners can create one-of-a-kind bike parts, and if they like, sell the finished items or even just the plans to others. The potential for innovation in the bike space is huge, and will only increase as printers become more common.
The future
While it’s unlikely there will be a 3D printer on every desk in the future, the proliferation of printers and plans has the potential to impact the bike industry. For now, individual tinkerers have the opportunity to create bike parts for their own use, though it’s not clear how brands might react to local bike shops printing the small parts they need rather than ordering from a catalog, or if sellers like the one in Estonia are running afoul of patent or trademark laws.
One thing is for certain: cyclists will continue to tinker, and designs for al bike parts will continue to be improved.


4 Comments
Dec 2, 2022
Dec 2, 2022
Dec 2, 2022
Dec 3, 2022
Some of the trials crowd had done simple parts like brake levers with 3D.
Funny how many enginerds are into the trials scene...