

Bikepacking is an incredible way to see a lot of country. The trip can be a quick overnighter, or spread over several days. This past year I set a simple goal to bikepack more. I ended up pedaling 700 miles over the course of 7 trips. The year prior I only bikepacked 40 miles – a solo trip in the fall. Through each of these experiences, I’ve learned invaluable lessons. I grew from each adventure. Only through experiences and mistakes will we gain skills and insight… unless you take these 10 lessons that I had to learn the hard way to heart:
[see_also id=’198154′]
Just go already!
I tend to build up the reasons why I can’t do something: I don’t have enough time, experience, the right gear, etc. Those monuments in the mind are only small hills in reality. Some may be valid, but most of the time they’re only something that keeps us from getting out and exploring. Find a way and get out there!

Note: If at any point you’re using one of these lessons to justify why you can’t go bikepacking, return to this paragraph.
Pack Less, Ride More

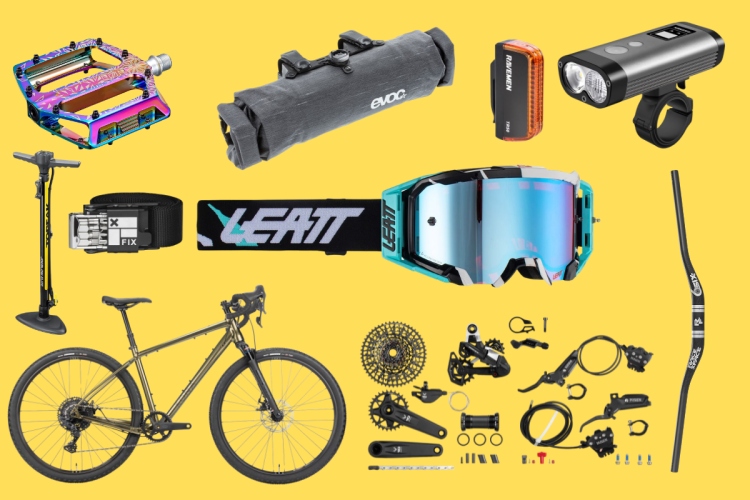
Weight adds up fast – extra food, too many clothes, etc. As a general rule, you won’t use as much as you think you will. Bikepacking at its core is very minimalist. You can follow the same principles behind lightweight and ultralight backpacking. After one overpacked ride, I am critical of everything I’m bringing. The gear I don’t have is actually an advantage. A trip can be successful and rewarding without the gear I thought I needed.

Bring a Bike Light
Think you’ll be riding only in daylight? Think again. Bikepacking trips always have a way of throwing a wrench into your plans. I’ve descended many technical trails in the dark after not packing a light on “day rides.” I haven’t repeated this same mistake on bikepacking trips. A single 350 lumen light goes a long way. If you’re going to be in dense woods, bring a 500-800 lumen light. Better yet, bring two.

Prepare for Mechanicals and Trailside Maintenance
Let’s face it–no trip will ever be “perfect.” Something will always break, tear, pop, or leak. Bring the tools to get yourself out of those situations and back on the trail. When you’re out in the backcountry, you have you, and only you, to rely on.
[see_also id=”44136″]

It’s important that you take care of your bike and its components during the trip, and not only after you get home. If you’re going through a lot of silty stream crossings, it isn’t a bad idea to bring a brush and lube to keep that chain clean.

Opt for Backpackless Trips
The idea behind bikepacking is to put as much on your bike as you can. View the backpack as a last resort. I’ve only needed a backpack for extra water through very dry routes. If you have the top three bags: a handlebar roll, frame bag, and seat pack, you shouldn’t need a backpack for much else. A little creativity goes a long way.

Creativity Is King
Research bikepacking tips and hacks, use what you have, and buy only the gear you need. When purchasing gear, look for what you can use in more than one way. The goal here is to fill every bit of empty space on the bike without giving up maneuverability. Examples are endless, but here are a few:

- Use dry bags as a seat pack and handlebar roll
- Tape your spare tube to your frame
- Or stick it in a water bottle cage
- No braze-ons? Tape water bottle cages to your bottom bar and front fork
- Prop your bike to support a tarp for a shelter

- Wrap extra gorilla tape and electrical tape around bike pump or seatpost
- Stow spare bike parts in your handlebars and seatpost. Think: cables, zip ties, spokes, or a tire boot
- Strap a dry bag to the rear or front rack (if you have one)
- Fill unused spaces with bottle cages: top cap, down tube, rear dropouts, and rack bolts

Voile Straps Are Awesome
Voile straps made a name for themselves amongst backcountry skiers. In the event your ski binding breaks, Voile straps will secure your boot to the ski and get you down the mountain. Their durability and versatility set them apart from other straps. I’ve used them to secure oversized water bottles and dry bags to my frame over technical terrain. They also are my choice for carrying my handlebar roll. The security comes with a bit of a price tag, but the versatility and peace of mind are worth it in the backcountry.

It’s Actually Affordable
If you think you need to buy every bike bag and a sweet new rig, you’ll disagree with this point. The fact is, when starting out bikepacking you don’t need all the fancy harnesses, bags, and gizmos. Tap into your inner frugalness. Use what you have. You’ll find new ways to do this through each trip you take.
[see_also id=”66208″]

DIY is a big cost savings. If you’re handy with sewing, make your own dry bags out of cuben fiber, and sew your own frame bags. Limberlost published a guide and template to make your own handlebar roll.
A pop can alcohol stove is easy to make and uses denatured alcohol.

Don’t forget about used gear! Why buy new when you can find like-new quality for half the price? Search thrift stores, outdoor consignment shops, and bike shop clearance racks. Facebook Marketplace groups, Craigslist, eBay, and Amazon are excellent online locations. If all else fails, head to your outdoor friend’s garage and offer some cash for their extra gear.
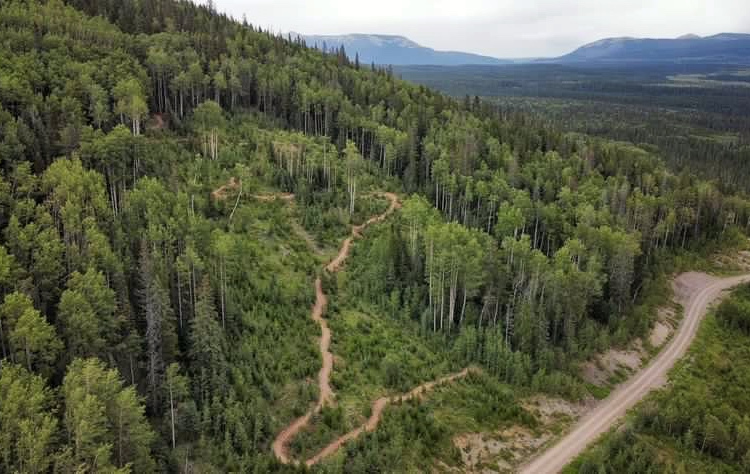
Plot Your Route
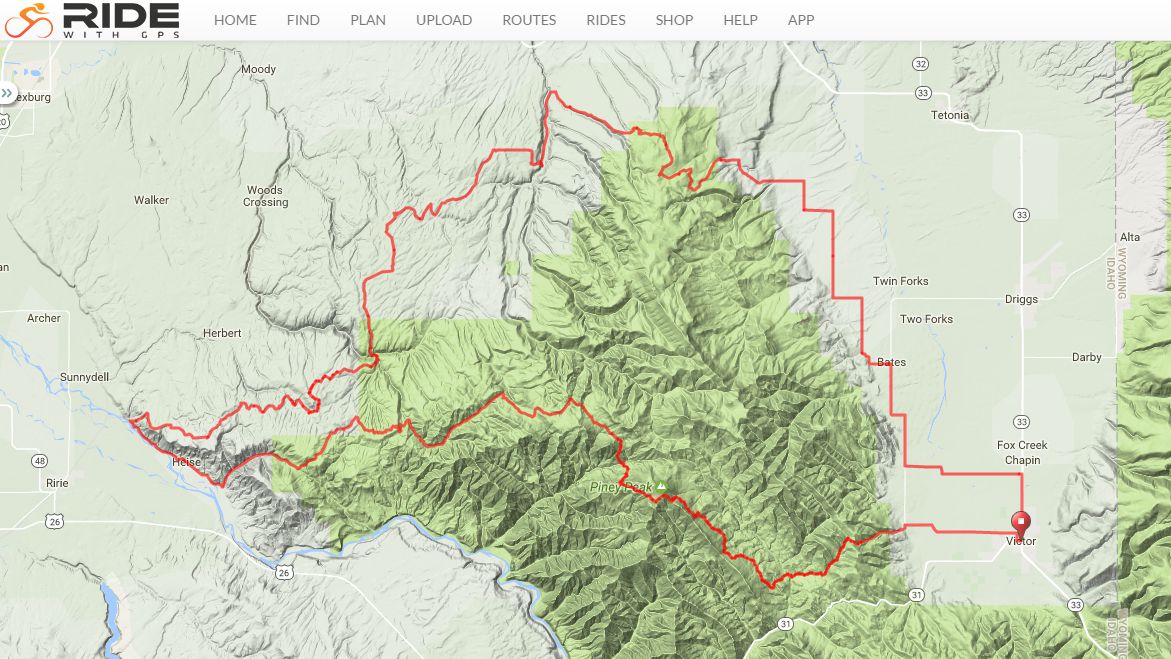
If you fail to plan, you plan to fail. If your trip is more than a straightforward out-and-back on a gravel road, you should have a map in hand and route in mind. I use an offline map and GPS on my phone and plot my route ahead of time using a website like RideWithGPS.
There are several offline topo map apps. My favorite is Accuterra, which uses Neotreks data. Apps that incorporate Neotreks data include:
- Singletracks Topo (iOS and Android)
- Backcountry Navigator with an additional paid subscription (Android)
- Roam by onXmaps (iOS and Android)

Honorable Mention: GaiaGPS: raved about by backcountry explorers, but doesn’t include Neotreks map data.
With that, a GPS is great for pinpointing your exact location, but it doesn’t replace a map and compass.
Pro Tip: Cut out only the map sections you need and tape them together. Use a ziplock bag for waterproofing.
Leaving from the front door is the greatest feeling!
On several trips, I’ve left from and arrived back to my own front door. It’s an empowering feeling and the ultimate form of travel. It simplifies parking and shuttling logistics. All you have to do is pack the bike and roll away from your driveway to wherever your bike takes you!

Conclusion: The Gear Doesn’t Define the Adventure
At no point have I looked back on an adventure and saw the focal point being a piece of gear. It’s always been about the location, and triumphs over struggles to get there. Neither your bike nor your gear define what you can and can’t do. Only you define your limits. Let your adventures evolve with you.
[see_also id=”197940″]


8 Comments
Feb 16, 2017
Feb 7, 2017
Feb 8, 2017
Overpacking is something pretty much everyone does at least one... learning from it instead of justifying it is what we have to overcome.
Feb 8, 2017
Can I get your GPS file for the Plot Your Route map where you rode a loop starting in Victor.
Years ago while going to school I rode sections of the trail along the Snake which shows up on your loop. Wow I would love to get back there some day.
Feb 8, 2017
Take that into consideration when studying the route. I've sent you the link on Facebook.
Feb 7, 2017
Feb 8, 2017
Feb 13, 2017