
To replace your disc brake pads you’ll need a pair of needle-nose pliers, a clean dry cloth, some rubbing alcohol, and a flat-sided tool like a 10mm wrench. For this demonstration I’m using Shimano hydraulic disc brakes but the procedure for most makes and models will be roughly the same.
First, remove the wheel.

A bike stand is handy for this type of work. If you don’t have one, ask for one for your birthday!
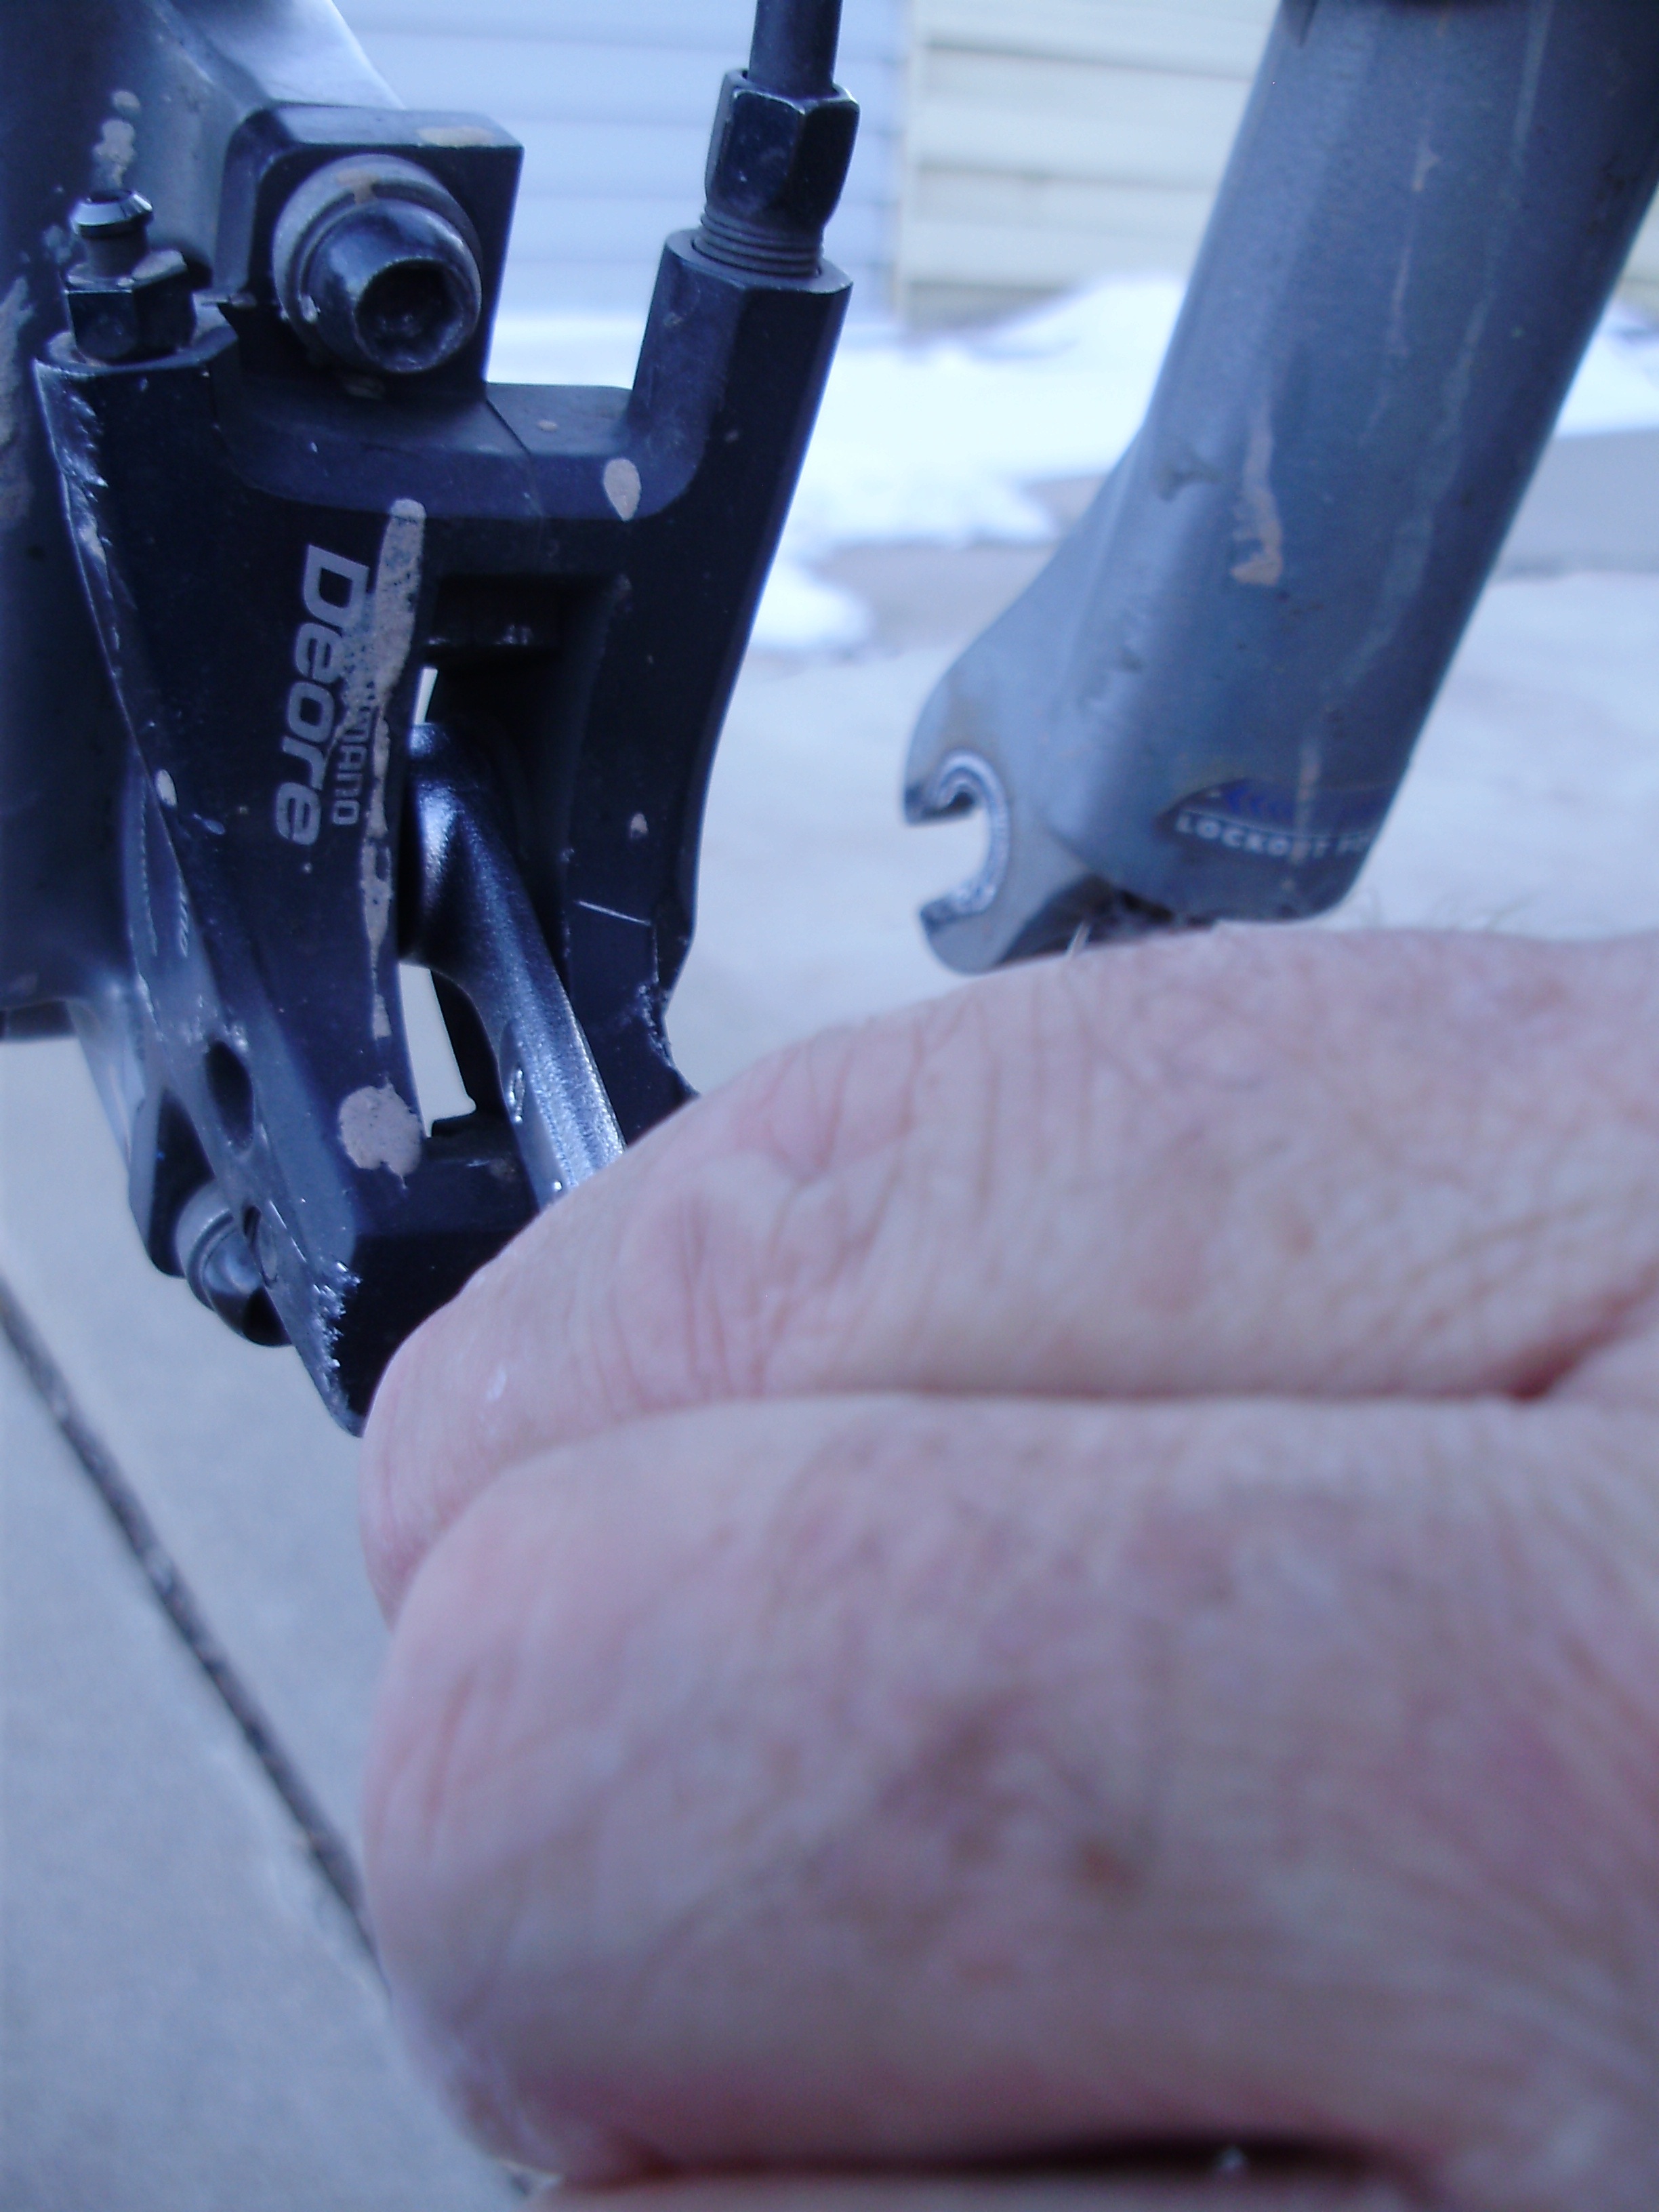
From the front or bottom you’ll be able to examine your brake pads. If they are thinner than the thickness of a nickle it may be time to replace them. If you wait too long to replace brake pads you can end up damaging your rotor, just like with brakes on a car. Or worse, you may find yourself without adequate stopping power out on the trail.

From this view point you can see my brake pads are still in good shape. For the purposes of this demonstration, we’ll be “replacing” them anyway.

Pads are typically removed from the back or top side of the brake caliper body. This view shows the cotter pin at the bottom holding everything in place and the clip that holds the brake pads.
Using a pair of needle-nose pliers, remove the cotter pin. You’ll have to carefully unbend the right side of the pin first (out of view).

Next, remove the clip and then the pads using your pliers.
Be careful when removing the pads. You don’t want to touch the new pad with your fingers because you’ll get oils on them. If this happens, put some rubbing alcohol on a clean cloth and gently clean the pads.

You should now have all of these pieces removed from the caliper body. Hopefully your cotter pin won’t break like mine did.
In order to create a little more space between the pistons, insert a 10mm wrench into the caliper area and gently press it against the pistons on either side. This will push the pistons away from the center of the caliper, giving you more room for the new brake pads.

Look at all that space! This is a good time to use a rag and some rubbing alcohol to clean this brake dust out of the inside area of the calipers.
Next you’ll want to line up the clip and (new) brake pads so the holes all match up. The cotter pin will need to go through the entire stack those at once.
Next, take your lined-up clip and pads, turn them so the holes are on the bottom and the hook is on the top, and insert them back into the caliper area. You may need to angle them toward you slightly to get them back in.

Replace the cotter pin, making sure to bend the end once it’s all the way through the caliper body, and then replace your wheel.
After replacing the wheel, pump the brake lever a few times. Then spin the wheel and listen carefully to make sure the brake pads aren’t rubbing the rotor while the wheel is spinning freely. If the pads are rubbing, you may have to loosen the wheel, try to realign it a bit, and then tighten it again.
Of course the procedure for changing or replacing disc brake pads can vary based on the brand of brakes you have and whether they’re mechanical or hydraulic disc brakes so be sure to read the instructions that came with your brakes.


15 Comments
Mar 6, 2013
Mar 6, 2013
Mar 6, 2013
May 4, 2013
Mar 6, 2013
Mar 7, 2013
Mar 6, 2013
Mar 6, 2013
Mar 7, 2013
Mar 8, 2013
Mar 8, 2013
Mar 6, 2013
Mar 6, 2013
Mar 6, 2013
Mar 8, 2013