Trails
Reviews
Tips
Community
Deals
Latest
Support
Trails
Find trails
Best bike trails
Destinations
Add a new trail
Reviews
Mountain bike reviews
Components
Tires
Clothing & shoes
Helmets
Accessories
Product news
Community
MTB Clubs
Races & Events
Bike Shops
Tips
Skills
Fitness & Training
Health & Nutrition
Beginners
Repair
Latest Articles
Podcast
Deals
Support Singletracks
Sign in
Create an account
About us
Newsletter signup
Am
All-Mountain bikes
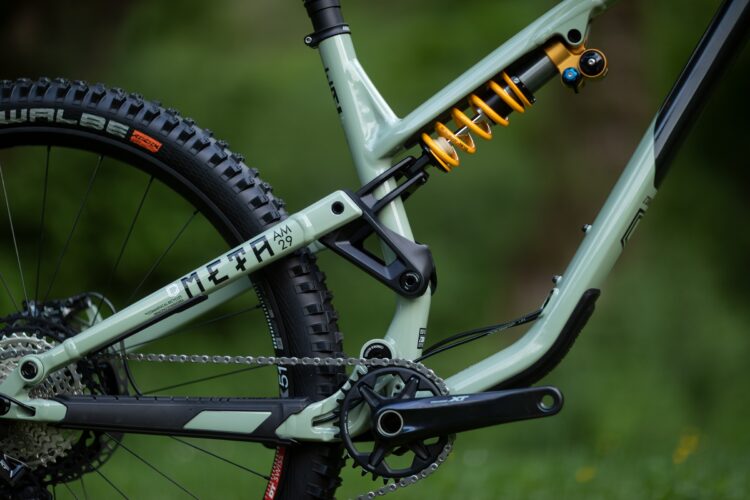
2021 Commencal Meta AM Slackens Head Tube Nearly 2°, Promises Reduced Leg Fatigue
Mountain bikes
The Niner RIP 9 is Keen to Descend the Fastest Trails [Review]
Mountain Bikes and Gear
Charging Through Sedona on the Ibis Ripmo V2 [Test Ride Review]
Mountain Bikes and Gear
Merida One-Sixty 700 All Mountain Bike Review [Video]
Culture
Liv Introduces New Intrigue Advanced All-Mountain Bikes for Women
3
Mountain Bikes and Gear
Top 10 Enduro and All-Mountain Bikes of 2017, According to Singletracks Readers
3
Mountain Bikes and Gear
4 Michelin Wild AM Tires Were Sacrificed During this Review
3
Culture
Vittoria First to Use Graphene in Carbon MTB Rims
1
Mountain Bikes and Gear
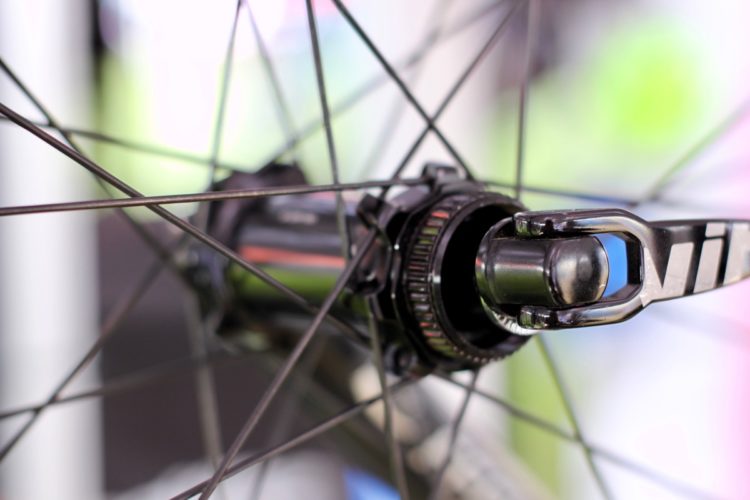
News: SRAM Announces RAIL 40 AM Wheelset
Mountain Bikes and Gear
Review: Fox 36 Float 27.5 160 FIT RC2 Fork
6
Mountain Bikes and Gear
Review: ION Avid Scrub-Series Shorts
Mountain Bikes and Gear
Review: Giro Chamber Shoe
1
Mountain Bikes and Gear
Kenda Slant Six 2.35 UST Tire Review
7
Community
RaceFace Atlas Crank: Reviewed
Community
2012 Answer Components: Carbon 780 Bar and ROVE XC Stem Review
2
Community
2012 Avid X0 Trail Brakes Review
4
Mountain Bikes and Gear
Interbike 2012: Diamondback Test Rides
12
Community
Five Ten Cyclone MTB Shoe Review
6
Mountain Bikes and Gear
Giro Remedy CF Full Face Mountain Bike Helmet and DND Glove Review
1
Culture
SRAM's XX1: 1x11 Drivetrain Reveal
7
Mountain Bikes and Gear
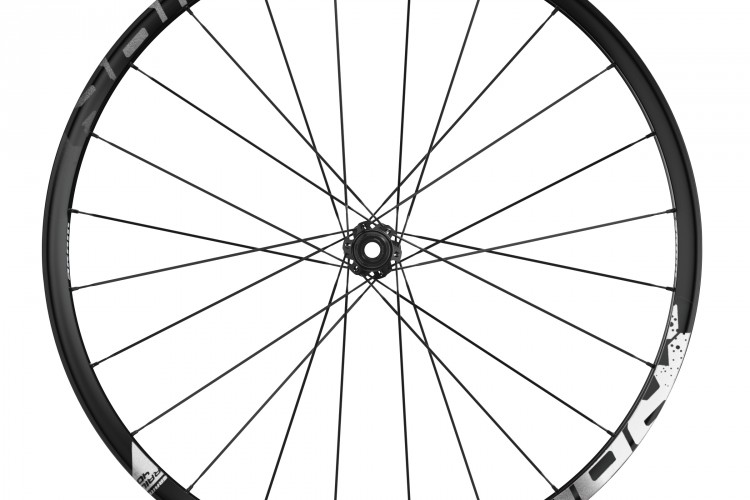
Mavic Crossmax SX Wheel Review
8
Mountain Bikes and Gear
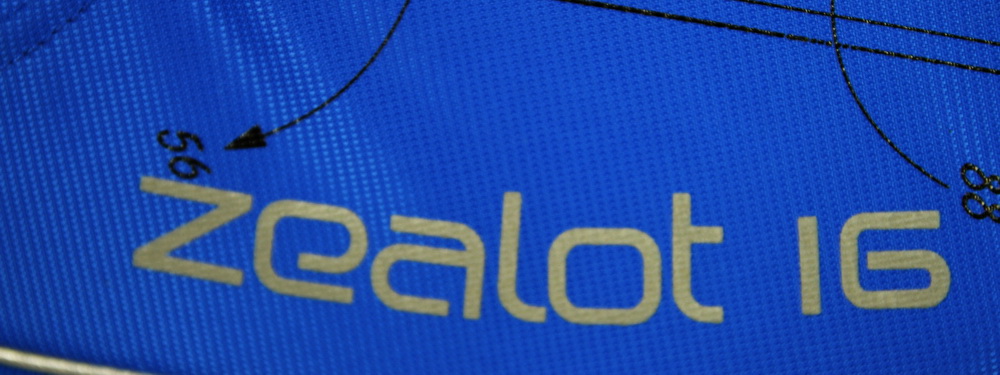
Osprey Zealot 16 Hydration Pack Review
4
Culture
Giro Feature Mountain Bike Helmet Review
3
Mountain Bikes and Gear
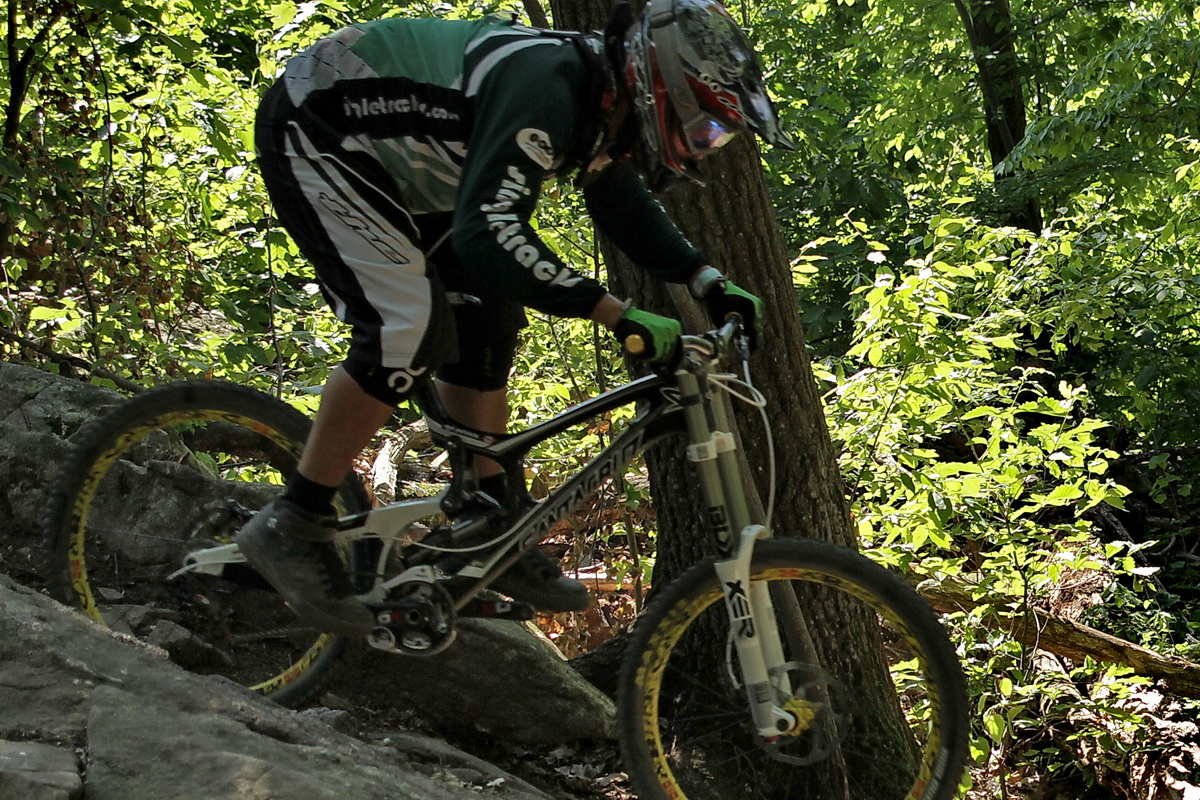
Niner W.F.O. Test Ride
6
Mountain Bikes and Gear
Twenty6 Gear for 2012: Pedals, Stems, and More
6
Mountain Bikes and Gear
Spank Spike Pedals: Reviewed
8
Mountain Bikes and Gear
Giro Xar MTB Helmet Review
6
Mountain Bikes and Gear
WTB Bronson 2.3" AM Tire Review
6
Mountain Bikes and Gear
Formula The ONE MTB Brake Follow-up Review
3
Mountain Bikes and Gear
Answer ProTaper Bars and DJ Stem Review
1
Community
THE Flow Saddle Review
Mountain Bikes and Gear
Here Comes the Sun (Ringle)
Mountain Bikes and Gear
CamelBak: The Don Hydration Pack with Flow Meter
3
Community
Introducing Joyride 150 Indoor Bike Park: Opening Dec 14, 2009
11
Community
Mountain Bike Disciplines
10


 3
3