

In the last few years, bikes have evolved from a mere tool of recreation into a true investment. You no longer have to be a hardcore cyclist to fit the caricaturist joke that your bike is worth more than your car: high end mountain bikes are consistently topping the $10,000 range. Unfortunately, purchasing the bike is just the start of your investment. It is critical to maintain your mountain bike–no matter what you spent on it–to enjoy it, ride safely, and ensure that it lasts so you can one day leverage it to buy your next wunderbike.
Pros have the luxury of mechanics that keep their rigs in tip top shape–otherwise, they wouldn’t last more than a couple of races. As a beginner, you may be wondering what you can do, especially if you know very little about bike repair, to keep your own steed purring as smoothly as the day you bought her. It is also important to recognize things on your bike that can harm you. Here are some tips on basic maintenance to do before and after every mountain bike ride, and throughout the season, to protect your investment.

Bike Maintenance Checks Before Every Ride
1. Check your tire pressure
Make sure they are set exactly where you want them to be. If you’re wondering how much tire pressure you need, try this quick tire pressure calculation to get you in the ballpark. An inexpensive digital gauge is a fast way to do it without breaking out your pump every time. Nothing says “bummer” like changing a flat tire before–or during–a ride. While you’re at it, check your tire wear and inspect for any other damage, like a rogue goathead that may come out and cause a flat during a ride.

2. Check your brakes
Testing them on a downhill is not the time to discover there’s an air bubble trapped in your reservoir. Take a quick test drive around your house, and pump them a bit. If they feel a little loose, there may be a small bubble you can work free by pumping them a few times, or turning your bike upside down. If not, you should have them bled. If they feel soft, make sure your pads are not worn, then check your lines to make sure there isn’t a leak. It isn’t necessary to check your pads every time you ride if your brakes feel solid, but get in the habit of inspecting them for wear every now and then. If you find you need a bit more maintenance on your brakes, here’s how to adjust disc brakes on your bike.

3. Check your shifting
On your quick test ride, run through all the gears. If they feel off, check and make sure that your wheels are seated properly in the skewers or thru-axles. If they are, then adjust the barrel adjuster on your shifters forward or backwards if you know how. If you don’t, beware: it is easy to make shifting worse if you just randomly start twisting things. Also, check your chain and make sure all of the links are running across the chainring (front) and cassette (rear) without skipping. If your chain is skipping, you may have a frozen link. Lube it. If your chain and shifting are still acting up, you may need to spend some time investigating these common derailleur problems.

4. Check your pedals
These contact points are one of the most overlooked parts of a bike. Flats are often abused by hitting rocks or roots. Clipless pedals can get dirt or grime in them, and freeze up. Make sure they are clean, and you can get in and out of your pedals easily before you tackle that tricky rock garden.
5. Check the fit
Again, on your test ride, make sure nothing feels off since the last time you rode your bike, especially if it has been a while. This is the time to adjust your saddle or post height, and check to make sure your dropper post is working if you have one.

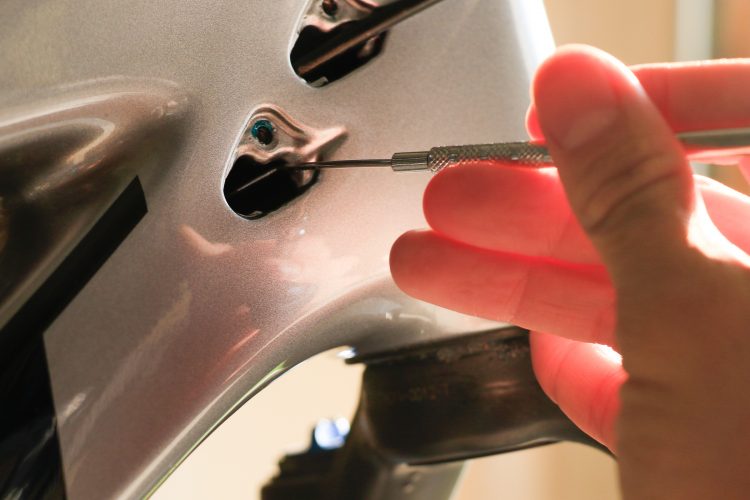
6. Check your bolts and screws
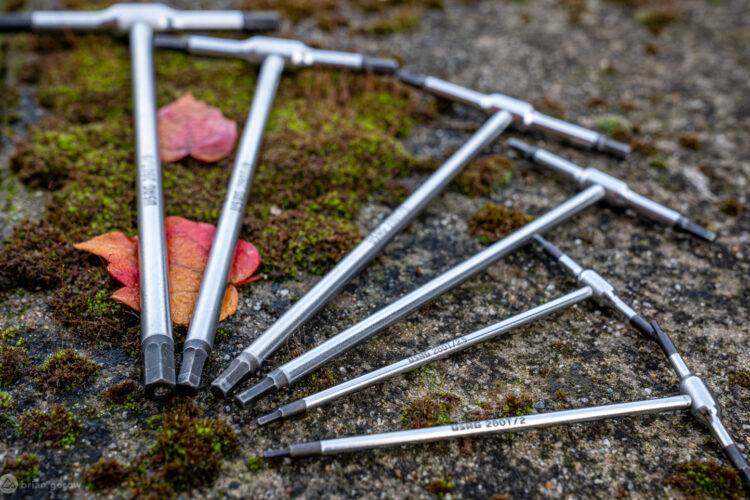
This really applies to a component you may have recently installed, particularly one that has a lot of torque, such as a new chainring. These items can loosen after a ride or two. It also important to check all of your bolts, on every part, every so often, and make sure none are loose or missing. Don’t be tempted to tighten bolts every time you check them, or you may over-tighten and damage the part. Carbon parts have an exact tolerance, and it is good idea to invest in a torque wrench or a T handle torque wrench so that you don’t over-tighten and destroy carbon bars, seatposts, etc…. (see below)
7. Check your skewers or thru-axles
Nothing says “bad day“ like having your wheel come off while you are riding downhill. For a variety of reasons, including forgetting to tighten them after you pull your bike off of a roof rack, your axles may be loose. Check and make sure before you hit the trail.

Bike Maintenance Checks After Every Ride
1. Inspect your bike
Make sure there are no cracks in the frame or the handlebars, especially if you have carbon. This goes double if you crashed on your ride, because small cracks can have catastrophic consequences. Check your drivetrain, brakes, and other items too. It is better to find out now that a part needs servicing, than right before your next ride.

2. Clean your bike
In general, you don’t need to wash your bike after every ride. In fact, it could be detrimental because you will continually expose your bottom bracket and hubs to water and soap, wearing them down faster. Where you live and ride dictates how often you should wash your bike–and this varies with seasons. If you typically ride in mud or wet conditions, you may need to wash it more often. Otherwise, a gentle wash once a week is sufficient to keep it clean for inspection, testing, and lubrication.
By the way, don’t use a pressure washer or high powered hose on your bike, especially around greased moving parts like the hubs and bottom bracket. Almost any liquid soap will do, but beware that some soaps have strong detergents that may affect paint or lubed parts. When in doubt, buy a bike-specific liquid soap like Muc-Off. Degreasers are helpful too, but be judicious where you spray them or you will inadvertently degrease essential parks like the headset or bottom bracket.

3. Wipe down your suspension stanchions
Commonly ignored, it is easy to hang the bike up after squeezing every minute of riding time out of your rig and forget to care for your fork and shocks. Keeping dust and mud off of the stanchions preserves the silky smooth reliability of your fork/shocks, and extends the service interval by keeping mother earth out of the suspension oil. It’s also a good idea to check your recommended air pressure for both the shock and fork every few rides, especially if something feels different or not quite right.

4. Lube your drivetrain
Wipe off or clean your chain and use your lube of choice. If you don’t know what lube is best, ask a local shop based on your local trail conditions. Lubing a chain after a ride lets it sink into the chain and attracts less dust and sand than lubing before a ride. Go slowly and add a tiny drop to each link carefully, then wipe off the excess. Using a lot of lube will only attract dirt and interfere with shifting. You should not have to scrub or deep clean your chain too often–no more than once a month depending on where you ride and how often. If you consistently have a heavy, dirty grease buildup on your chain or cassette, you are probably using too much lube. Using a chain scrubber can also be helpful.

Annual Bike Maintenance Checks
It is also important to have your bike serviced every season, usually in the late winter or spring before the pinnacle of biking season ramps up. This may include servicing forks or shocks, bleeding brakes, rebuilding hubs, refreshing tire sealant, replacing the bottom bracket, or simply a detailed inspection, deep clean, and lube. If you can do all of this yourself, great!!

But professional shops charge anywhere from $100-$400 for these services, depending on what needs to be done and how complicated/expensive your bike is (more expensive parts generally require more expensive maintenance). Expect to spend about $200-$250 annually if you don’t know how to service anything yourself.
Also, how often you service your bike and parts depends on how well you maintain your bike, how many miles you put on it, and the conditions you ride in. The more you make sure your bike is in good working order on a routine basis, they less you will spend annually in service.
Happy trails!


5 Comments
Jul 18, 2014
Aug 2, 2014
Jul 15, 2014
Jul 15, 2014
Jul 16, 2014